
How to curl your eyelashes correctly
A great eyelash curler can unlock possibilities that you didn't even know existed for your lashes. There are a lot of options at different price points but get one that fits your unique eyes best! I recommend investing in an expensive lash curler if you can, since it's something that'll last you for years.
Shiseido's is currently my favorite one because it accommodates my big eyes better, plus (I forgot to mention this in the review) the brand sells the pad refills. It's the easiest lash curler for me to use since the flatter rim allows me to angle it to the sides of my eyes; thus, they splay out nicer even without the aid of mascara.
I thought of doing a short tutorial to sho you how to maximize your eyelash curler (particularly this one from Shiseido)! Enjoy!
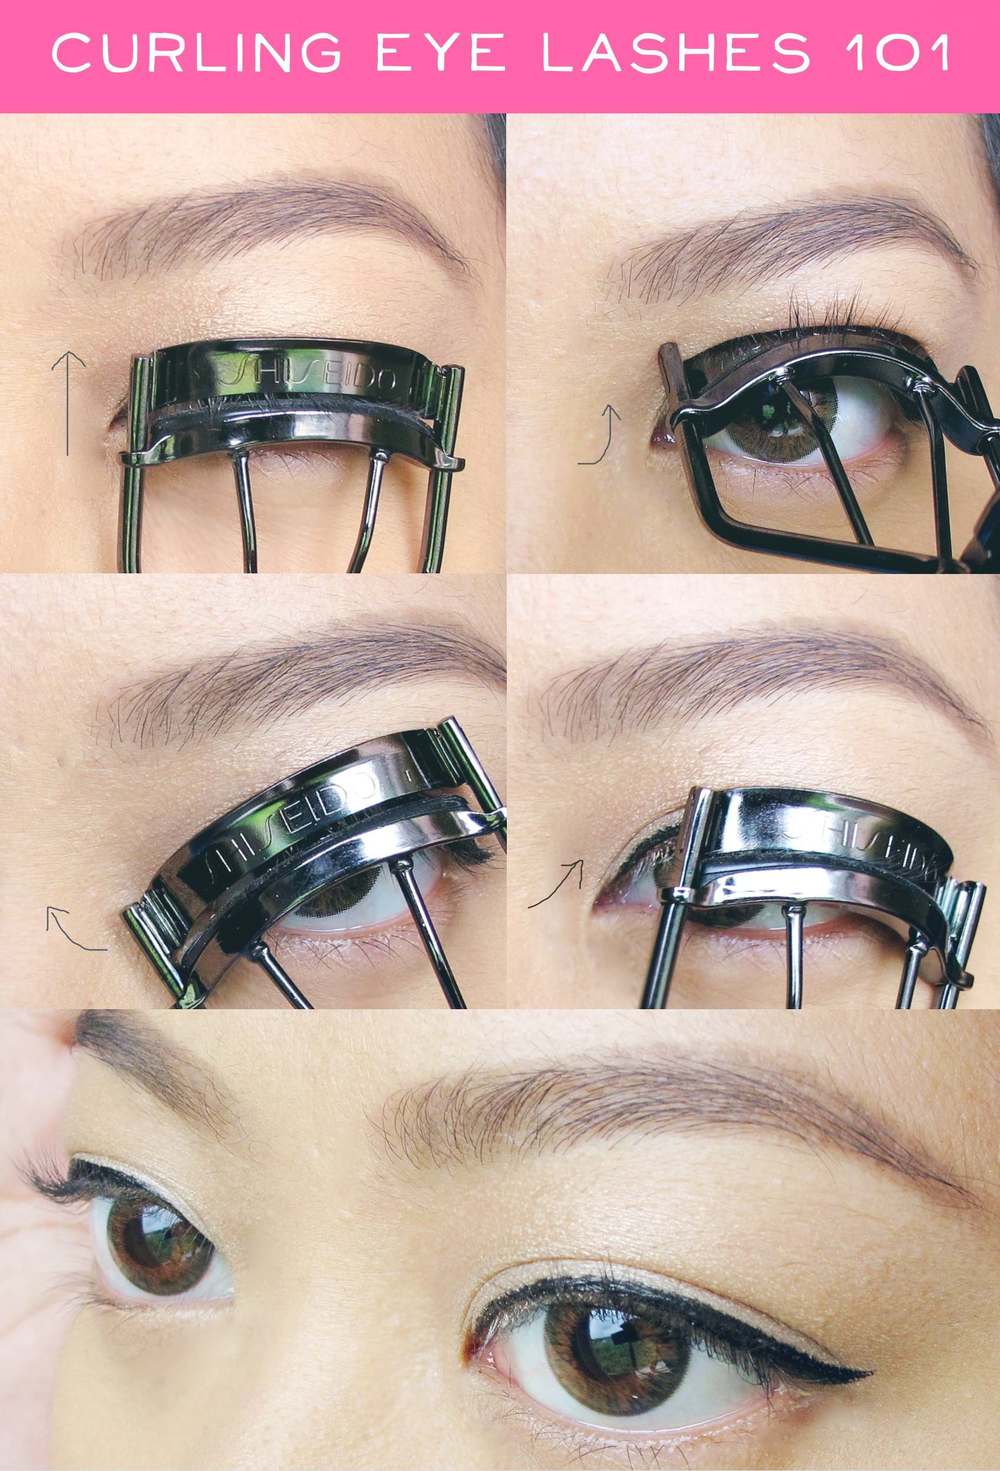
Step 1: Curl near your lash roots. Try to grab as much hair as possible in this first press! The purpose is to give the lashes that instant lift.
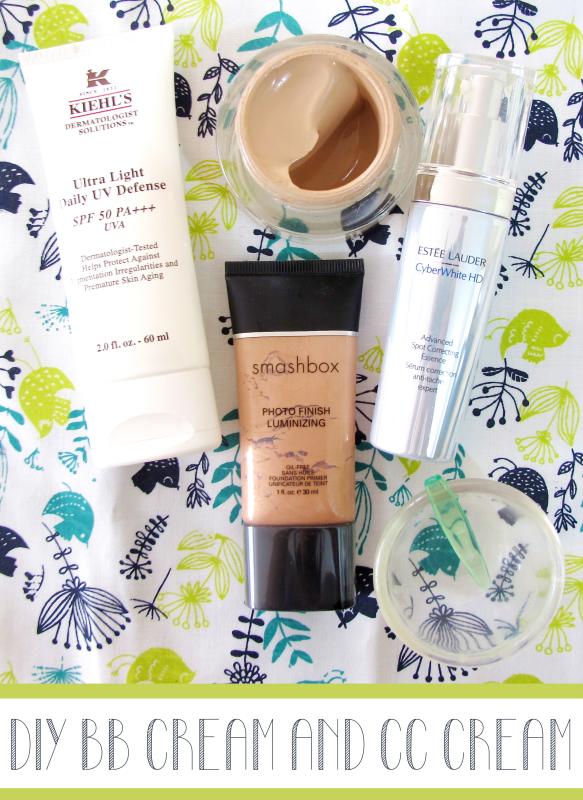
DIY: How to make your own BB Cream and CC Cream
BB creams and CC creams are easily available in the market. However, if you want to save a few bucks by simply re-purposing some beauty products you already have, then make your own! It will rock. You will probably be able to get a better shade match and a skin-beneficial product in the bargain.
It begs the question: why don't you just apply these things seperately and call it a day? That works too but it's a lot more time consuming. With a (home-made or store-bought) BB/CC cream, you can skip several steps in your routine!
So, I've decided to make a tutorial on how to make your own BB cream and CC cream. BB creams are technically mid-coverage bases with a lot of SPF and skincare properties thrown in. CC creams on the other hand are also beneficial to the skin but have sheerer, more illuminating coverage. To create one, all you need to do is tweak your DIY or store-bought BB cream. ;)
Let's get started!
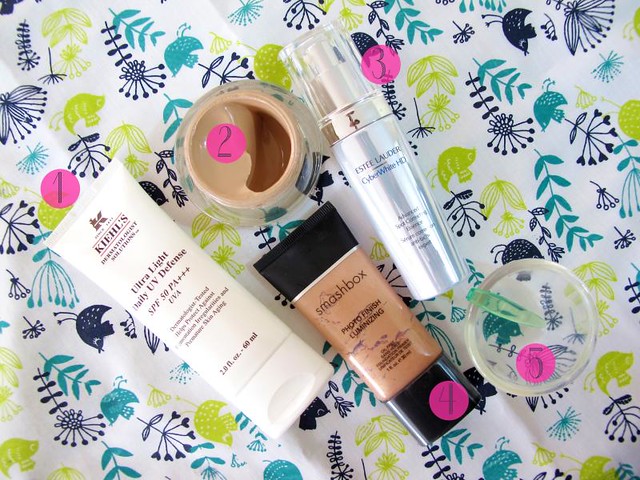
These are the basic things you need. The beauty is that you don't have to use these exact same brands posted here! Just use skincare that works for you and your favorite liquid foundation. I will also include alternatives.
1. Moisturizer with SPF. It ain't a proper BB/CC cream without SPF. ;) If you use an SPF 50 cream, don't expect that number per application since it will already be diluted. What I used: Kiehl's Ultra Light Daily UV Defense SPF50 PA+++
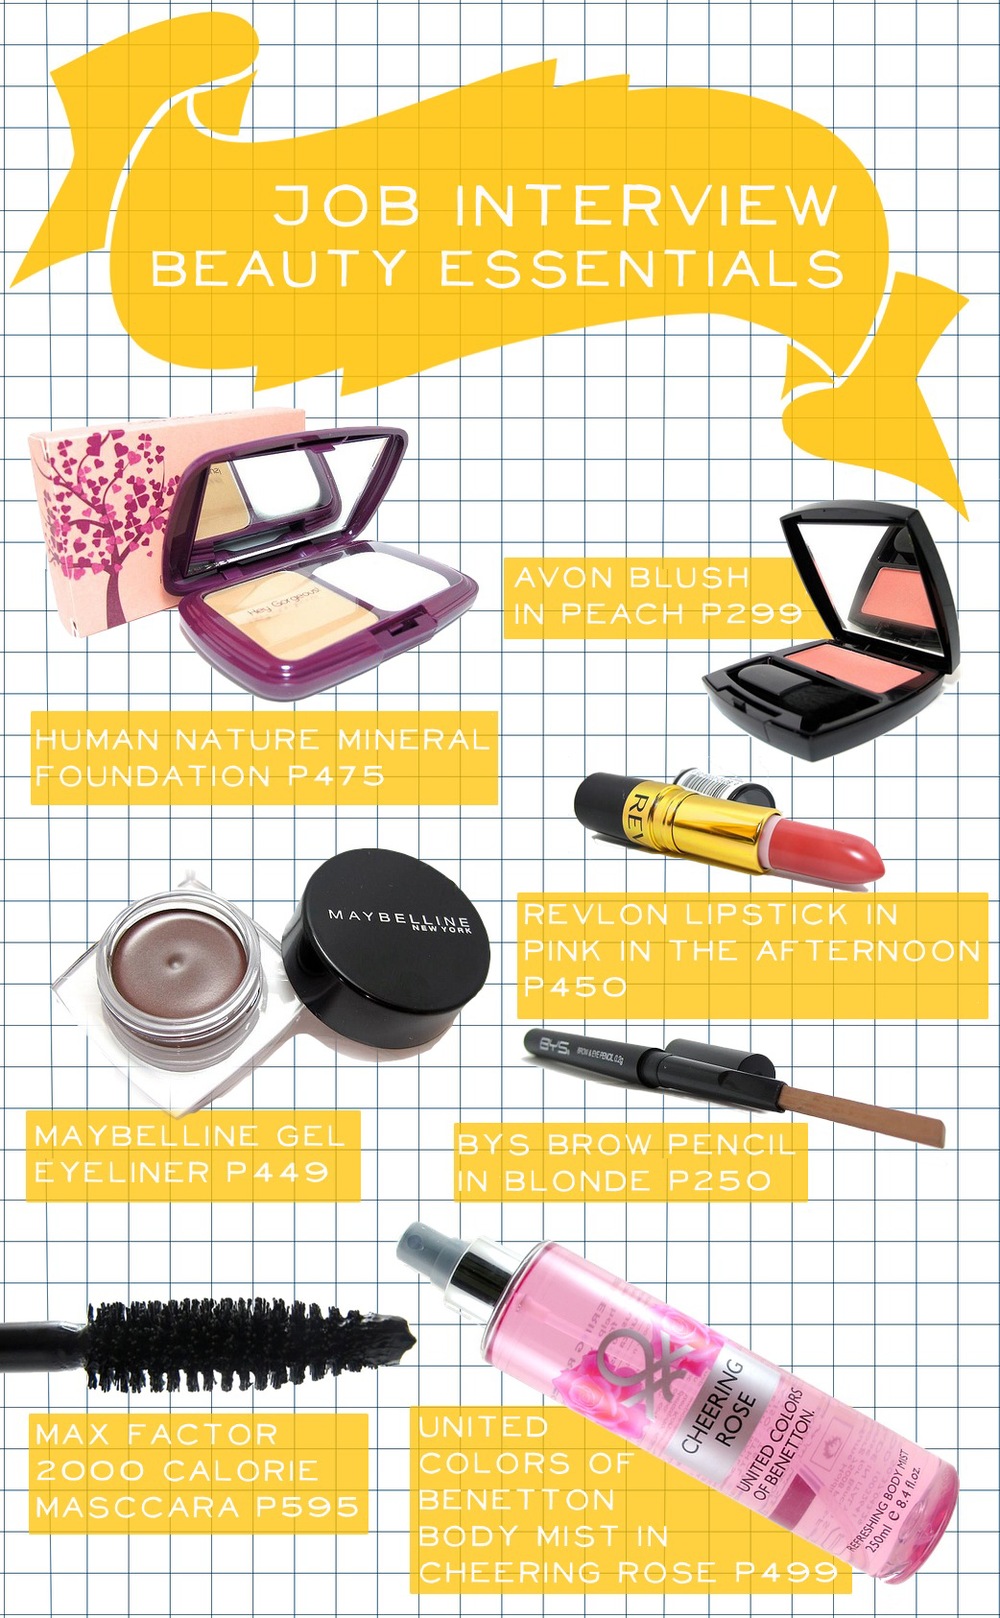
Beauty essentials for your job interview (P3,000 budget)
Congratulations, you just scored your first series of job interviews! You've hurdled college with everything you got, but now it's time to embark on a new journey - one that is considerably tougher and more unpredictable. You need all the advantage you can get. There are thousands of equally experienced fresh grads vying for the same job, so you must find a way to set yourself apart other than a kickass resume.
Dressing appropriately yet stylishly for a job interview is one way to stand out, but of course, you must also put your best face forward. If you're new to makeup, don't have a clue on what to buy, and only have a limited budget - never fear, here are some of my recommendations! You can get all these for just P3,017, but even though they're inexpensive, they're a great foundation for your "work makeup" kit.
Your job interview makeup should be light, yet polished. You don't want to look like an awkward teenager when you enter the office - you want to look focused and competent but not overly vain. Here are five simple steps to achieve the look!
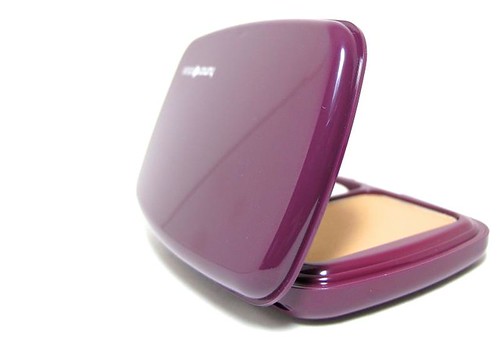
1. Apply a heavy coverage powder foundation such as the Human Nature Perfect Coverage Mineral Foundation to even out your skintone (focus on spots and dark eye bags if you have them). If you have very dark blemishes, cover them with a concealer before applying the powder foundation. Tip: don't forget to bring the compact for retouching! Do so shortly before the interview begins.
Tutorial: Retro Summer Look
The perfect summer look for me would be ultra-light, quick to apply, and fairly sweat-resistant. It would unfailingly involve a punch (or two) of color, just to get into the festive summer vibe. Instead of powder products like eyeshadow and blush, I'd go for a liquid tint on the cheeks and a cream color on the eyes for better staying power.
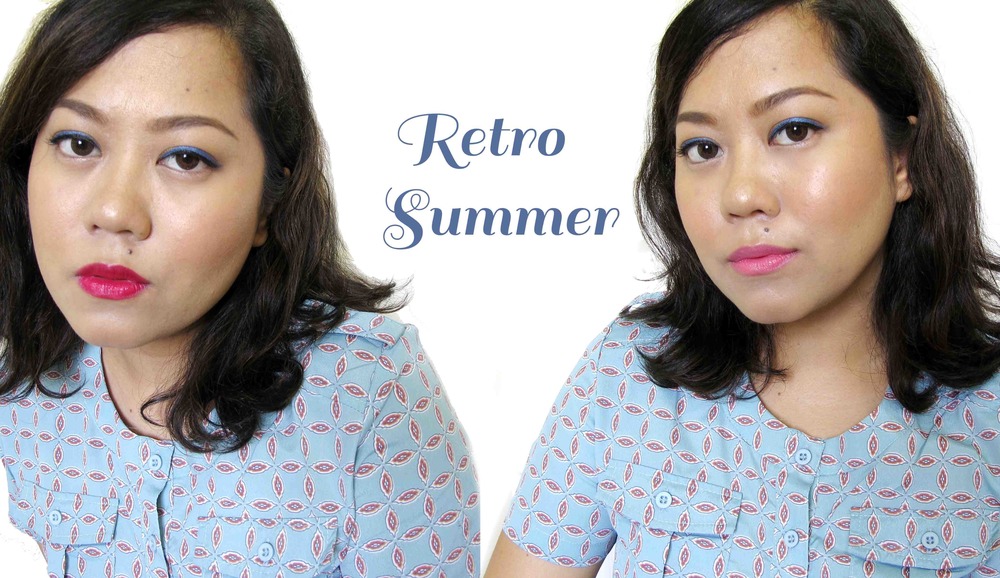
Hence I've come up with this look featuring a couple of cheap-ass eyeliners. By cheap I mean they are only P150 from Watsons! These eyeliners from a new brand called Essence (blogged it here) and believe you me, they're pretty long-wearing for the price. I wore this to the mall and came home after six hours with intact eyes. I applied primer beforehand though.
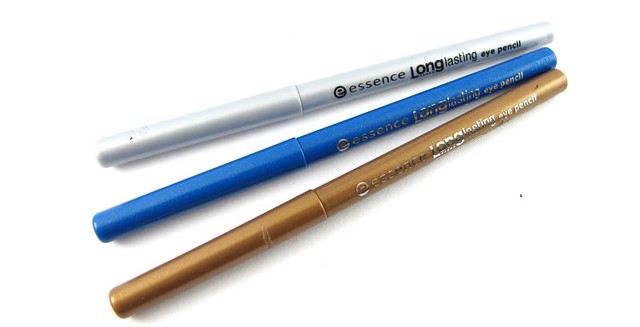
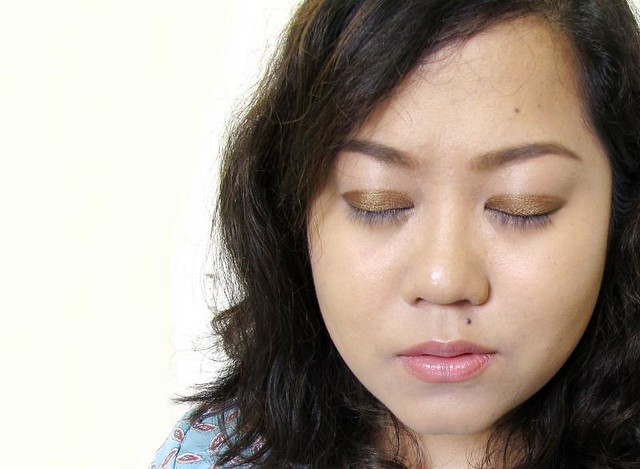
Moving along, here's a step-by-step tutorial on how I did my retro summer look. I used Cool Down (electric blue) and Bling Bling (golden copper) on my eyes. Let's begin!
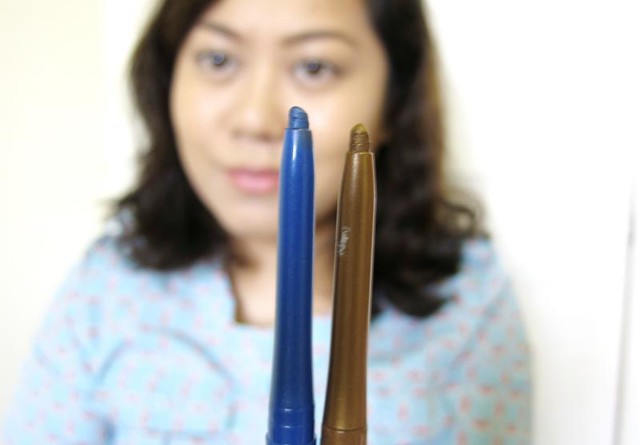
Step 1: I used Urban Decay Primer potion all over my lids to ensure that these cream products stay on. I then picked up Bling Bling and drew it all over my lids, just stopping at the crease.
The 101 on Eyeliner Brushes
We all started with pencil eyeliners. But the more we learn about makeup and application techniques, the more we crave for precision and different effects for our eyes. If you're a bit advanced in makeup then I'm sure you're starting to explore (or have already explored) cream/ gel eyeliners. This post is all about the basic brushes you can use for those wonderful pots of cosmetics!
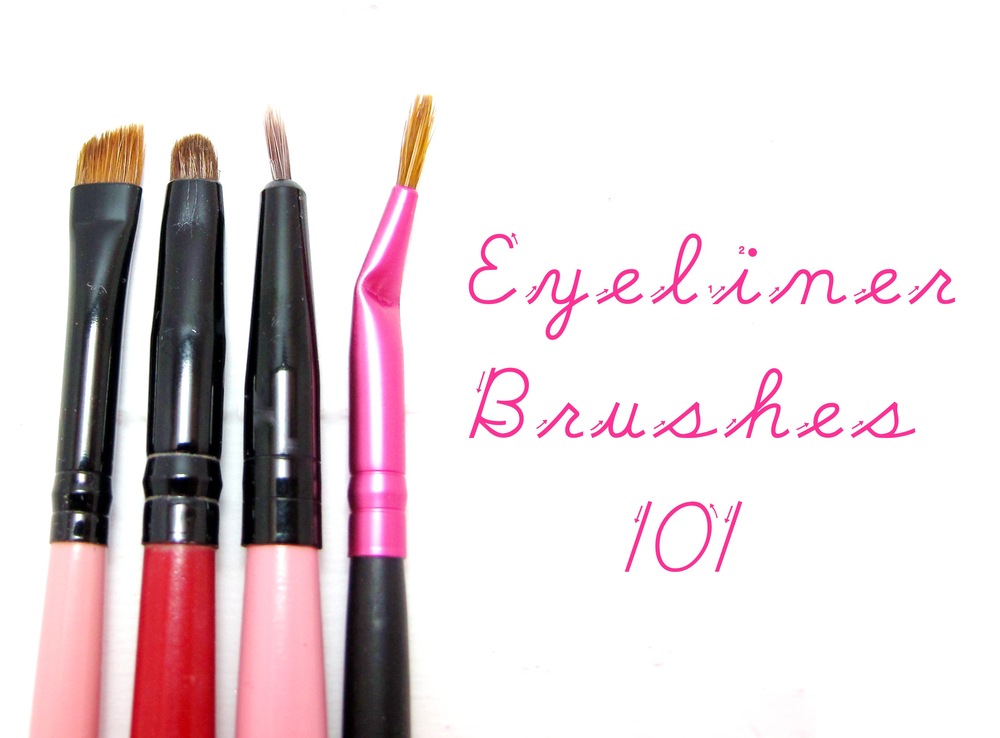
For your reference, the gel liner I used below is the Kanebo Kate Gel Eyeliner (it's amazing and affordable too!). Please also check my tutorial on applying eyeliner, with a short stub on how to do a cat's eye. ;)

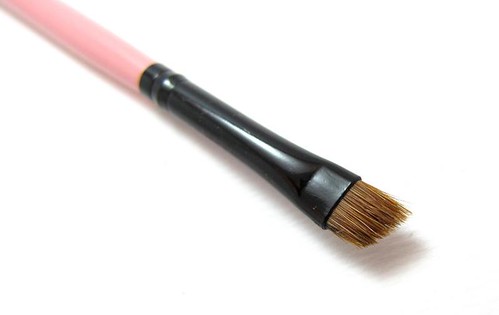
The flat angled eyeliner brush can be difficult to master at first, but it's probably the best brush for that perfect winged or cat's eye line. It draws the outer line thicker so if you have round eyes (like I do) then this brush can elongate them and make them look narrower.
This brush can also be used for shading the eyebrows with a wet product (such as wax or eyebrow gel).
Three contouring myths that may be scaring you off
If you have the cheekbones of a Roman goddess then woo good for you. Congratulations on your genetic good fortune! But if you're like me with a round face and chubby cheeks then contouring may be the best thing to slim down and/or define your face.
I'm not saying that you should hate yourself because your face is wide and/or fat. In fact you shouldn't hate yourself for anything you have or don't have if you are to be happy and productive! I for one love my face as it is, but sometimes when I'm off to special occasions I prefer a little bit of definition - for photos, more than anything. I look different in photos than I do in person, so I want to even out the odds in favor of getting a flattering shot. It's not like you can ask a blog or publication to delete a photo of myself just because I look muy terrible!
I have the impression that most girls in the Philippines aren't into contouring. Blush yes, but not contour. I can think of only three reasons this is so. Do you believe in these yourself? Here are three contouring myths that may be intimidating you - and why you shouldn't be at all!
"Contouring will make me look more tan." Bronzing can give you a tanned glow, but contour powders are usually matte and must be applied only on very specific areas of the face. They should only go on the cheekbones, temples, side of the nose, and jawline. If done correctly it shouldn't actually make your face look darker or your complexion, muddy!
Quick tip: Another use for your makeup remover
Micellar water makeup removers (whew) are genius. They're great for removing makeup anywhere - and I don't mean just the face or body! They can take off makeup stains on your clothes (at least lighten them anyway), tables, floors, and most surfaces for that matter. And since they're just basically water, they barely leave any residue and don't need rinsing.

One time I accidentally spilled black eyeliner on my leg and floor - the ink flowed through the pen and when I opened it, out it sprayed. :/ I used some Bioderma on tissue to clean up the mess! I also like to use water-based makeup removers to clean rubber-textured makeup packaging. As you know, rubber is a dust and smudge magnet, and cannot be easily cleaned with just alcohol or soap.
An example is this tube of Fairydrops BB cream. You won't see it in the picture since I post-processed it already, but the white surface was chock full of foundation smudges.
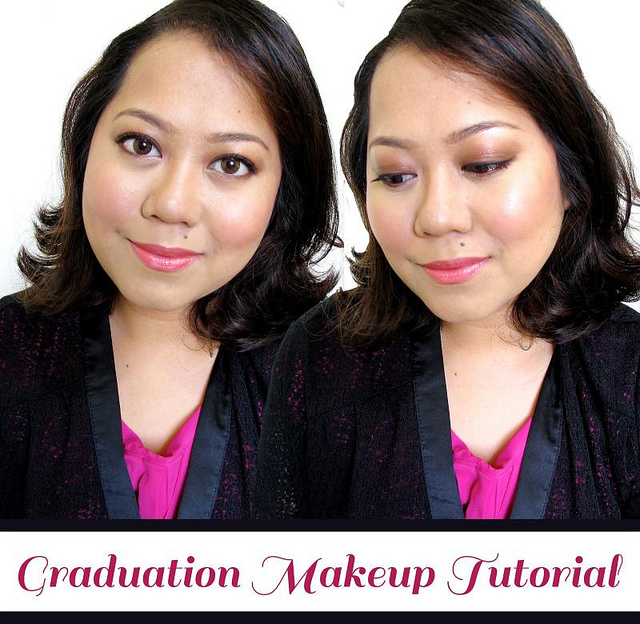
Tutorial: Graduation Makeup
Who's graduating in the next few months? Congratulations in advance! It's tough to get through university in one piece, so you better make that last hurrah count. Looking fabulous on the day you are honored for your accomplishments is a simple gift to yourself. Here's a tutorial on how best to go about it!
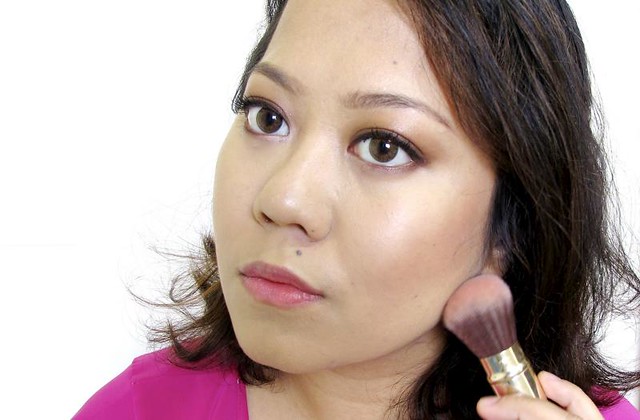
Now you need to consider a few things when doing your graduation makeup. It must be able to withstand the sweat and oil that will result from the humid hell that is March-April where the season begins to fully transition to summer. I remember my own graduation where we had to stand two hours outside the auditorium before the program started. Que horror! Expect the worse, so your makeup should be oil-resistant, water-resistant, and long-wearing.
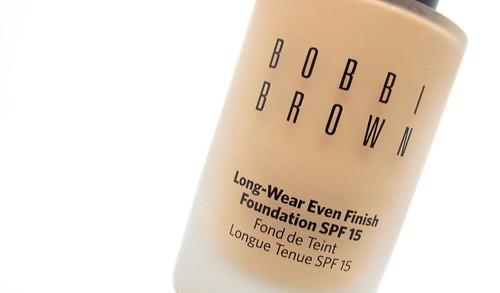
I highly recommend the Bobbi Brown Long-Wear Even Finish Foundation for your base if you don't mind the price
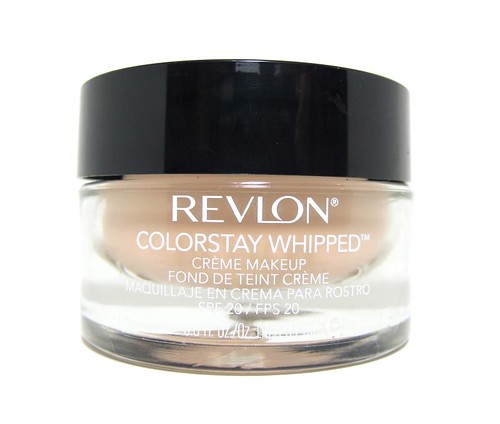
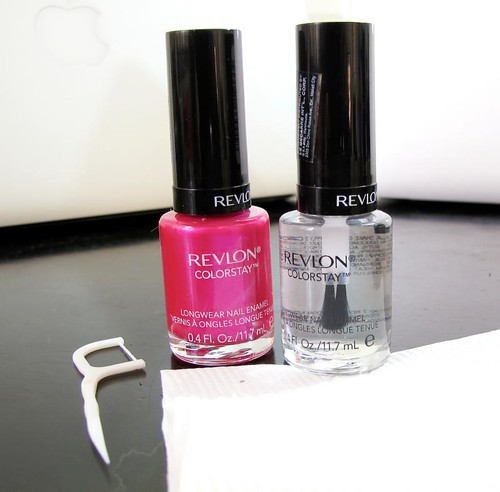
...but the Revlon Colorstay Whipped Creme Makeup is a great alternative
Your look should also be as photogenic as possible. It should present the best version of your skin and enhance your features, which means that it has to be heavier and more complex than usual. Don't worry, I'll walk you through the hoops. ;) This tutorial can also be a handy for any special occasion or photoshoot since it's versatile.
Let's begin!

Perfect your skin. The most photogenic and long-lasting combination for this type of event is liquid foundation, spot concealer, and then translucent loose powder.
Tutorial: How to make bottom lashes look naturally thicker
I'm sure bottom lashes are pretty low in your list of priorities when there are evil zits, violent eyebrows, and spiteful scars to fight. Still, a bit of work on those small, maybe invisible hairs on your lower lid can do wonders in opening up your eyes! You will also end up with a sexier, movie star gaze. ;)
I for one have almost non-existent bottom lashes because they seem to always break off all the time. They're sparse enough to begin with, dammit. However, what nature did not gift us, makeup shall conjure!
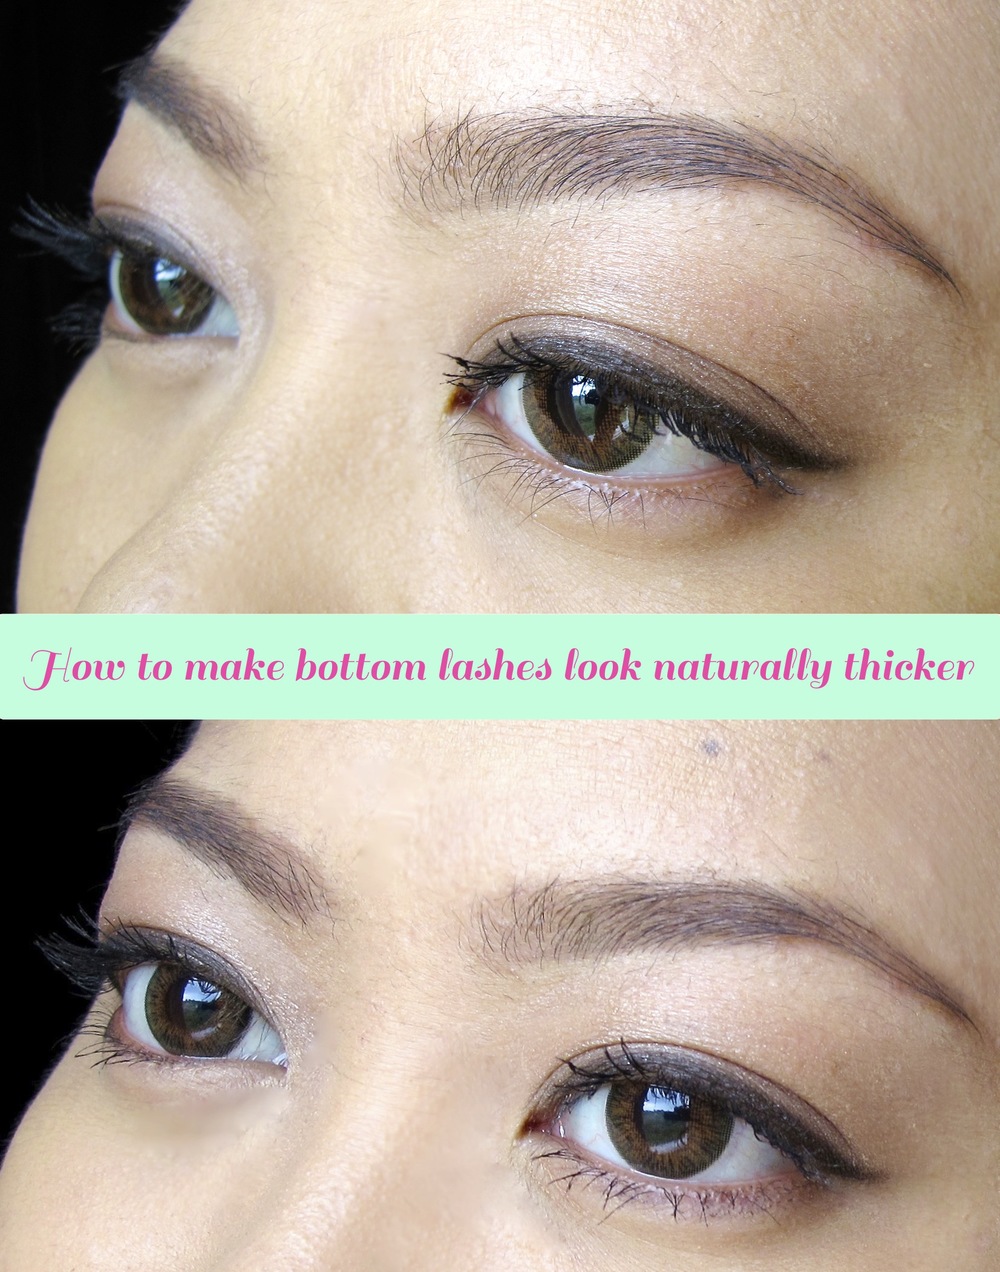
This tutorial will show you how to fake thicker bottom lashes without using obvious falsies or a straight line there. It's pretty easy to do although you would need a little practice (as with everything really) to get a nice clean finish. Here goes!
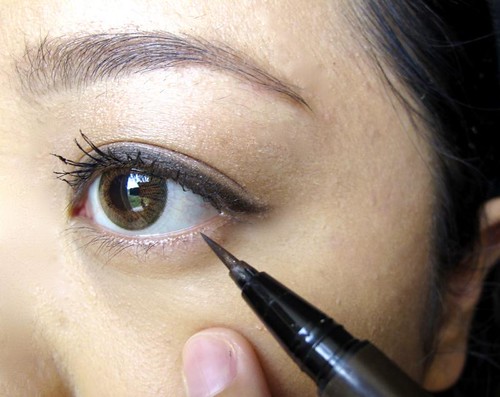
Step 1: You will need a long-wearing, preferably water resistant brown eyeliner to draw a combination of small dots and fine hairs on the root of the bottom lashes.

Tutorial: Makeup for girls with glasses
Hello Ms. Liz! I just want to ask you some tips on how to pull off a look even if you have glasses. I can't literally see without them and I'm not accustomed into using contact lenses. And because of it, somehow I don't have enough self confidence whenever I dress up, since I kinda look like a manang because of the glasses. :( - Elle
Hi Elle! I've been wearing glasses since 5th grade (too much reading!) so I totally know where you're coming from. Now, the secret to looking stylish in glasses is simple: don't think of them at all. That is, don't feel conscious of whatever you think they stand for. Style is more about attitude than the clothes and makeup we wear. Stand straight, look everyone in the eye, and smile as if you mean it. You'll notice that people will start treating you differently, in a positive way.

But those are just words. You'll realize these things on your own soon. :) The immediate solution to your problem is updating your look - get a chic pair of glasses, a fun hair cut, and trendier clothes that fit your personality. Of course, you can also start with a makeup look that can turn a geeky face to a sexy one!
(Not that there's anything wrong with being geeky. It's nice to switch things up though.) Here's a tutorial!
Step 1: Eyebrows become more of a crucial issue when you're wearing glasses. Your glasses literally frame your whole face, while your eyebrows frame your glasses. Make sure to get glasses that compliment the shape of your eyebrows well. To start off, they should have more or less the same arch.
How to sanitize your makeup
In my last post about makeup expiry dates, a lot of girls asked how I sanitize my cosmetics. So here's the answer: Casino Ethyl Alcohol in Ecomist Spray! This is amazing because it gives a super fine, even mist. I'm not kidding. The mist is even finer than Evian!
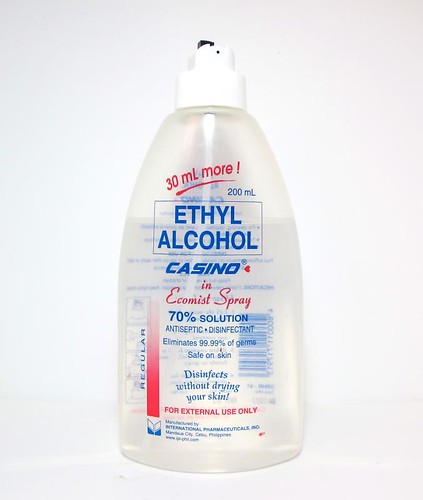
First of all that means you're not wasting alcohol since you're getting the perfect amount every time you use it. Two, it's the perfect makeup sanitizer because it doesn't douse the makeup when you spray. It covers every centimeter without making your stuff wet and miserable.
Tutorial: Have a fierce Christmas with intense metallic purples
Hi Liz! Where I work, the company Christmas party has always been THE event of the year for us so most of us really go all out on the preparations. I already have a peg for what I'll be wearing that night and I was thinking of using your Irene Adler makeup look (but perhaps with a more neutral lip) to go with it.
Would it be possible for you to make a step-by-step guide on how to do it? Mucho thanks in advance! - Chenyl
Fun fact: Chenyl is one of the first few Project Vanity readers ever. She was there when no one has ever heard of this blog! So when she requests, you can bet I'm on it! It's been a while since I did a step-by-step like this because all told it takes me 5-6 hours to accomplish. But yes, for my favorite readers, the time is very well spent. ;)
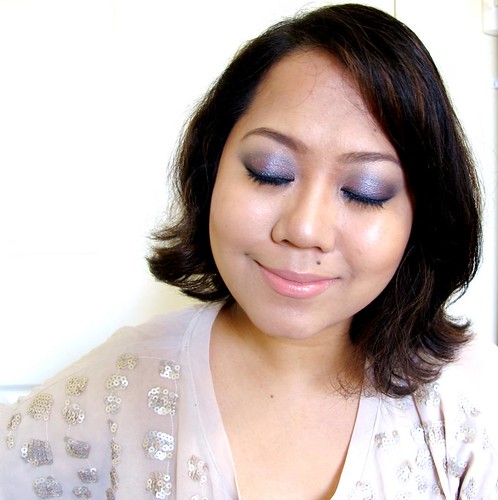
Anyway Chenyl referenced an old look I did. It was a purplish wine smoky eye. I don't have the palette I used there anymore, so I thought I'd show off the new Etude House Mix & Mix Eyes PK001 Christmas Holic palette. It has these gorgeous metallic purples that I think fits the mood of the season! Lots of sparkles, shine, and general extravagance are what Christmas 2012 is about. Gold and red are defaults, but for once let's try out a dramatic purple eye. Here goes!

Step 1: Do your foundation (Clinique Pore Refining Solutions Foundation + Clinique Perfectly Real Foundation), eyebrows (Avon Perfect Eyebrow Pencil + MeMeMe Archangel), and then prime your lids with your favorite eyeshadow base (I used the Artdeco Base here).
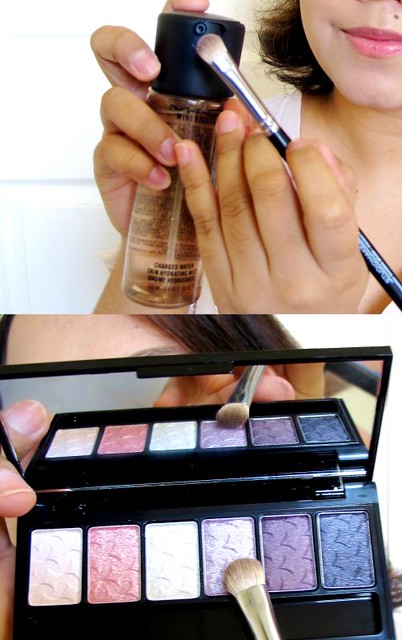
Step 2: Dampen the eyeshadow brush with water.
How to make idiot-proof buffalo chicken wings
I'm a huge fan of those pre-mixed recipes that can be found in most supermarkets. I love cooking, but the thing is I don't usually have time to muck around perfecting a recipe from the ground up. I do it when I can but these days I rely on super quick solutions from Del Monte, Mama Sita, and McCormick.
So! Today I'm going to show you how to make idiot-proof buffalo chicken wings. All you need to do is mix and fry! And not to burn the chicken but it's not really that difficult as long as you place it over very low heat.

This isn't sponsored btw. :P I "discovered" this buffalo chicken wings mix some weeks ago and I've made many batches since then! It's delicious, although I imagine it's a bit of an acquired taste because it's not your usual chicken wings. I love it though. Has a zing to it and an undertone of flavor I can't put a name to. Anyway just try it, it's just P33 per packet.
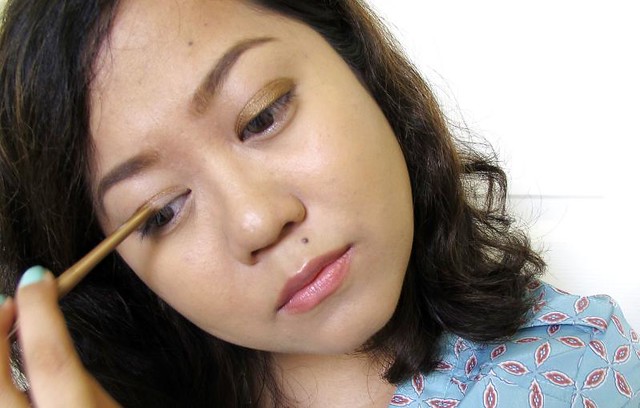
Tutorial: How to use brown cream eyeliner on your brows
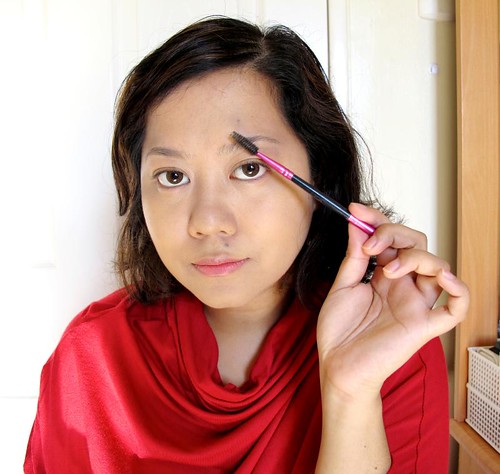
What's worse than a beauty blogger over-plucking her eyebrows? Nothing! It's an embarrasment to the community! Lol just kidding. But it is true that I recently became tweezer-happy. My brows are like 30% less than what they should be. I honestly don't know what I was thinking when I did this to myself but there's nothing more to do than wait for the hair to grow out.

What over-plucked eyebrows?
Anyway. I want to show a super simple technique I've been doing on my brows lately. It involves using a - drumroll please - cream eyeliner! A brown eye liner to be specific. I like doing this because it offers more definition to my now-thin eyebrows, plus the shade I have is just perfect for my hair color. I encourage you guys to try using your brown gel liners the same way, and maybe you'll discover that you have a fantastic brow color all along!
Here's how I do it.
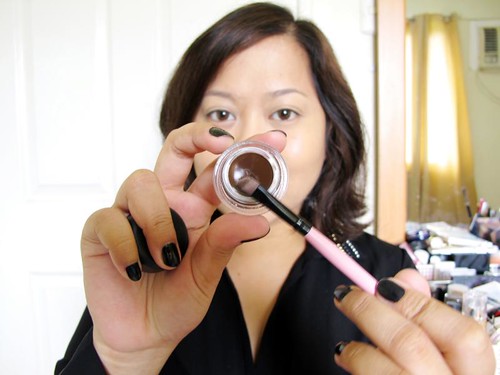
Step 1: Dip a synthetic, angled eyeliner brush into your brown eyeliner pot. Remove most of it by swiping the brush on the back of your hand.
How I blow-dry my hair at home
A few people have asked me how I style my hair. I must admit that I'm not that adept at fixing it, but recently I've settled on an interesting routine because of my short hair. It involves a couple of products and my blow-drier, of course! I rarely ever used this gadget when my hair was long, so now I'm happy to finally be acquainted with it.
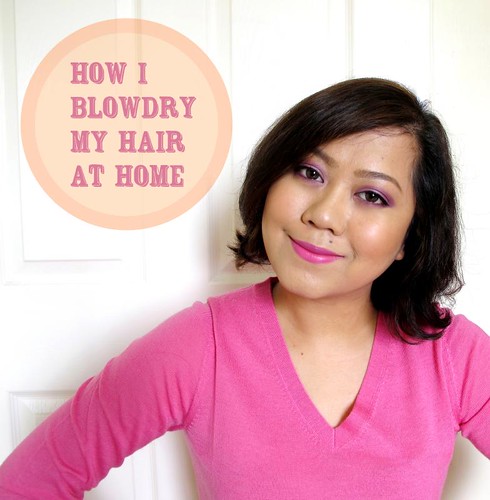
I love this routine because it gives me lots of volume, softness, and shine - all under 15 minutes. If you're interested in doing the same thing for your hair, here are a few tricks!
Damp, unstyled hair
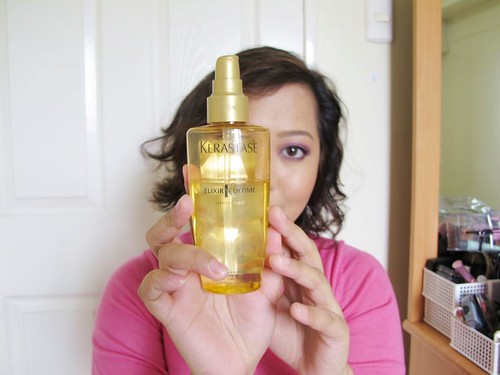
Step 1: Work a conditioning oil like the Kerastase Elixir Ultime on your hair. I prefer using oils because they (1) keep hair soft without making it greasy (2) give shine and bounce (3) serve as heat protectant to reduce damage from blow drying (4) never break me out! Most hair products seem to give me pimples/bumps near my hair line and chin. Not Kerastase, specifically.
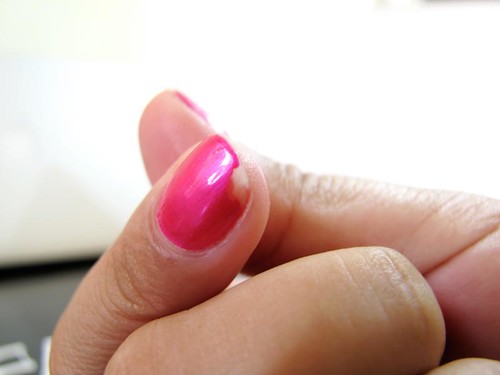
How to retouch chipped nail polish
Chipped nail polish is inevitable, like sore feet from glam heels, panty lines in tight pants, and well, leg hair. Still, one shouldn't take the inevitable to be an excuse to be lazy. It's impossible to be perfect but it is possible to be neat at the very least. Nothing says "lazy girl alert!" more than obviously chipping nail polish!
Still, I get you. I get that you're busy with work, your social life, your hobbies, etc. so I'm sure nail polish is the least of your worries. But with great nail polish comes great responsibility. If you don't want to bother with the upkeep, then just don't bother putting it on and/or leaving it there. Seriously you won't miss much! If, however, you have a bit of time to retouch your chipping nail polish, then this tutorial is for you!
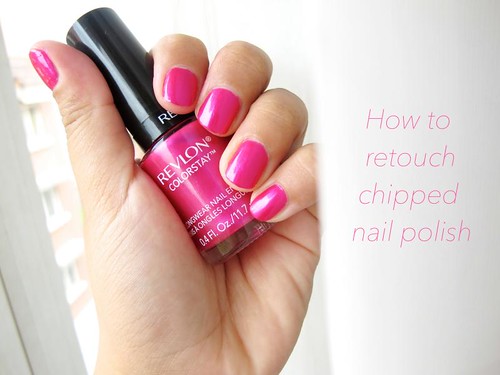
This is super easy and not at all time-consuming - well, not factoring in the drying time of course. All you need is the original polish color, a nice top coat, a toothpick and a scrap of tissue. Let's do it!
Tutorial: Makeup for college girls
College is a time to just enjoy yourself. Meet as many people as you can, excel in your interests (academic or extra-curricular), and just have smashing fun! While doing all that, keep your face clean everyday with skincare that suits your skin's needs, and wear minimal, enhancing makeup that can keep up with your busy lifestyle.
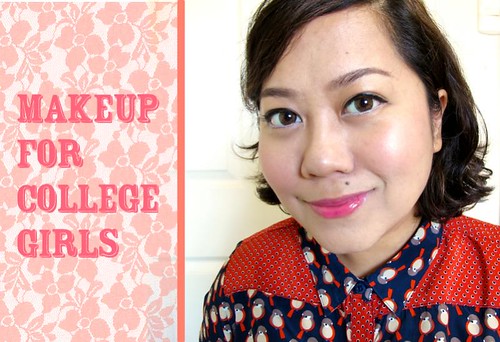
How? Ta dah, I made a tutorial! I took into consideration the late nights a college gal would spend on reports (and/or parties teehee), the sun exposure while rushing to classes, and the occasional zits that may pop up. This is also a quick routine with only one basic brush required and fairly affordable product recommendations. Ready? Here goes!
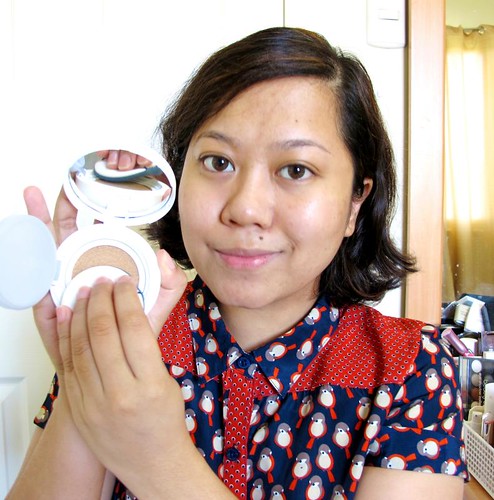
Step 1: Wear makeup that offers some SPF protection, or wear an SPF cream before your foundation of choice. This is a must! Sun damage can show as early as your 20s so protect your skin ASAP. Here I used the Laneige Snow BB Cream with SPF50 because it's in a handy compact.
Tutorial: Super quick office makeup
Hi! My name is Mae and i need your advice and expertise badly. I'm 30 years old and a newbie in make up. As in I know no tricks, techniques or best products when it comes to make up. I was content on sponging on a powder foundationand slathering on lip balm since I have suffered from severe chapped lips since forever - thus my aversion to lipstick - and thats about it.
Ironically, I was hit with the desire to put on make up at a time when I could hardly squeeze in some time to learn, research, experiment and practice. You see, I'm a new mother to a 4-month old baby boy, very hands on and breastfeeding at that. To top it off, I have to be at the office by 8am. With the stress of adjusting and lack of sleep I realized I look pale and dry in front of my clients when I caught my reflection on a glass wall. Here I was marketing to them and I looked so unpolished! I felt myself shrink and what a jab to my confidence. That's when it hit me, the importance of make up to [achieve] a polished and professional look. Thus my hunt on beauty blogs and getting to know you beauty experts!

I've been following your blog for some time now since I can go online while breastfeeding but I admit it leaves me quite overwhelmed. Could you please help me? How can I sport an easy and speedy office look? Simple but polished and professional. Think of it as a tutorial for the dummy. What products do you recommend?
Hi Mae, thanks for sending in this letter. I've already done a tutorial on a quick office look with long-wearing makeup (try Bobbi Brown - expensive but the best!), so you can check that for one way to do it. :) I decided to show another routine here with only nine products and 15 minutes of your time every morning!
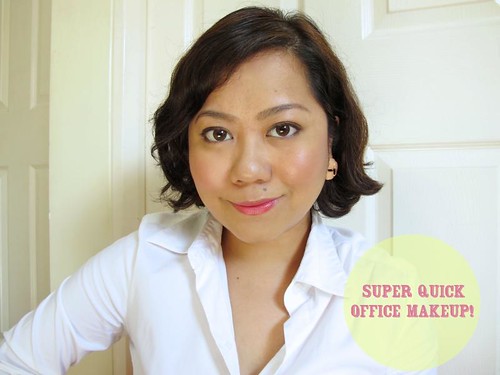
You will only need one brush and your fingers to do this look. If you use the right products, they'll stay on all day with only minimal retouching. :) Before you do all this though, don't forget to wear sunblock and some eye cream! That will keep your skin protected from the sun and other environmental stressors. Here goes!

Step 1: Use a face primer like the Benefit POREfesshional to smoothen your skin, cover up pores, and help your base makeup stay on longer.
The Lipstick Guide: What shade to use for key occasions
There are certain emotions and impressions that come with particular colors, which then makes them the perfect weapon if you know how to use them. You can leverage these things according to the effect you want to achieve on people. Some can call it manipulation, but I like to call it resourcefulness. :)

That said, there are no hard and fast rules when choosing lipstick shades. In the end, it depends on your personality, location, and the kind of people you are with. You can even just pick your signature shade and wear it anywhere you like. But if you're the kind of girl who changes lipsticks more often than she changes shoes, then honey, this is for you! Let your lipsticks do the talking!

Going on your first date with a special someone? You can never go wrong with a glossy, flirty-yet-innocent pink lipstick. It doesn't scream *too much* but it's not blah either! Whether you're wearing a chiffon dress or something casual, a pink lipstick like the Cover Girl Lip Perfection Lipstick in Dazzle will look gorgeous on you. A glossy finish like this makes your lips look plumper and more kissable.

So you guys hit if off, huh? Congrats! If you want to make a good impression when you meet his parents, there's nothing better than a sheer peach or coral shade.
Tutorial: 5-Minute Smoky Eyes
Smoky eyes can be intimidating. There's the impression that it takes a lot of time, brushes, and expertise just to get it right. That's not necessarily true though! Smoky eyes can be quick, easy, and most importantly, clean, if you use the following techniques.
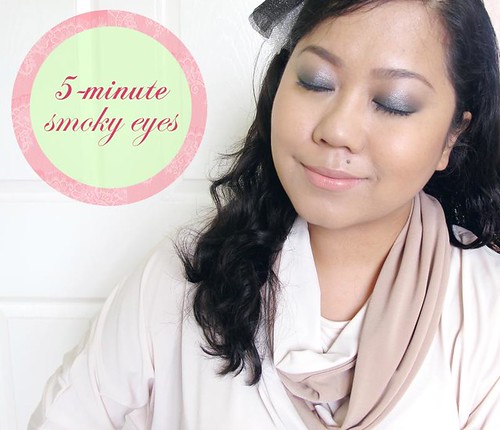
This look is particularly perfect for girls with monolids and chinky eyes. Smoky gradient colors like this can make your eyes look bigger and more defined plus you don't need a crease to make it work. So, are you ready for glamorous, dramatic eyes? Here's my five-minute smoky eye tutorial!
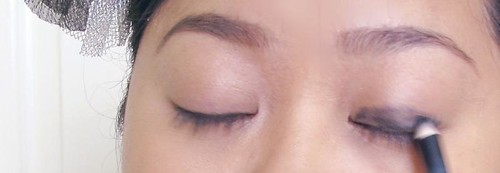
Step 1: Use a black/charcoal creamy eyeliner, eye crayon (those jumbo fat ones), or cream eyeshadow as base. Key word: creamy! You can't use your normal pencil eyeliner if it's very dry. You're looking for something that's emollient and easy to smudge.
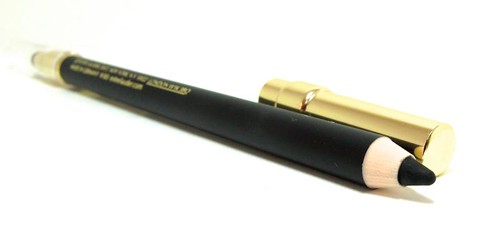
I'm using the Estee Lauder Double Wear Stay-in-Place Eye Pencil in Onyx in this look.