Tutorial: 5-Minute Smoky Eyes
Smoky eyes can be intimidating. There's the impression that it takes a lot of time, brushes, and expertise just to get it right. That's not necessarily true though! Smoky eyes can be quick, easy, and most importantly, clean, if you use the following techniques.
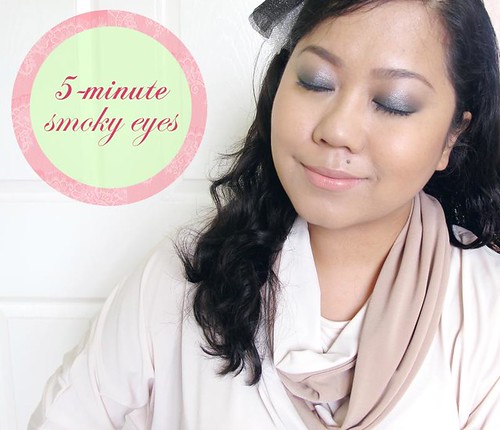
This look is particularly perfect for girls with monolids and chinky eyes. Smoky gradient colors like this can make your eyes look bigger and more defined plus you don't need a crease to make it work. So, are you ready for glamorous, dramatic eyes? Here's my five-minute smoky eye tutorial!
Step 1: Use a black/charcoal creamy eyeliner, eye crayon (those jumbo fat ones), or cream eyeshadow as base. Key word: creamy! You can't use your normal pencil eyeliner if it's very dry. You're looking for something that's emollient and easy to smudge.
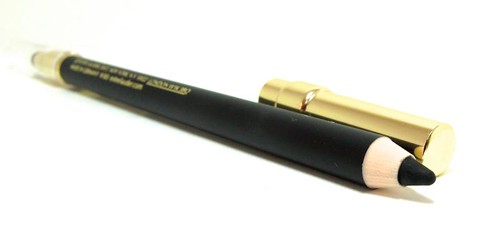
I'm using the Estee Lauder Double Wear Stay-in-Place Eye Pencil in Onyx in this look.

Gel eyeliners are also good alternatives, though they are harder to control.
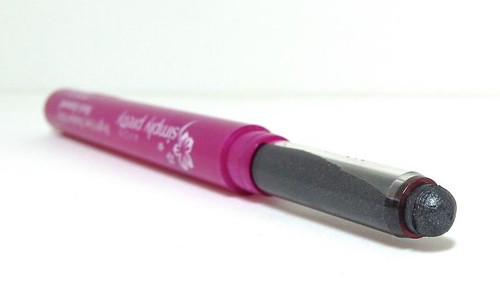
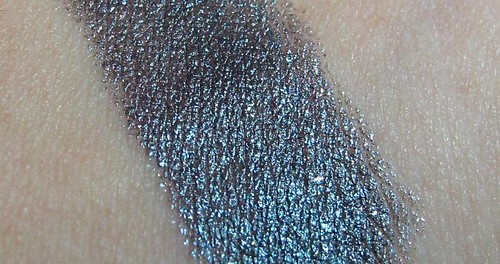
This is a great find of mine - the Avon Simply Pretty Bright Eyes Shadow Stick in Black Diamond. It's a super pigmented gunmetal cream eyeshadow!
Now there's no need to use eye primers here - the black base will make the eyeshadow on top pop and give depth to the whole look. However, if you're looking to make budge-proof smoky eyes, go ahead and use a primer.
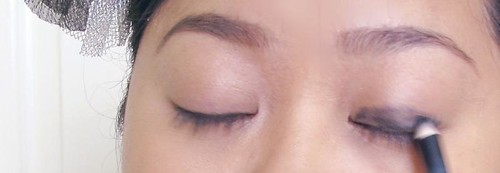
Simply apply the black creamy base all over the general shape of your lids. No need to make it perfect as you will blend that out later!

Step 2: Get a blending brush or use your fingers to sort of smudge all that black together. Again, no need to be super perfect as we will cover up that base in a bit! You just need to get a general smudged shape, something you can achieve with a windshield wiper motion.
What it should look like. You can make this shape go higher if you're looking for fully blacked-out eyes, but for me, this is enough.
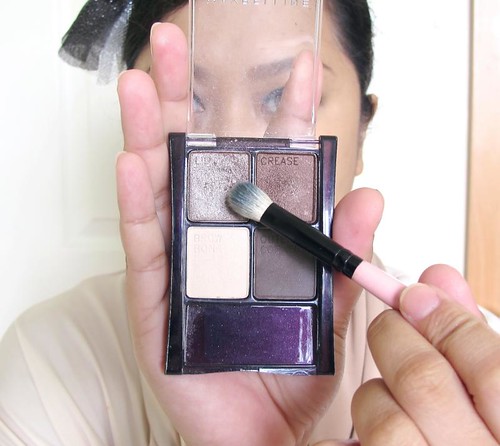
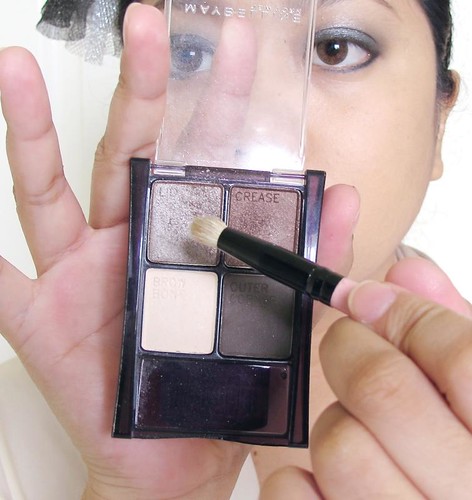
Step 3: This is the fun part! Using the same blending brush or your eyeshadow brush of choice, pick up a shimmery dark taupe eyeshadow. The cool thing is that it can be practically any color - black, copper, emerald green, blue, you can experiment! You'll see that any eyeshadow color will blend beautifully on top of a black cream base.
Just pat the color on top of the black, blending it upwards to the crease (or a little beyond the line where your eyelashes settle when your eyes are open, roughly midway your whole eye lids).
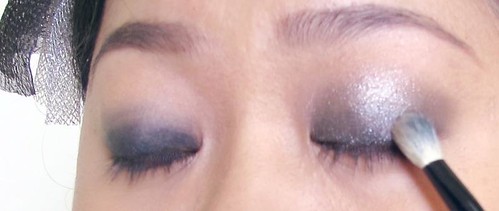
Don't forget to soften any harsh lines! Just wipe side to side with your brush to erase harsh edges.
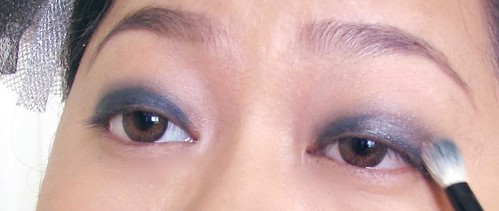
Step 4: This is optional, but you can smoke out your lower lids as well. I don't like to do this when I'm really really hurrying to an engagement during the day, but it's a nice step to get sexy smoky peepers for the evening. ;)
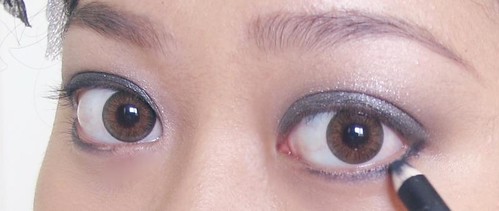
Apply eyeliner on the waterline and lower lids. Just connect that with the black on your upper lids.
With a flat pointed brush, pick up the same eyeshadow you used earlier and smudge that eyeliner.
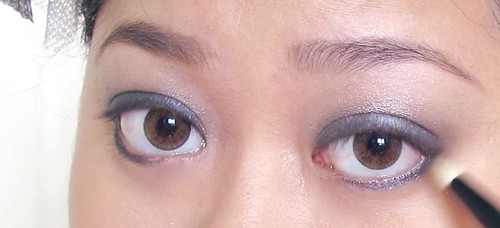
The goal is to get a hazy, soft-focus effect
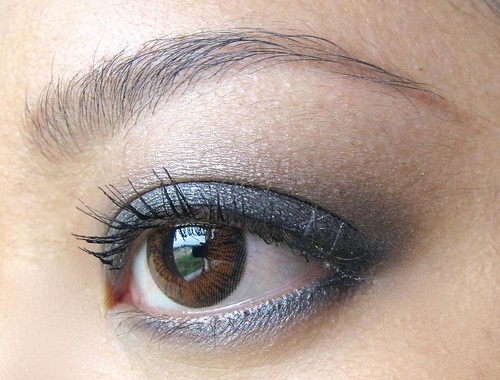
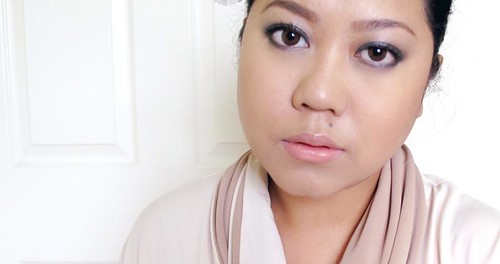
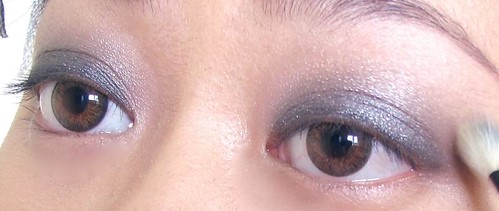
Step 5: Add mascara and you're done!
Sooo easy right? This is one of my favorite ways to get gradient eyes, and the cool thing is that you're just basically using an eyeliner and one eyeshadow color. Fuss-free and uncomplicated - that's makeup the Project Vanity way. ;)

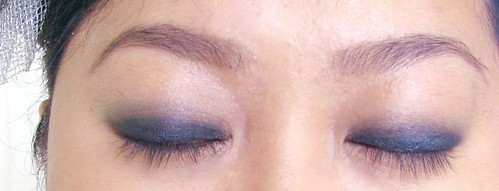
A blue version of the same smoky eyes technique. I used the Avon cream shadow I mentioned above as base, then used a single blue eyeshadow on top of it.
Hope you enjoyed the tutorial!