Tutorial: How to depot eyeshadows to create your own custom palette
These days, I’ve ditched wearing foundations in favor being able to do some eye makeup. I used to be obsessive about creating a perfect face base but my eyeshadow envy has finally gotten the better of me, which I think is a good change. It has given me the chance to finally play with the few palettes I have in my collection, and it’s been so much fun combining colors and doing different looks.
I’m very much still in the process of learning how to properly apply eyeshadow, but part of that process has also been figuring out which colors I need to create basic looks. What I’ve found is that I don’t have any one palette that has all the colors I need, so I end up having to grab at least three to have a transition shade, a contour shade, and a “popping” shade. Obviously, this is not very efficient, especially if I need to take my makeup on the go! I don’t want to shell out money for colors that I already own, so I figured: why not just make my own DIY palette?
Liz did a de-potting post here on PV eons ago, but since I’m not using MAC shadows, my process of de-potting is different. I have a mix of eyeshadows in different types of packaging - made of cardboard, hard plastic, and even one with foam bed. A quick word of warning before you start: de-potting is a messy, potentially destructive project that requires steady hands and lots of patience!
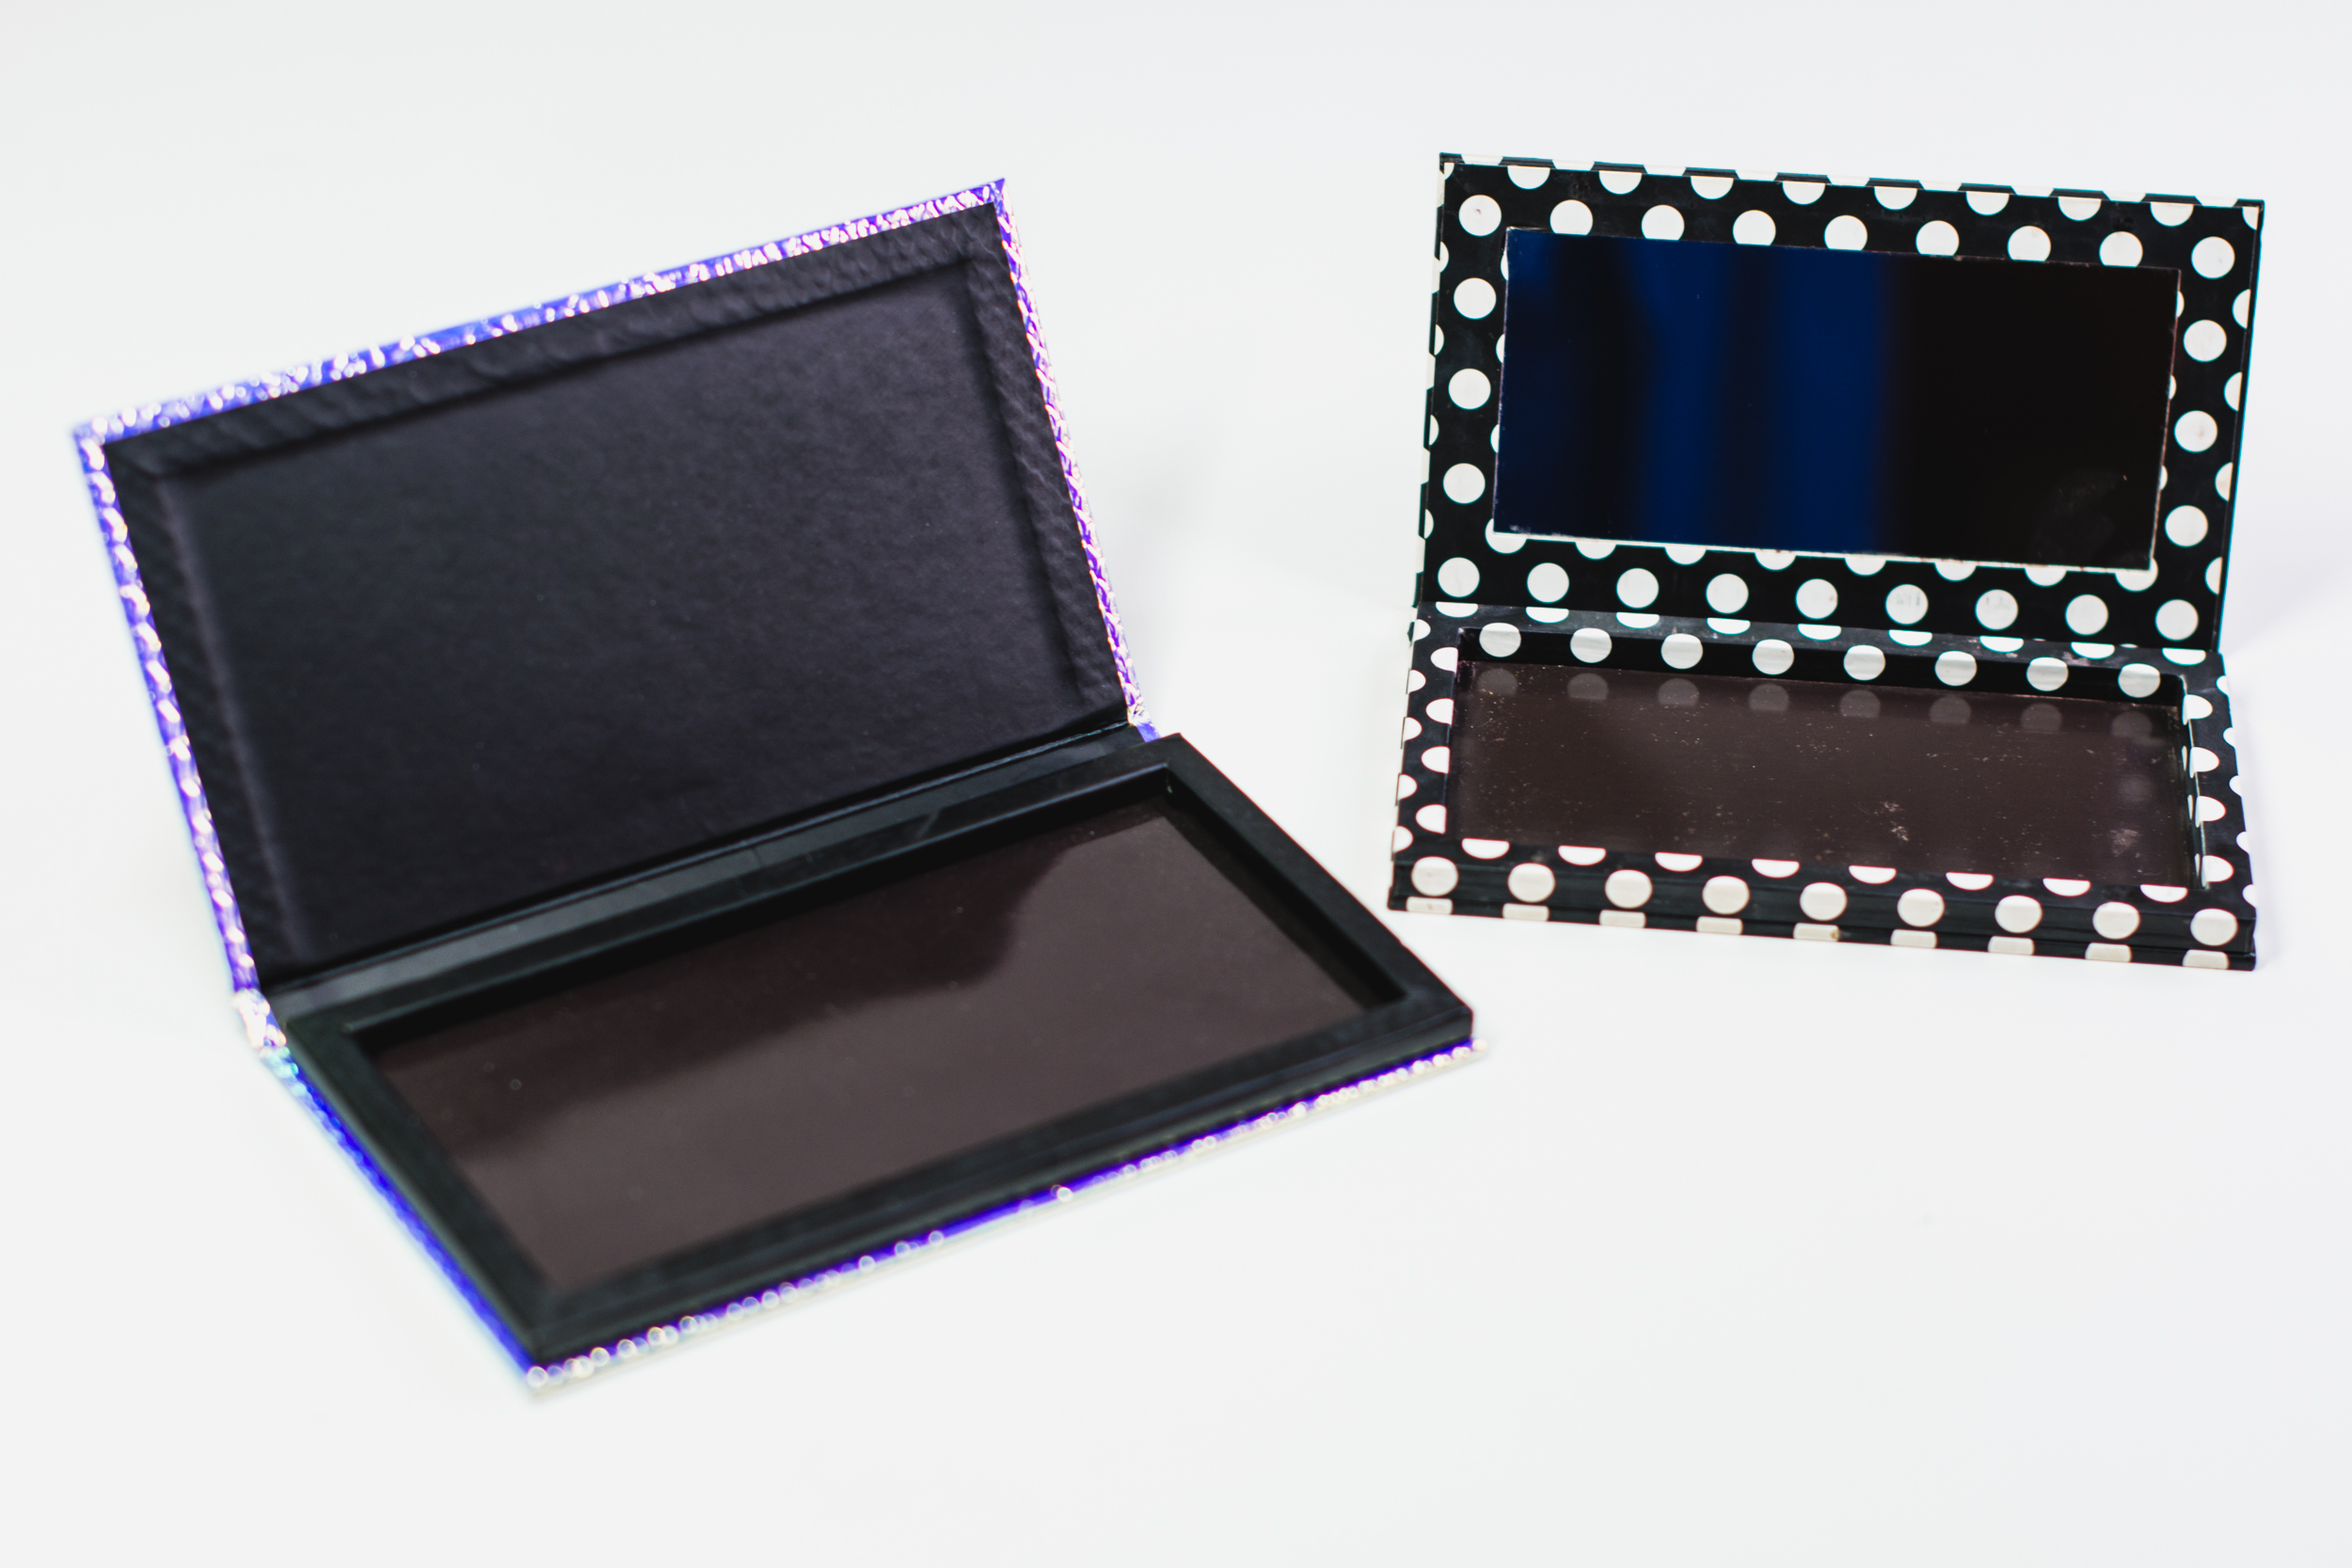
First, you’ll need a magnetic palette. Eyeshadow pans are traditionally made of metal, which allows them to easily adhere to a magnetic surface. Some options are the magnetic palettes from Suesh (P585 on BeautyMNL) and Ellana (P499 at ellanacosmetics.com). If you’re on a tight budget, you can check for cheap ones on Shopee or use any shallow container with a lid and line it with magnetic sheet (available in National Book Store).
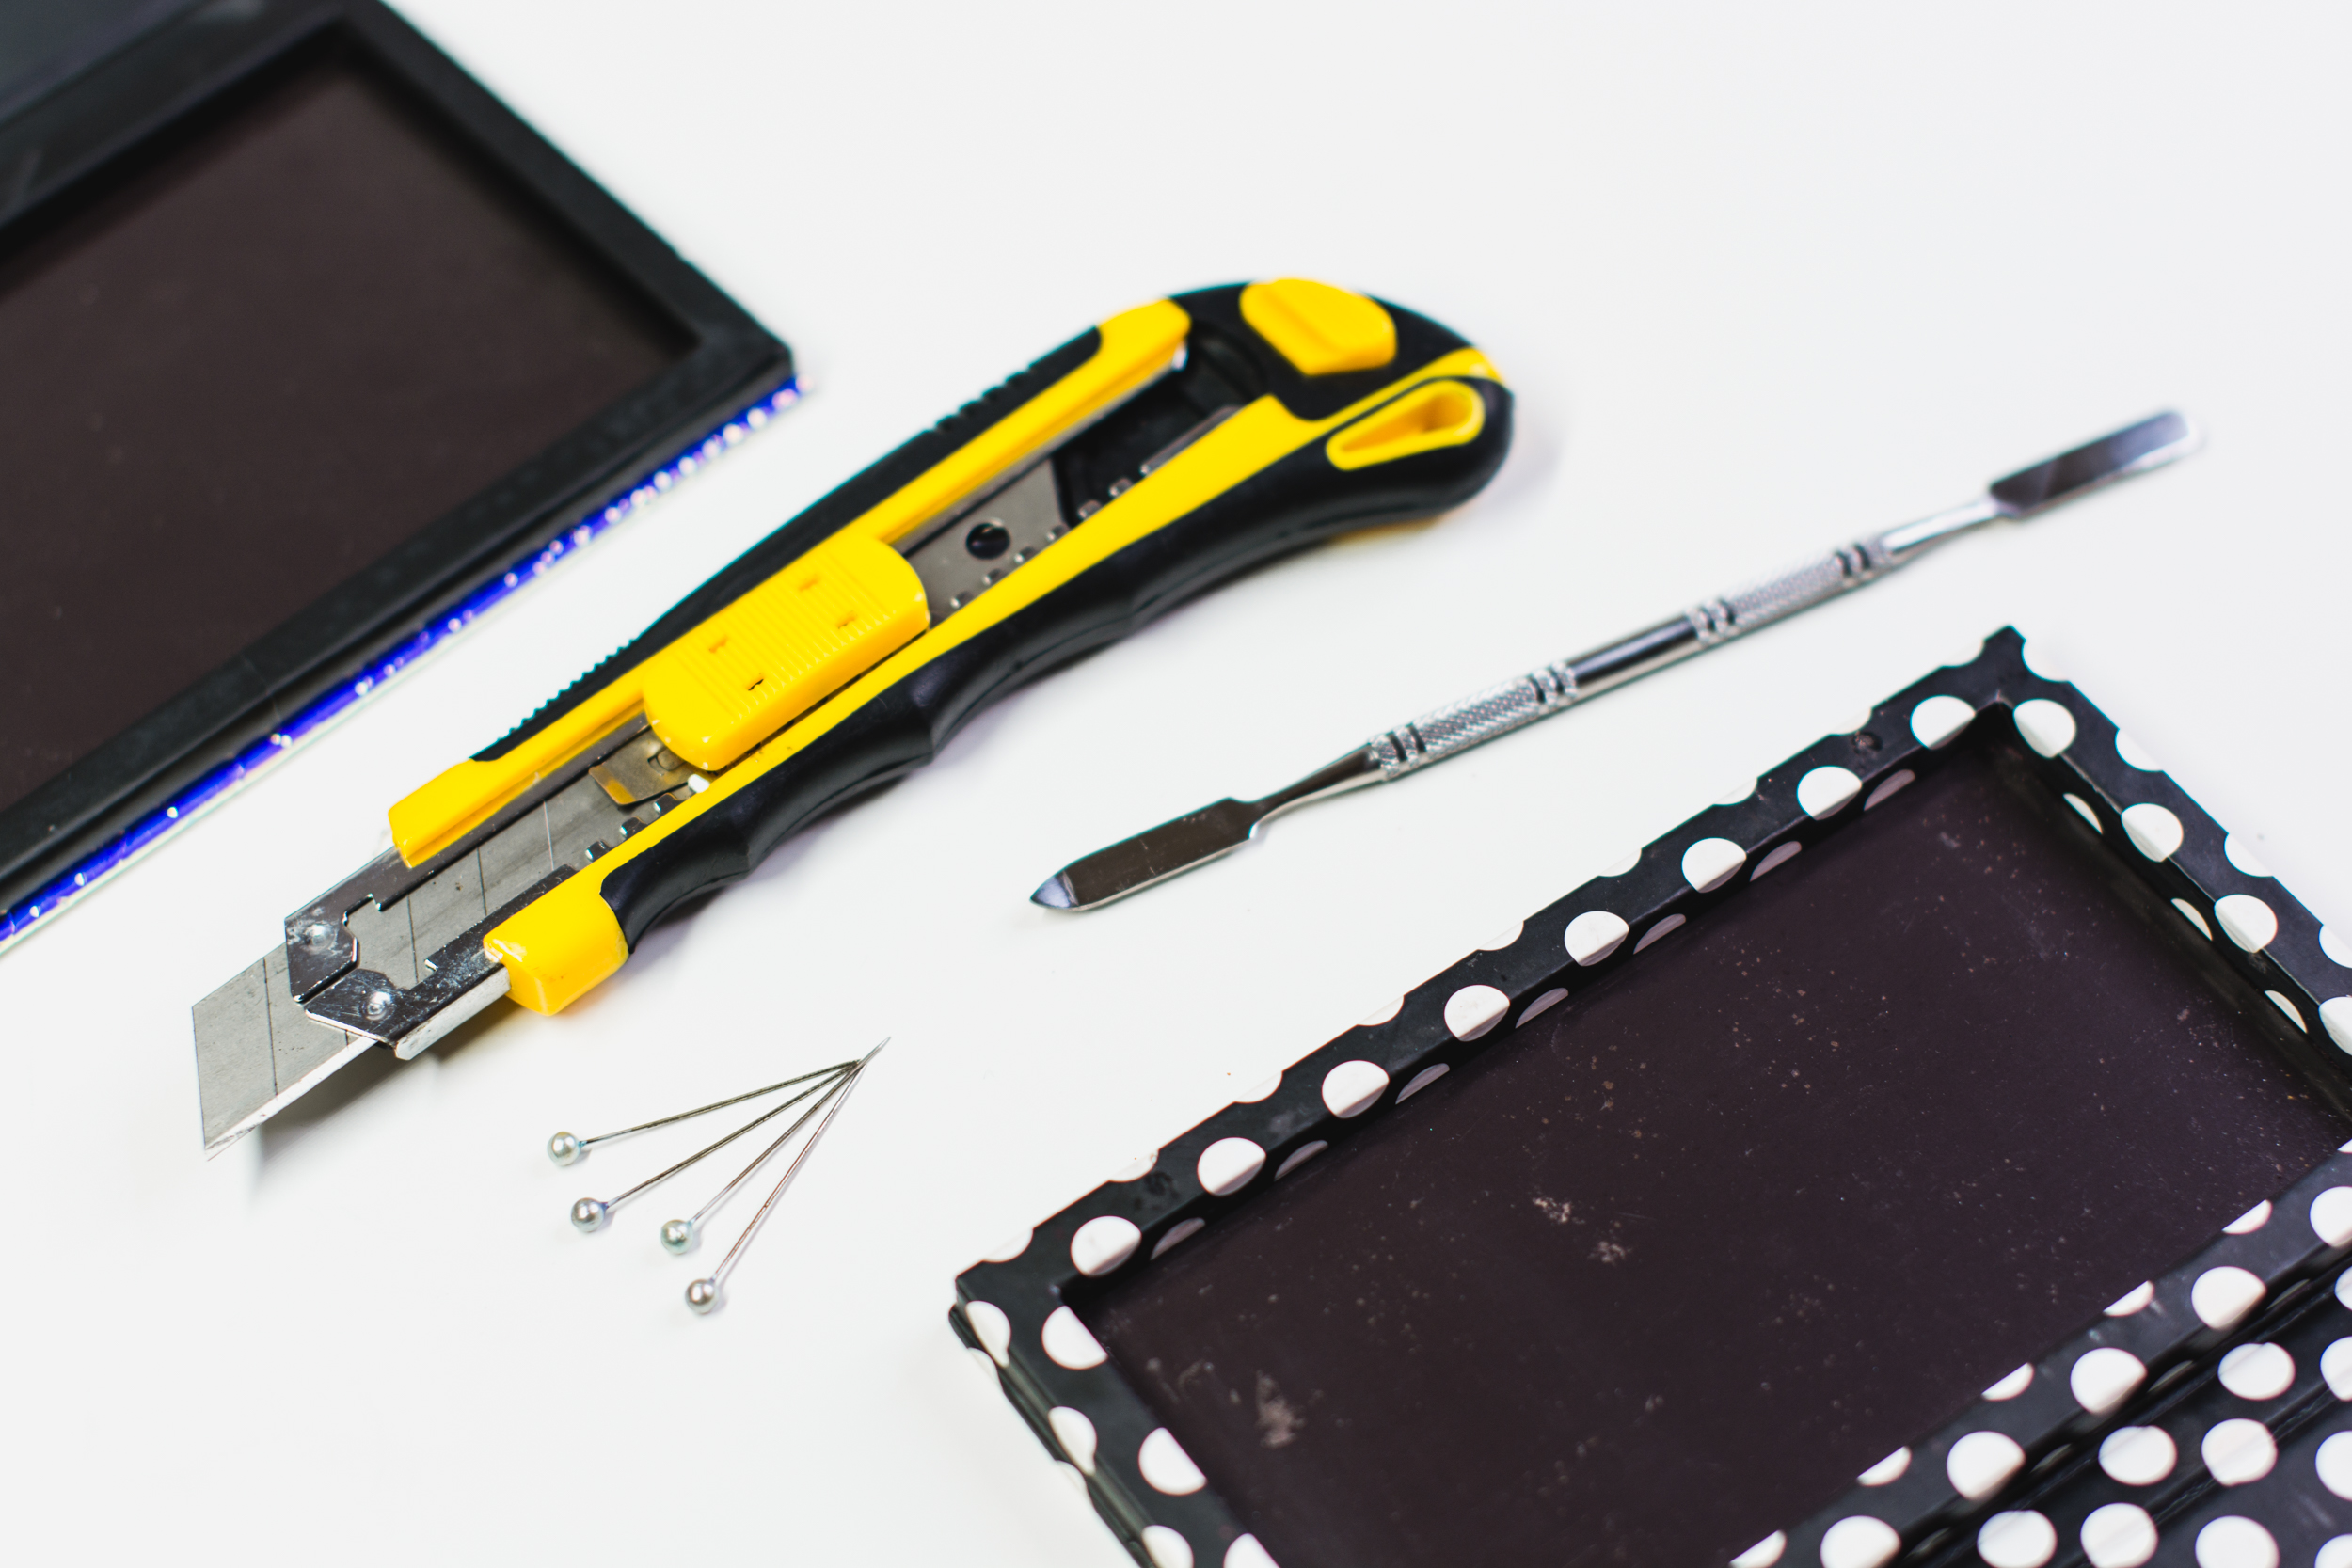
For tools, I opted to use a craft knife, a palette knife, and some pins. Some tutorials recommend using a butter knife but the blades for these are usually too thick to wedge between the small grooves. The craft knife proved to be an easy tool to use since the blade is thin and just the right amount of bendy, but make to handle with care so you don’t accidentally cut yourself. I also had some pins at the ready to reach into smaller spaces.

A lot of eyeshadow palettes have the powders embedded in plastic trays like this one. Find the space between the metal shadow pan and the plastic packaging, and gently insert your craft knife there. Once in, carefully push the knife towards the pan to begin to dislodge it, but don’t pry it off just yet. Guide the knife all around all the edges to further loosen the pan from the tray.
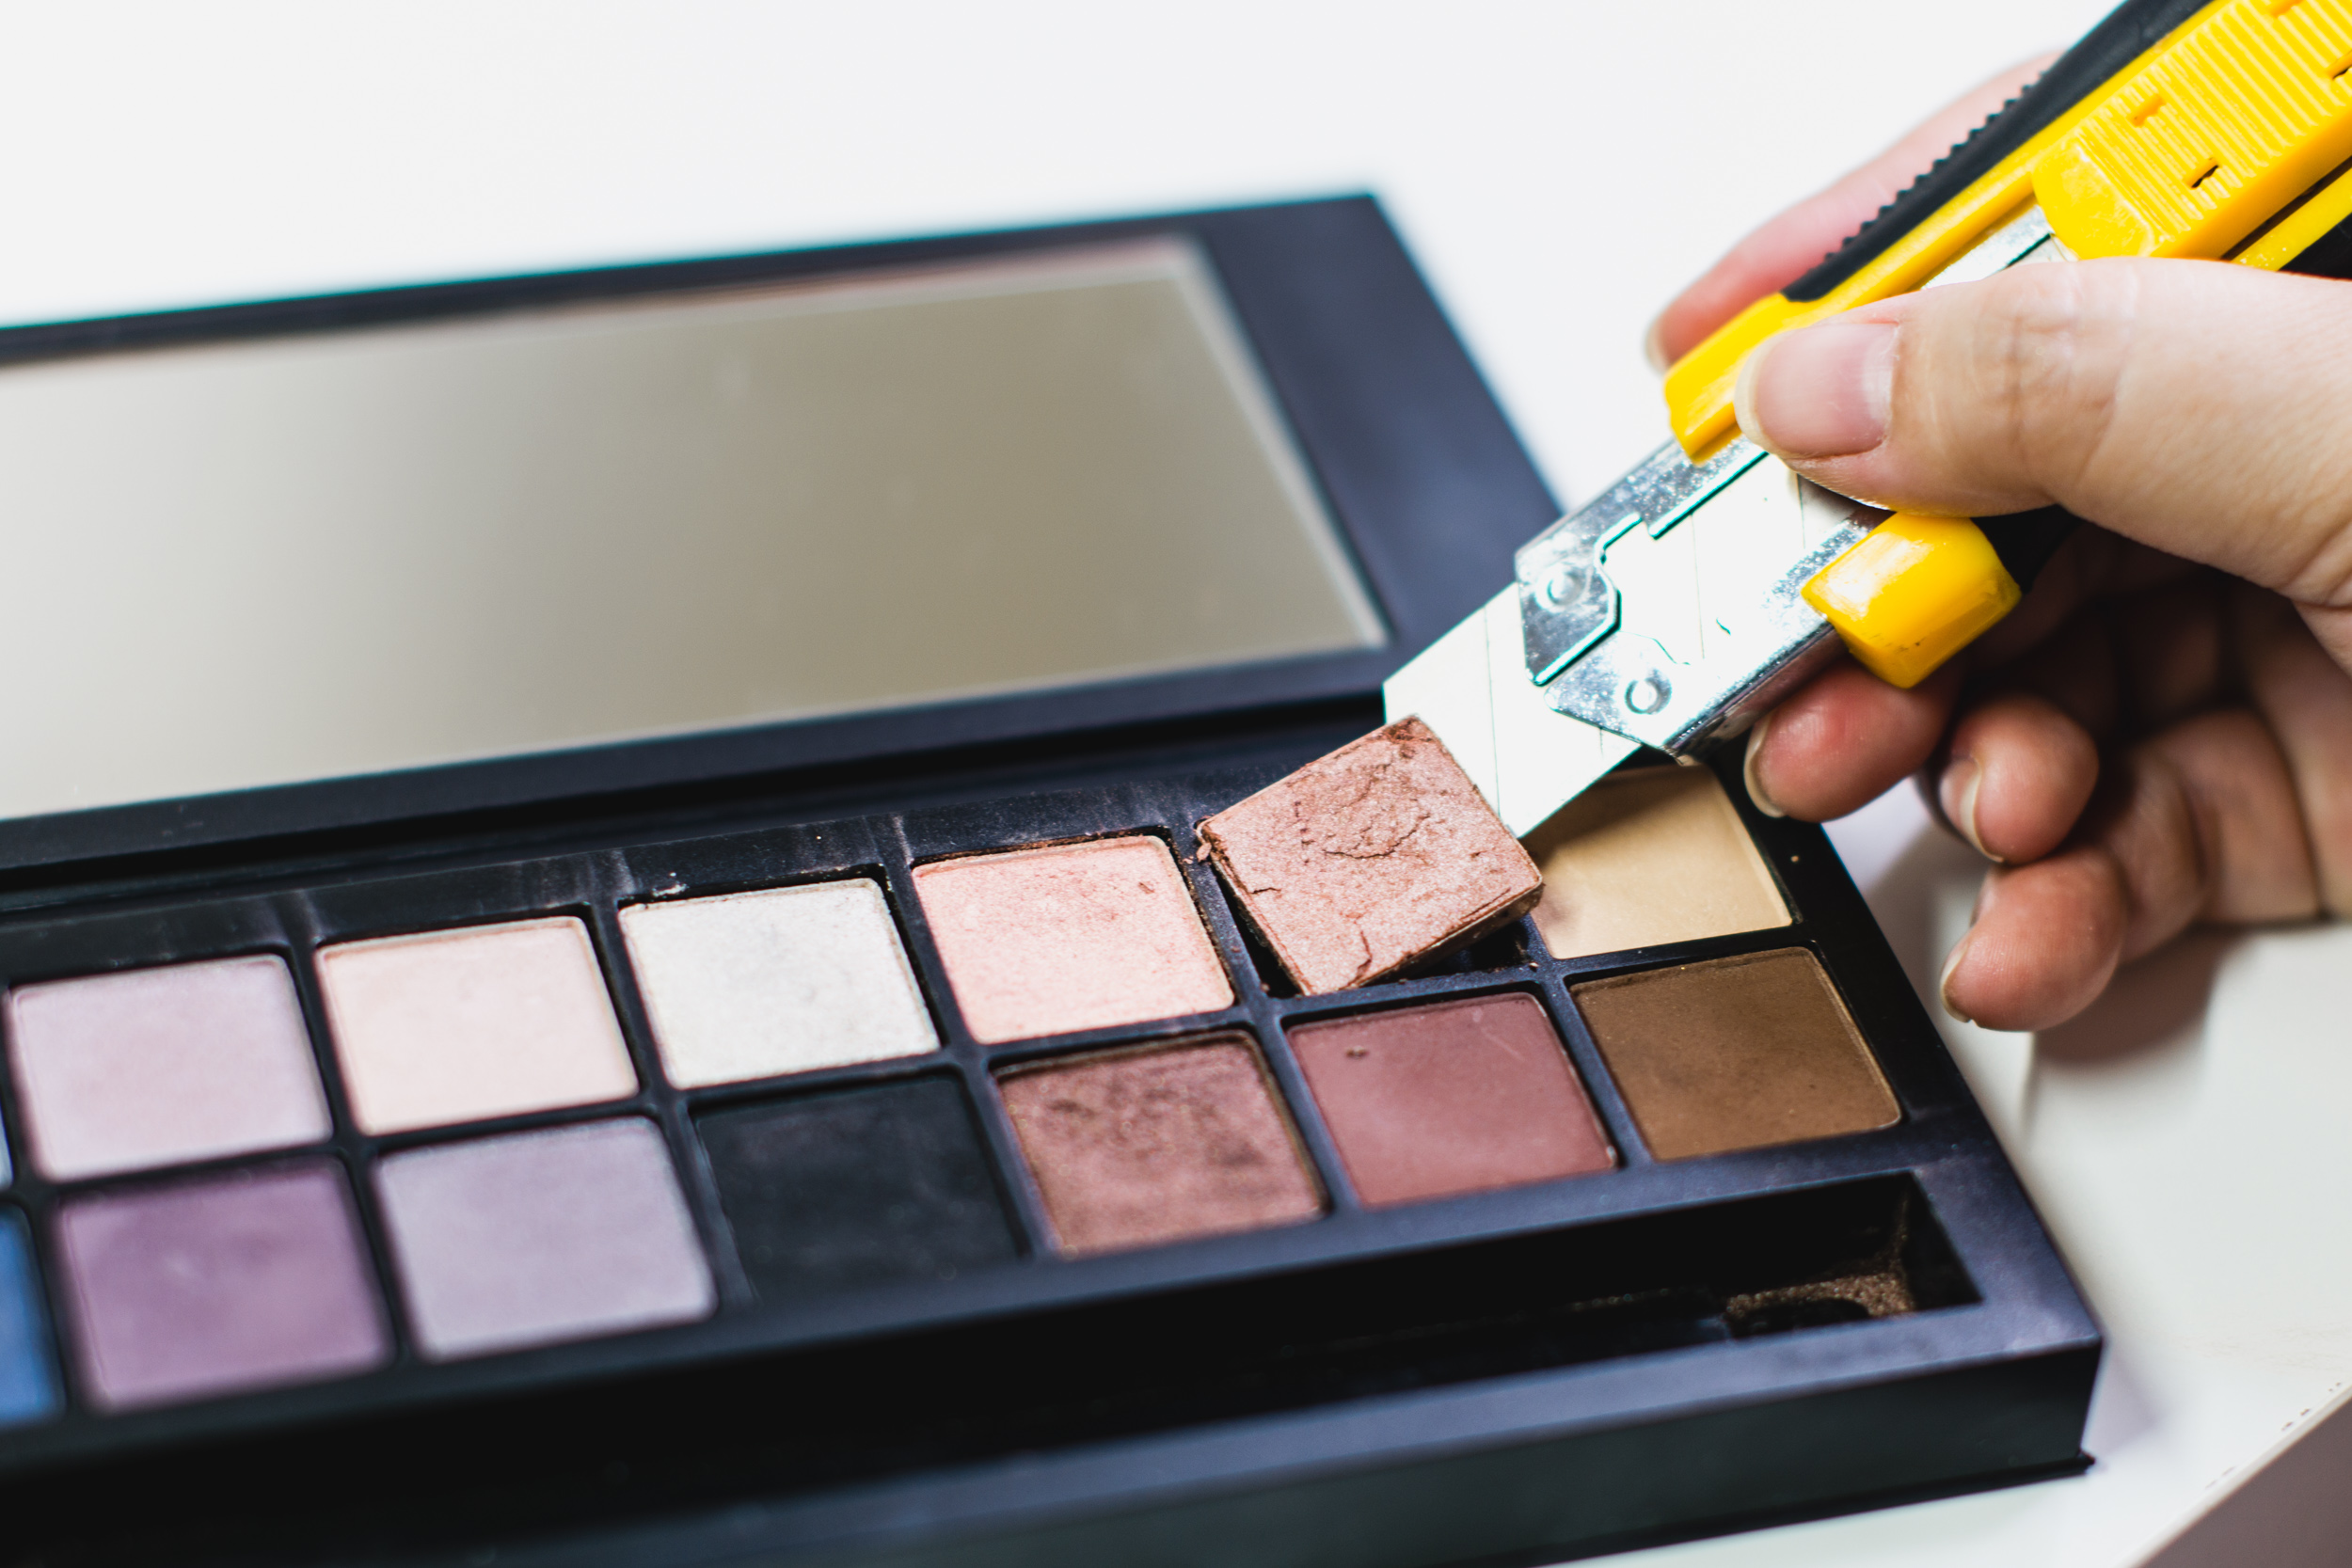
When all the sides are done, you can start to gently ease the pan upwards with the knife. Do this slowly to avoid popping the pan out too forcefully. My hand slipped a few times while doing this, so the knife ended up denting some of the edges. You can insert pins along the sides to help prop it up. Note that the lifting motion also causes the pan to bend a little, so it’s pretty common for the surface of the powder to crack.

You can easily fix the cracks by adding a bit of alcohol to moisten the powder and patting it down with a palette knife. Take care not to put too much as its possible for the alcohol to alter the formula! Misting the shadow with a bit of alcohol before popping the pan out may also help prevent cracking, but like I said, this project tends to get messy.

To make removal a little easier, you can apply a bit of heat to the underside of the melt to weaken the hold of the adhesive. You can use a hair dryer, a hair iron, or even a curling iron as I did! Keep your heat low and apply it for just a few seconds at a time, making sure to avoid melting the plastic packaging and accidentally ruining the surface of the iron.
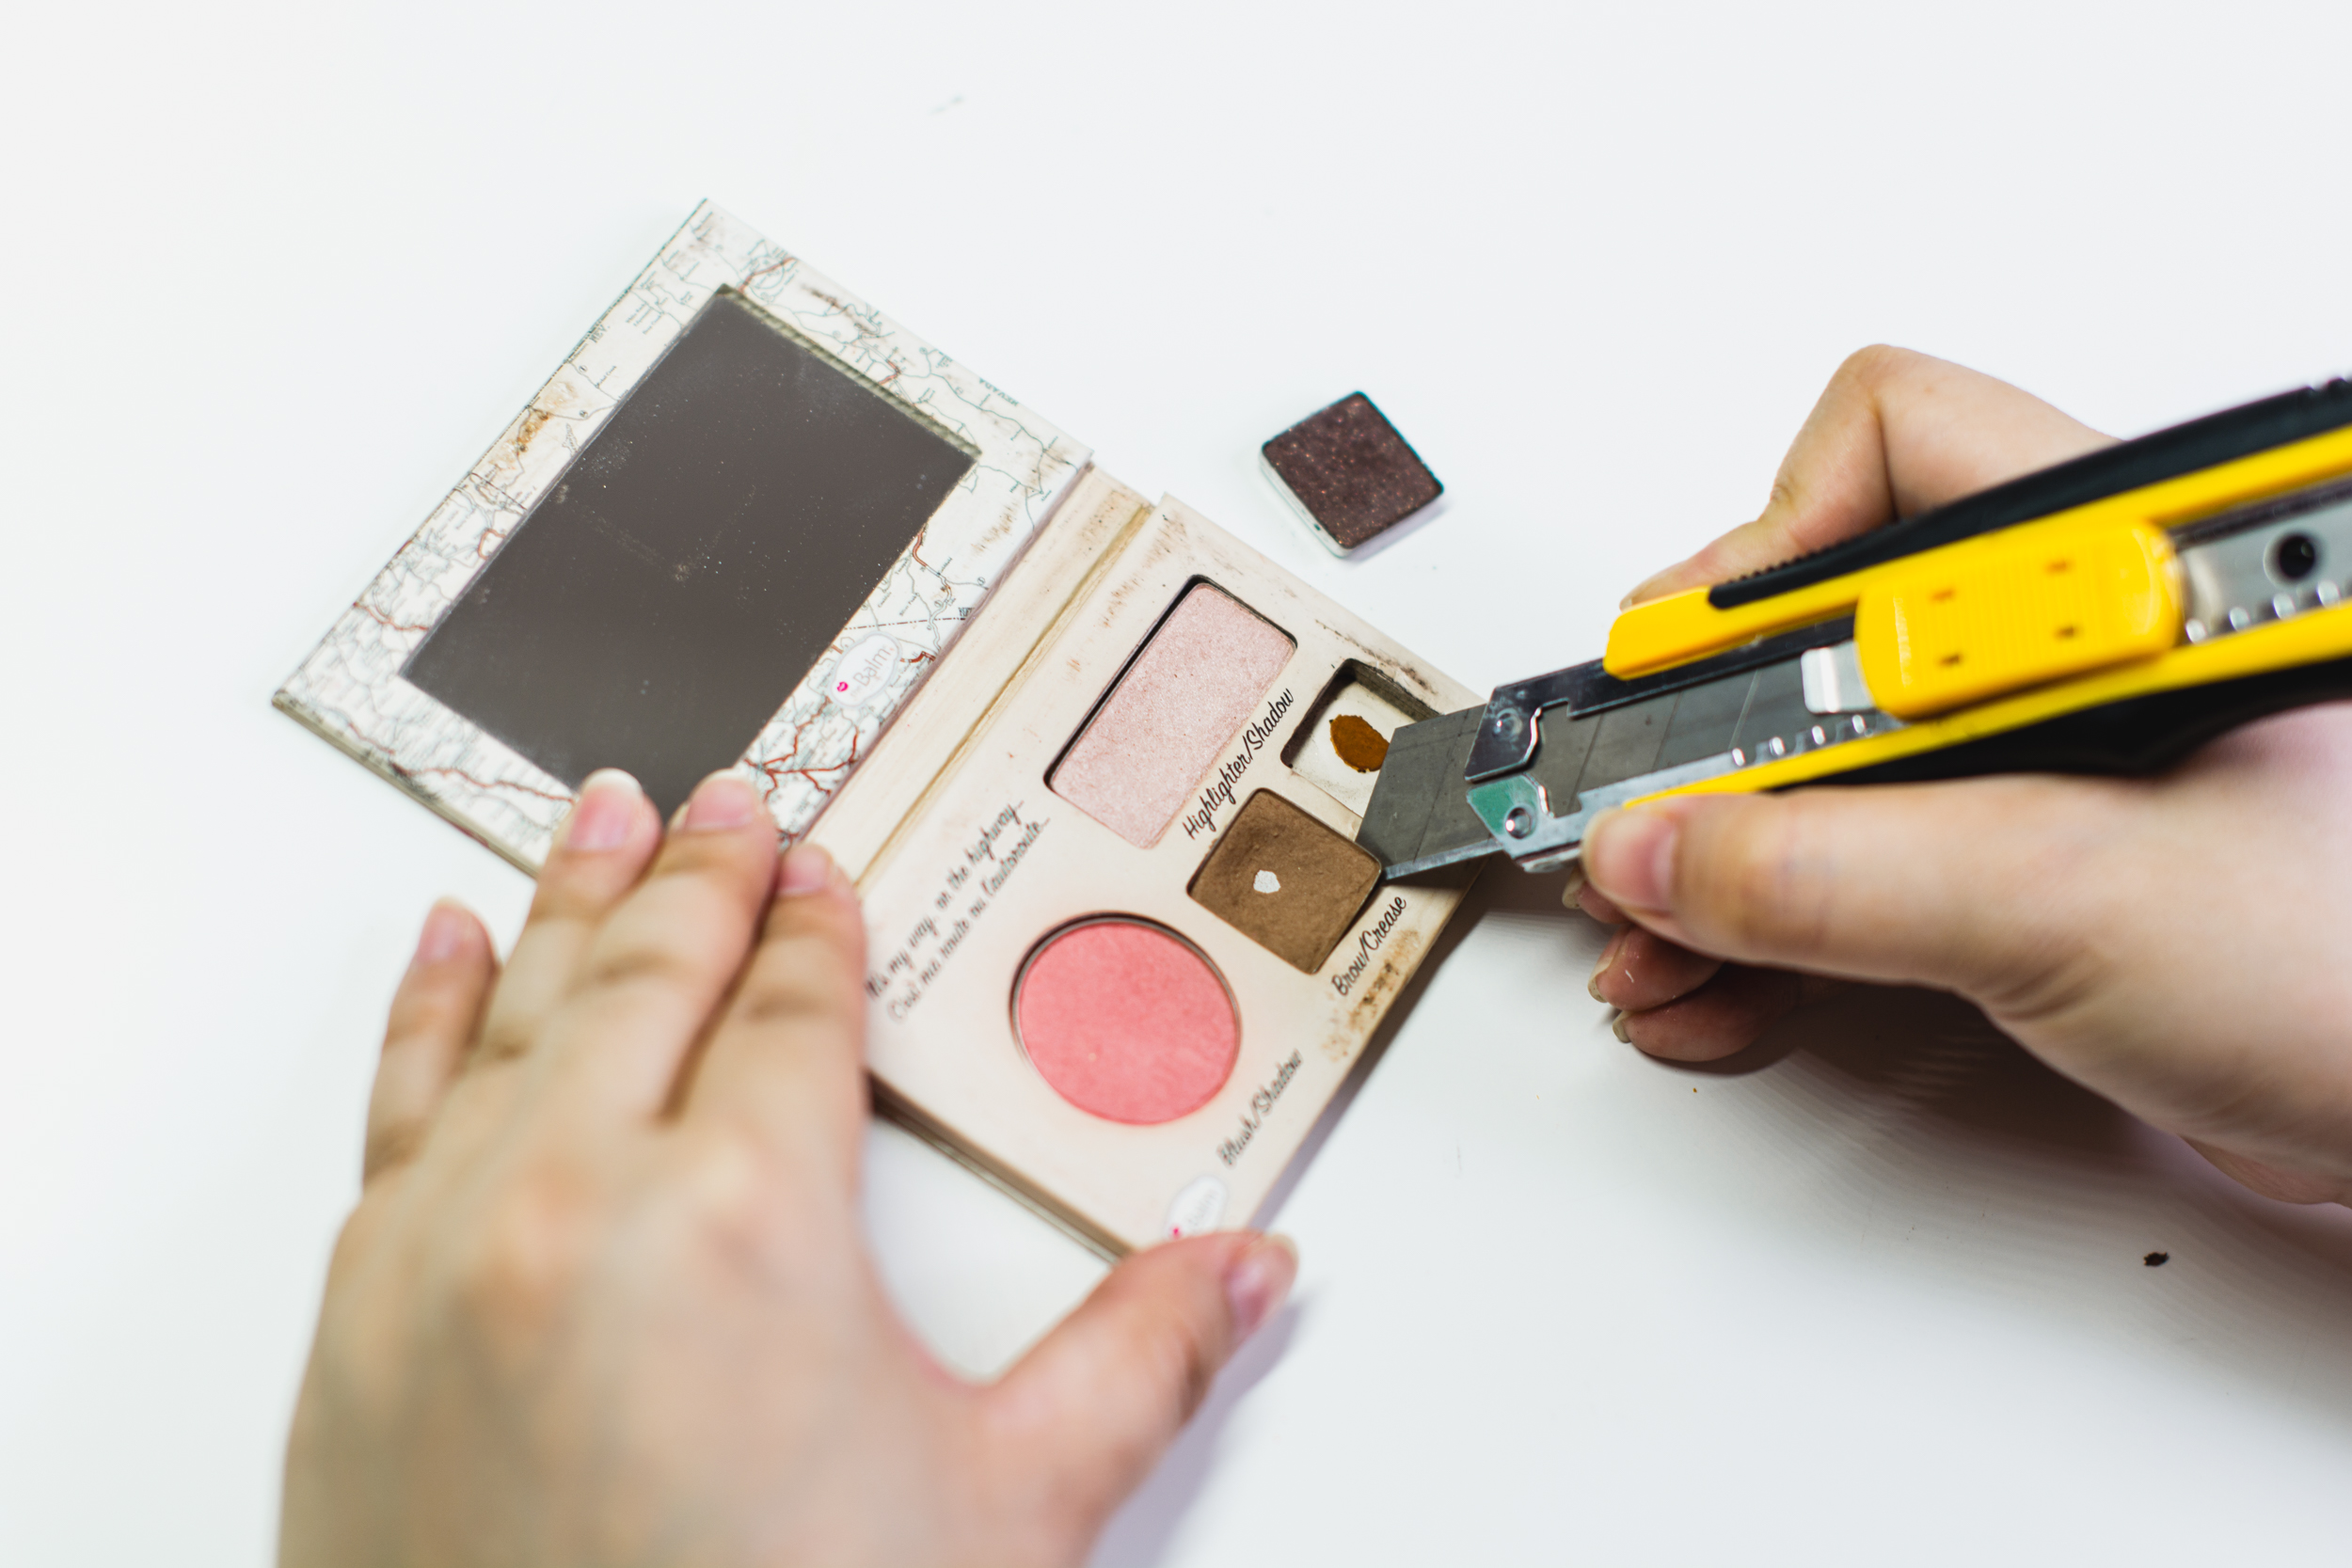
Cardboard palettes are easier to de-pot from, since the packaging is more pliable. If you don’t care for the existing palette at all and intend to de-pot all the products in it, cutting them out of the packaging with the craft knife is faster than easing each pan out.

I happened to have one palette that housed the eyeshadow pans in a rubber foam mount. This was the easiest palette to de-pot! You don’t even need tools - just twist the foam until the pan pops out by itself.

Once you have all your de-potted eyeshadows, simply organize them into the palette. Group them however you like! Admittedly, it doesn’t look as neat as I would like but I love that I can curate the contents as much as I want, whenever I want, and replace the colors according to whatever makeup phase I’m currently in. Additionally, you can follow these same tips to de-pot any other pan makeup and build a palette that houses all your face, brow, eye, cheek, and even lip essentials. The possibilities are endless!
If de-potting isn’t your jam, there are other ways to create a customized palette. Brands like INGLOT, ArtDeco, Ellana, and Make Up For Ever offer systems that allow you to buy individual pans of makeup to put into their customizable cases.
Have you ever tried de-potting your makeup before? I’d love to know if you have tips!
Photography by Nicole Quindara