

Seven ways to take your makeup skills from amateur to advanced
If you have been reading Project Vanity long enough, you know that there are plenty of tips and tricks to apply your makeup better and faster like these tips from the pros. While there are no hard and fast rules in beauty, because really, we can do our makeup any way we want to, we’ve picked up some important techniques that take our makeup game from pwede na to advanced. Simply reading about the right way of doing things may not be enough though, so we did half-faces that make it easier to spot the difference. Let's go!
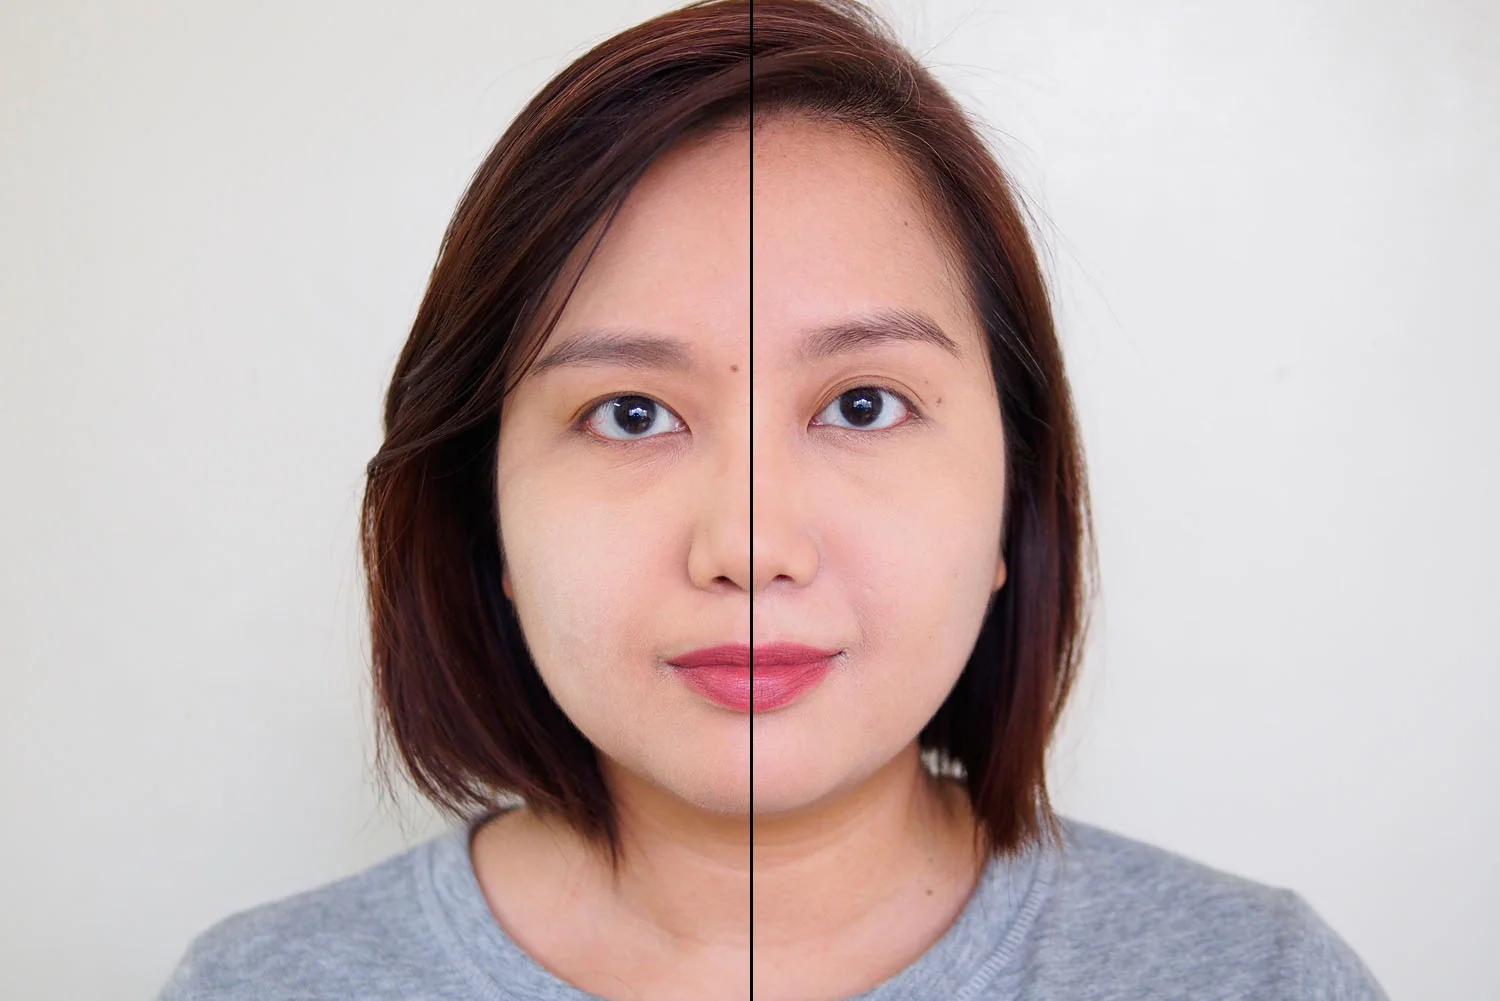
Left: bare skin, Right: skin with primer
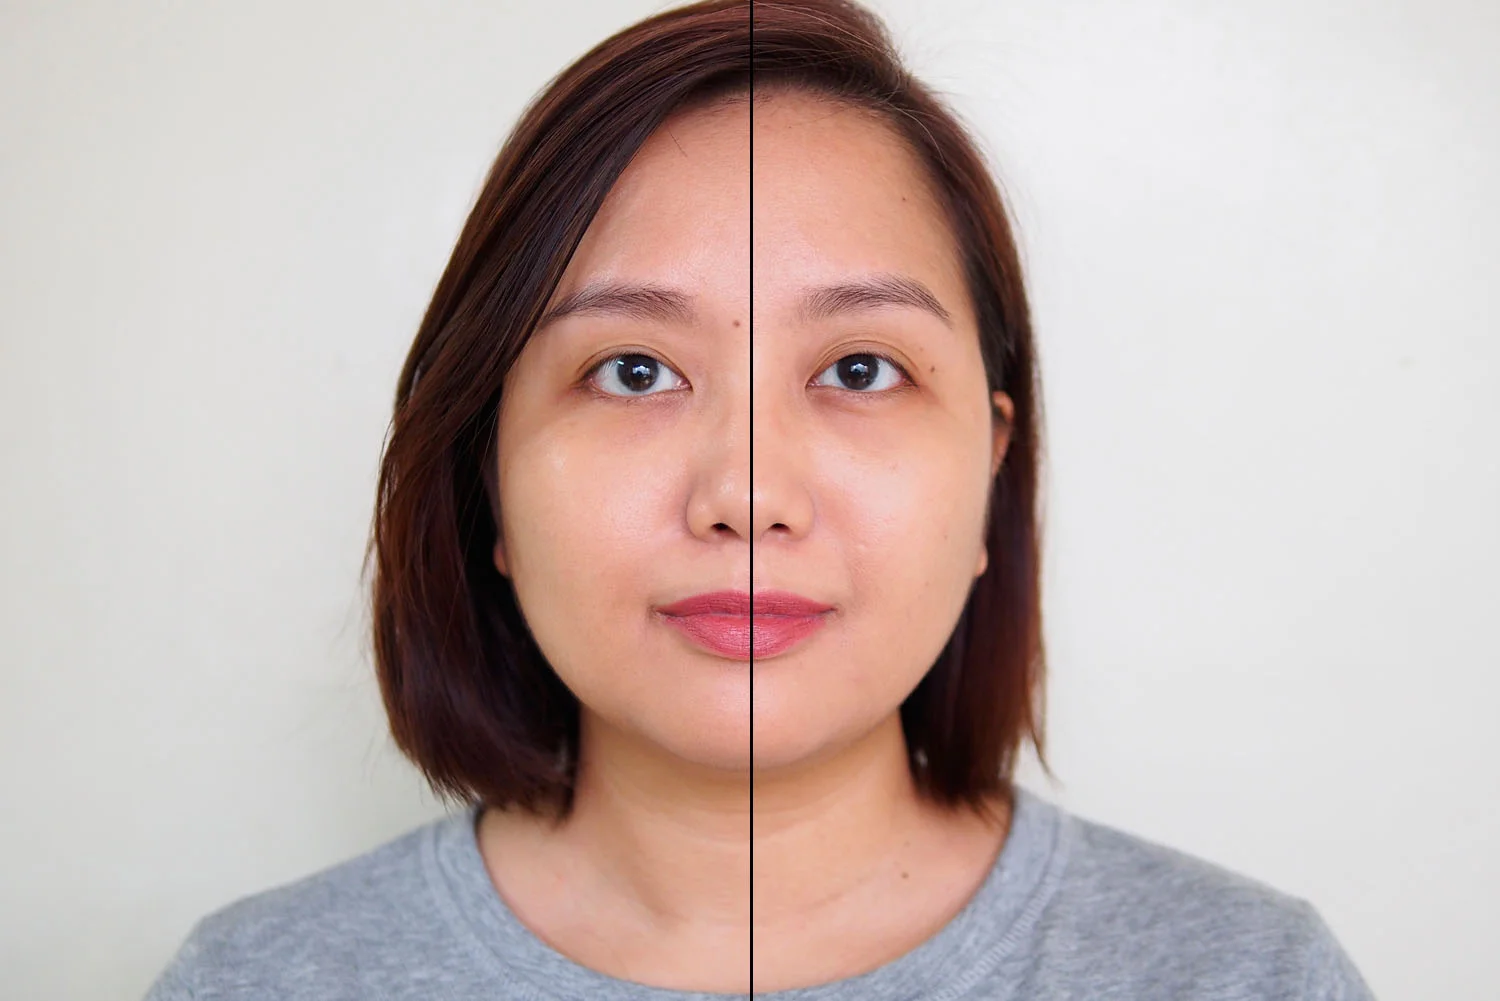
Left: foundation only, Right: foundation with primer
Lesson 1: Prime everything
If you want longer lasting makeup, you'd better start with primer. Primer helps to smooth over the appearance of pores and lines, plus enhances the overall finish of your makeup. Here's a neat tip: include your brows in primer application so your brow products don't fade or slip off when you start to get oily or sweaty!
Primers needn't be expensive. You can find good ones under P500, even for your eye makeup, which makes this crucial makeup step easier on the wallet.
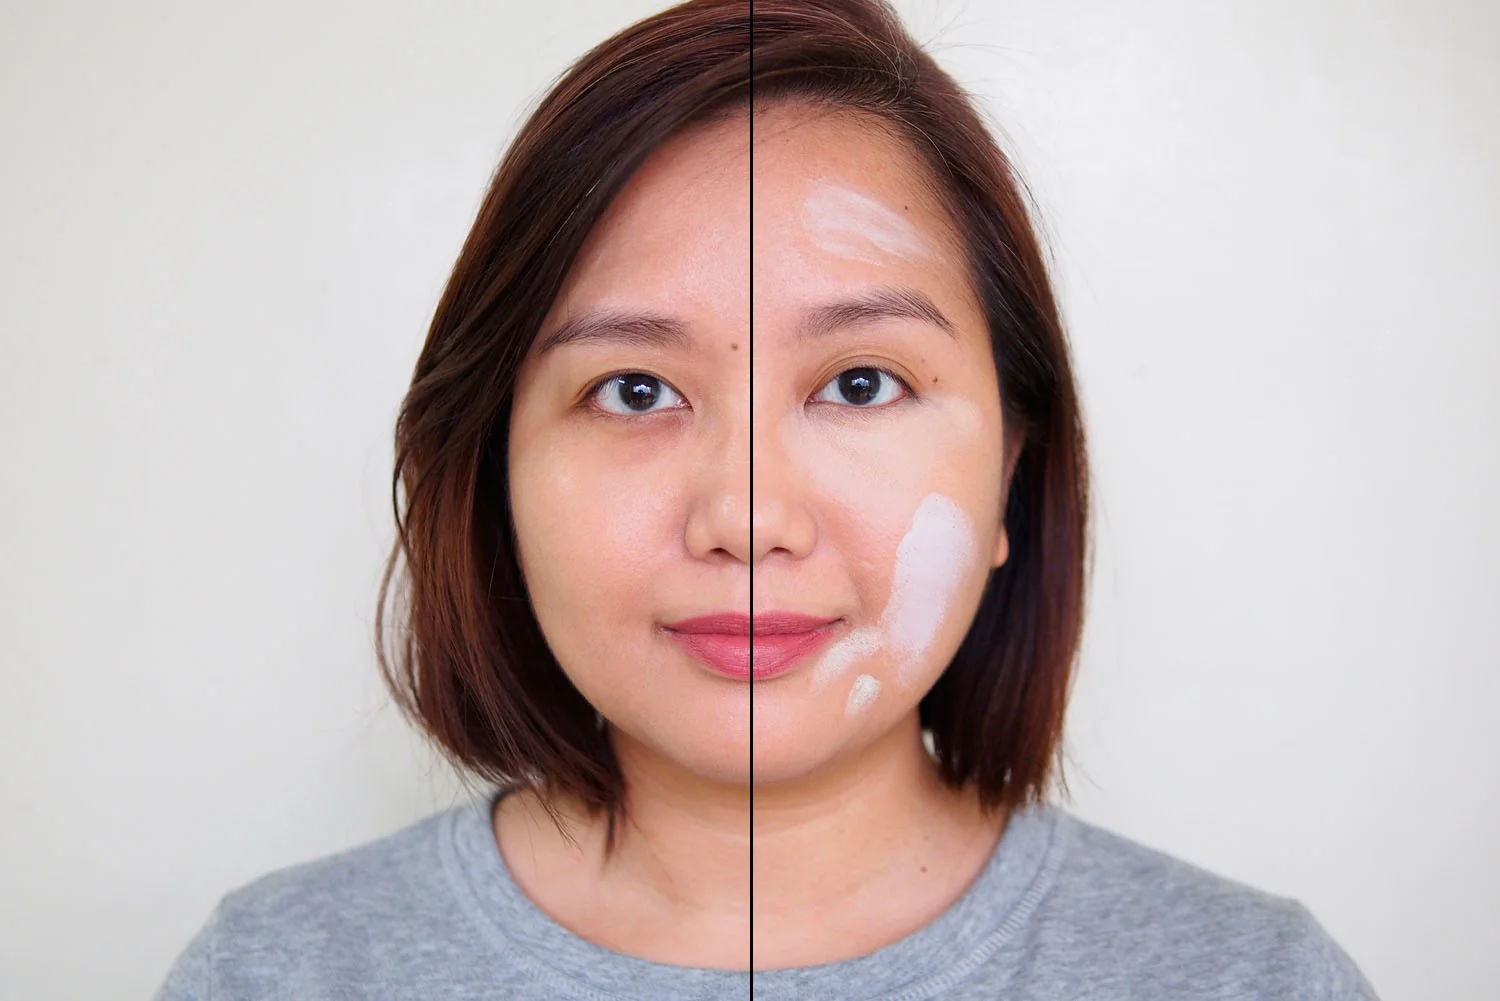
Left: foundation only, Right: unblended corrector
Left: foundation only, Right: blended corrector
Lesson 2: Color-correct before concealing
Color correction is a technique that's been around since the 90s, but it's recently popular again. You don't need to do this everyday since a normal concealer should be enough to cover up average skin discoloration. However, if you have especially obvious marks, you may want to explore color correction first before moving on to your concealer.
Depending on your blemish, you'll need a corrector color that is on the opposite end of the color wheel since opposite colors cancel each other out. The commonly used ones are: green for redness caused by acne or sunburn, yellow/pink/peach for purplish under eye circles, and neutral/flesh tones for light blemishes.
Watch this PV tutorial to see the process of color correction. As for concealer options we’d recommend, you can try the K-Palette Zero Kuma Concealer (P895) and the Suesh Concealer & Corrector Pots (P105).
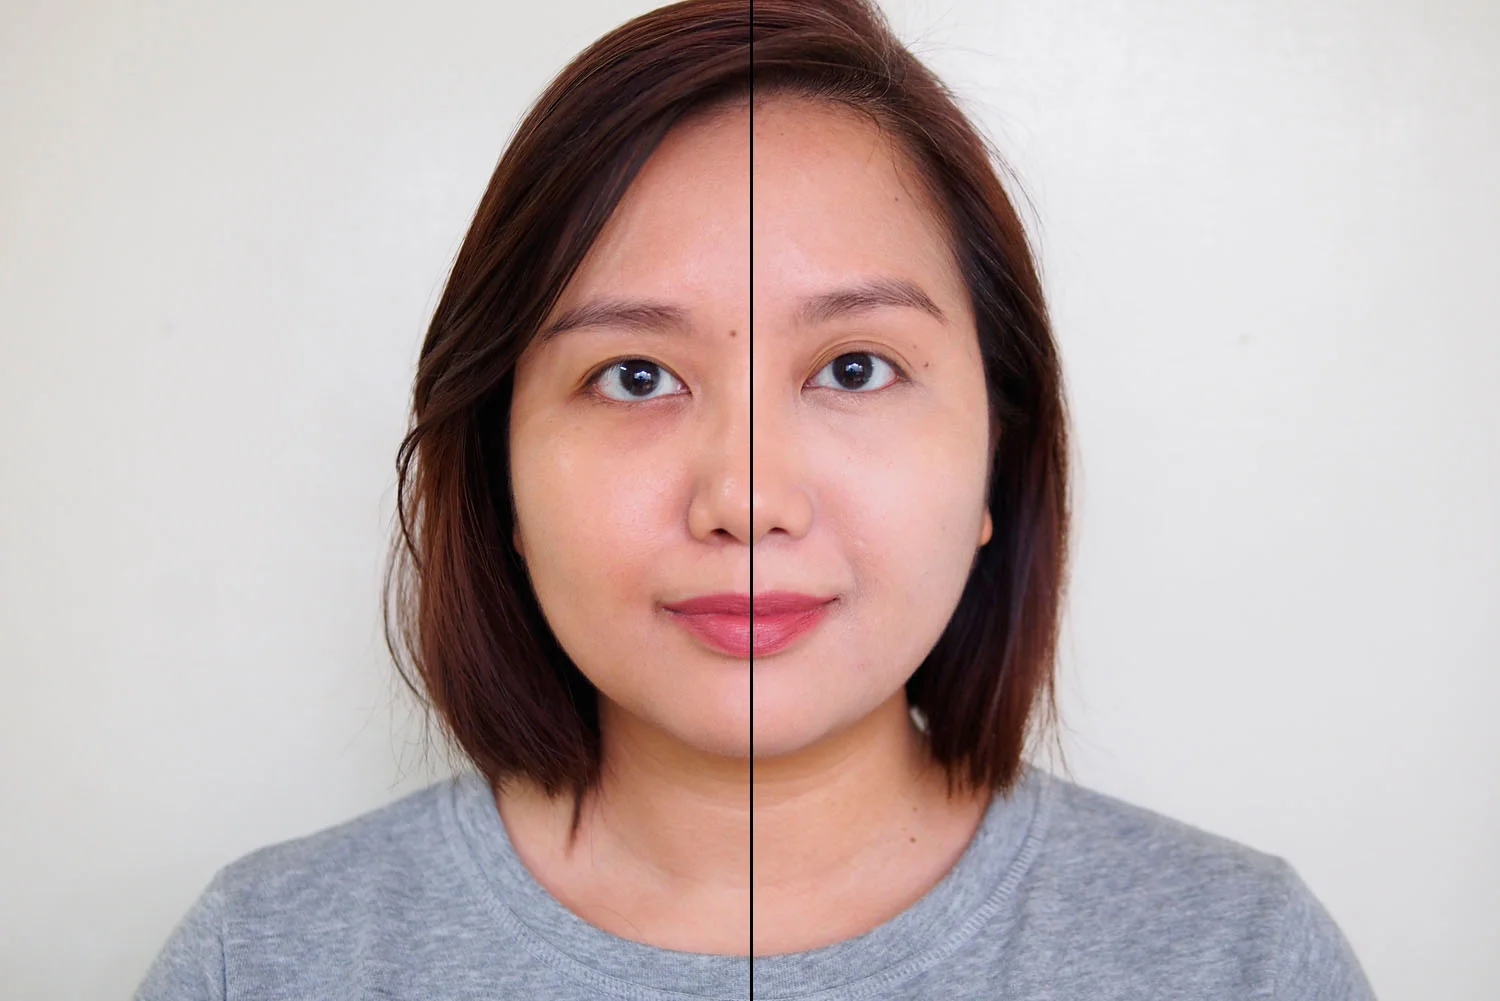
Left: Used a fluffy brush for application, Right: Used a powder puff and small brush for application
Lesson 3: Always set your wet makeup with powder
It's called a setting powder for a reason, which is to keep your makeup from sliding or melting off throughout the day. Usually applied as the last step for your base makeup, pros advise skipping the big fluffy brush in favor of a smaller one to avoid piling on the powder.
Worry not if you have dry skin; we have a list of powders that you can check out. PV powder favorites include the classic LAURA MERCIER Translucent Loose Setting Powder (P1200) and the affordable ESSENCE All About Matt! Fixing Compact Powder (P269).
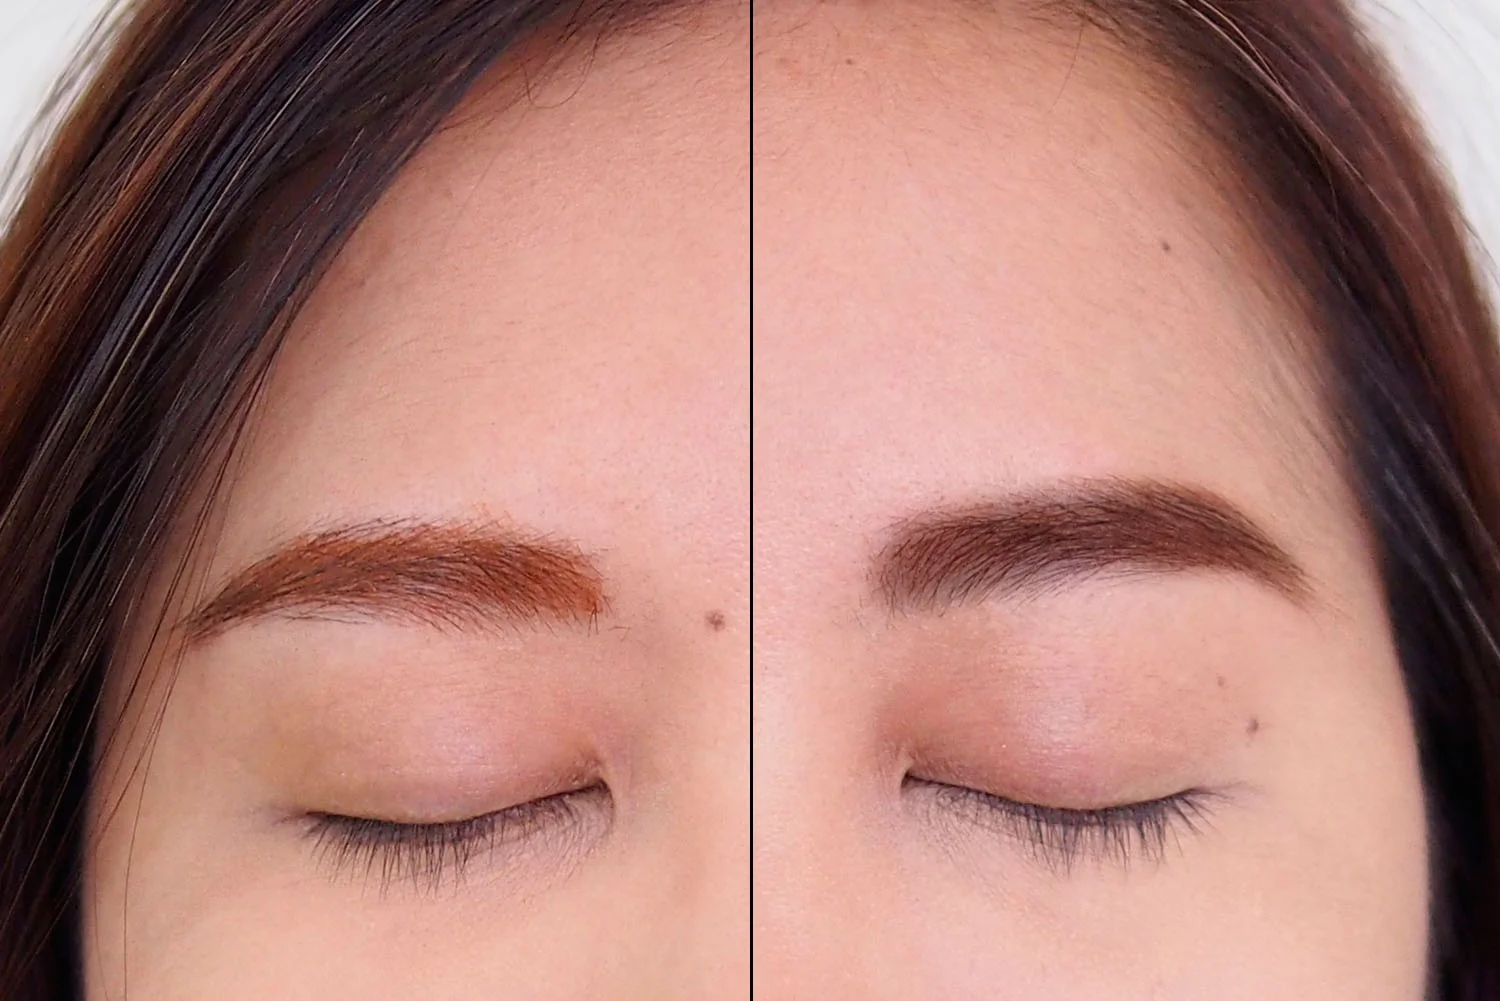
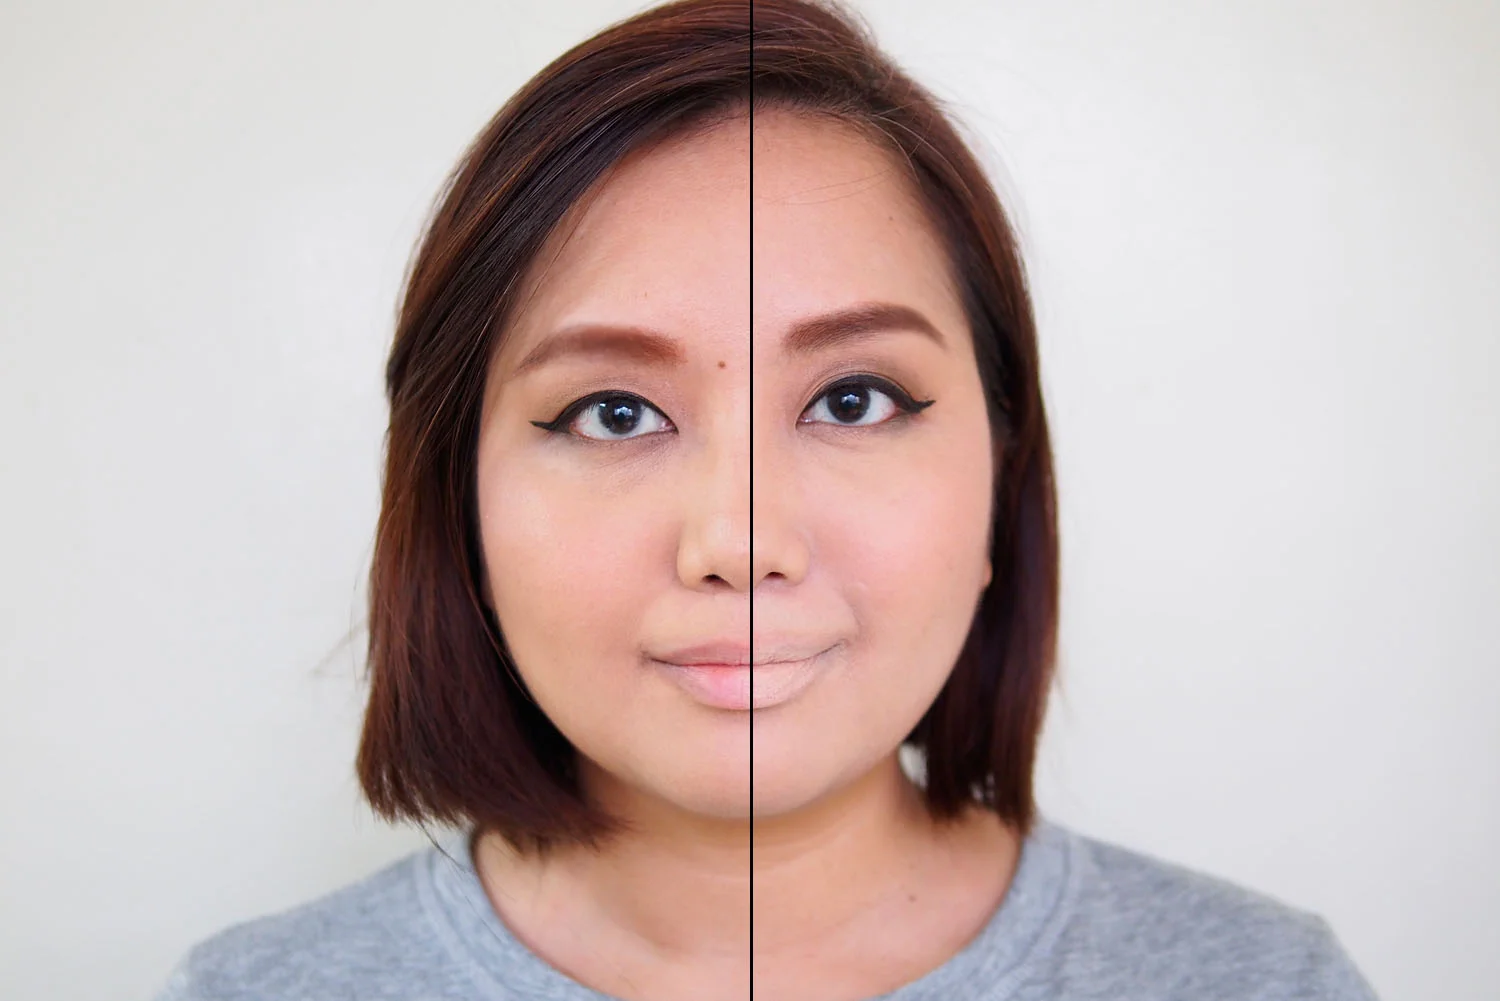
Left: Orange-tinged brow mascara, Right: Reddish brown brow mascara
Lesson 4: Match your brow products to your hair color
This is especially relevant for those who dye their hair often but even you don't, a black brow product isn't necessarily your only option. As a general rule, your brows should at least be either a shade darker or lighter than your hair color. Your brows can also make you look younger or older depending on the intensity. The darker shades have a more maturing effect, so brunettes should go a couple of shades lighter than their hair color for a more youthful look.
No matter which end of the spectrum you're on, PV has budget picks for pencils, brow powders, or brow mascaras to get the job done.
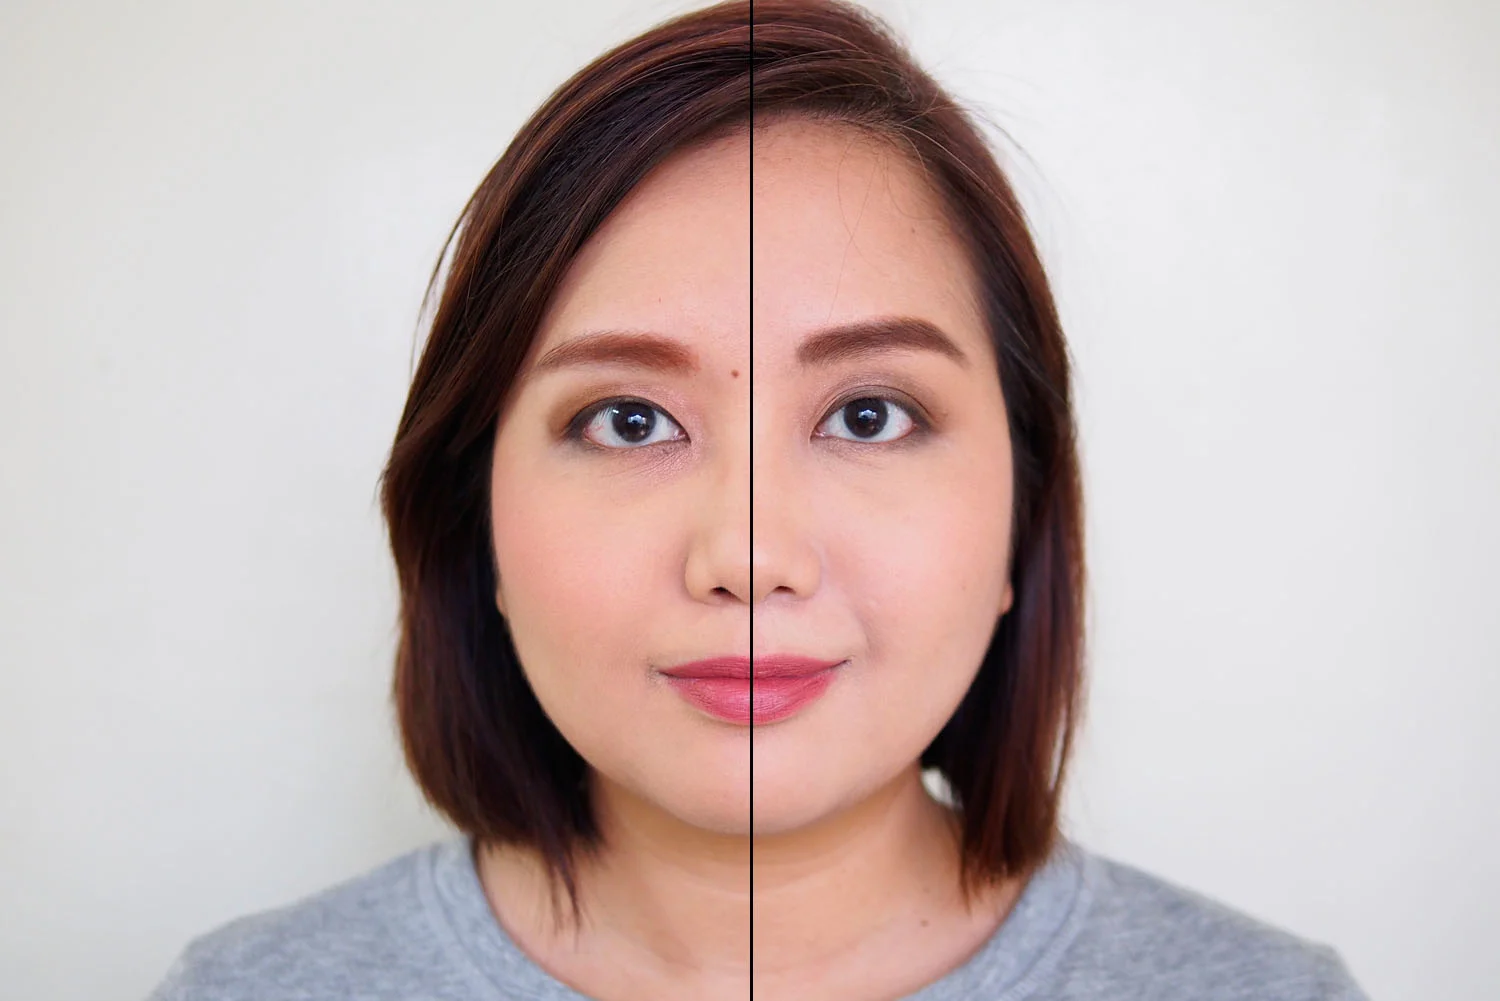
Left: Badly blended eyeshadow, Right: Correctly blended eyeshadow
Lesson 5: Leave no visible edges when applying color makeup
Whether it's your blush, contour, or eyeshadow, your products should blend seamlessly with your skin and with each other. You shouldn't be able to see a clear demarcation of there the color ends. In the case of eyeshadows, you want to create a clean shape and not over blend; you don't want your colors to look muddy and indistinguishable.
Liz has a posted a tutorial for basic everyday eyeshadow looks. For a trendier look, check out Kate Tokyo's gradient eyeshadow technique.
Eyeshadow palettes like the WET N WILD Color Icon Eyeshadow Palette (P499), MAYBELLINE The Nudes Eyeshadow Palette (P675), and BYS Nude Eyeshadow Palette (P1,199) are easy to work with since the shades are designed to be complementary, but you can also learn how to how to choose a flattering palette.
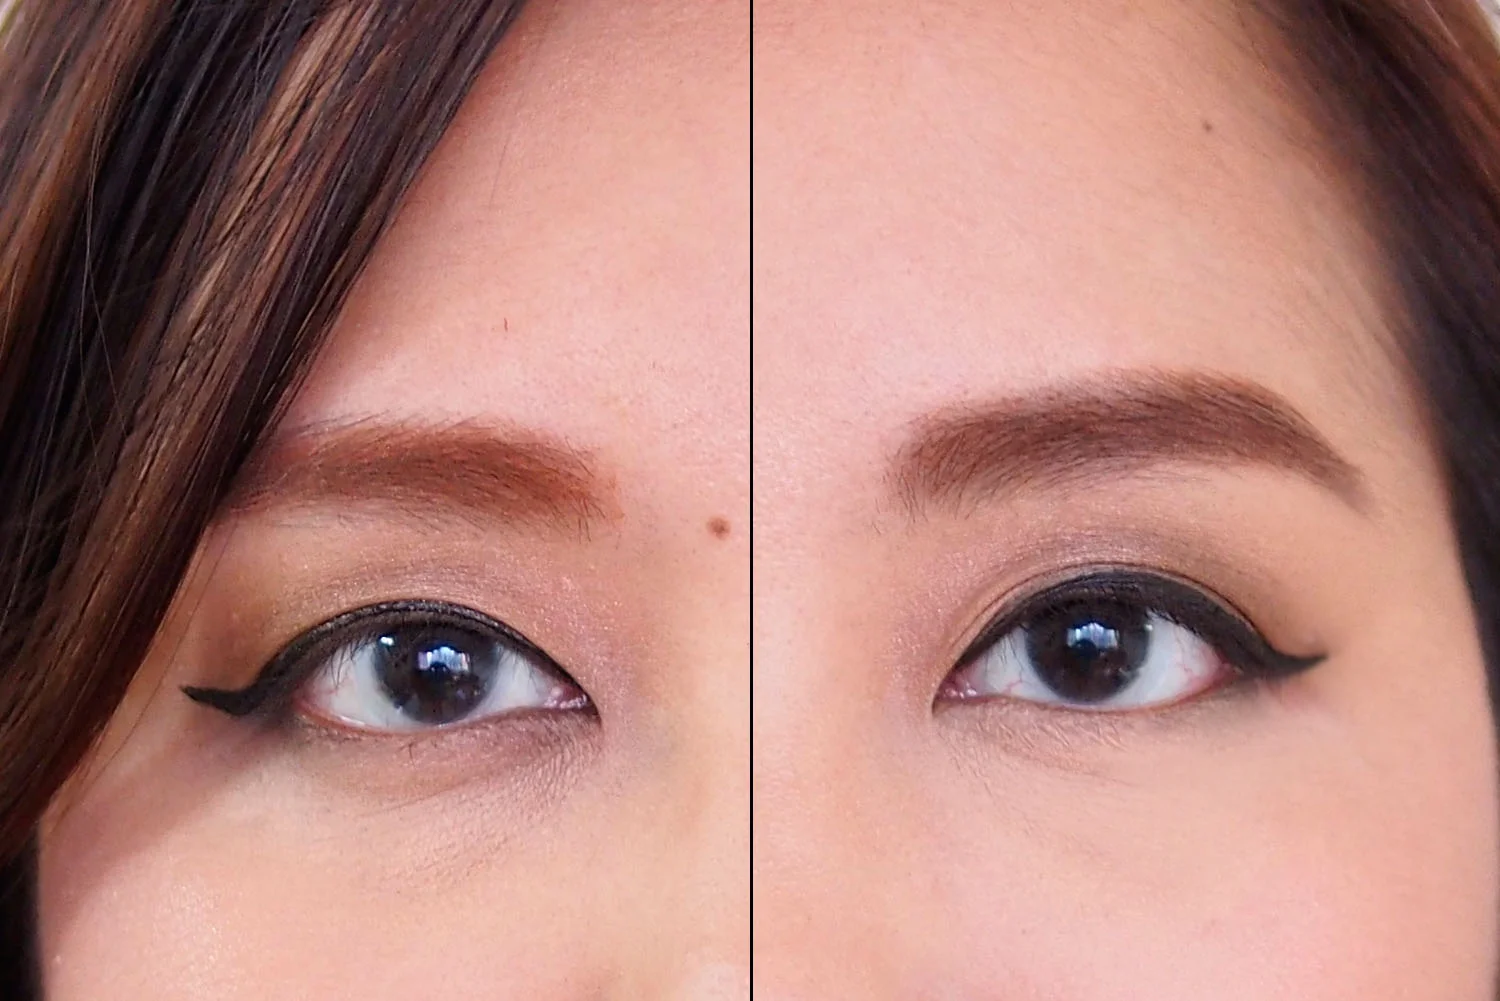
Left: Without tightlining, Right: With tightlining
Lesson 6: Fill all the gaps in and below your lashes when doing eyeliner
Winged liners are a great way to play up your peepers, and should be applied as close to the upper lash line and between the roots of the lashes as possible for maximum impact. Tightlining or filling those spaces in between the lashes makes a world of difference for looks like this, especially when using dark liners. It looks a lot more polished, plus it creates the illusion of thicker lashes.
While we all know how much PV loves the K-PALETTE Real Lasting Eyeliner (P895), you can also check out the BCL Brow Lash Ex Liner Slim Black (P499.75), which Liz recently raved about.
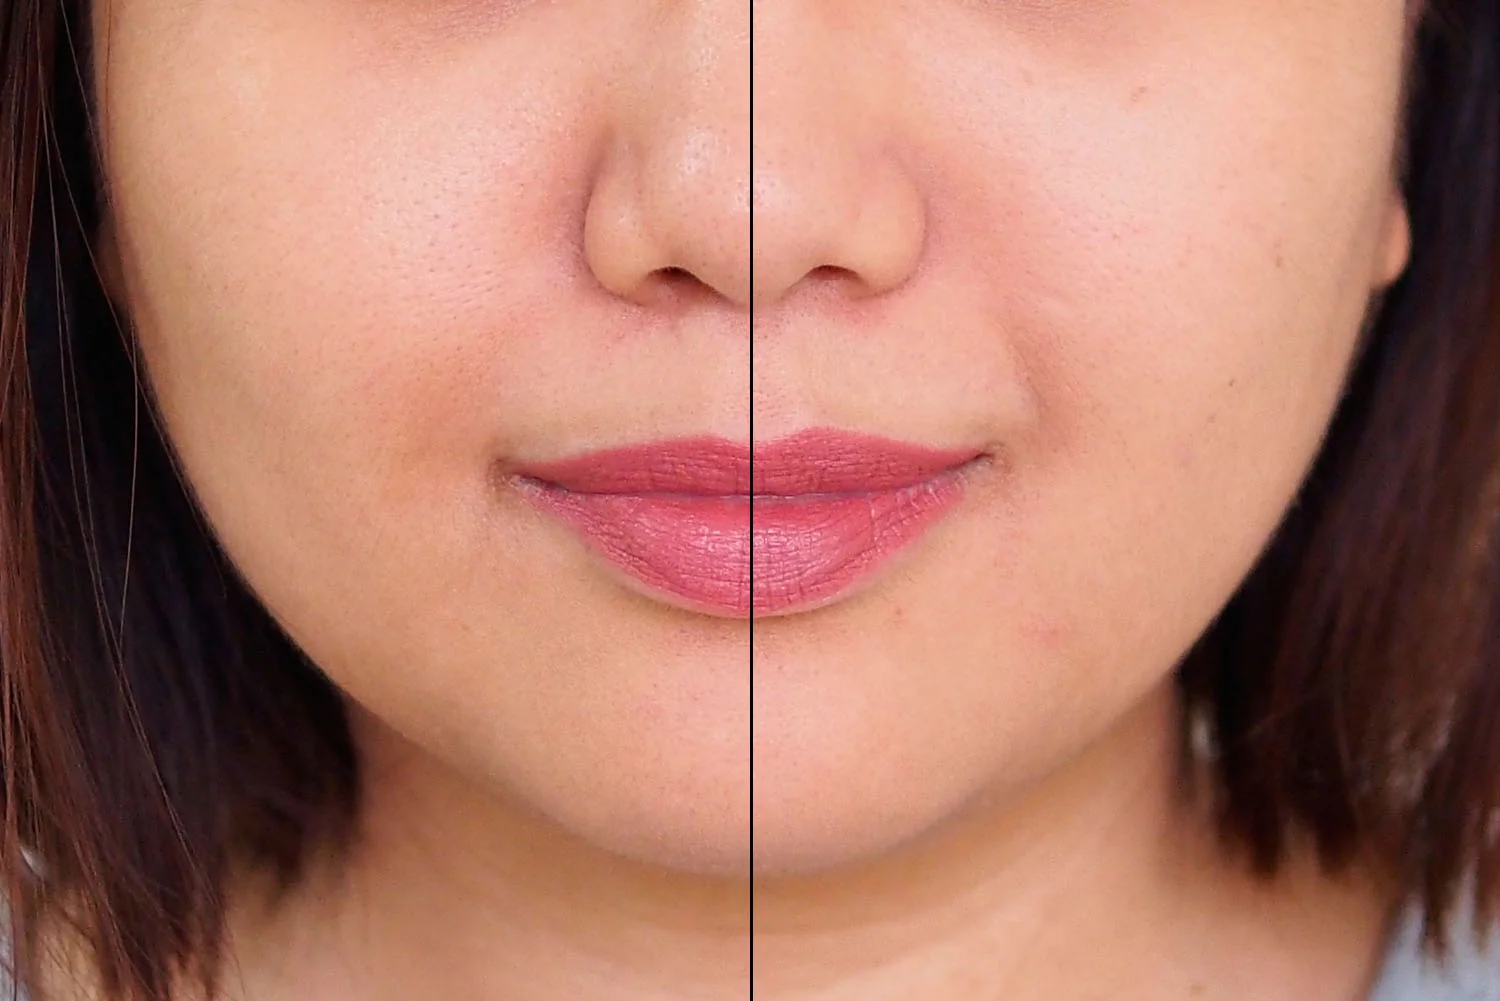
Left: Bare lips, Right: Lips with concealer
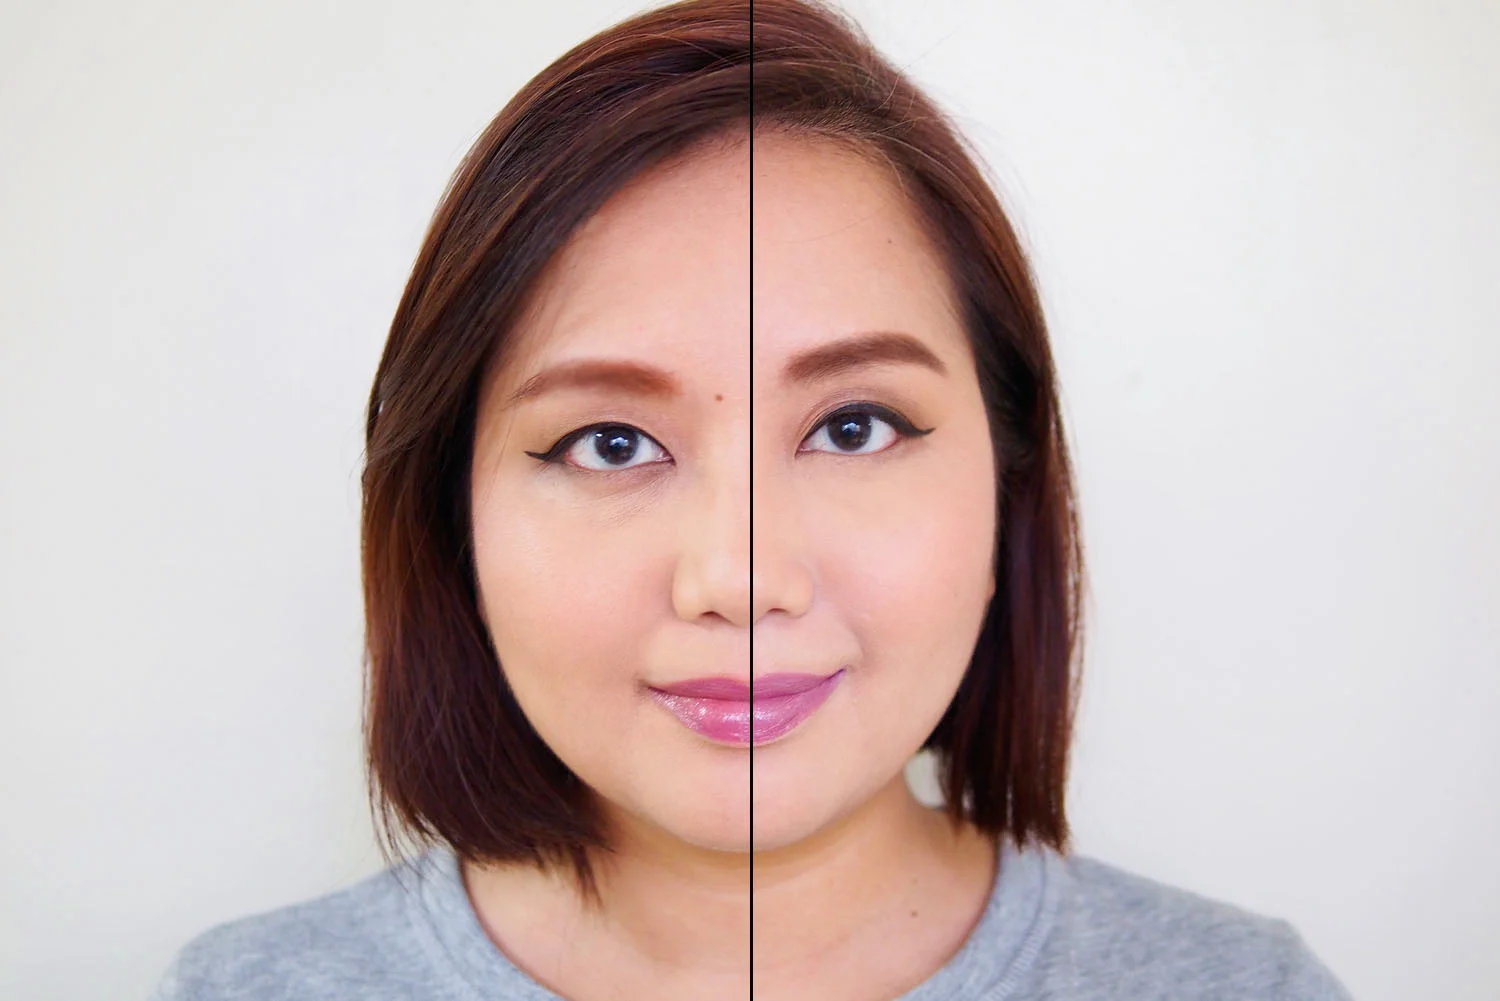
Left: Lipstick only, Right: Lipstick with concealer base
Lesson 7: Lip color pops better on a blank canvas
Lipstick usually has a different color on the tube versus when worn, or even varies from person to person. This is due mostly to the natural color of your lips. To make the lipstick color really stand out, use a concealer or a color-corrector on the entire lip area to cover up the pigmentation and neutral base for the lip color to adhere to. This is also the same base technique used for gradient lips.
You can try the heavy coverage CATRICE Camouflage Cream Concealer (P329) before topping with your fave red or pink lipstick.
Do you have more tips to share on how to improve your makeup?