

How to apply basic eyeshadows
There are a myriad of techniques and styles when it comes to applying eyeshadows, but I like to keep it simple for an everyday and versatile look. By simple, I mean using only three colors and one brush. Yes, one brush. :) Brushes are fun to use but only for advanced and very detailed eyeshadow work. For a basic day look, one brush and three colors is really all you need!

I love doing colorful eye looks but for this tutorial, I thought I'd show you a universal way to highlight and contour your eyes. Knowing how to do neutral, enhanced eyes is crucial knowledge; with it, you can wear virtually any shade of blush and lipstick. If you have to know only one eyeshadow look, this is it.
Here's the step-by-step tutorial!
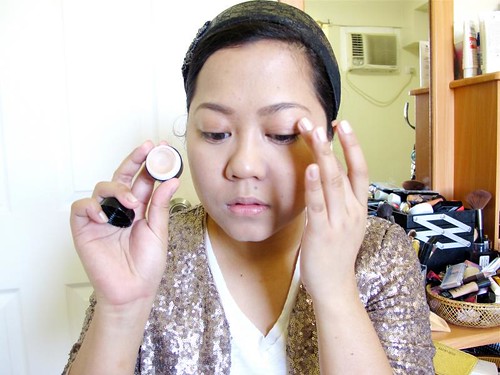
Step 1: Prime your lids with an eyeshadow base. An eyeshadow base is a MUST when wearing eyeshadows because it intensifies their color and extends their lasting power. Pat on a thin layer and wait a few seconds for it to dry. I love the Urban Decay Primer Potion and the ArtDeco Eyeshadow Base.
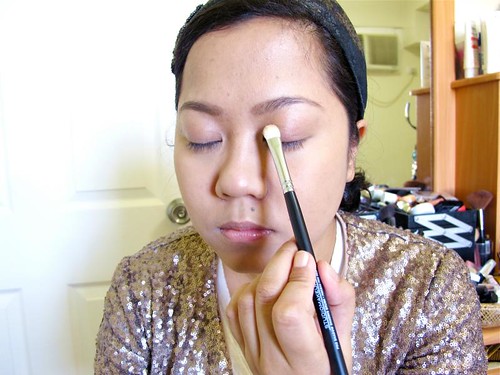

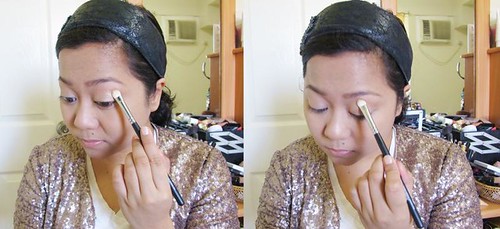
Step 2: Pick up a shimmery champagne, peach or light gold shade using your eyeshadow brush. Pat it gently from the inner corner of your lid, moving outwards. You can swipe it a little if you wish, for smoother coverage.
By the way, the brush I'm using here is the Studio Makeup Pro Shadow Shading Brush. It's awesome!
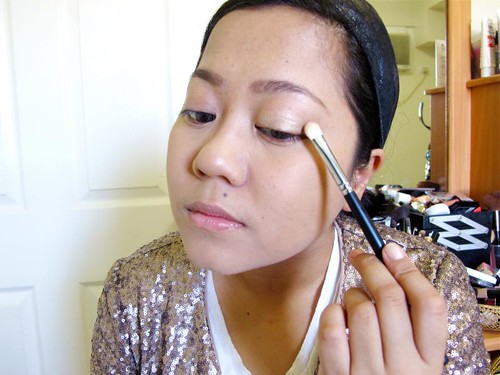
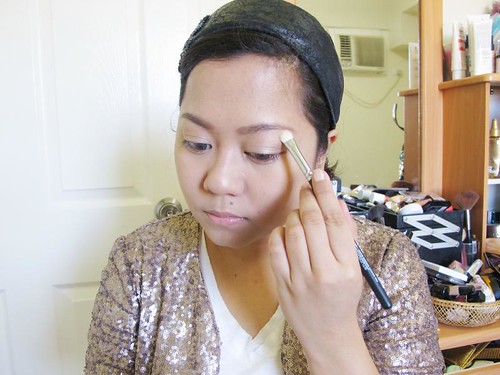
Step 3: Pick up a matte or satin contour shade (could be brown or tan). Tilt your brush a little bit, using the edge to shade your crease. The crease is the area where your eyeball curves toward your head or, if you have double lids, the area where your fold is.
Darkening your crease creates the illusion of deeper and smaller eyes. I used a very light matte tan here because I just want a bit of contour, but if you want hooded-looking eyes, you can pick a darker shade.
From the other corner of your eyes, swipe the crease color going about 2/3s into your eyes

It will look a little uneven here, but that's ok since you'll blend that in further.
Step 3: Pick a beige, dirty white, or another light champagne shade as a brow highlight/crease blending color. Apply it directly on the edges of your crease color blending outwards to sort of erase the sharp edges. Blend upwards to your eyebrows to create the illusion of higher brows.
Definition of blend - erase sharp lines by sort of shimmying the brush in small sideward motions.
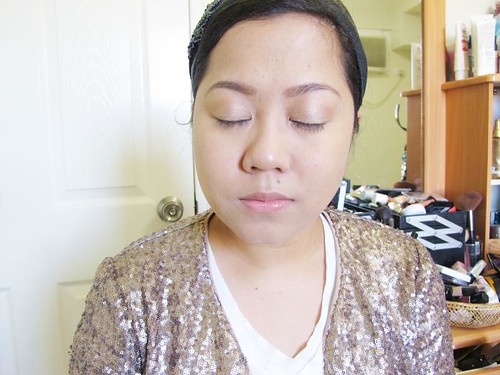
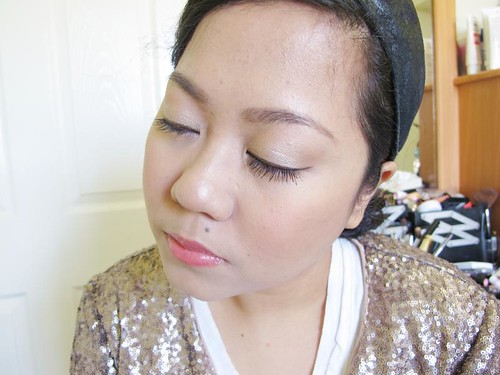
Barely there beauty
Add mascara and eyeliner...
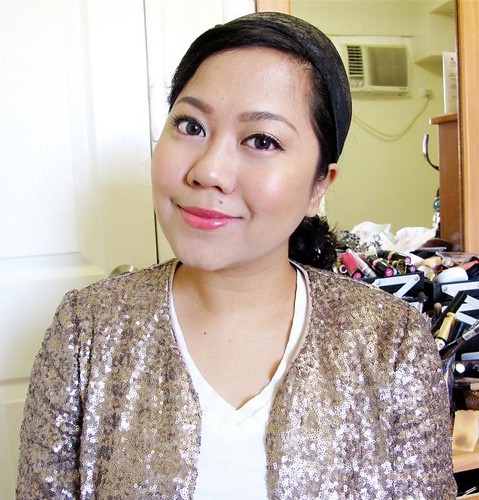
Done!
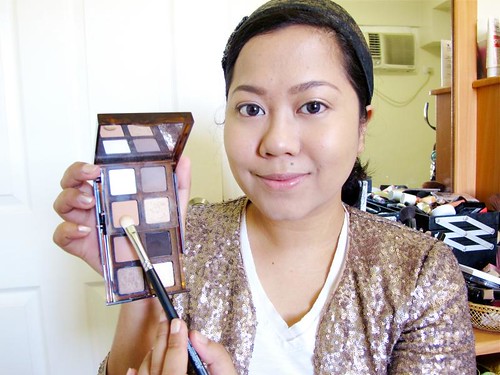
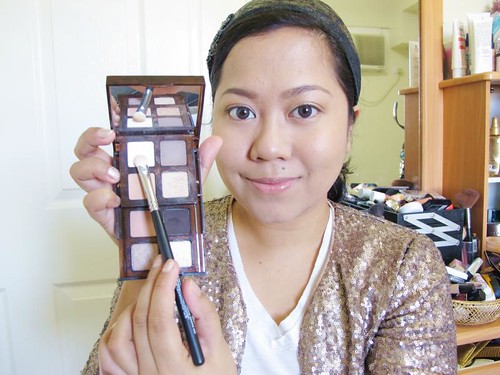
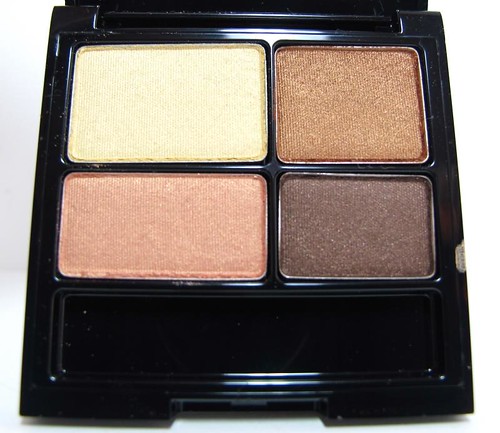
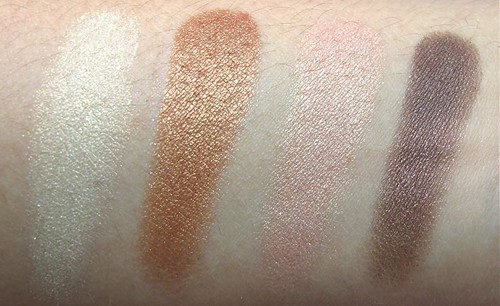
See, it's super easy and simple. :) I used a kickass Bobbi Brown palette in this look, but there are tons of equally good drugstore alternatives for doing this neutral eye. Here are some of my suggestions!
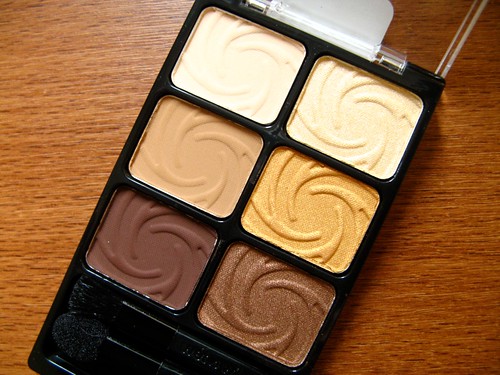
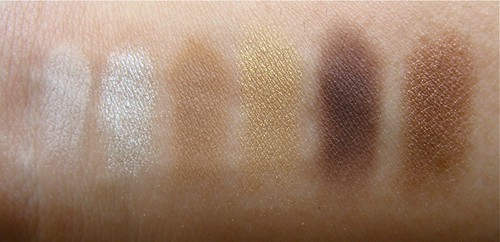
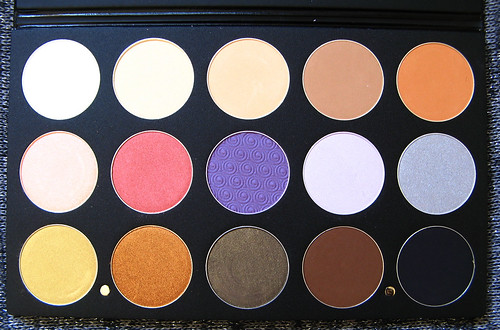
Revlon ColorStay 16 Hour Eye Shadow Quad in Brazen
Wet n' Wild Color Icon Eyeshadow Palette in Vanity
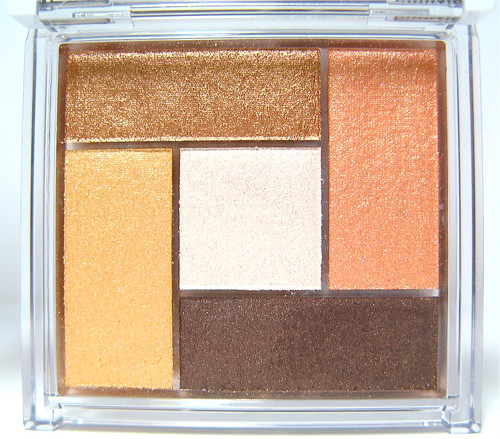
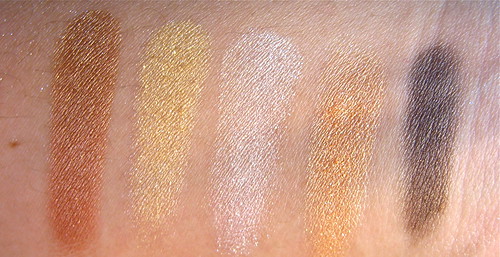
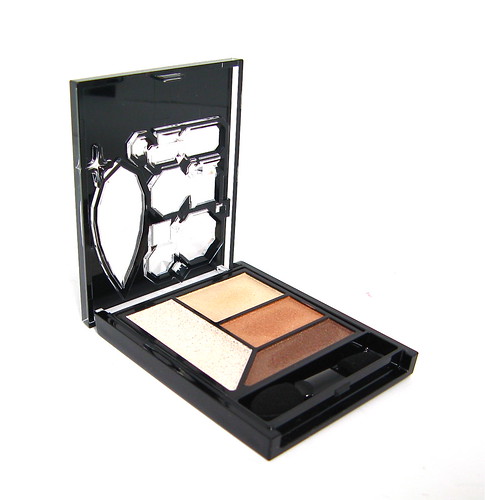
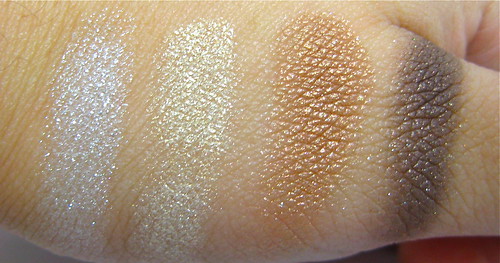
Great find: IN2IT Eye Colour Palette in Island Sands
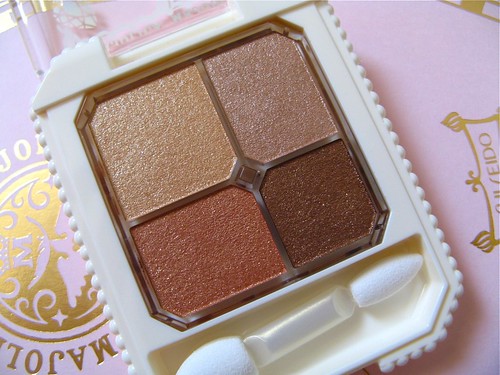
Majolica Majorca Jeweling Eyes palettes in Caramelisee
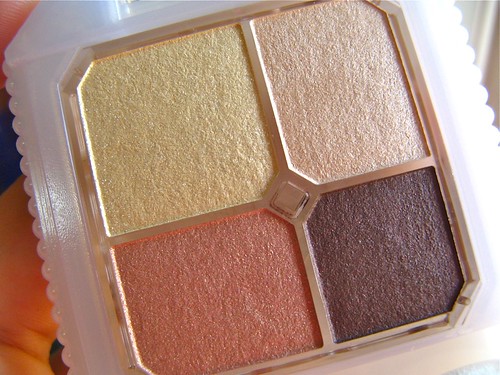
Majolica Majorca Jeweling Eyes palette in RD784
If price is no object and you want to invest in neutrals that you will use forever, try these!
Beauty PRO Cosmetics Palette in Sweet and Smoky
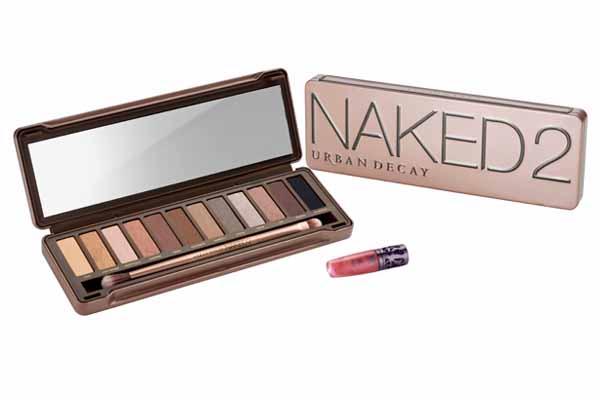
Urban Decay Naked palette
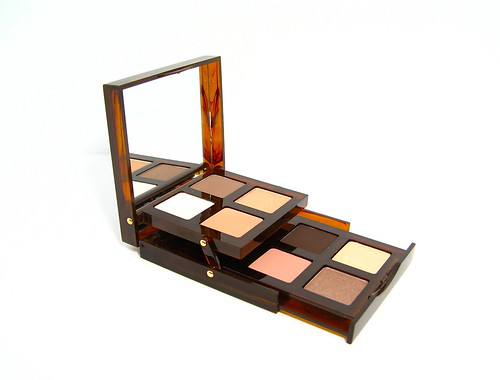
Any Bobbi Brown neutral palette. This one is a limited edition Bobbi Brown Tortoise Shell Palette in Sand.
More tips:
- You can use this three-step eyeshadow application technique with ANY color. Have fun and experiment! Just make sure to use the medium color on your lid, darkest color on the crease, and the lightest on your brow bone.
- When you see flecks of powder on your face (called fallout), just brush it away with a powder or blush brush. Just sweep it sidewards, but take care not to press the fallout on skin.
- If you don't have a proper eyeshadow base, you can use a concealer on your lids.
- To intensify colors even more (especially metallic ones), use the foiling method. Just dampen your brush with a bit of water then use it to apply eyeshadows. You'll find that the water activates the pigments!
And that's it! I hope this helps. :) Please let me know if you have any questions or suggestions. Thanks!