

This DIY facial routine can get you the same effect as if you went to a clinic
When we put out a poll earlier this year, a stunning 31% of Project Vanity readers said that they never go for facials! This was closely followed by 27% who go once or twice a year, and another 27% who get them every month. There were two reasons often given by those who answered “never” and “rarely”: facials can get pretty expensive, and they found that their regular skin care regimen was enough to keep pimples at bay.
Many also asked, how often do we actually need to get facials? The short answer is: it depends on what you need. Our skin types, concerns, genetic predispositions and even our lifestyles all play a part in determining how often (and how thoroughly) our skin needs to be cleansed. If you’re too busy or on a tight budget though, a trip to spa or facial clinic may not be an option. So why not give yourself a facial treatment right at home?
Of course, there’s no pricking (it’s risky to do on yourself so leave it to the professionals) or high-tech gadgets involved here but this facial gives your skin a more thorough cleanse than usual plus some much needed pampering. Do this whenever you feel that your skin is stressed or acting out (bumps, minor pimples, redness, etc.). You'll be surprised by how a good mix of products to deep cleanse and nourish your skin can go a long, long way in getting you the same effect as going to your facialist.
So set aside an hour, put on some soothing music, and get ready to treat yo’ self!

Step 1: Remove surface dirt
On its own, a deep-cleansing wash like the Aprilskin Magic Stone Soap (P990, AboutFace.ph) can jumpstart the process of removing all kinds of dirt, blackheads and whiteheads from the surface of your skin. Liz swears it has even removed the milia from her eye area! Be careful though, as getting this in your eyes will sting like hell.
After rinsing and thoroughly patting your skin with a clean towel, reach for a gentle gommage exfoliator like Cure Natural Aqua Gel (P1500, Beauty Bar). This product works best when skin is completely dry so make sure to pat off any moisture. Pump out a small amount at a time and massage it in a circular motion, working in small areas at a time. This may take a bit longer if it’s your first time to use a gommage exfoliator but usually a minute or two is enough, else you may rub your skin raw.
Step 2: Draw out deep-seated impurities
Your skin will probably feel super smooth when you’ve rinsed the exfoliator off but to help loosen up the impurities inside your pores, it’s nice to steam your face before going to the next step. Draping a towel over your head while bent over a bowl of hot water should do the trick, and the mini sauna actually feels good on your face. Stay there for about ten minutes.
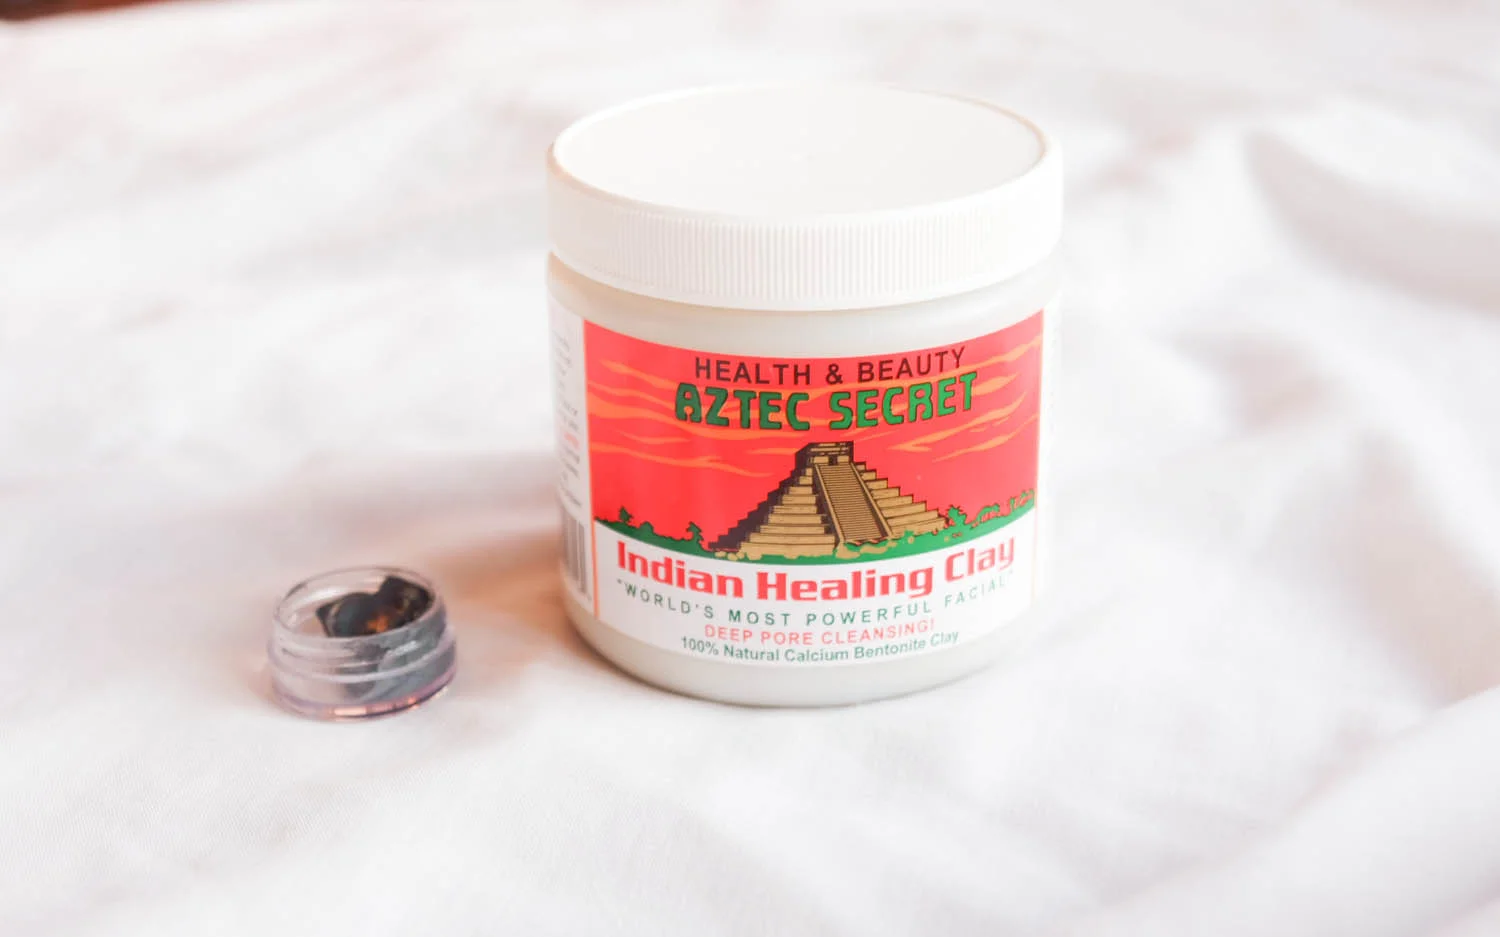
After steaming, apply a mask that can penetrate deeper into your skin and clean out every nook and cranny. The best we’ve tried is Origins Clear Improvements Active Charcoal Mask (P1700, Origins), which can be used for normal to dry skin. If you have combination to oily skin though, the Aztec Secret Indian Healing Clay (P428, Healthy Options) is also a very good and affordable option as a pound of this will last you a really long time! Another slightly cheaper but equally good option is the Queen Helene Mint Julep Mask (P395), which has a minty tingle and works well on skin with a lot of redness and excess oil.
Whichever mask you choose, allow it sit on your face for about 15 to 20 minutes to give the product time to completely set and do its work. The product can harden quite a bit but warm water and/or a wet face towel makes it easier to wash away.
Step 3: Prep for pampering
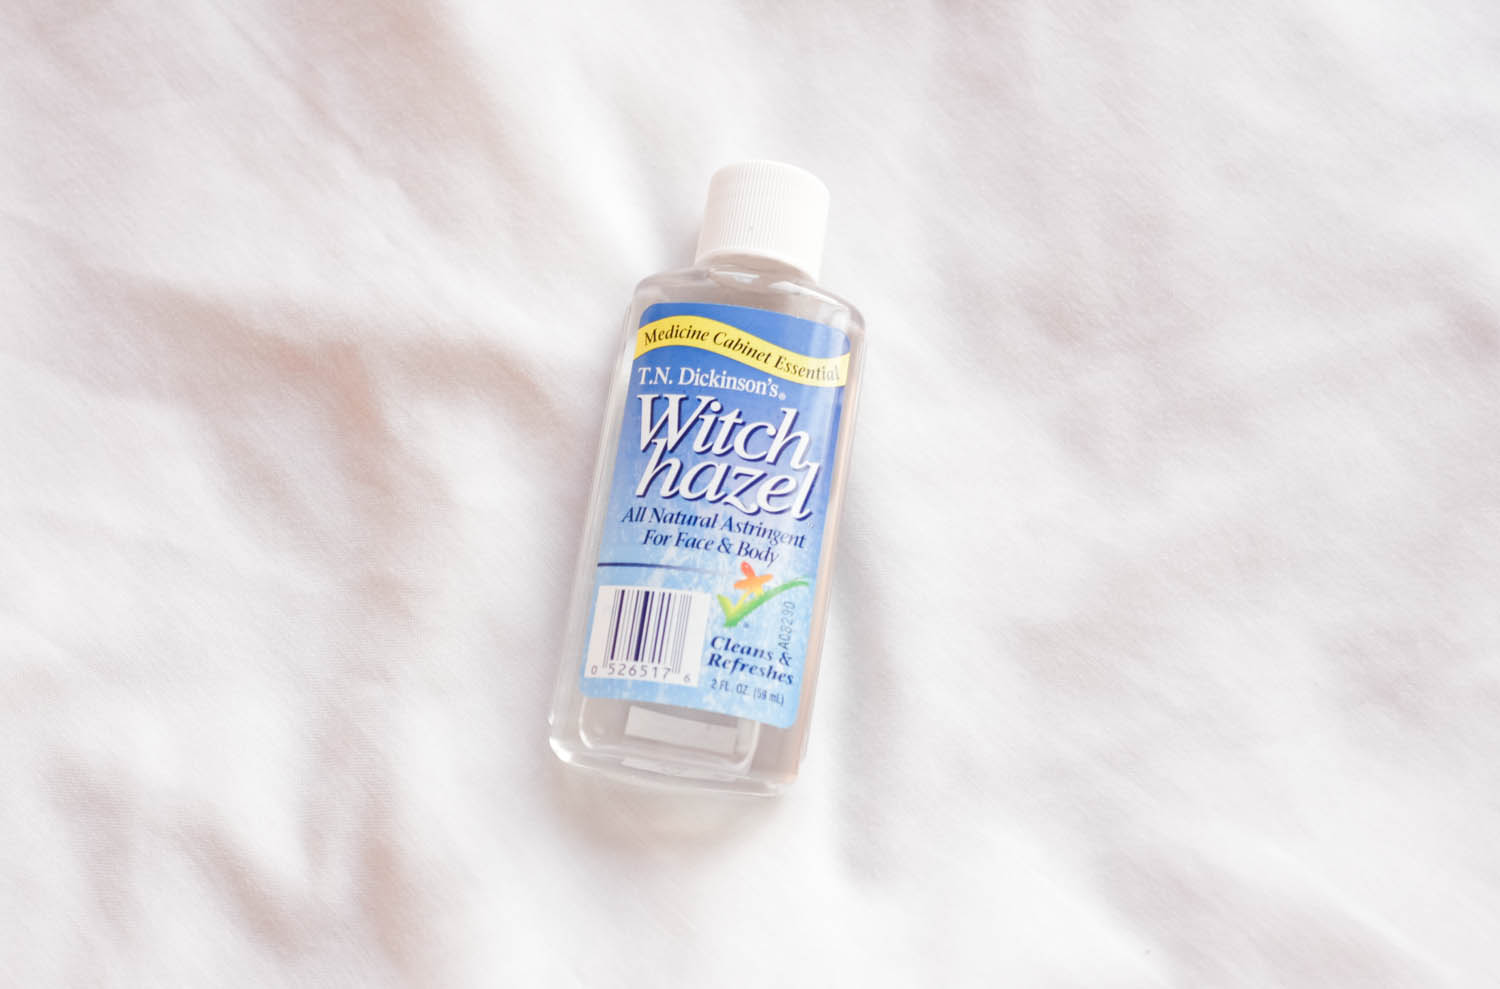
Contrary to what many think, toners aren’t just for controlling oily skin but have other functions as well. Some modern-day toners are formulated with moisturizing and nourishing ingredients, and they allow your skin to absorb the good stuff in your skin care better. One affordable option that works well is Dickinson’s Witch Hazel Toner (P75, Healthy Options), and it also helps in minimizing the appearance of pores. You can also use apple cider vinegar if you already have some in your cupboard.
Step 4: Soak up the good stuff
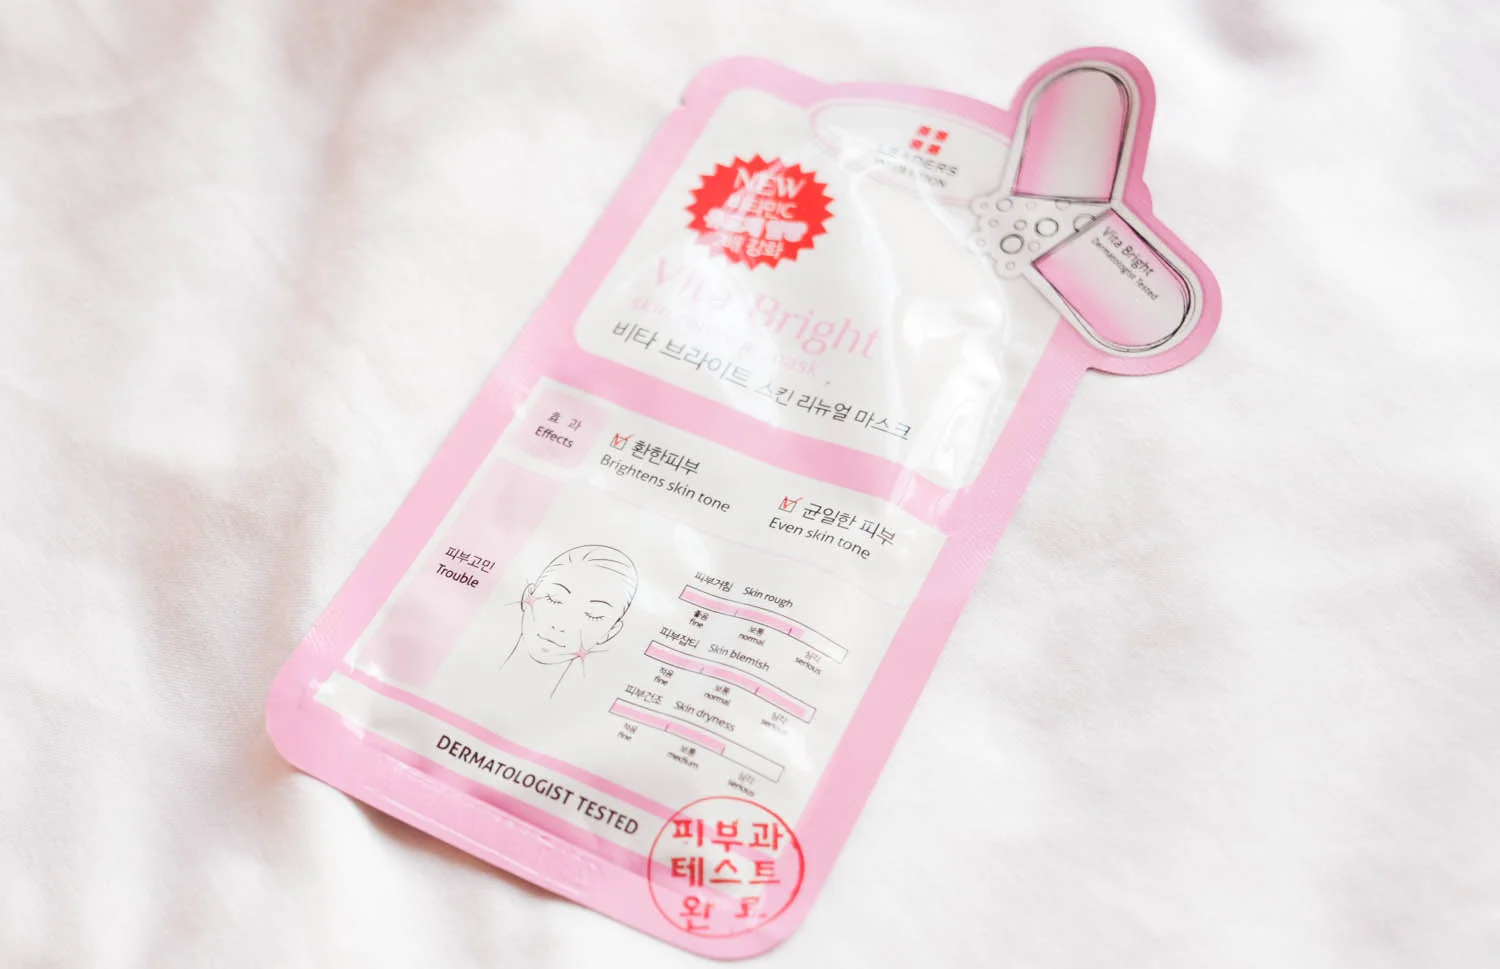
We can never get enough of masking here at PV, so it's a non-negotiable in our DIY facial. Leaders (P78-P248 per mask) is our best bet for sheet masks, and if you’re not sure which one to use, check out our guide to the different variants. They even have masks for treating acne! Just let it sit for 20 minutes then either pat or massage the excess essence onto your skin.
If you prefer masks that you can wash off though, nothing beats the ones from Origins. The new rose gold-colored GinZing Peel Off mask looks pretty, smells wonderful and feels great, plus it has a brightening effect on the skin. And if you want to make sure your skin gets the full benefits, apply the Maskimizer Skin-Optimizing Mask Primer first.
If you don’t have problematic skin, you can do this facial every 20 days or once a month. The regular exfoliation can reduce your need for cleaning, since gunk doesn’t build up as much in your pores. Skin concerns like severe acne can’t be addressed by just using skincare products though, so you should still consult your dermatologist for appropriate treatments.
Are up for trying this facial at home? Or do you have your own techniques for deep cleansing and skin pampering? We'd love to know how you do your DIY facial!