

A concealer tutorial + a review: The Shiseido Perfecting Stick Concealer
Over the years I've learned that faking the perfect complexion isn't so much about using the best foundation, but about blending in the right base and concealer. If you've got a good brightening primer or skincare underneath, then cover up all blemishes and unevenness with a heavy coverage concealer, then you've won 80% of the battle against facial flaws. All that without looking like your skin has been plastered over with makeup!

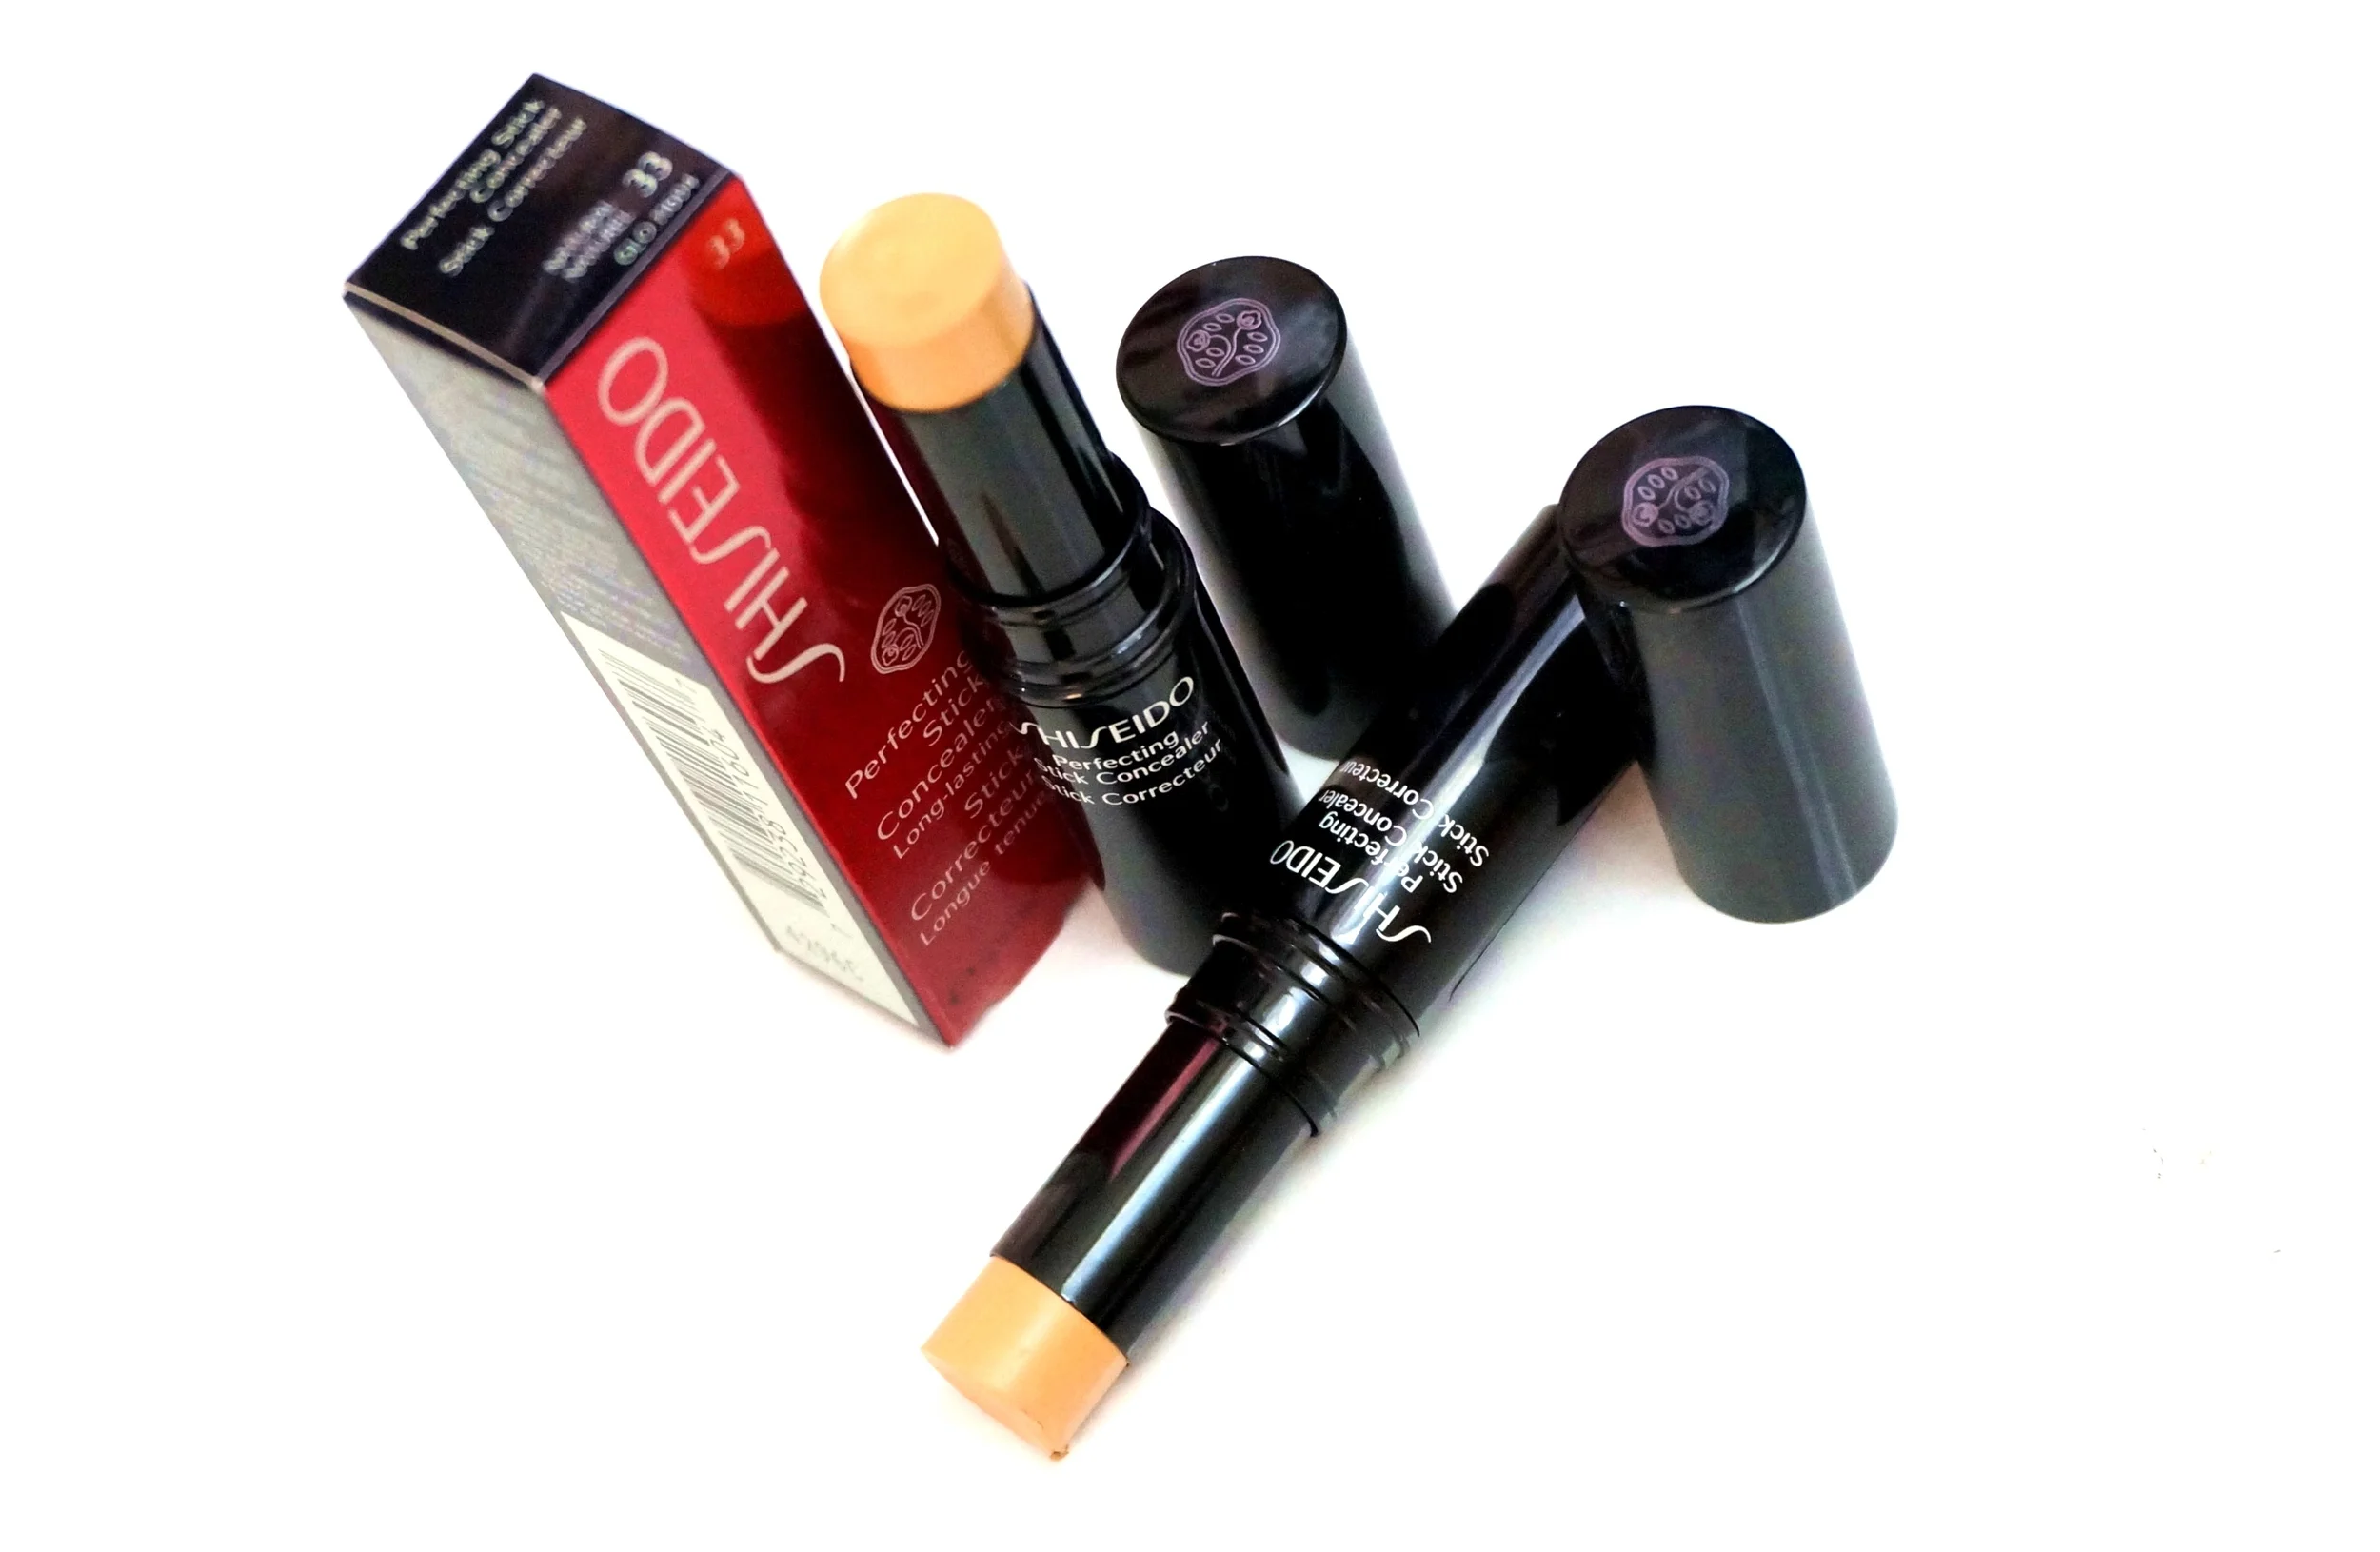
Later I will share with you my current concealing routine, but first here's a quick review of the new Shiseido Perfecting Stick Concealer (P1,350). I fell in love with this at first swatch that I grabbed two! I immediately wore it the next day but was instantly disappointed by the fact that it caked in two hours in humid weather. How could that be? It's not often that a Shiseido product fails me.
I experimented with different ways of application and I've found that it's best blended onto the skin with a dense brush. Fingers are no good; the texture is so thick that it can't be properly blended with my digits or a flimsy brush. It also sticks to skin too well, so basically I was just making a mess with my hands.
I use it with a densely packed brush from Zoeva (a German brand) called the Concealer Buffer and it looks amazing every time! It also doesn't cake since I am now able to properly sheer it out over the skin. I've worn this concealer for over ten hours and it fades only minimally even when I'm sweaty or oily. It does cake on the under eye area a tiny bit; I just even it out with a clean finger when this happens.

33 is my shade match!
This concealer is ideal for those with dark blemishes and under eyes due to its opaque coverage. It's also most suited to dry/normal skin types since it's quite creamy, but this will work on combi/oily skin as long as it's properly set with powder.
Overall, I find the Shiseido Perfecting Stick Concealer a pretty good product as long as it's applied correctly. Here's how I do it!
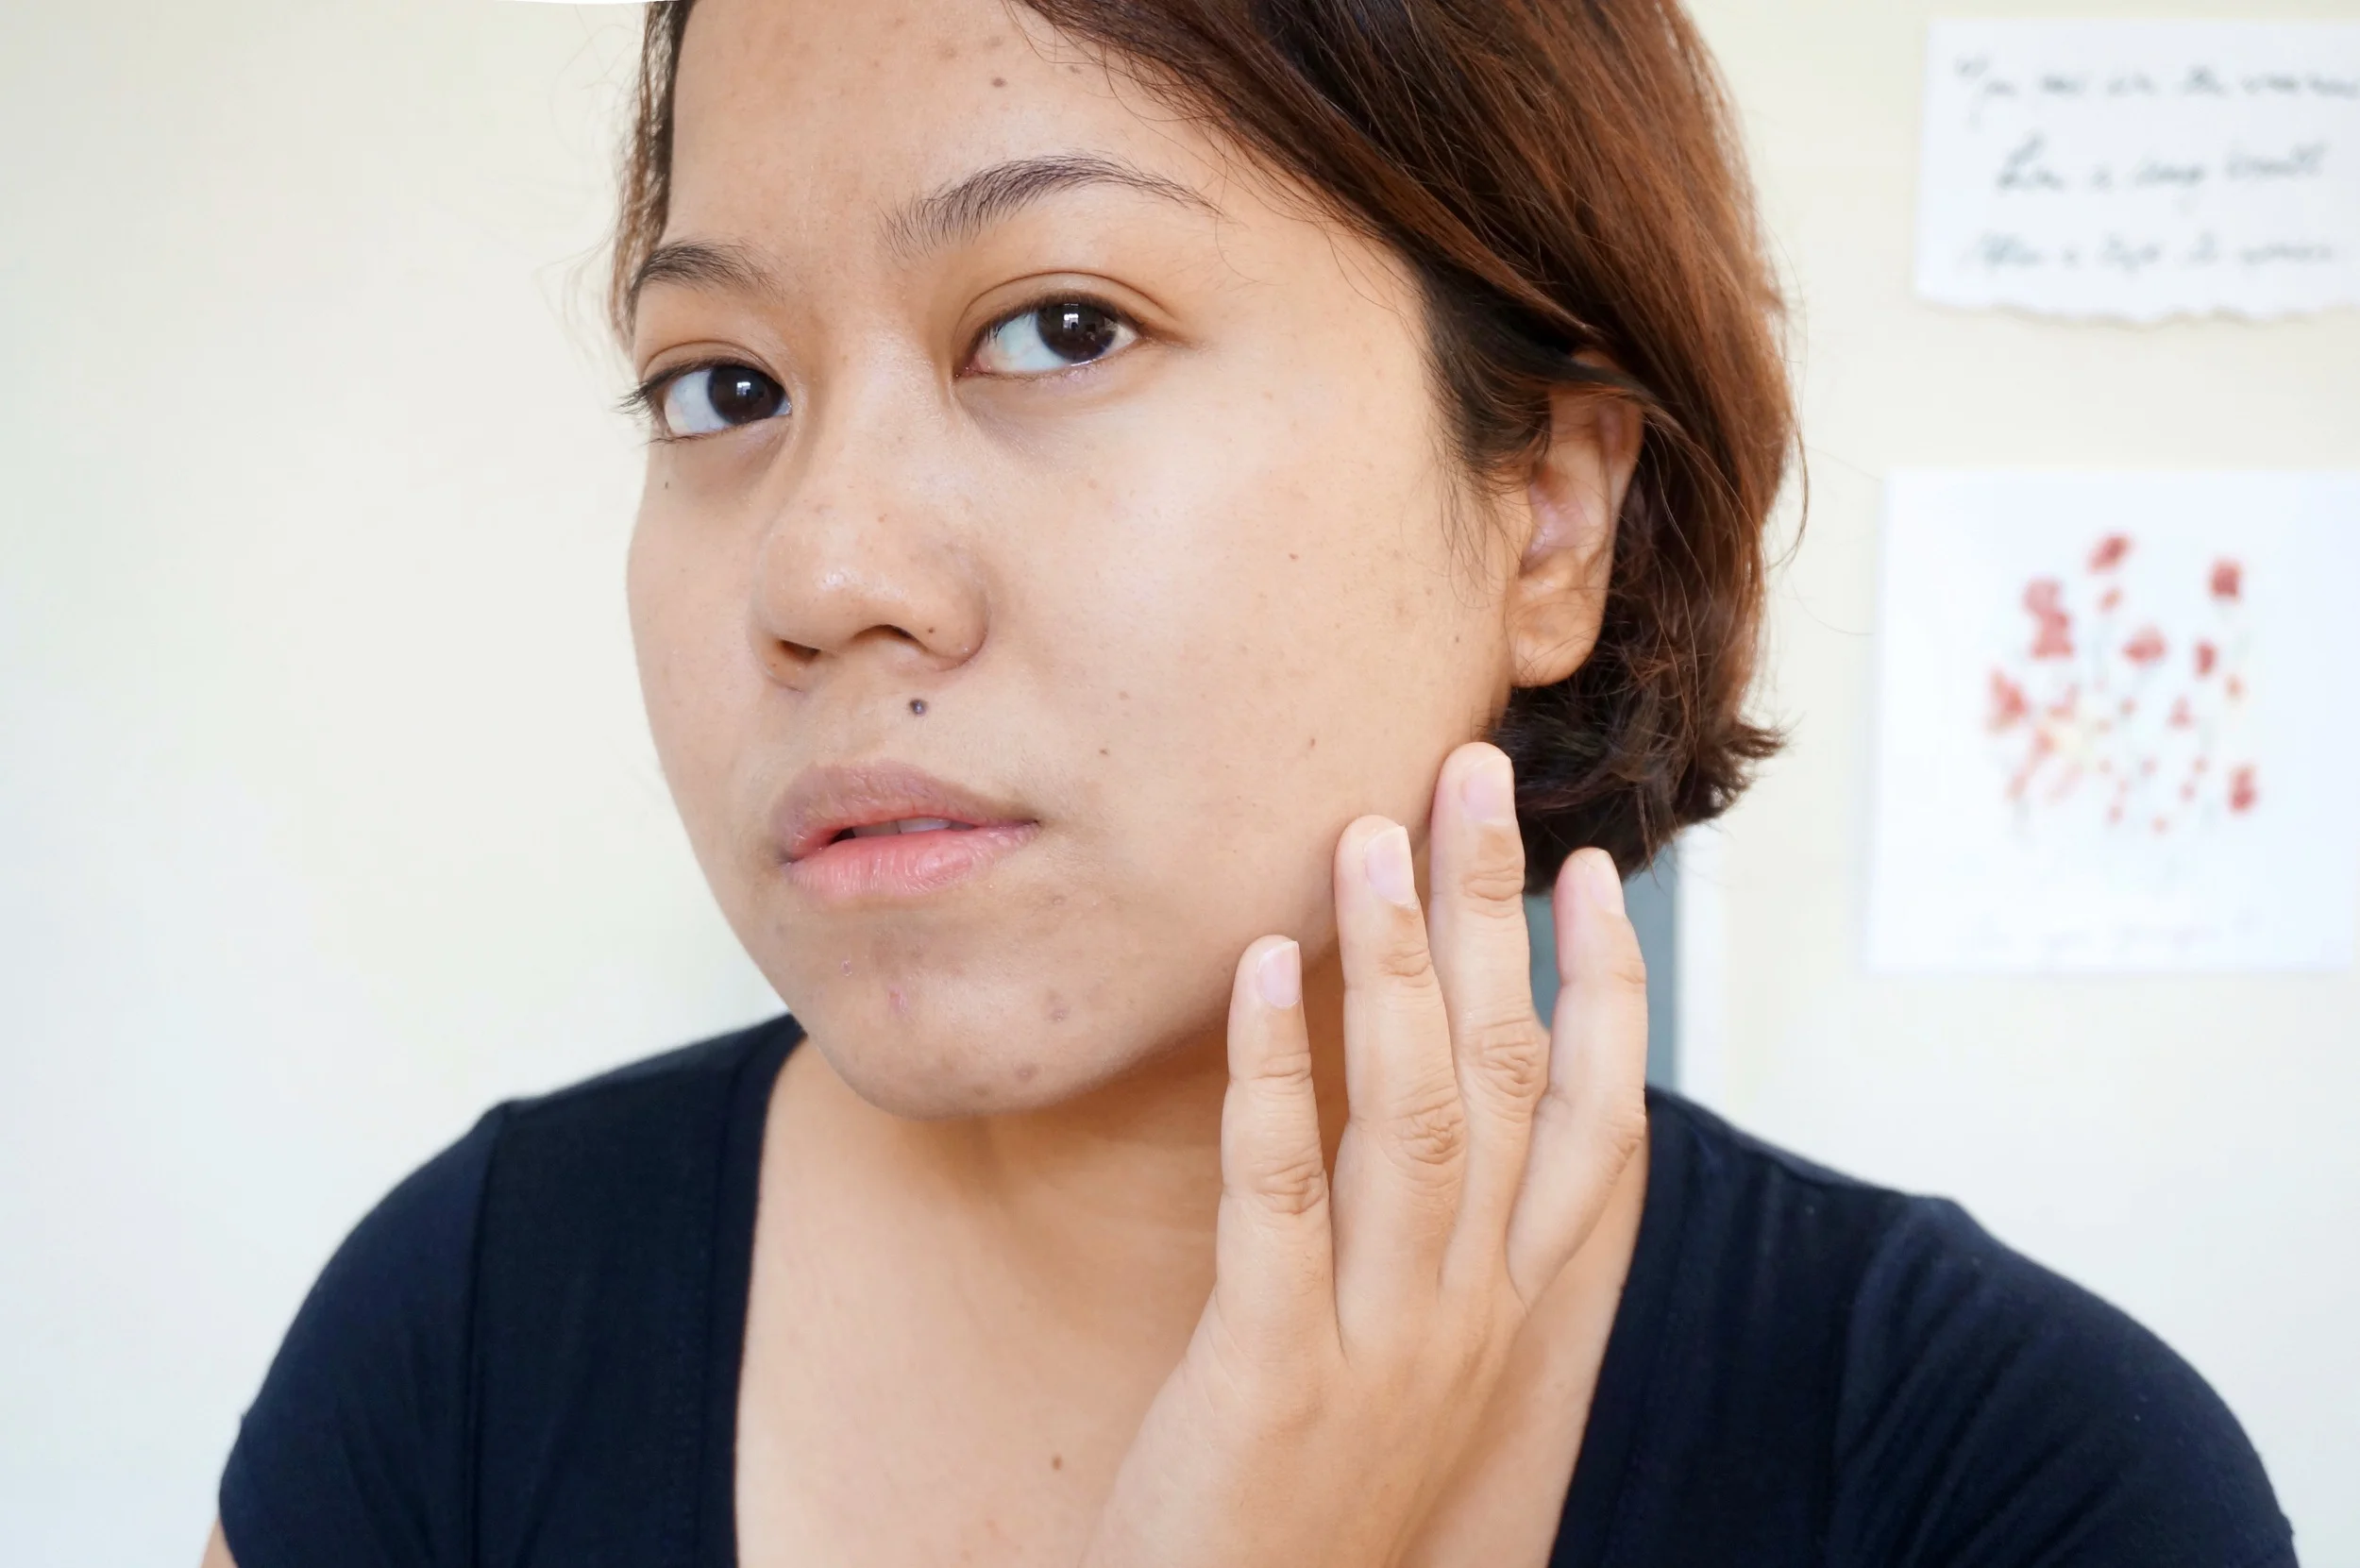
Before I start, I use a brightening primer like the Make Up For Ever Step 1 Skin Equalizer. This serves to banish darkness in depressed areas of the face as well as too yellow tones. It has zero coverage. Will review this and another MUFE primer soon.
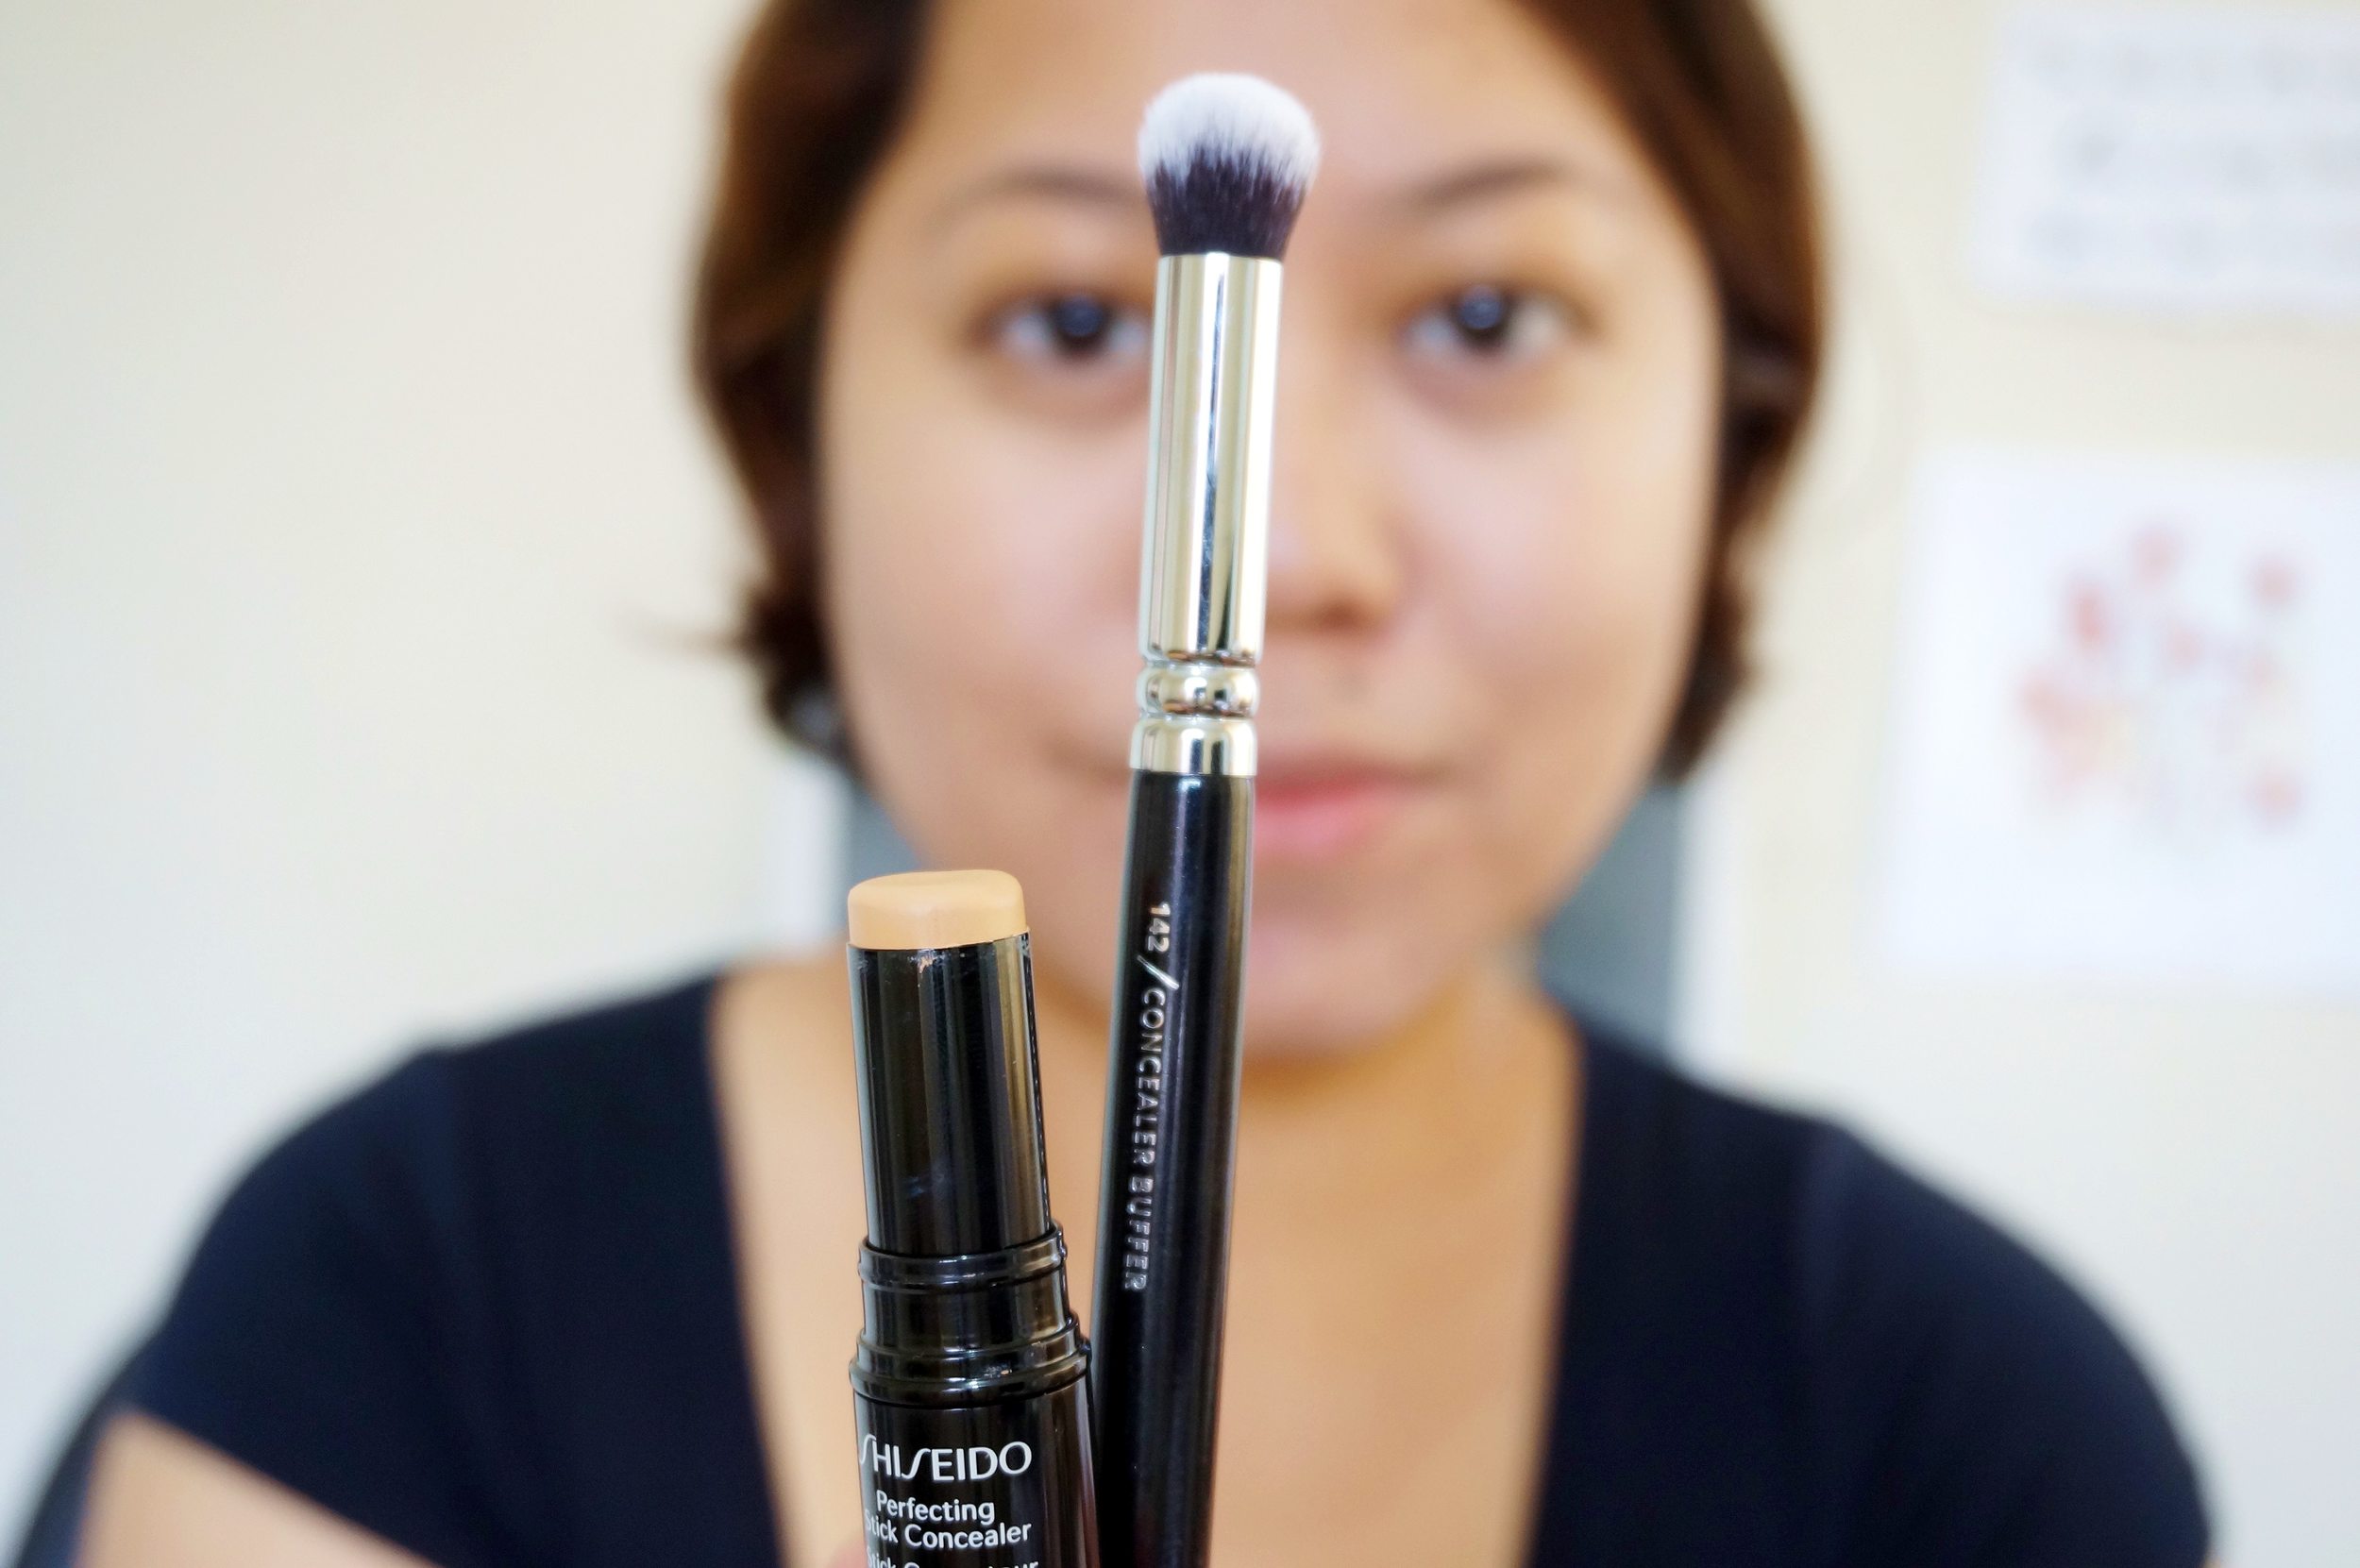
The brush below is the Zoeva Concealer Buffer which I got in a set, although I believe it can be purchased at Luxola.com separately. It functions like fingers but works so much better! The synthetic bristles are so soft too, and easy to clean.

Step 1: Apply the concealer wherever you need it. That would be the blemishes, around the nose or mouth if you're dark there, and under the eyes. I'm not too concerned about being precise since I'll blend it out later anyway. I also make sure to put in a thick layer to get maximum coverage.
Step 2: Blend out the edges in small tight strokes with a dense concealer brush. Try not to touch the middle part of the concealer, instead, feather out the edges into thinner layers until they look seamless against the skin.
Step 3: When concealing the under eyes, use a light hand and gently thin out the concealer from the inner corner of the eyes going outwards and upwards. This ensures that the concealer gets into those folds of skin with minimal caking.
Step 4: Set it with a thin layer of powder and you're done. You can use foundation if you desire better coverage, but an oil controlling translucent powder should be enough.
And that's that. Hope this helps! ^_^