Spend or Splurge? How to build you pro makeup artist kit
When we did our Tom Ford eyeshadow team test a few weeks back, the girls kept asking so many questions about my pro kit that I realized that there is so much to share from “behind the stage.” Everyday life as a makeup artist is obvious to me because I’m immersed in this world, but going back to my just-a-makeup-lover roots, I can see why this could be an exciting topic! While makeup enthusiasts post a lot of content on social media, working artists rarely share as much. I hope this guide can help aspiring and beginner makeup artists, as well as serious makeup lovers who want to better understand on how to make smart beauty investments!
When you do makeup on other people, priorities change. You have to be able to equally beautify various skin conditions and facial features. This is a huge adjustment from personal makeup, which can easily be influenced by our biases (I love kooky lip colors, so green lipstick sounds like a great idea!) or our unique conditions (I’ll splurge on falsies because I have no lashes!).
With what I’ve learned from makeup school and two solid years of working in the industry, I’d like to share with you what I wish I knew as I was starting to build my kit:

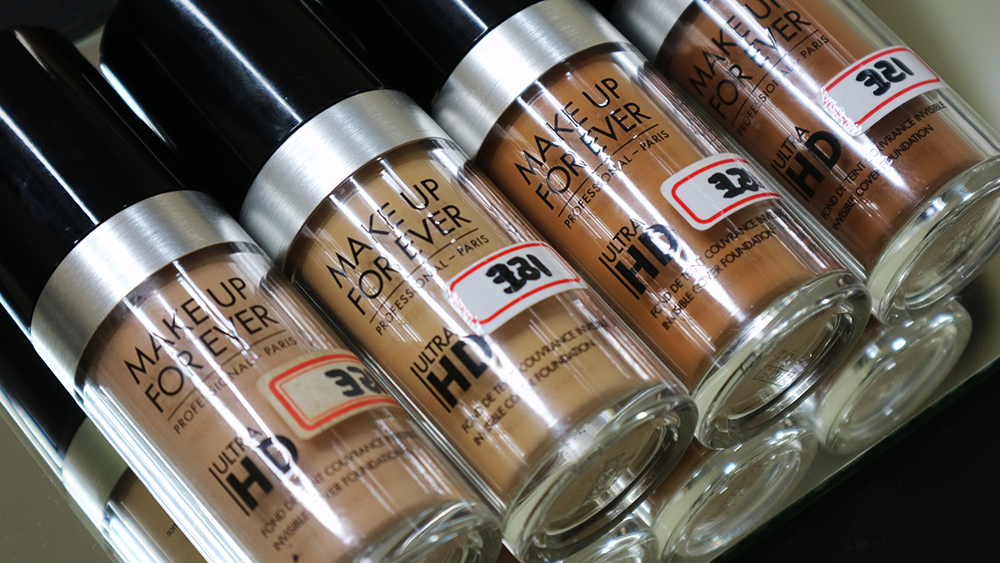
Spend on: Foundation
I am a fan of eye makeup, so I focused my initial kit-building on eyeshadow and tried to survive on one well-reviewed foundation palette. Over time, I realized that I was not showing my best work because as much as I had the eyes taken care of, the face presented way more real estate. Any little improvement in the foundation matching the skin tone or skin type of the client exponentially improved their overall aura.
Unfortunately, drugstore foundations tend to oxidize heavily, fade quickly, or look papery. Cheap ingredients aren’t yet able to mimic and move with skin that well, so I would recommend you to shop professional or high-end brands.
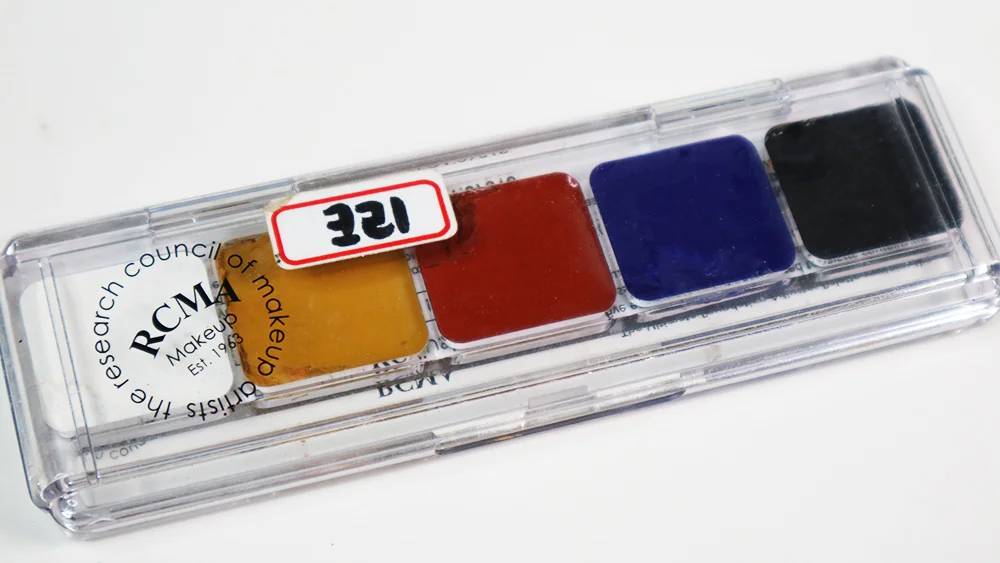
Save on: Foundation shades and types
That said, you don’t need to sweep out a complete shelf of foundations! Save by getting adjusters, like the RCMA Adjuster Palette (P1,500 at DTC Makeup). In an extreme emergency, any one foundation can be perfectly shade-matched to any skin tone with the correct adjustors. While mixing from any point A to any point B is a possibility, I still try to find the closest shade base and work from there.
You can also minimize costs by starting with three basic shades: a very light, a medium, and a very deep shade of warm-toned foundation. Instead of getting a bunch of specific/random shades, just mix these to match whomever is sitting in your chair. Neutral and cool skin tones often look good with a bit of warmth mixed in, but the fine line between workable warmth and a completely wrong undertone may be difficult to eyeball for a beginner. In this case, a fourth light-cool foundation shade for mixing is recommended.
Another way to save up in the field of foundation is by limiting the foundation types. Makeup artists must be flexible in delivering anywhere from daytime event looks to full-on stage makeup. That doesn’t mean you need to carry a set of 3 to 4 shades of foundation for each type of foundation finish… yet. Any full coverage foundation can be sheered out with the proper technique, but sheer coverage foundation cannot be built up. If you can only buy one set of foundation in the meantime, start with a full-coverage one. Check out Liz’s top 5 full-coverage foundations, which I also mostly happen to enjoy!
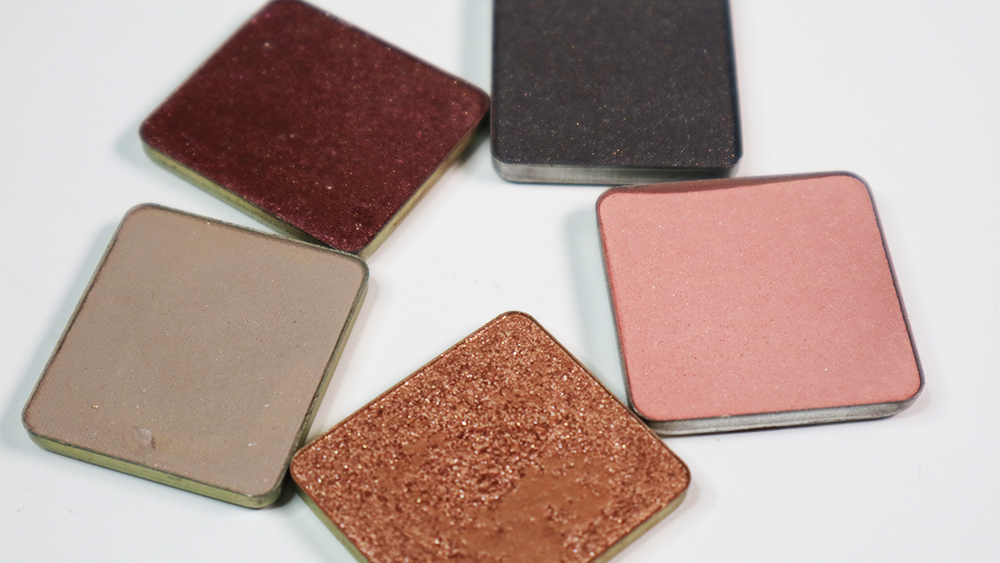
Spend on: Eyeshadow
My experience and attention to detail with eyes has taught me one thing: layering eyeshadows can make you look expensive, and cheap eyeshadows rarely do the job. For the most part, drugstore eyeshadows never seem to have that kickin’ vibrancy of their more established counterparts. They always seem muted, even when layered. And even when they do present well initially, drugstore eyeshadows fade much quicker, despite proper eye preparation.
Poor eyeshadow formulas can also be trickier to work with. While your talent can help you achieve a high-end look using drugstore eyeshadow, the effort in blending it all together will take up too much time. I prefer Make Up For Ever Artist Color Shadows (P950) or the Inglot Freedom System Eye Shadow Squares (P495), which allow me to pick and choose well-used shades in more economic, giant pans.
Save on: Mascara
Lucky for us, we don’t have to spend as much on all eye makeup. Modern mascara formulations are decently waterproof, rarely clumpy, and very affordable! This additionally works to our advantage since mascara must be discarded every two months, despite using disposable wands with them. Using disposables may mean that your mascara tube is never contaminated with germs and ensures the safety of your clients, but it is nonetheless exposed to air which may degrade the formula.
Maybelline generally does a stellar job with mascara, and one of my faves is the Maybelline Great Lash Mascara, which is just P350!

Spend on: Brushes
A makeup brush is one of the most impactful ways your client will experience your work. A makeup artist will be holding a makeup brush 90% of the time, and the client will be feeling makeup brushes on their faces nearly the whole duration of the makeup session. A good brush can not only make your work look finer, it can also help you work quicker by doing half the job for you. The correct size brushes allow us to quickly, comfortably, and easily apply makeup. Bad brushes force us to adjust our techniques, costing us precious time and energy, while also causing the quality of our work to suffer.
Good brushes will keep their softness, fullness, shape, and quality for a long time, which is a good investment as opposed to trying to make a limp brush work. I personally love Zoeva sets - mine are still great despite being in heavy rotation since 2016!
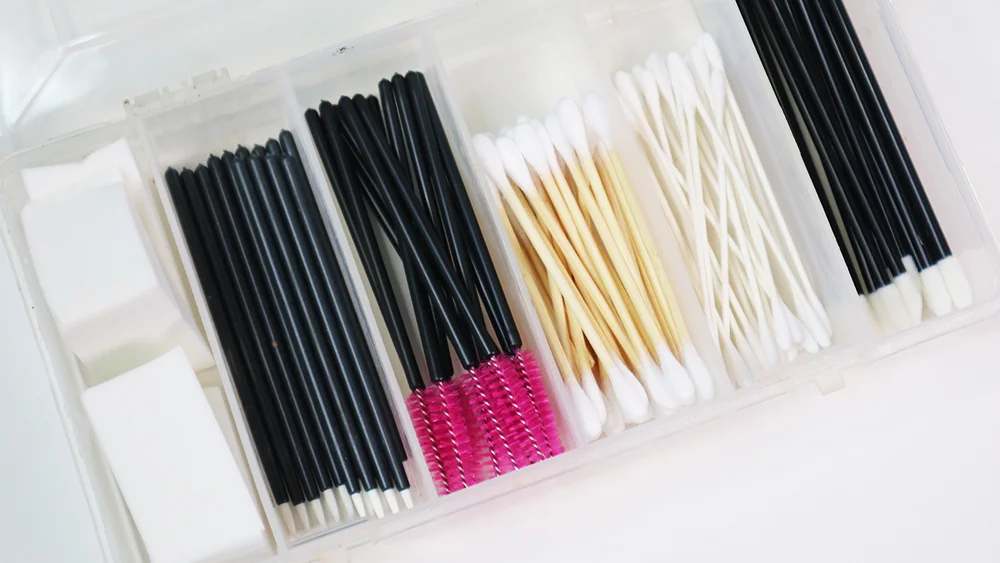
Save on: Disposables
Disposables are one-time use! Get the cheapest ones and GO. I go through tons of tissues, cotton pads, cotton buds, mascara wands, and lip gloss wands. The single-use nature of these things means I’m throwing several out for every client because I NEVER EVER double-dip to ensure hygienic application. When my estimating game is off, that’s as much as three lip gloss wands, two mascara wands, and up to five eyeliner brushes (for dip liners) per person! My general rule of thumb is to pay no more than P1.50 per wand type disposable so I source a lot from Shopee. Otherwise, I used to see disposables at about P3-5 per piece. That really stacks up since professionals buy in packs of 25 to 100. Yikes!
I’m also discarding cotton buds every single time; you can’t keep them out just in case. I prefer to use wooden buds so I can break off each used end as opposed to discarding a half-used bud. Still, in between picking out eye crust; applying lip balm; and cleaning up eyebrow, mascara, eyeliner and lipstick errors… that’s a lot of cotton buds. Tissues are the same, since I wipe off excess makeup from my hands or my tools very often. I don’t really need them to feel ~luxe~. I just get value packs from Watsons whenever I see them on sale.
Do note that these are just gentle suggestions, and are heavily biased according to my makeup aesthetic and priorities while working. You may find yourself needing to prioritize the opposite things as I’ve recommended, or even completely different things which I haven’t discussed! Makeup artistry, like most careers, is approached differently by different people. More than the suggestions above, its most important to be self-aware and to prioritize what’s best for you. I’d love to hear about how other pro makeup artists build their kits, so please leave your own tips in the comments below!