I tried DIY soap brows and loved them! Here's the best way to use soap for your brows
Have you ever heard of the old Hollywood trick of using soap on eyebrows? It may sound crazy but many professional makeup artists (both local and international) swear by this beauty hack for fixing brows into place! In fact, it has made such a huge comeback into the beauty scene that there are now several local brands that offer brow soaps in little tins that can fit into your makeup kit. But if it’s literally just soap, we can probably recreate the same effect using regular soap from the grocery, right? So, I decided to try it and find out!
While any kind of bar soap would probably work, it’s best to use clear soap because it doesn’t contain colorants. A clear lather means that the soap will be undetectable on the brow hairs once they set, otherwise a white soap might look like dandruff or flaky skin. Most clear soaps would be labeled as made from glycerin.

It was a bit of a challenge to find an affordable clear soap at the Watsons store near me, but I happily discovered the Dr. Sensitive Doctor’s Soap (P120 for 120g). It’s about the same price as some of the brow soaps that are sold online, but at a much larger size that will last you forever or can be split with friends. A big plus is that it’s a “low pH, fragrance-free, non-comedogenic” transparent bar, so it also meets our guidelines for a mild cleanser. The soap is indeed fragrance-free but I didn’t have strips to test its pH level.
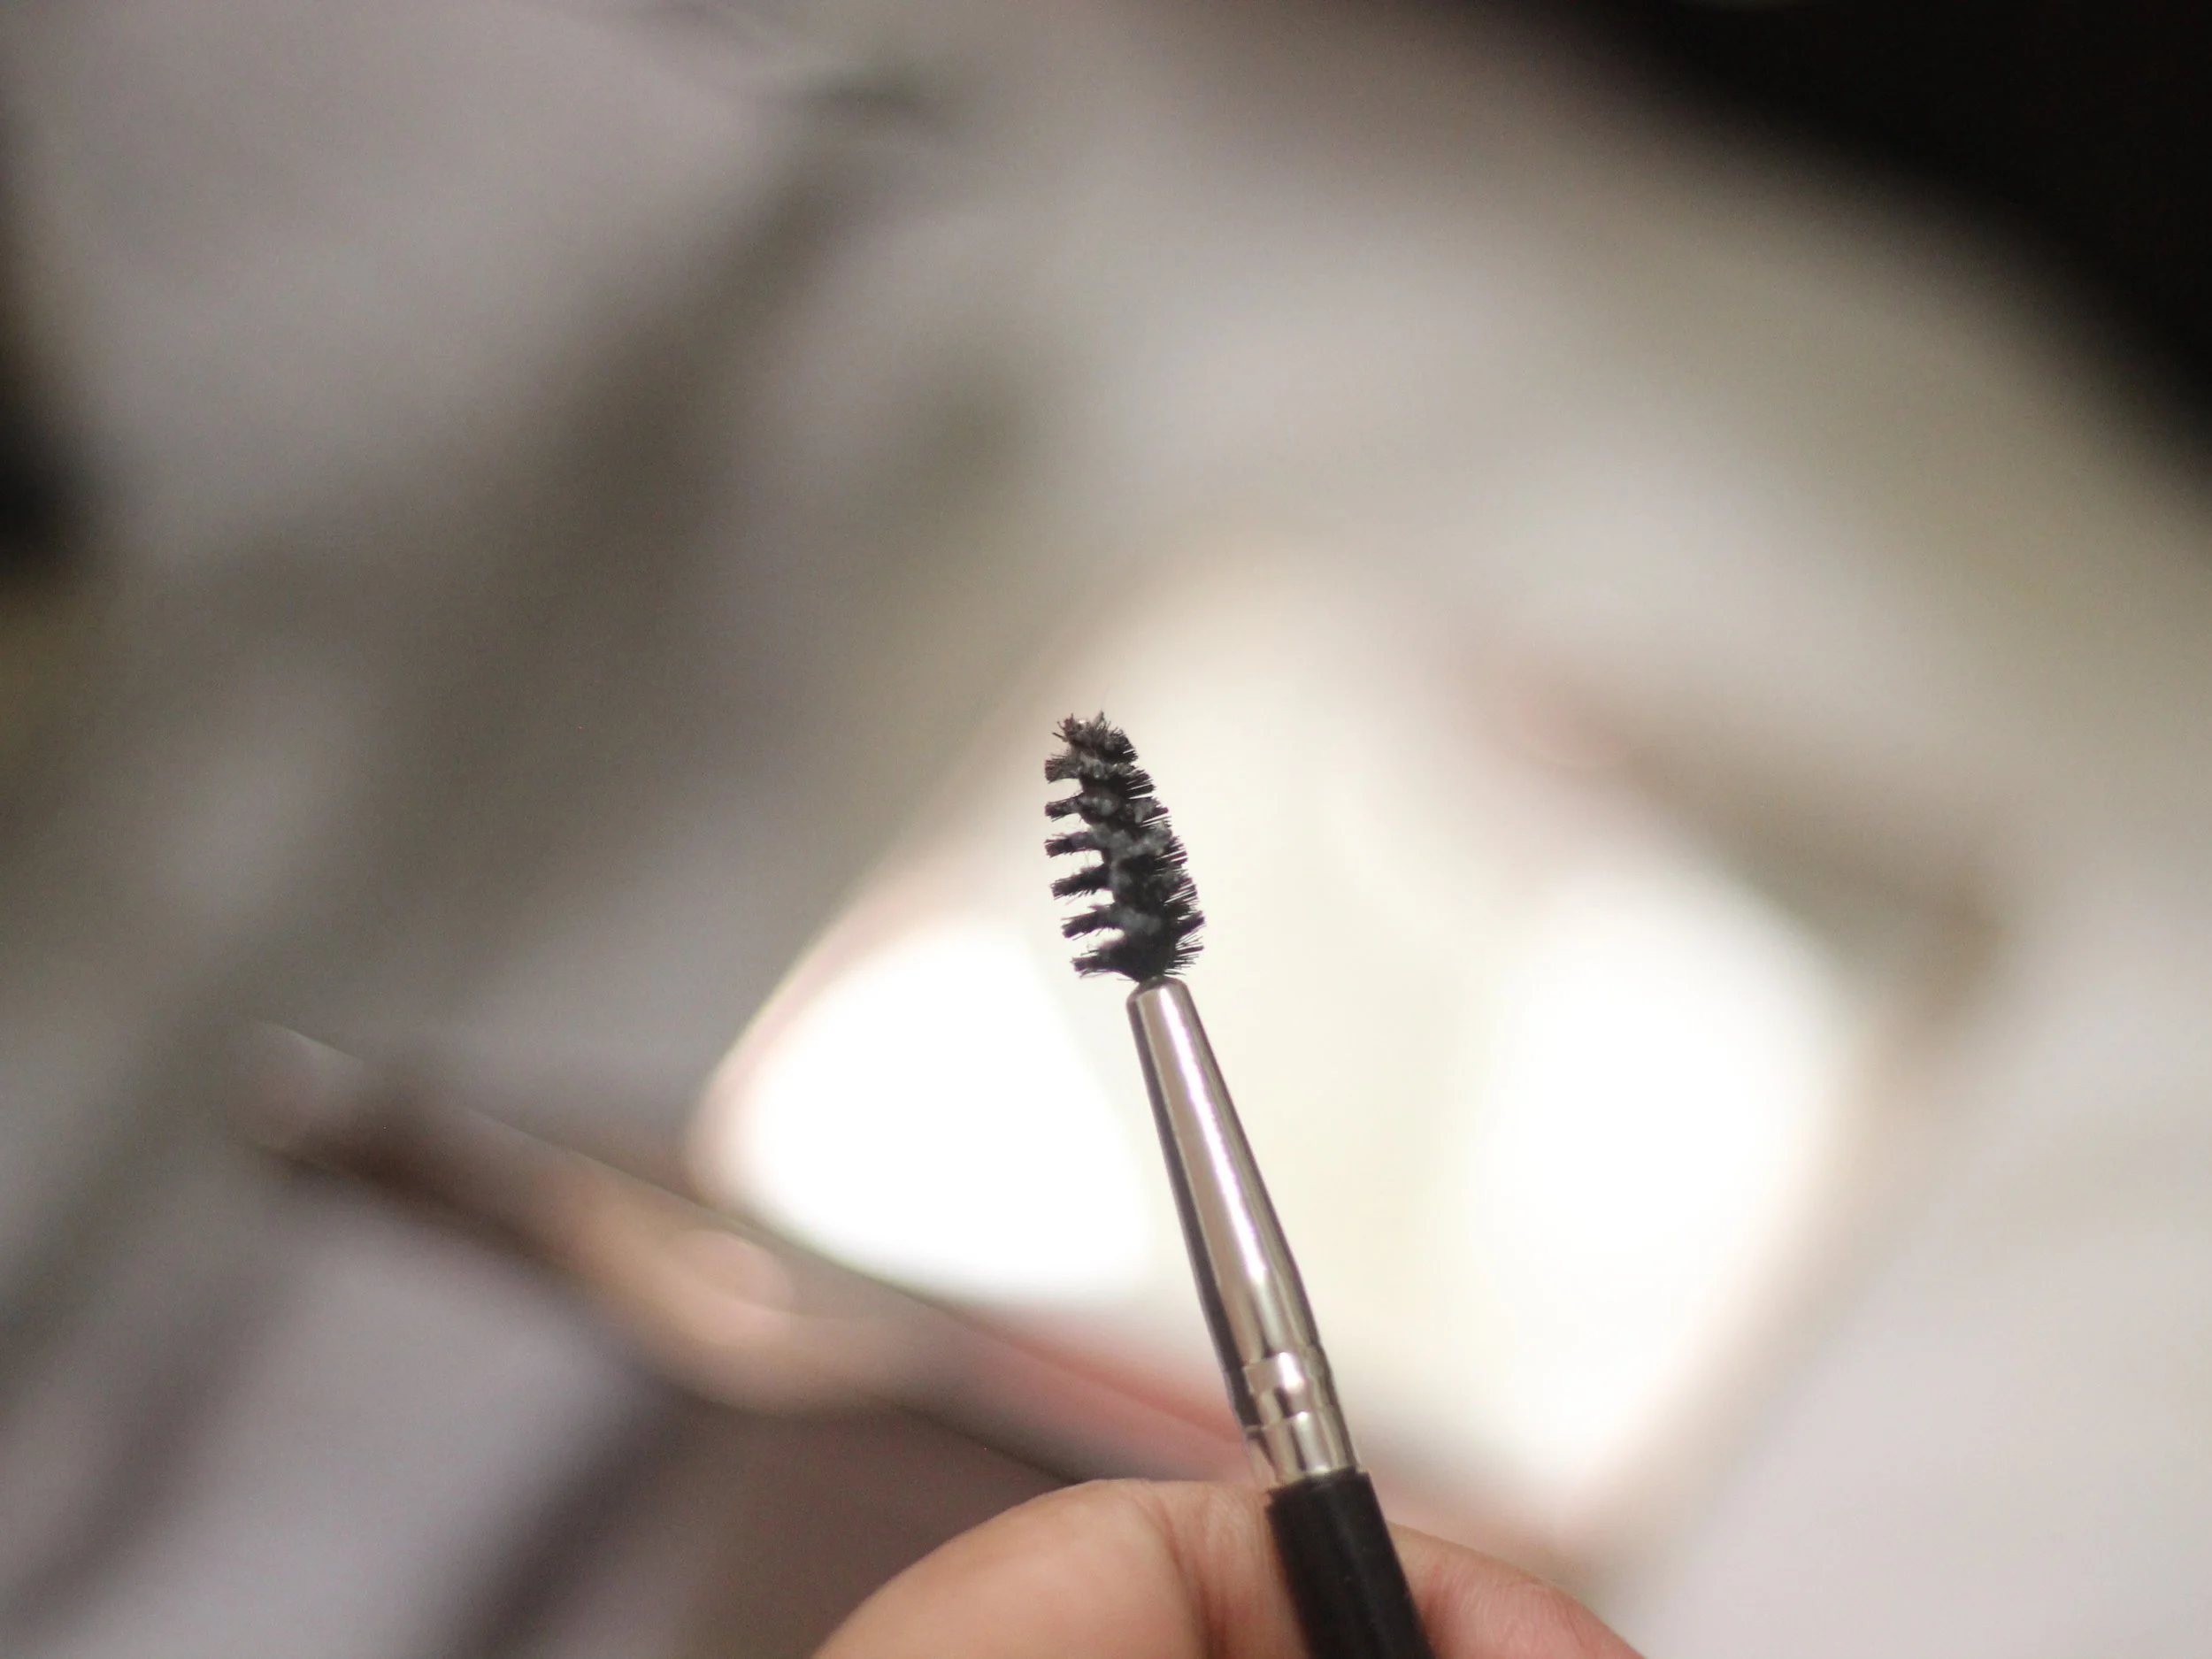
Here’s a photo of how much soap I put on my spoolie
Admittedly, I initially found the application to be confusing. I wasn’t sure if I was putting enough water on the soap, or applying the right amount. There aren’t any “recipes” for this since it will vary depending on the soap you’re using but a good rule of thumb is to add a small amount of water to the soap and just increase as needed to create a workable lather. The same applies to the actual soap you put on your brows - apply a little at a time and add more if you feel it doesn’t provide enough hold.
Sometimes, and perhaps due to my lack of experience with it, the soap would form little white bits just on top of the hair strands. I think the key to preventing this is by getting just the right amount with your spoolie. Once you get it right though, your brows will be perfectly set into place! If feathery, brushed-up brows are your goal, this technique will ensure that they’re immovable. Make sure to fix the shape of your brows before the soap dries, though; otherwise, you won’t be able to change the hold of the soap unless it becomes damp again.


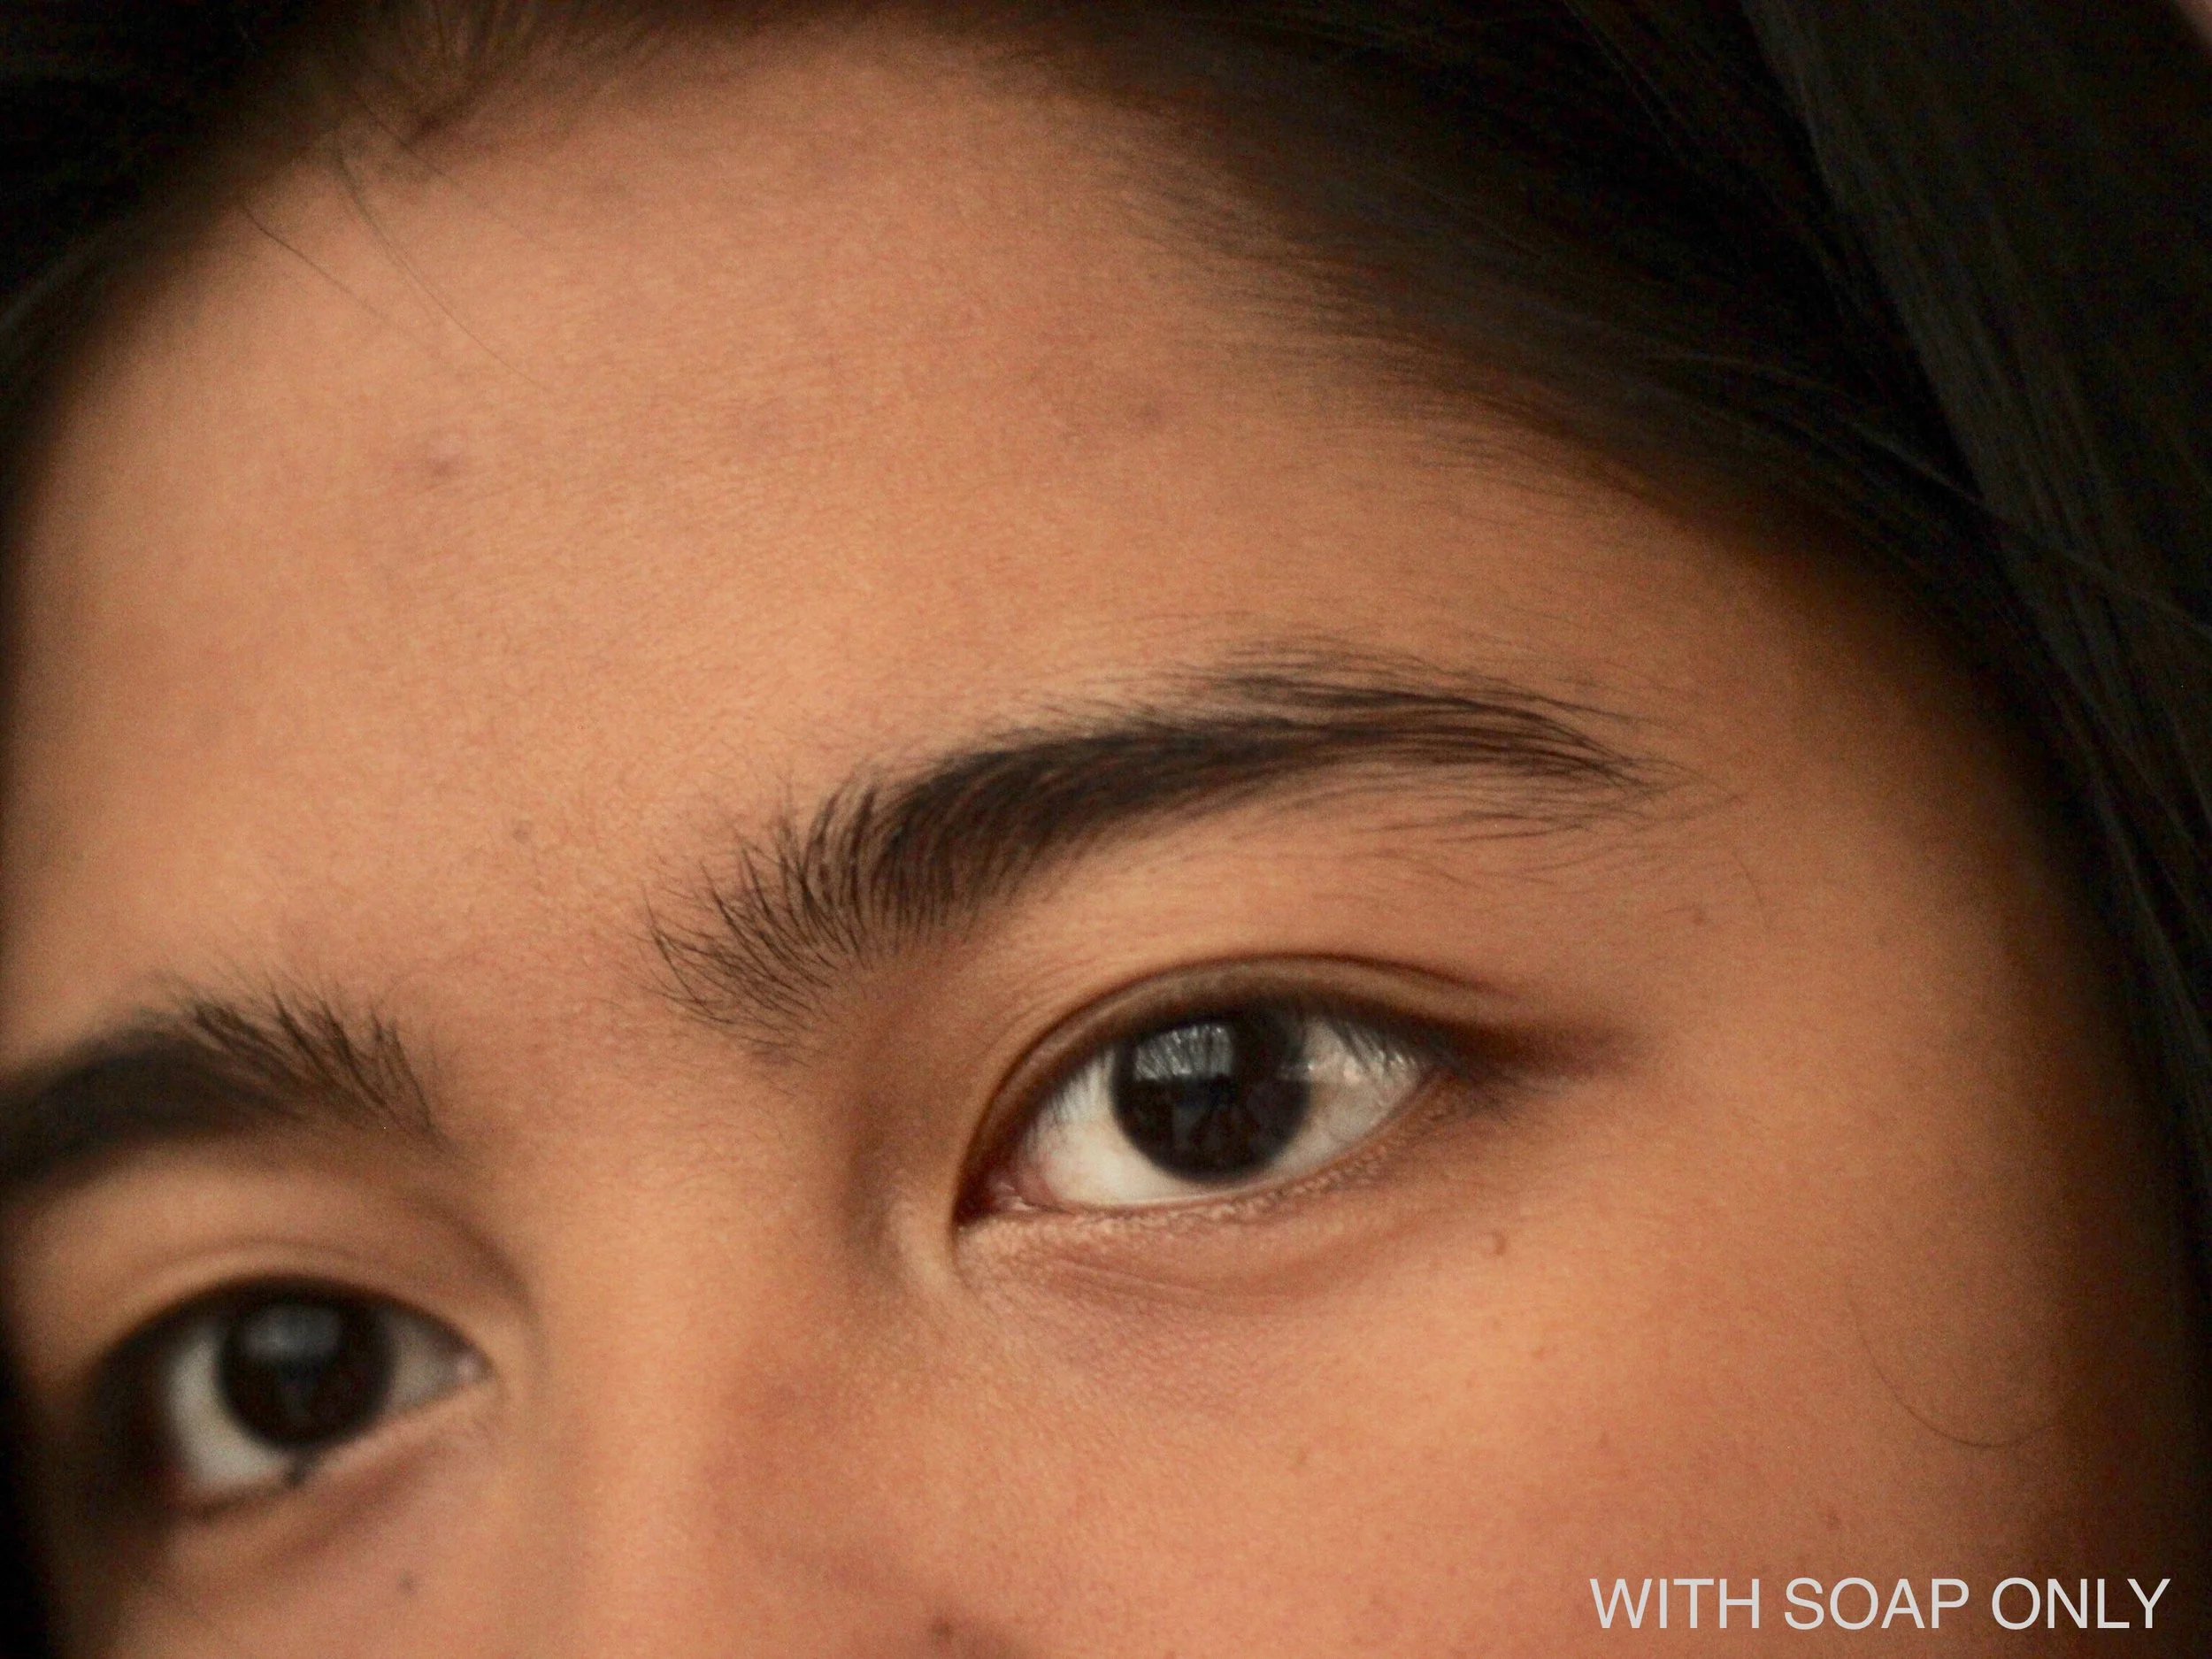
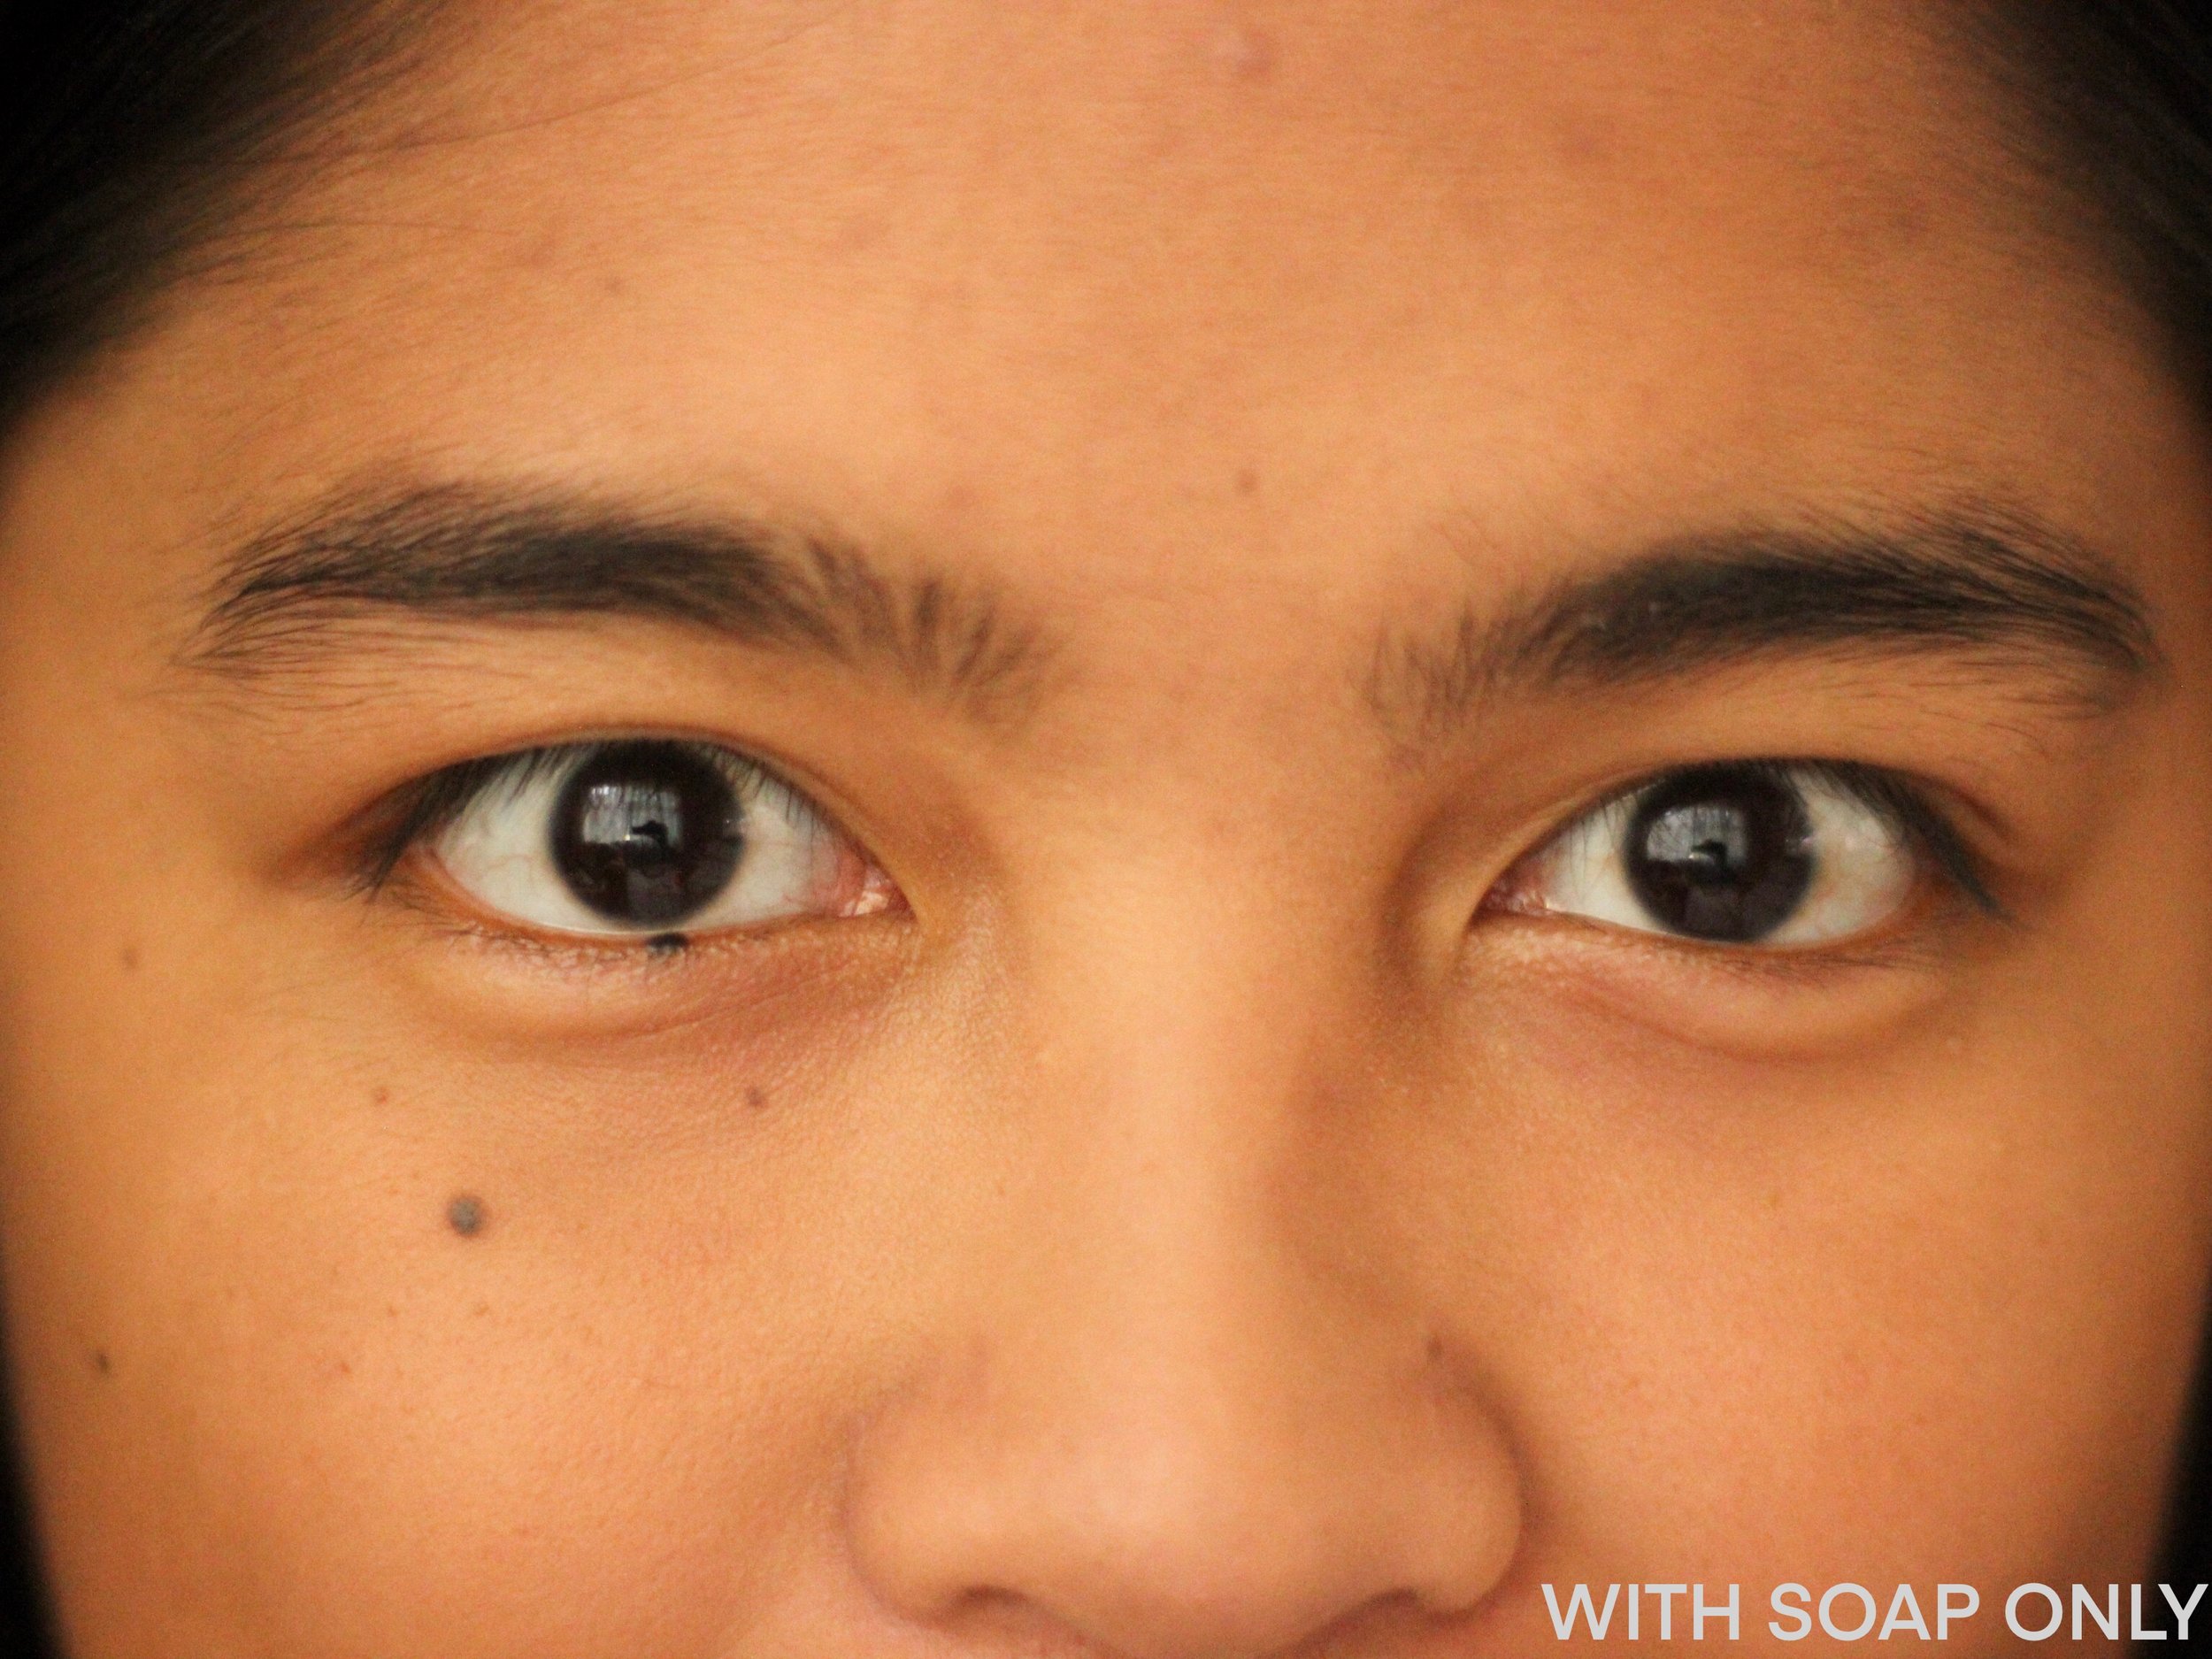
After applying the soap, let it dry completely before applying your brow coloring product. I first tried it with the Ellana x Project Vanity Brow Gel (P499 for 4g). I love using this because it really lasts the whole day and brings great definition to my brows with its pigment. Applying it on top of the soap was difficult though because my angled brush proved to be too flimsy. The soap literally hardens the brow hairs and makes it difficult for products to adhere as they usually do. It might be easier to do with a stiffer brush, but I had to make do with alternating application with the spoolie to brush out the hairs that stuck together.
Because I had a hard time applying the pomade on top of the soap, I later tried applying the pomade first and then setting with the soap. This was a lot easier to do and worked out really well! I was able to color in my brows easily and the soap held my brow hairs in place.
With my first try of the soap brows, I experienced a little bit of itching on my brow area. My guess is that this was because soap isn’t really meant to be left on skin and can cause irritation when left on. So the next day, I tried applying a primer first, using the Benefit POREfessional Balm (P860 for 7.5ml) beforehand. I also tried using the Benefit Precisely, My Brow Eyebrow Pencil (P1,660 for 0.08g) instead, though you should be able to use any brow pencil you might have. I would recommend using harder and more pigmented formulas to make application easier.
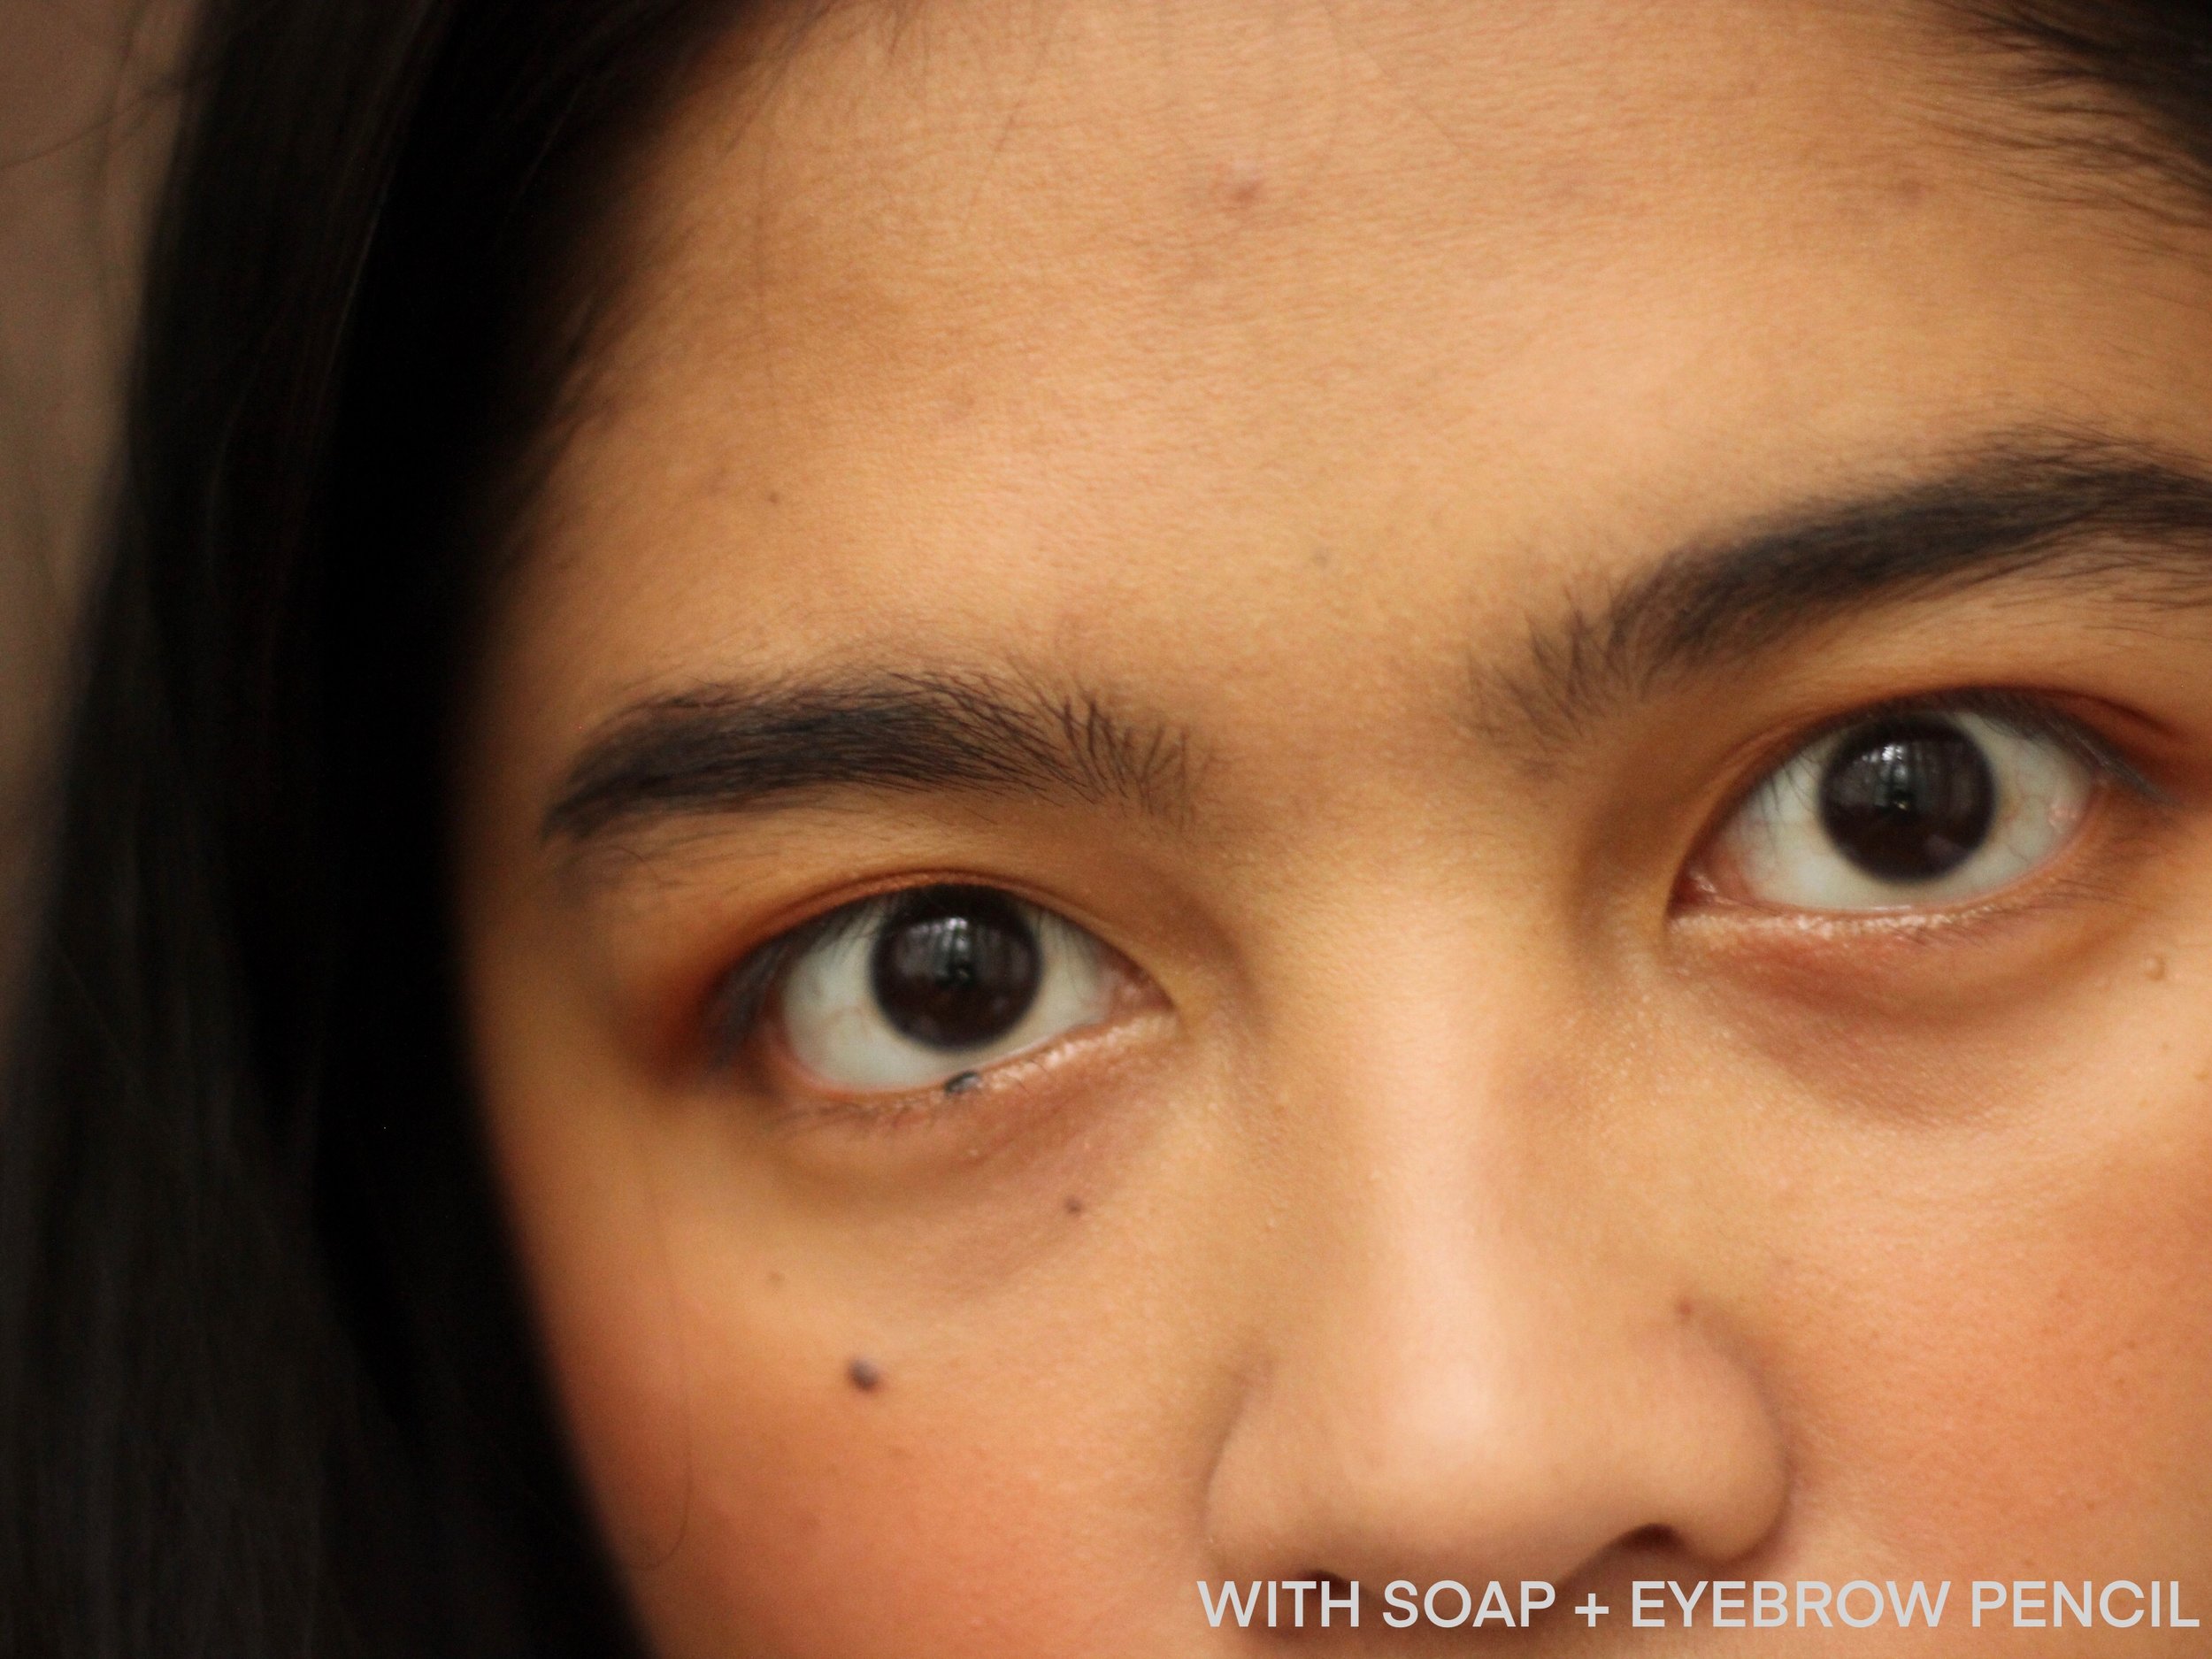
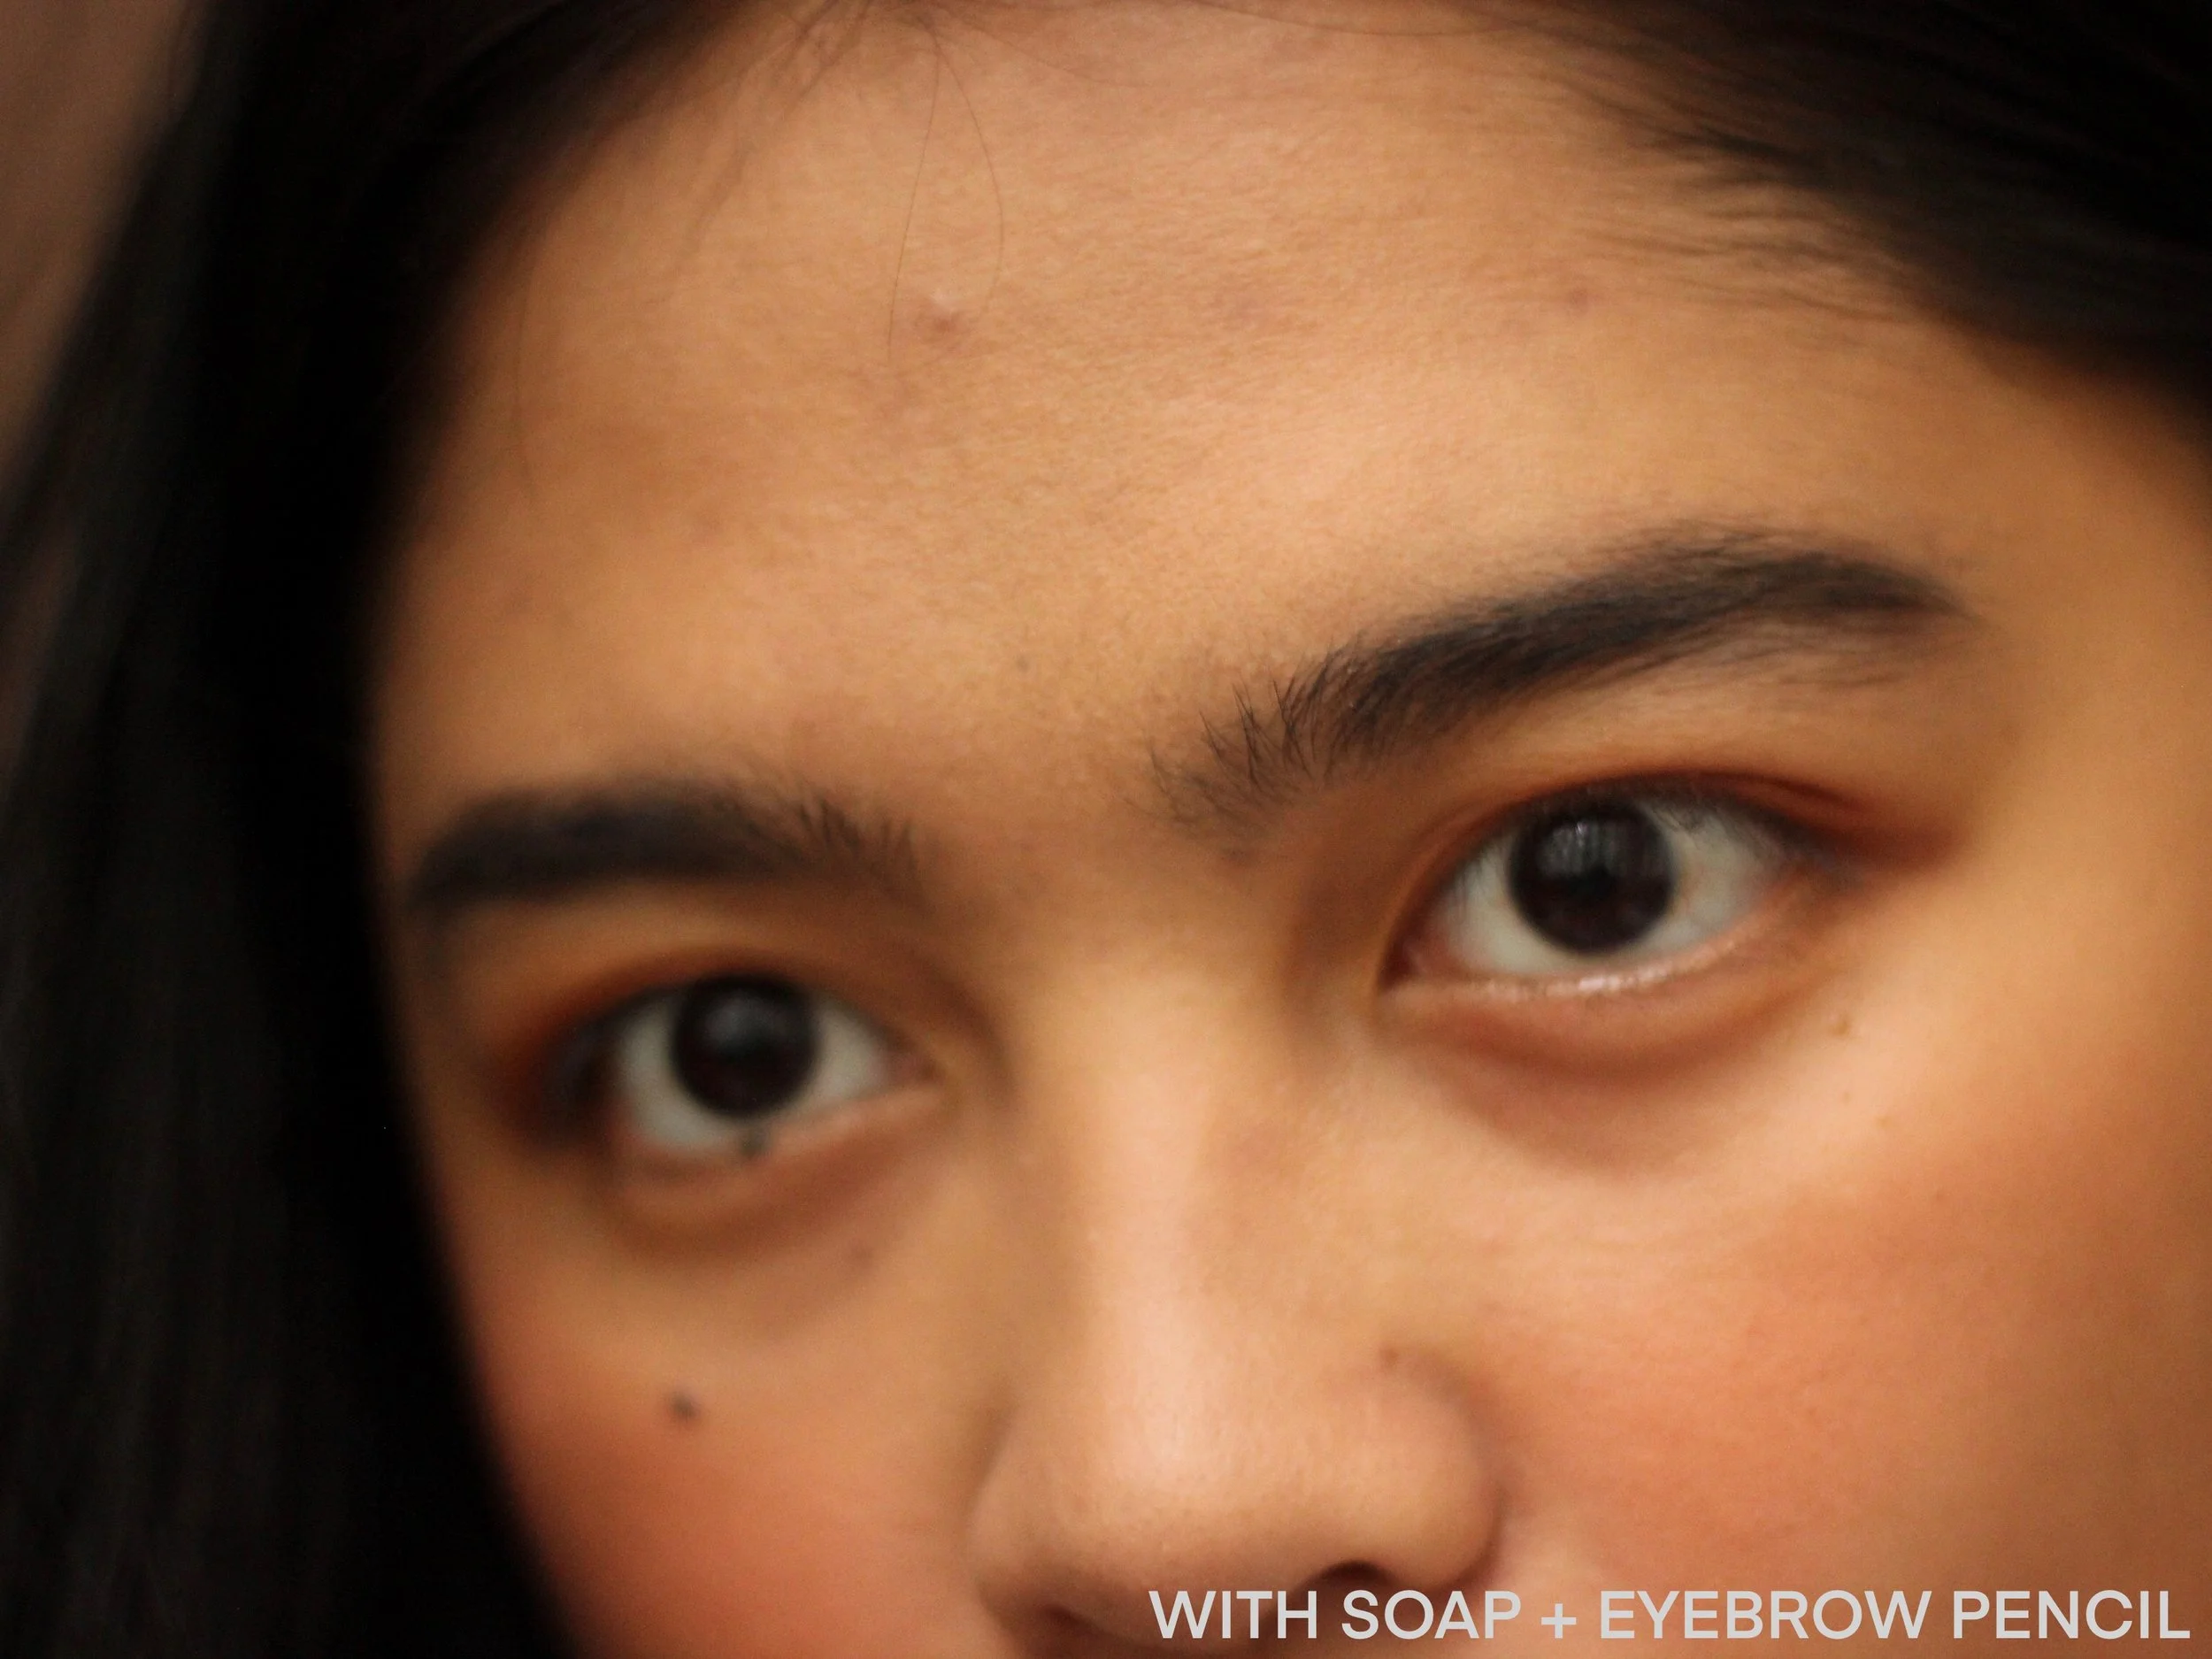
I found using the brow pencil to be the best product to use on top of the soap brows. The solid tip gave me better control and made it easier to fill the gaps in my eyebrows. Like the pomade though, the eyebrow pencil did not immediately “stick”, so I also had to use more effort than normal. It was worth it though as I was able to achieve the fuller brow look that I wanted. I’m also happy to report that using the primer beforehand did work, and no longer experienced any itchiness from the soap.
For the last day of my experiment, I used the Benefit Gimme Brow + Volumizing Eyebrow Gel (P860 for 1.5g) on top of my soap brows. This gel is actually one of my favorites because it’s so easy to use and actually deposits enough pigment in brows to fill them. As expected, it was also the easiest to apply over the soap brows because of the spoolie applicator, but it did not give the precision of definition that the eyebrow pencil did.
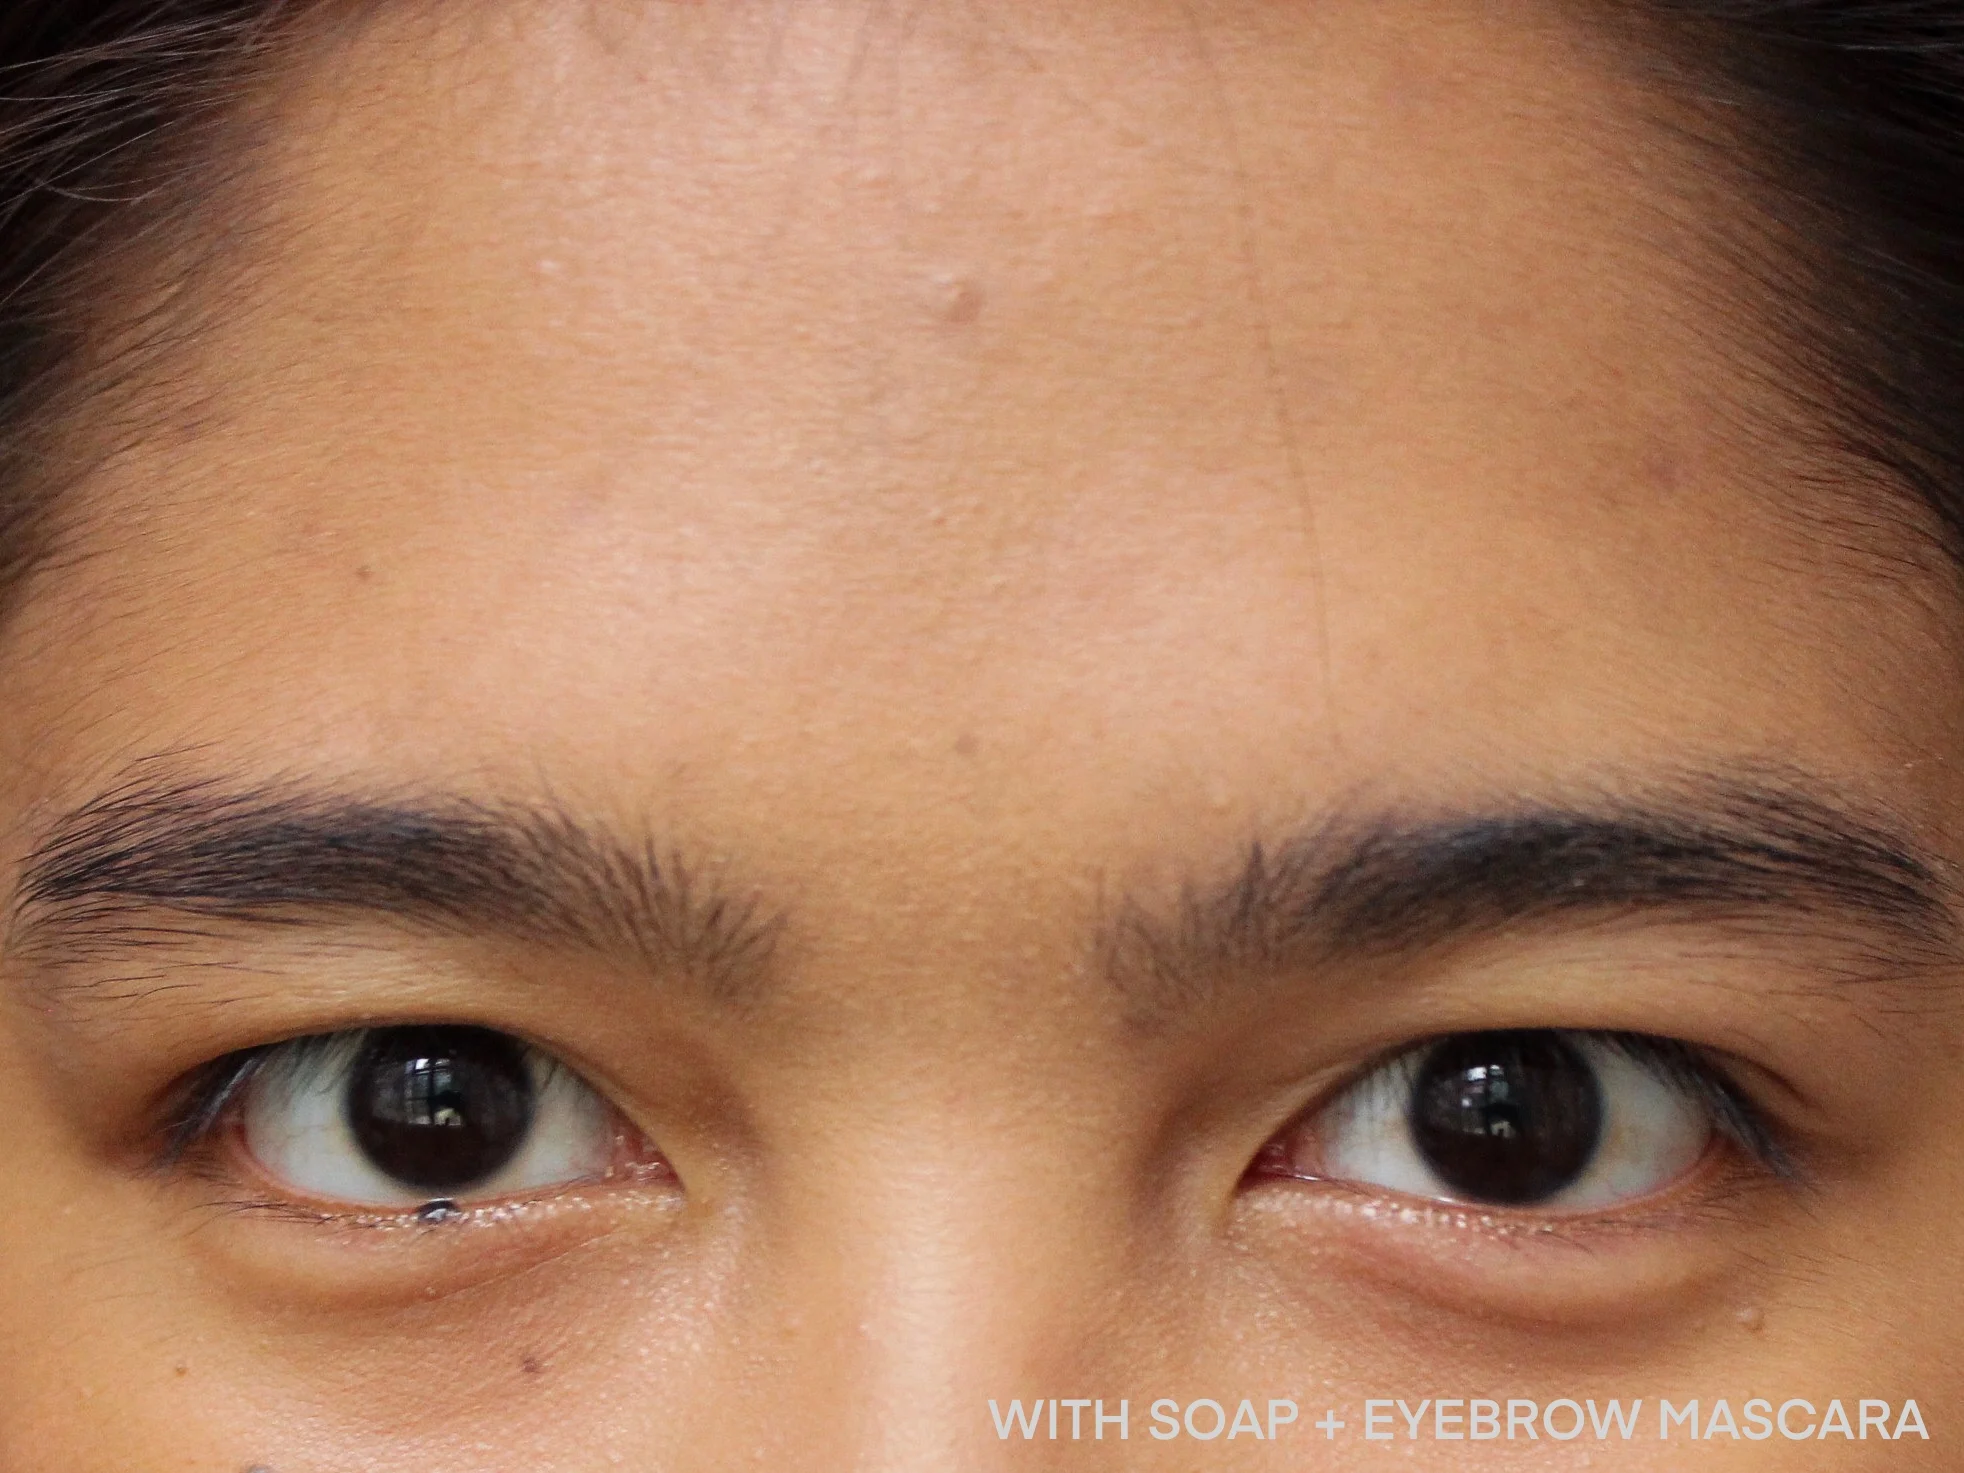
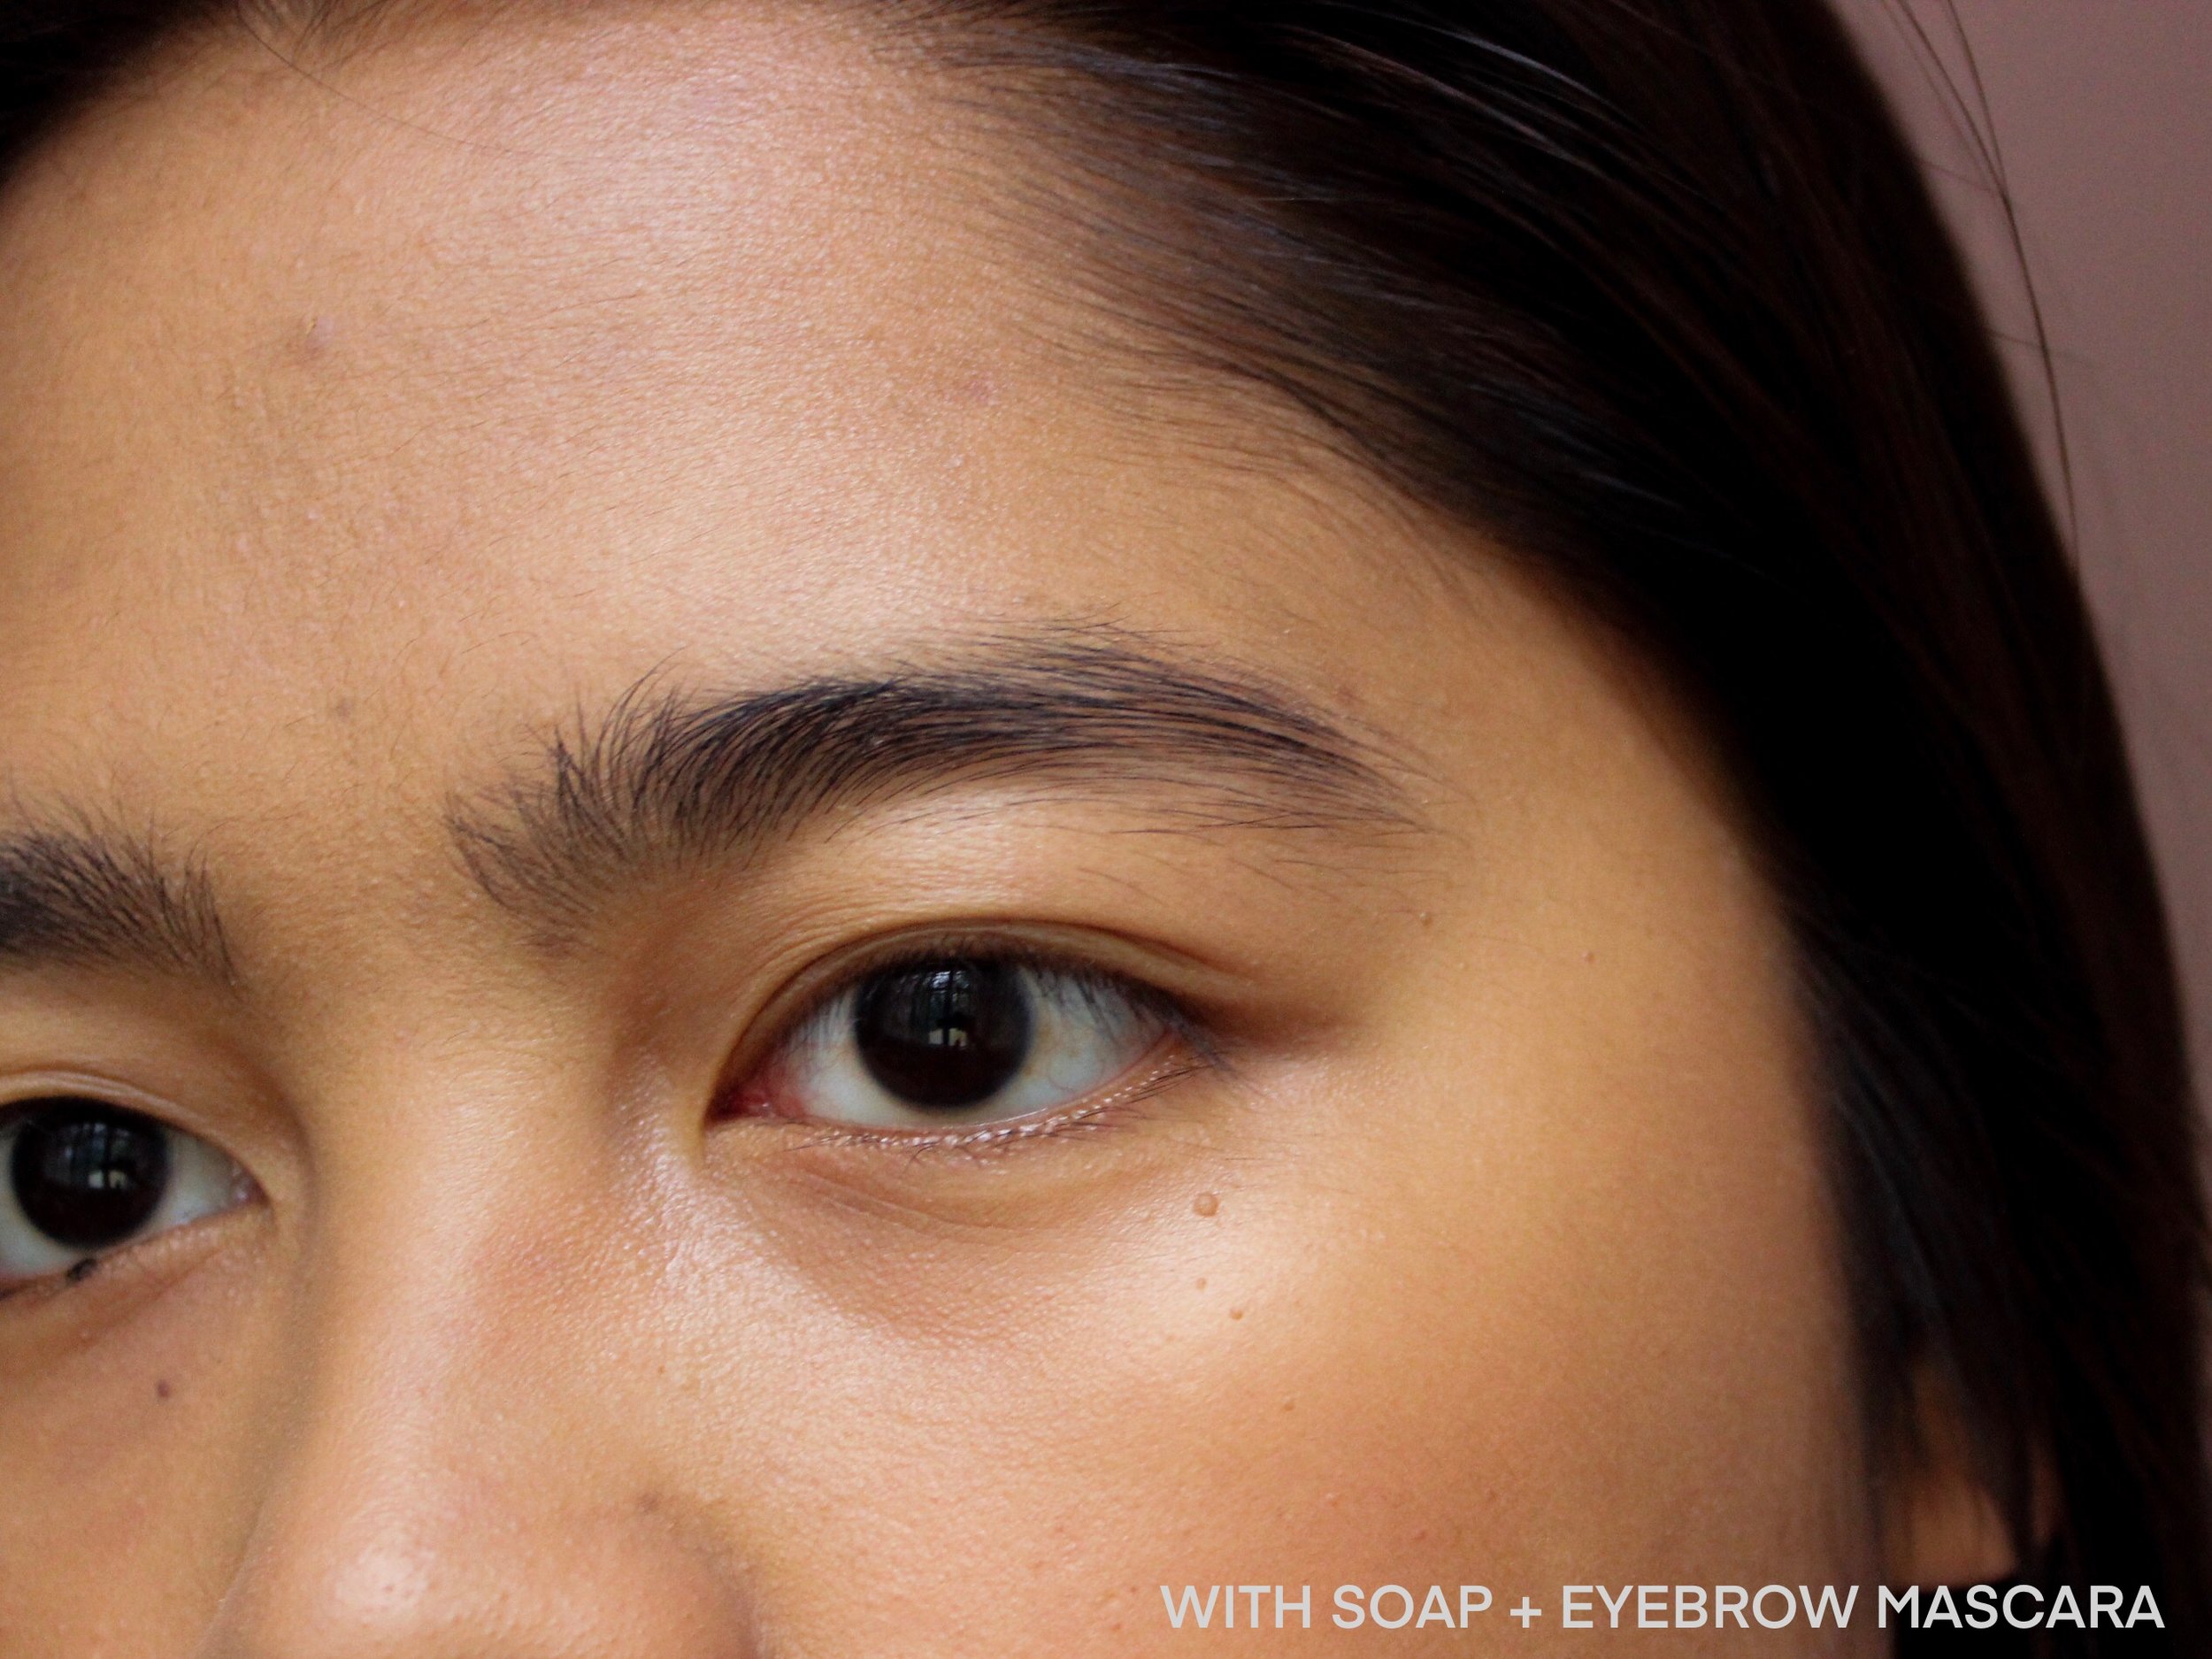
Using the eyebrow pencil over soap brows gave me the best results, though I would like to try with the pomade again using a better angled brush. I do like the effect of all three as the soap made my unruly brow hairs to remain full but neat and well-groomed. I really loved using soap on my eyebrows, though the additional step may make it impractical for daily use.
Tips to remember in doing soap brows:
Add small amounts of water to dampen your soap. Don’t put too much or the lather will be too diluted.
Prime your eyebrows to prevent direct contact of the soap on your skin and lessen the chances of irritation.
You can choose to apply the soap or your brow product first. If your brow product isn’t waterproof, it’s probably best to apply the soap first to prevent the color from melting.
Make sure you fix the eyebrow hairs in your desired position before the soap dries up because it’s difficult to correct once hardened.
Have you tried using the soap brows technique? Share your experience in the comments below!