How I bleached my own virgin hair at home
I am an introverted person, a true homebody. Everyone I know will agree that this is true. So staying in and working from home to help keep the community safe at first felt like such an easy task. Of course, I do realize that I am privileged enough to have a roof above my head and food to eat even during this time, but after a week of being stuck at home, I got this urge to do something different because every day started to feel the same.
I started with cutting my own bangs about a week or two into the quarantine. I used a regular pair of office scissors and followed a fairly simple tutorial on YouTube, and it turned out much better than I expected! Then, about a week after, I cut my hair which I found to be too long and heavy at the time, so I followed another YouTube tutorial on how to give myself an okay trim.
At first I wasn’t a big fan of it as I lost the layers my previous hairstylist has given me but after sending pictures of my new cut to my friends and them assuring me that it’s okay, I became braver. I finally checked out a few items that have been sitting on my cart for quite some time. It took a while for my products to arrive so I spent that time researching how I can safely bleach my hair at home AKA watching another Brad Mondo tutorial twice and consulting my friend Luna who is a professional HMUA.

So tl;dr: I’ve experimented a lot with my hair these past few weeks and gained confidence to actually push through with bleaching. To see how I achieved this color, please continue reading! ^^
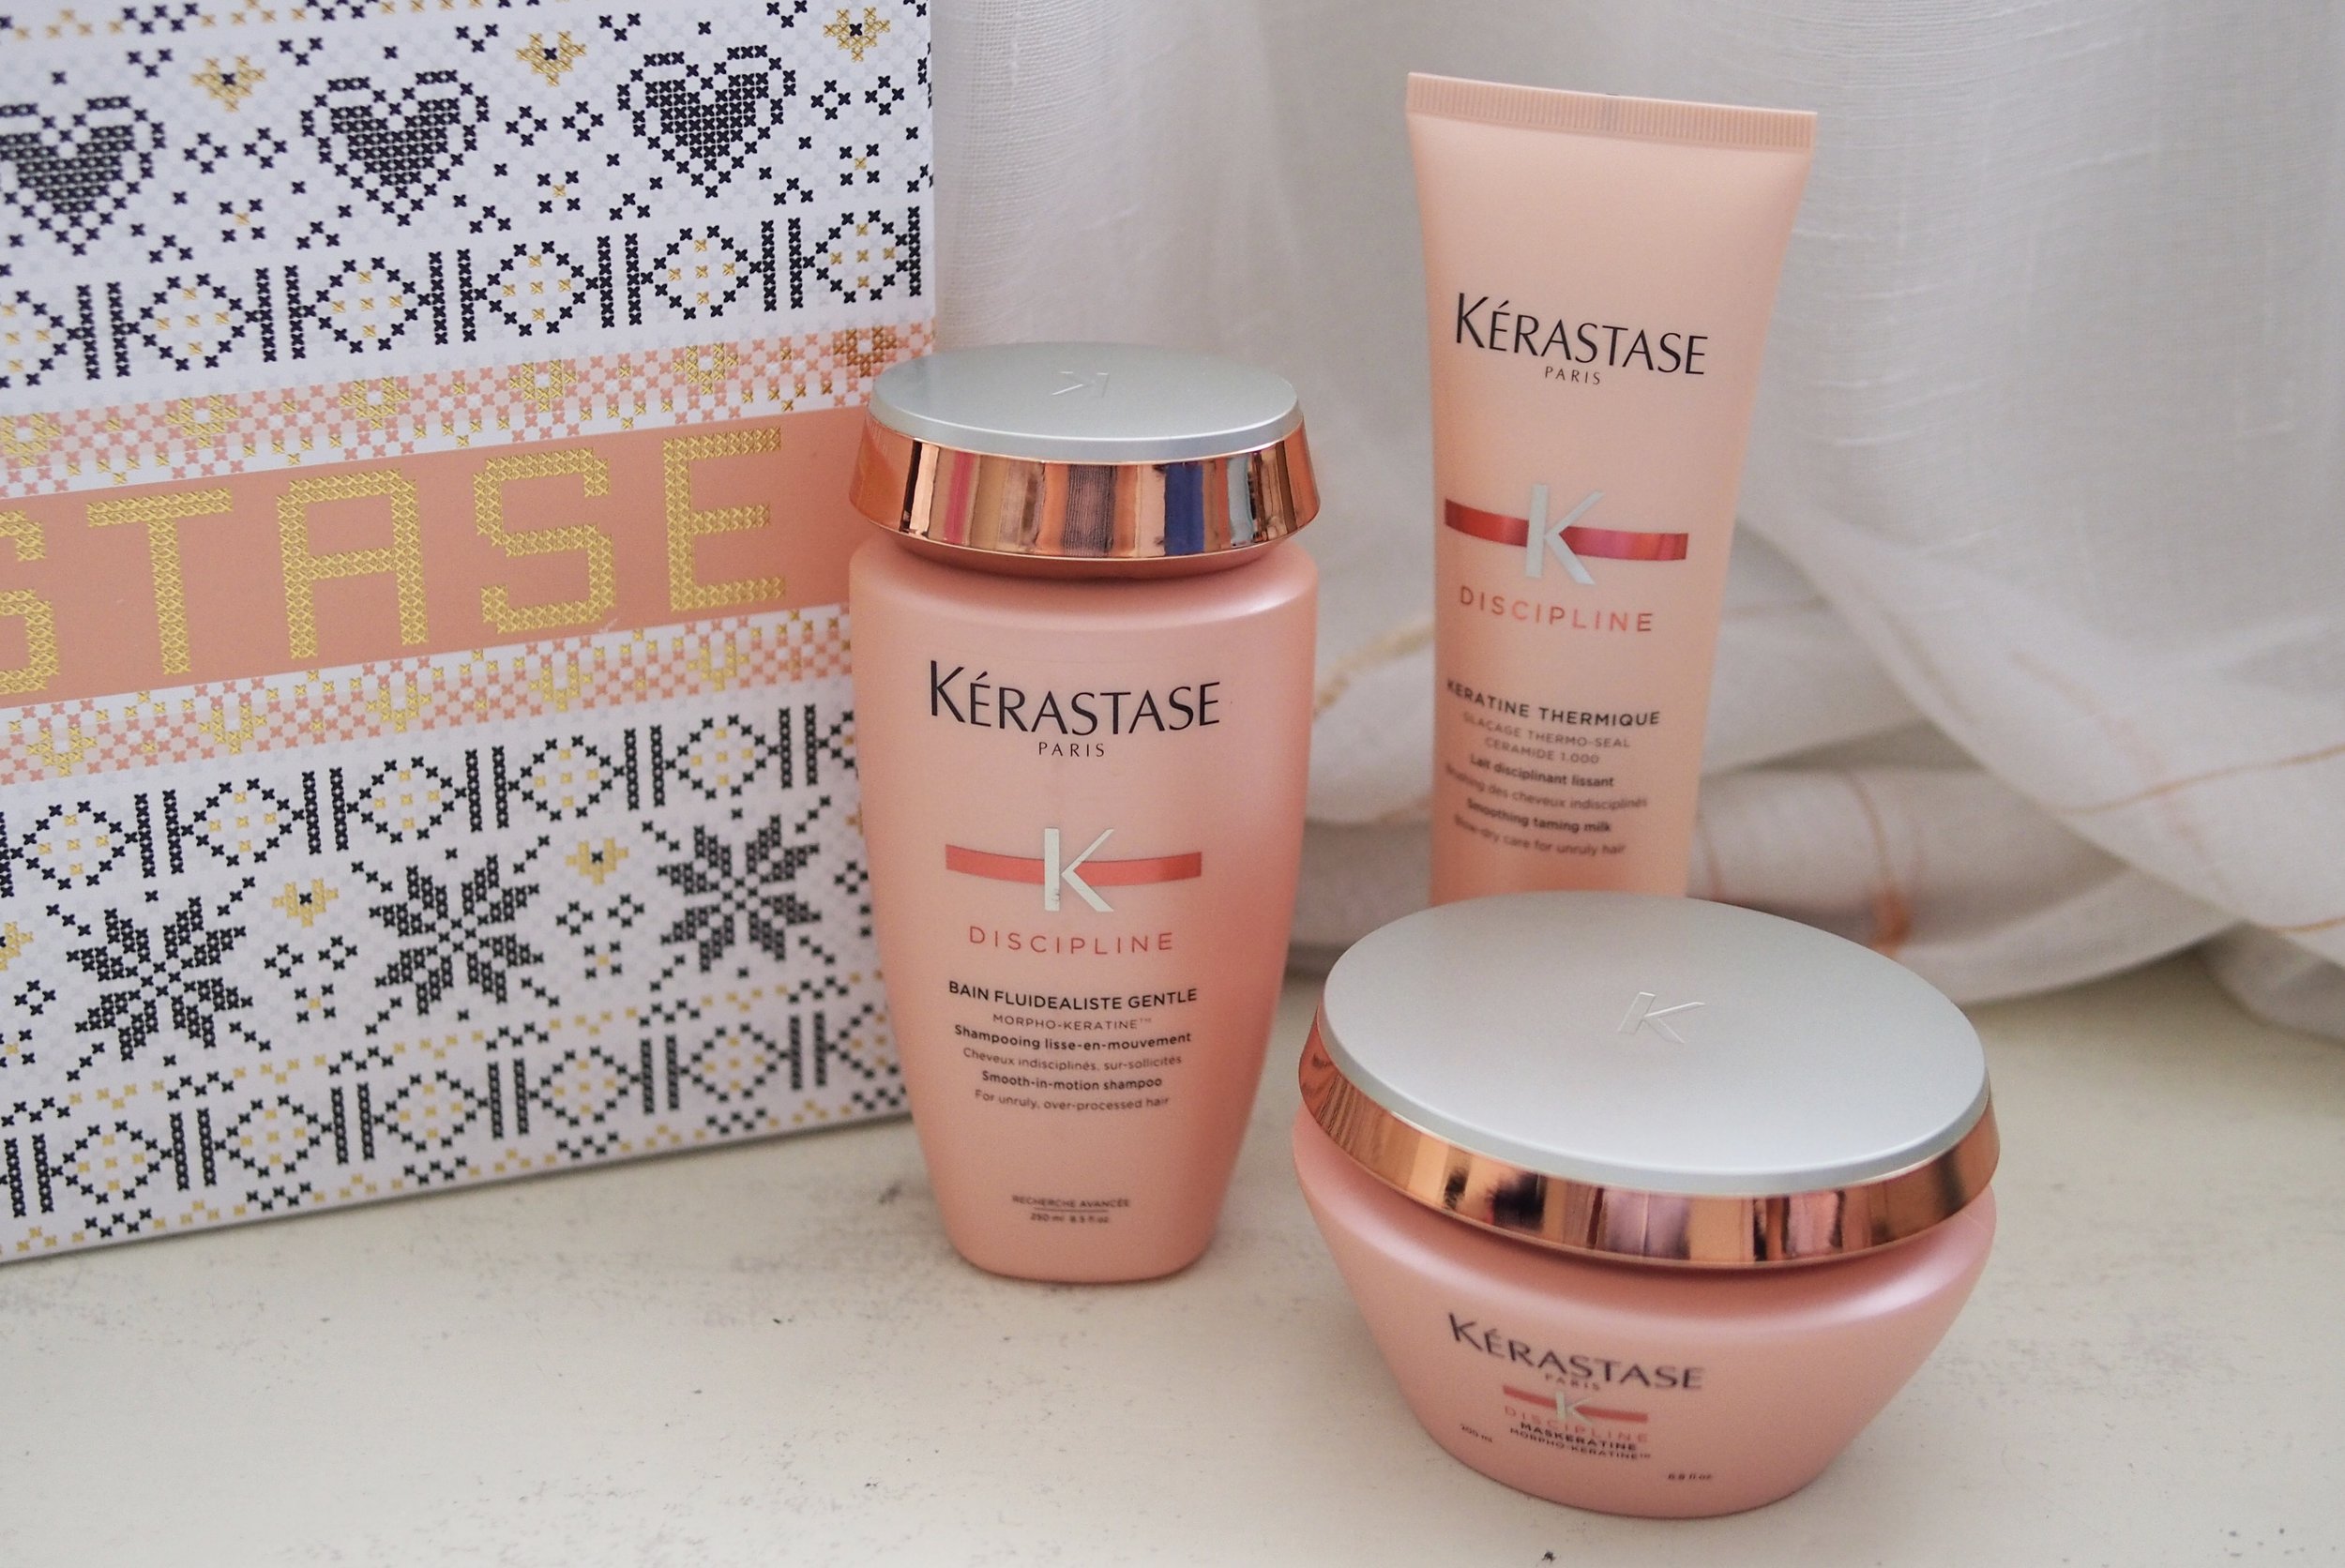
Then, came last week when my package from Bloom and Dash finally arrived. I got the Matrix Light Master Lightening Powder (P1,200 for 500g from Bloom and Dash) which is a low odor bleach that is supposed to lift up to 8 levels, and the Matrix Oxydant Developer 9% 30vol (P480 for 1000mL from Bloom and Dash) which is best suggested for off and on scalp bleaching.
Apologies for the low quality photos, I didn’t expect for it to turn out good enough for me to write an article!
Things you’ll need are:
Hair bleach/lightener
9% or 30 vol Developer
Hair clips to section your hair
A plastic bowl to mix your bleach in
A pair of gloves
A shower cap
Optional: Brush for application
Here are the actual steps I made to bleach my *virgin* hair to about a level 8-9 blonde:
1. Prep your hair. Know what you’re doing and be prepared for the consequences.
First of all, put a mental note that if you do great, you’ll have pretty blonde hair which you can experiment with a lot, but the worst case scenario is getting an allergic reaction or frying your hair off. It is very important to please patch test first especially if it’s your first time to come in contact with hair chemicals. To test, mix a small batch of bleach and apply it on the inside of your elbow or the back of your ear. You can wait for up to 48 hours just to be sure that you’re not allergic to any of the bleach or developer ingredients. If your skin gets any irritation, please stop here. If you didn’t get an allergic reaction and now know the possible consequences of self-bleaching, please proceed.
For hair prep, I didn’t shampoo my hair and scalp about two days prior to bleaching. It’s important to let oil and grease build up to protect your scalp.
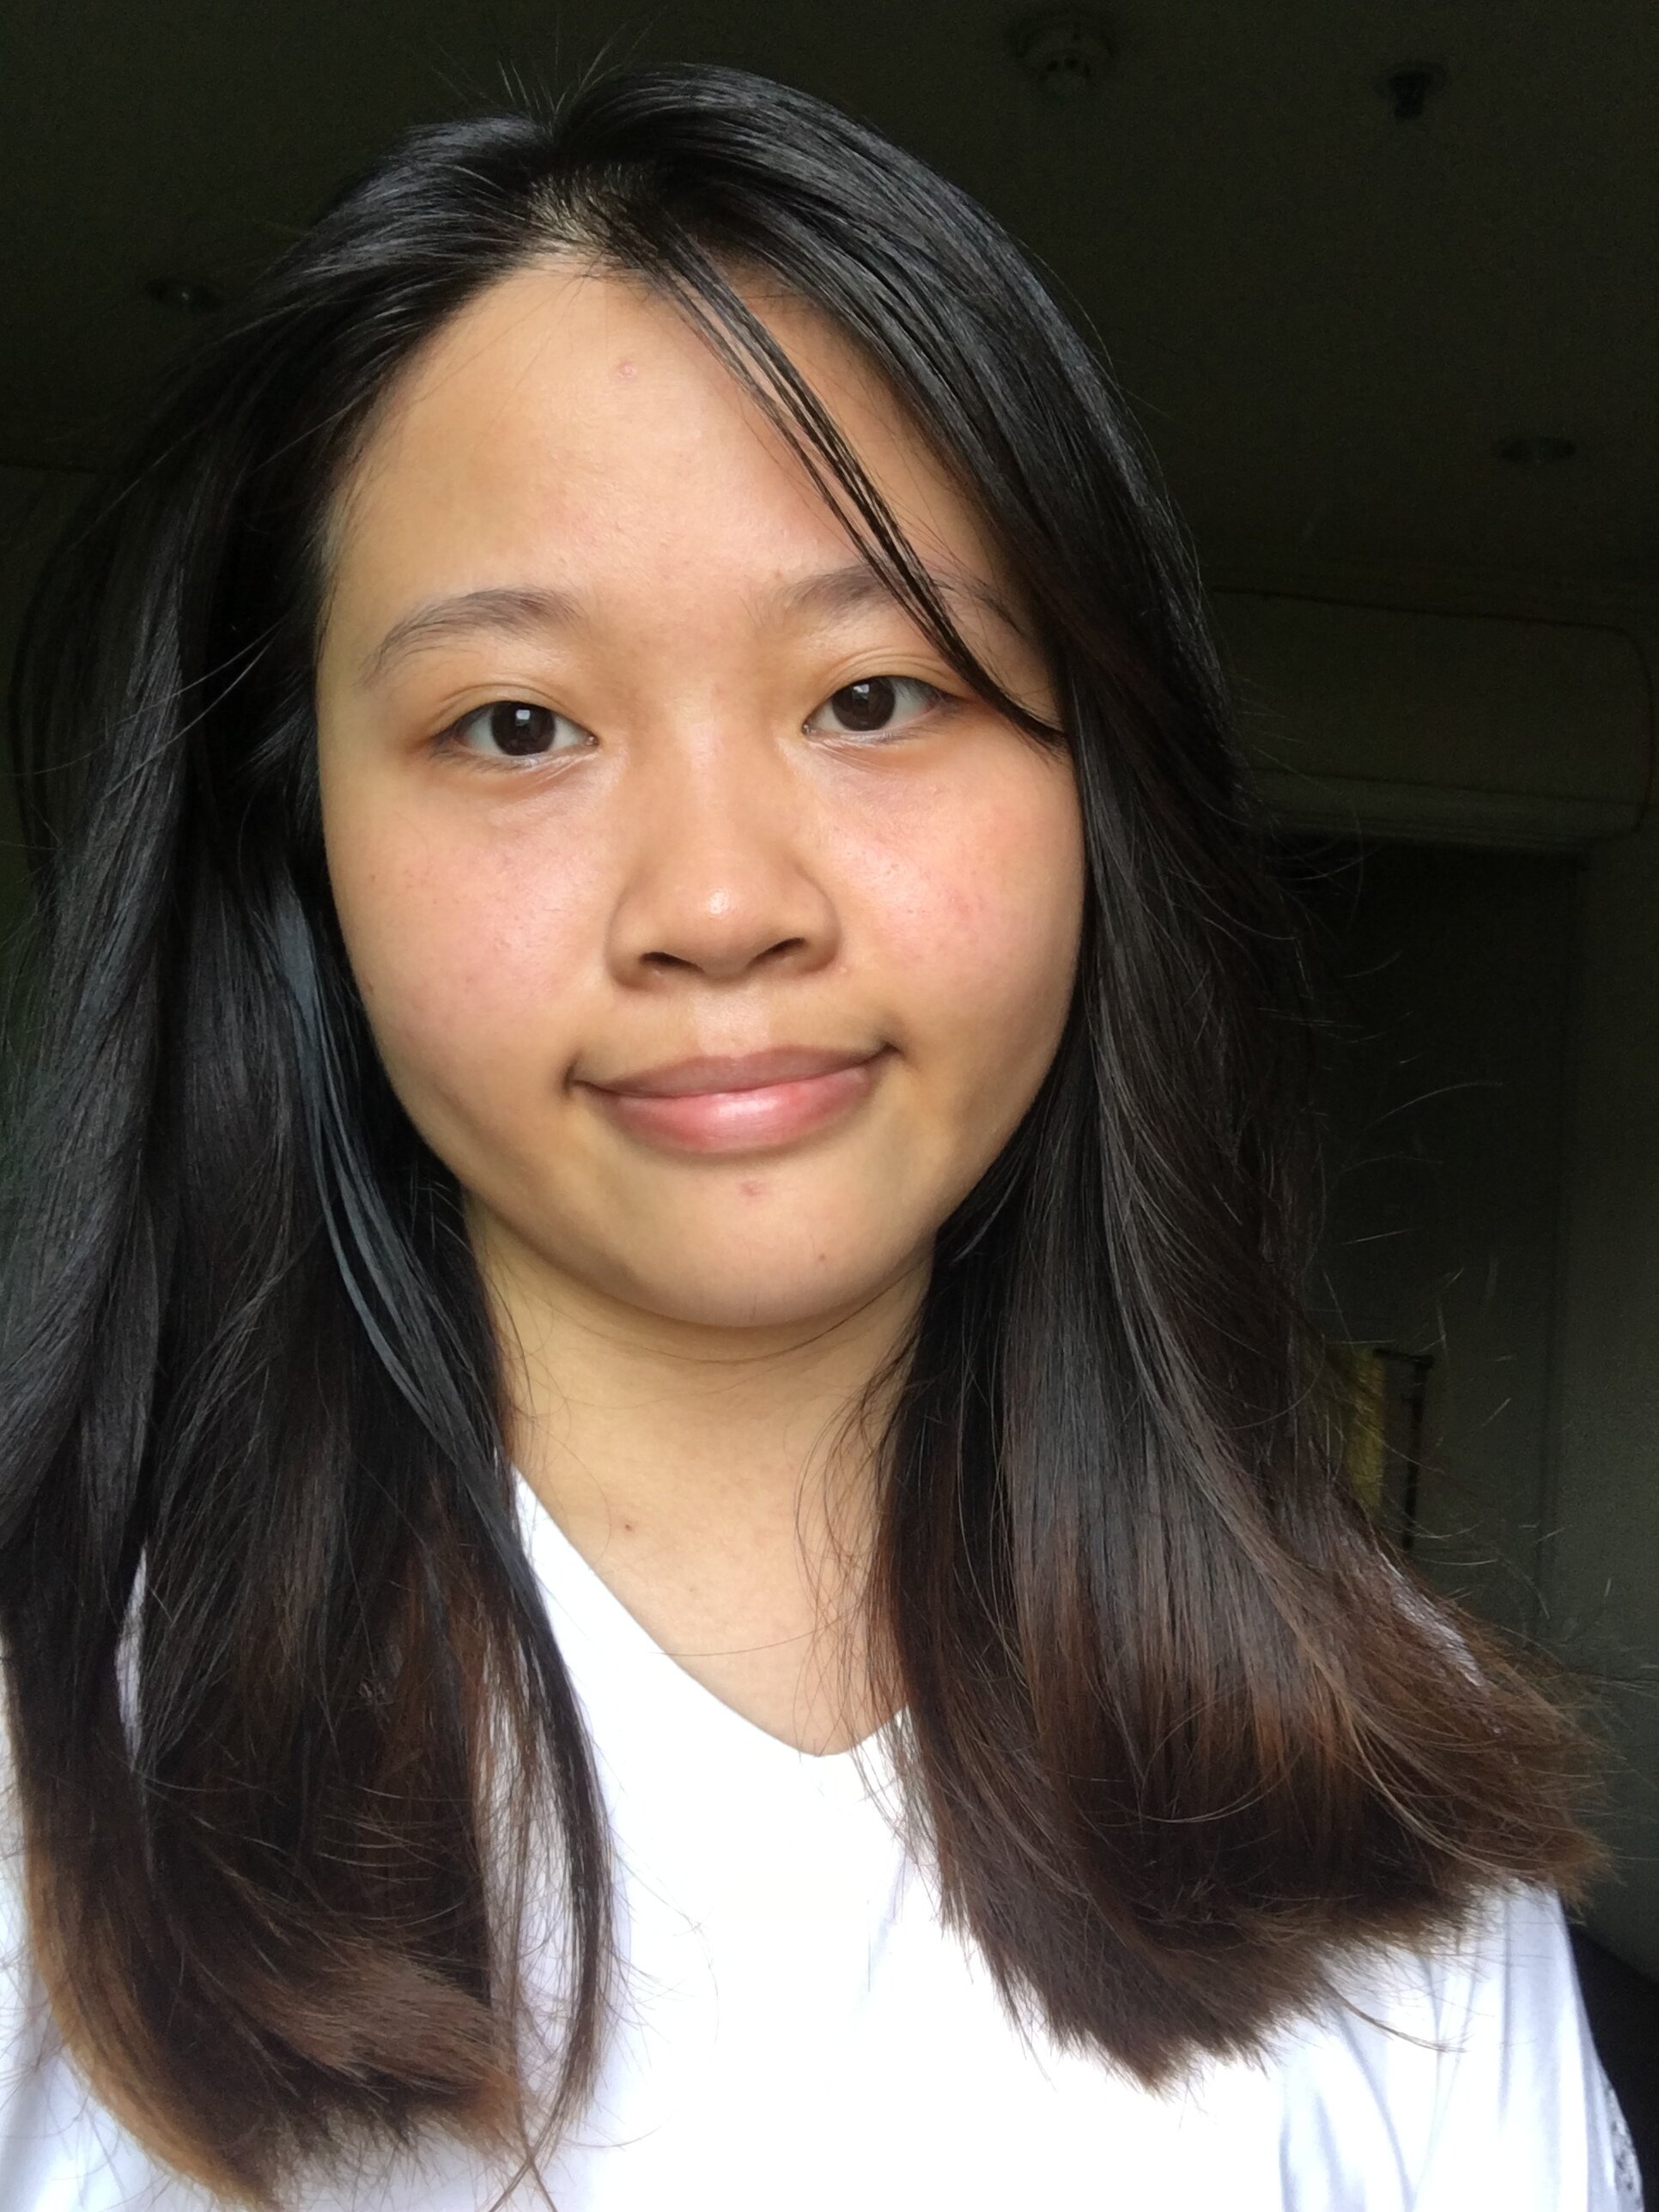
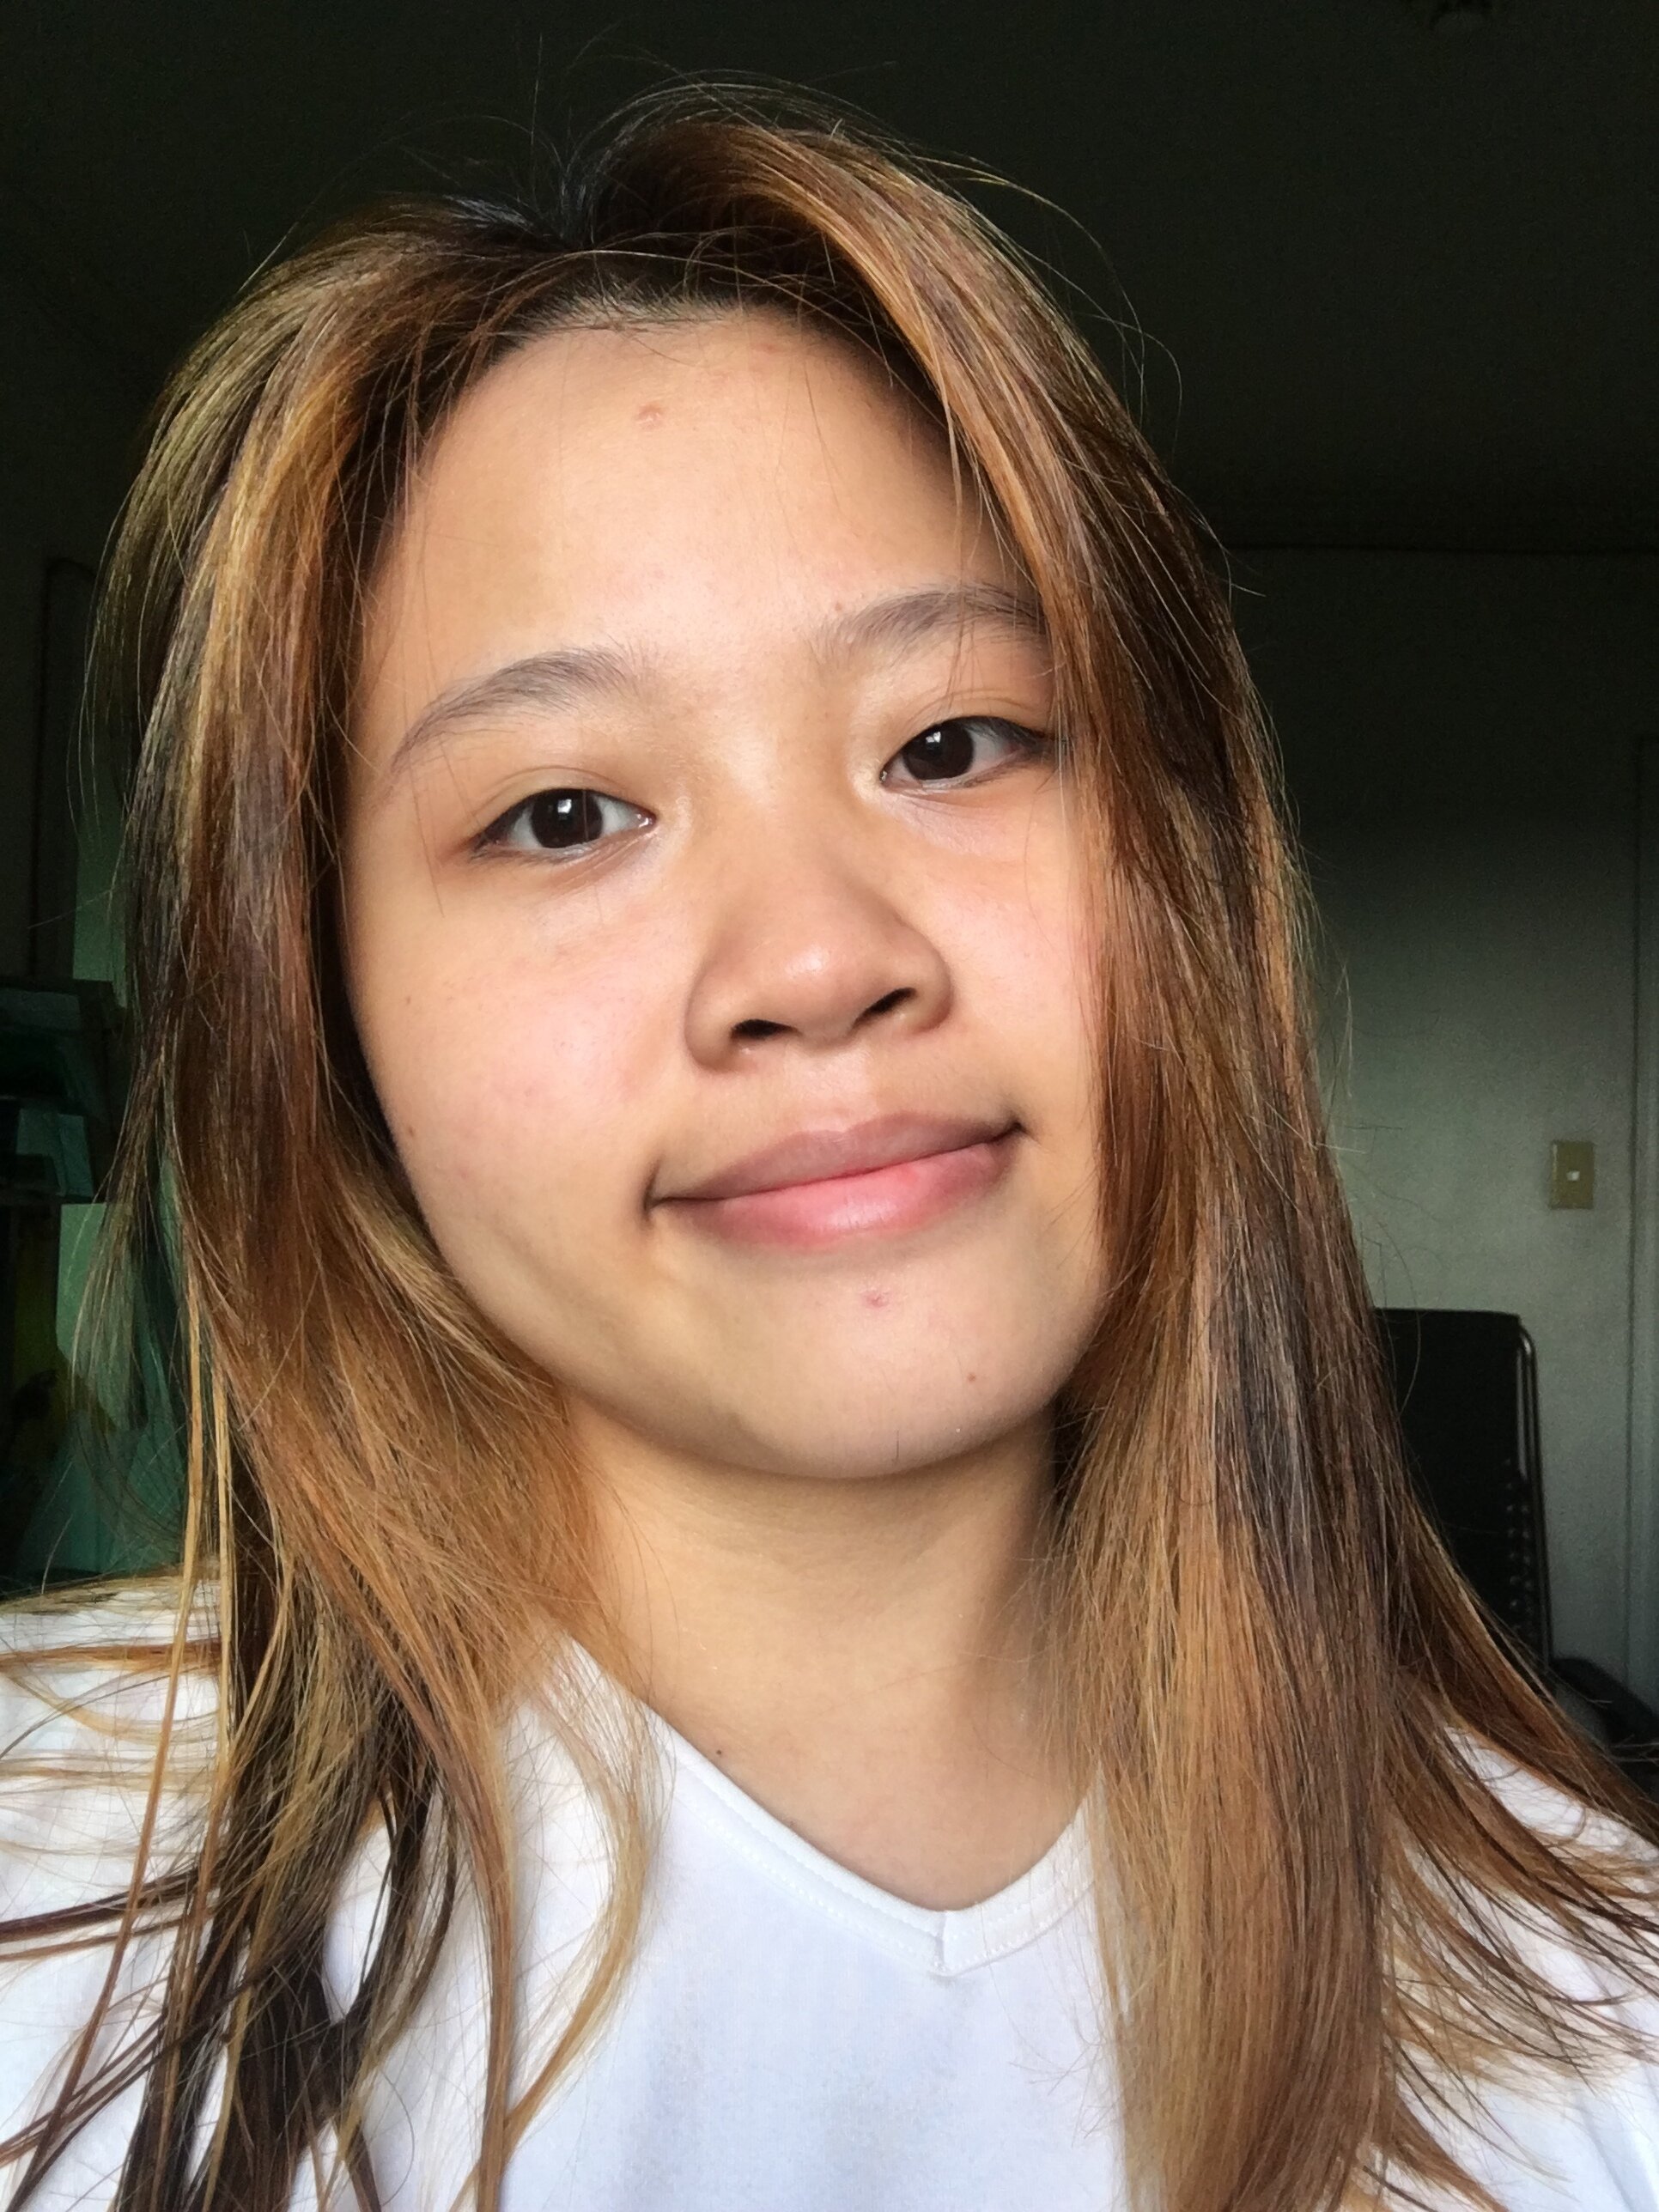
This is my hair prior to bleaching. I have some remnants of box dye on the tips but all the black is natural hair.
2. Don your gloves and mix your products
Each lightener or hair bleach will have a different mixing ratio so just follow what is written in the packet. Always get more bleach that you think The Matrix Light Master says to mix it in 1:1 ratio of lightener to developer so I just followed that. What I like about this lightener is that it is truly low odor! I almost didn’t smell anything at all, so it’s friendly for those with sensitive noses.
3. Section your hair
This is one, if not the most important part of the process for me. Brush your hair completely and section it as neatly as you can. This will make the application process much easier and efficient, and the results even.
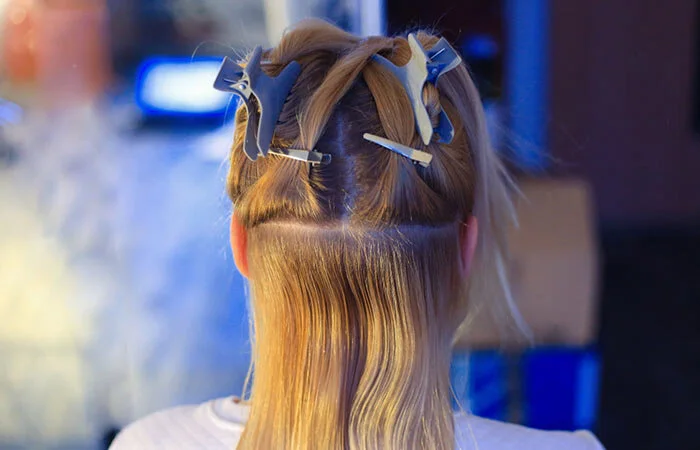
Image via stylecraze.com
I actually got my first sectioning super messed up which is why my first bleach session was a big mess!
4. 1st application (mid to tips)
It is best to have someone to help you with this, but if you’re alone, you can use two mirrors to see how the back of your head looks like. Place a mirror behind you or stand with your back facing a mounted mirror and have a handheld mirror in front of you. Remember to wear clothes that you don’t really care for or wear white clothes!
Scoop the bleach with a brush or if you don’t have a brush, you can use your hands and apply section by section. Start around the middle length of your hair and apply until the tips. Make sure to saturate the strands with bleach. If you think you have saturated it enough, saturate it some more. You cannot skimp on bleach as this only works while it’s still wet and it will only bleach where it touches. Don’t be impatient and just release a few sections at a time to evenly coat the front and the back of the strands.
If you’re worried that your hair might break, you can get a few strands from the first area you’ve bleached and gently tug it to see the integrity of your hair. If it’s breaking, you need to rinse that ASAP, but if it’s not, then you’re probably still okay. After covering your hair with bleach, put on a shower cap and allow the bleach to lift the color of your hair.
Note that some heat and stinging is normal and you may stop whenever you feel that it’s too painful for you. In my experience with the Matrix Light Master, I didn’t feel anything aside from heat during my first application! Also each bleach brand has a maximum development time so please note that.
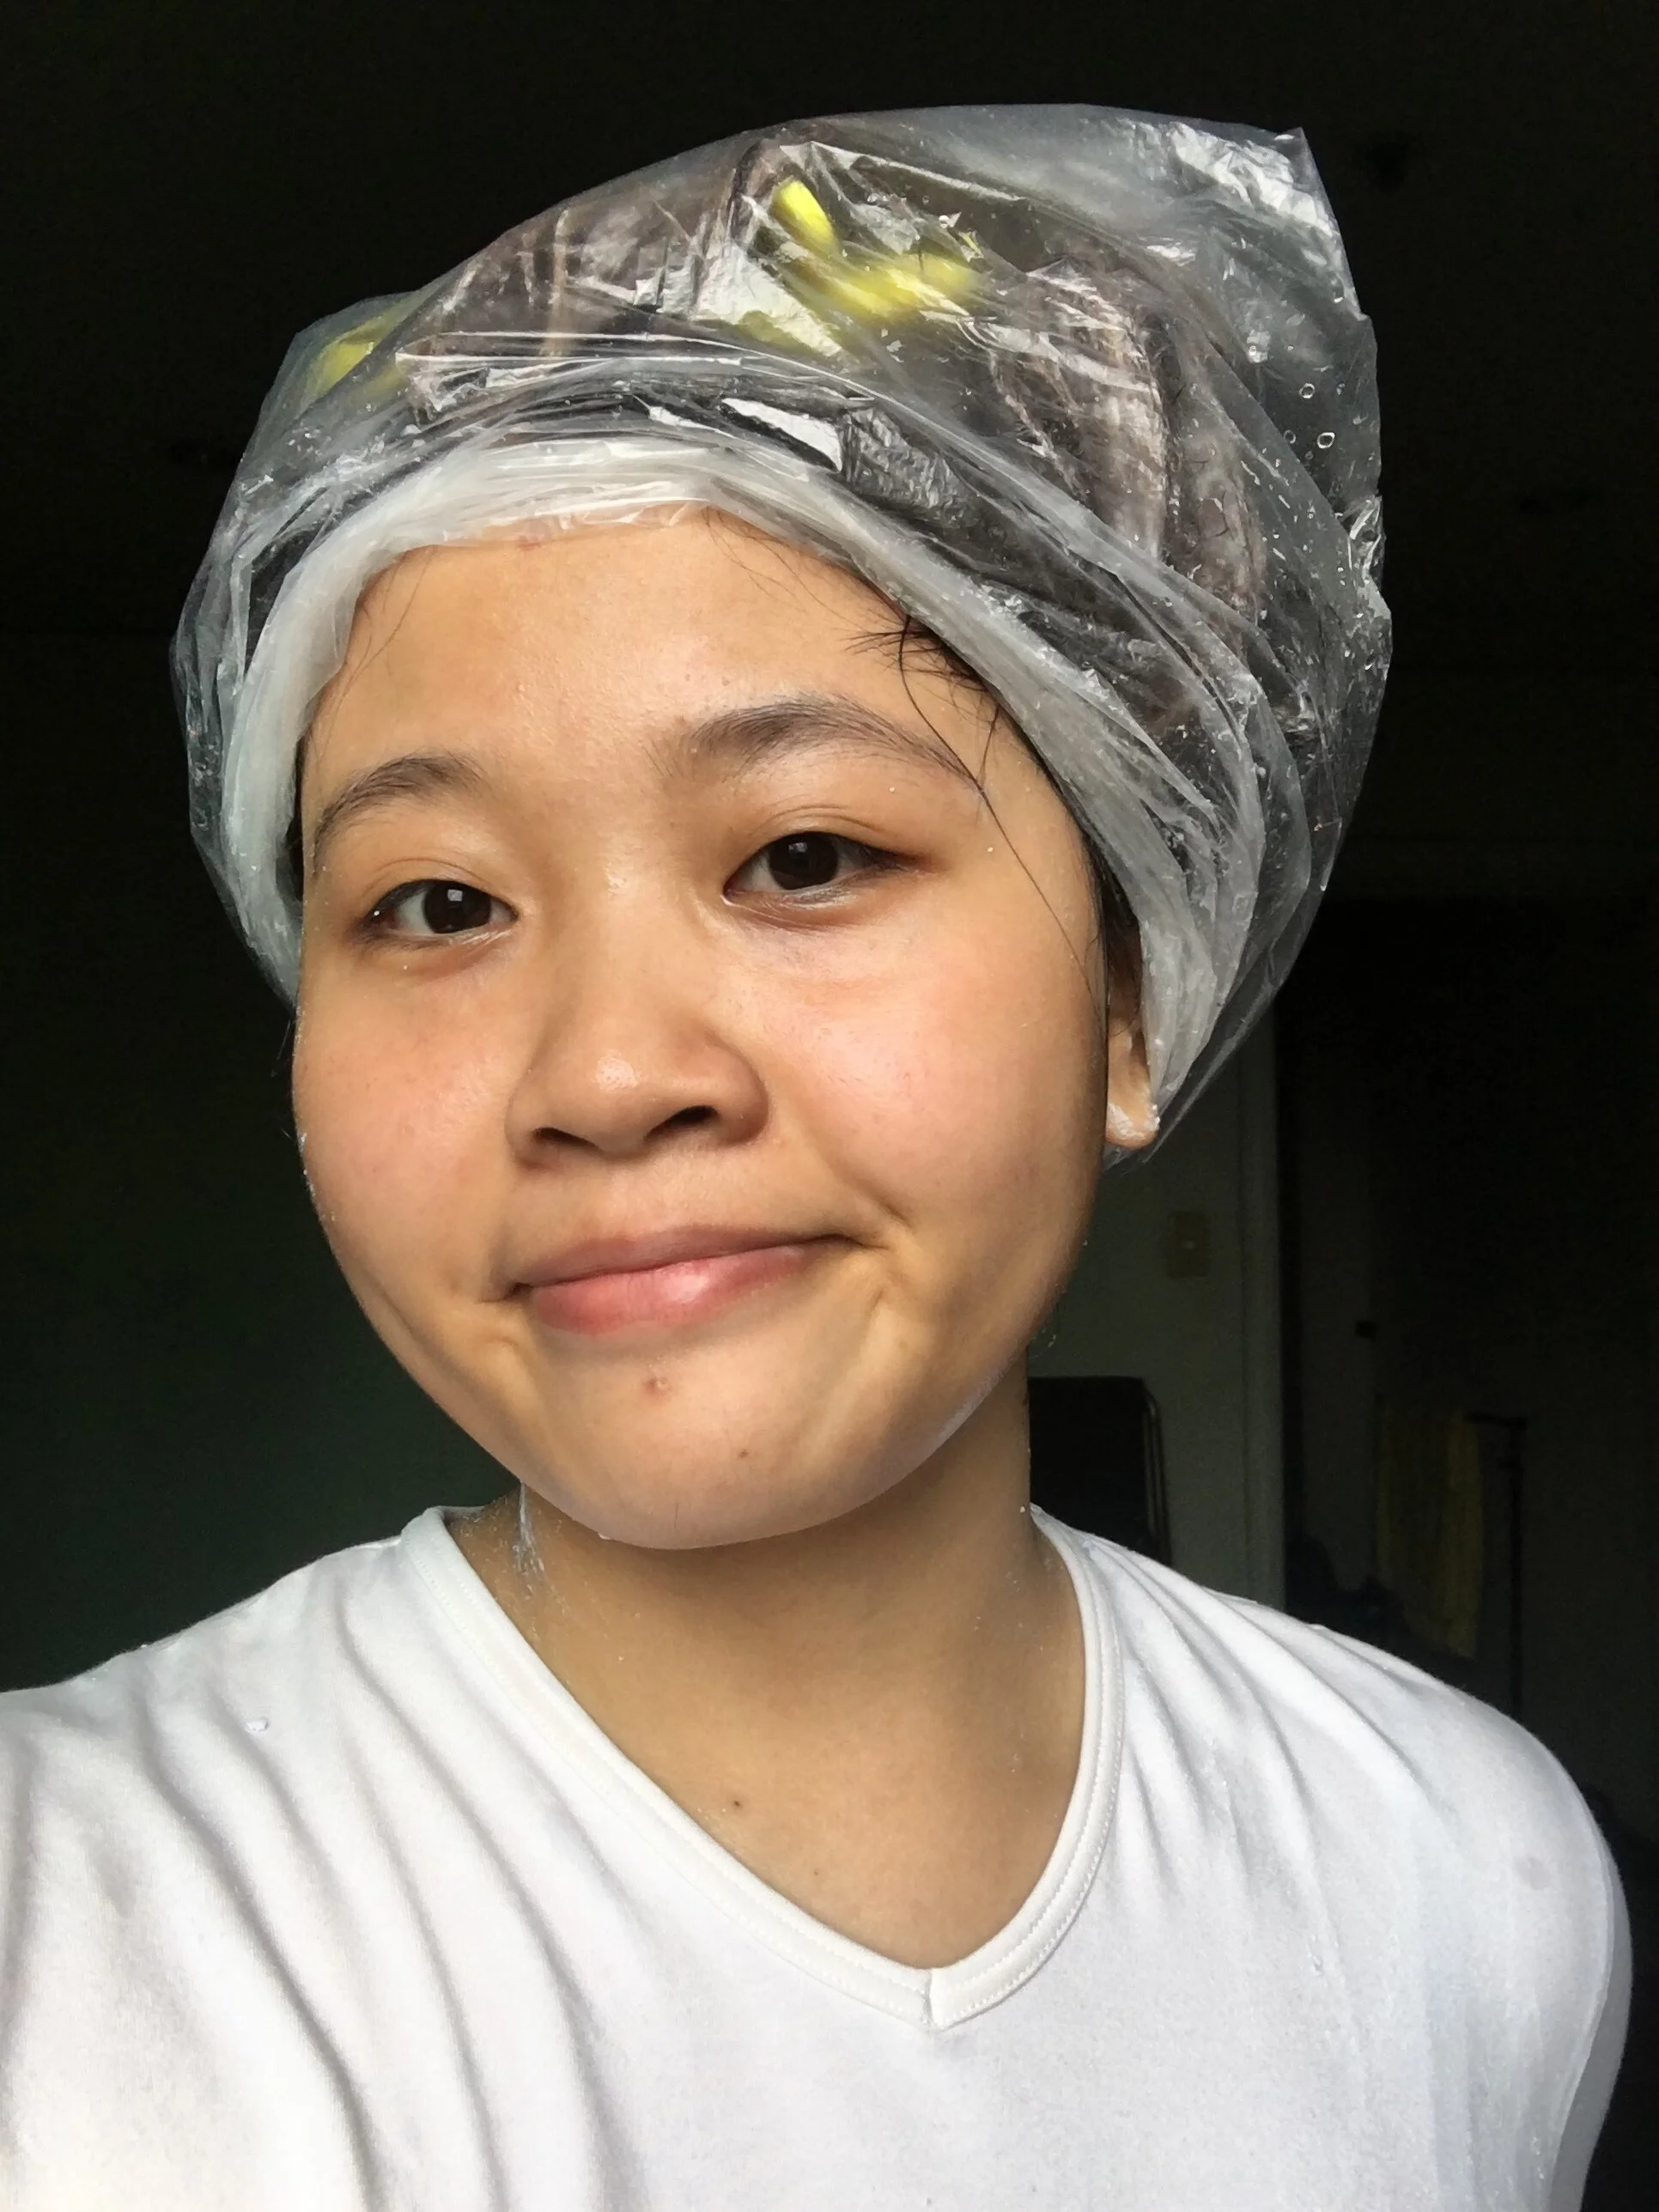
I didn’t have a shower cap so I used a big plastic bag instead which I reused for all my bleaching sessions. As you can see here, my roots are still completely black as I skipped them first because the scalp emits heat that will make the bleaching faster.
If you put bleach on your scalp at this step, you may end up having white roots and yellow hair strands!
5. Shampoo and Condition
Leave the bleach only until the recommended time. I left mine in for about 35-40 minutes before washing it with a regular shampoo, then applying a regular conditioner. I know that I will do a second round of bleaching so I dried my hair, and then brushed it well first before proceeding to the second round.
Imagine my horror when I saw how uneven my first bleach was! I looked back at what I did wrong and realized that I didn’t section my hair properly as it got jumbled around everywhere. I also consulted my friend who said that I probably didn’t saturate my hair with enough bleach.
6. 2nd Application
The second round is basically a repeat of steps 2-5, except now, I also applied bleach to the roots! I was more mindful to really saturate the darker areas. Then, I let it sit and develop for about 35-40 minutes, then shampoo and condition. Again, if you have a friend or a relative staying with you, it is best to ask their help to apply the bleach so you won’t miss a spot.
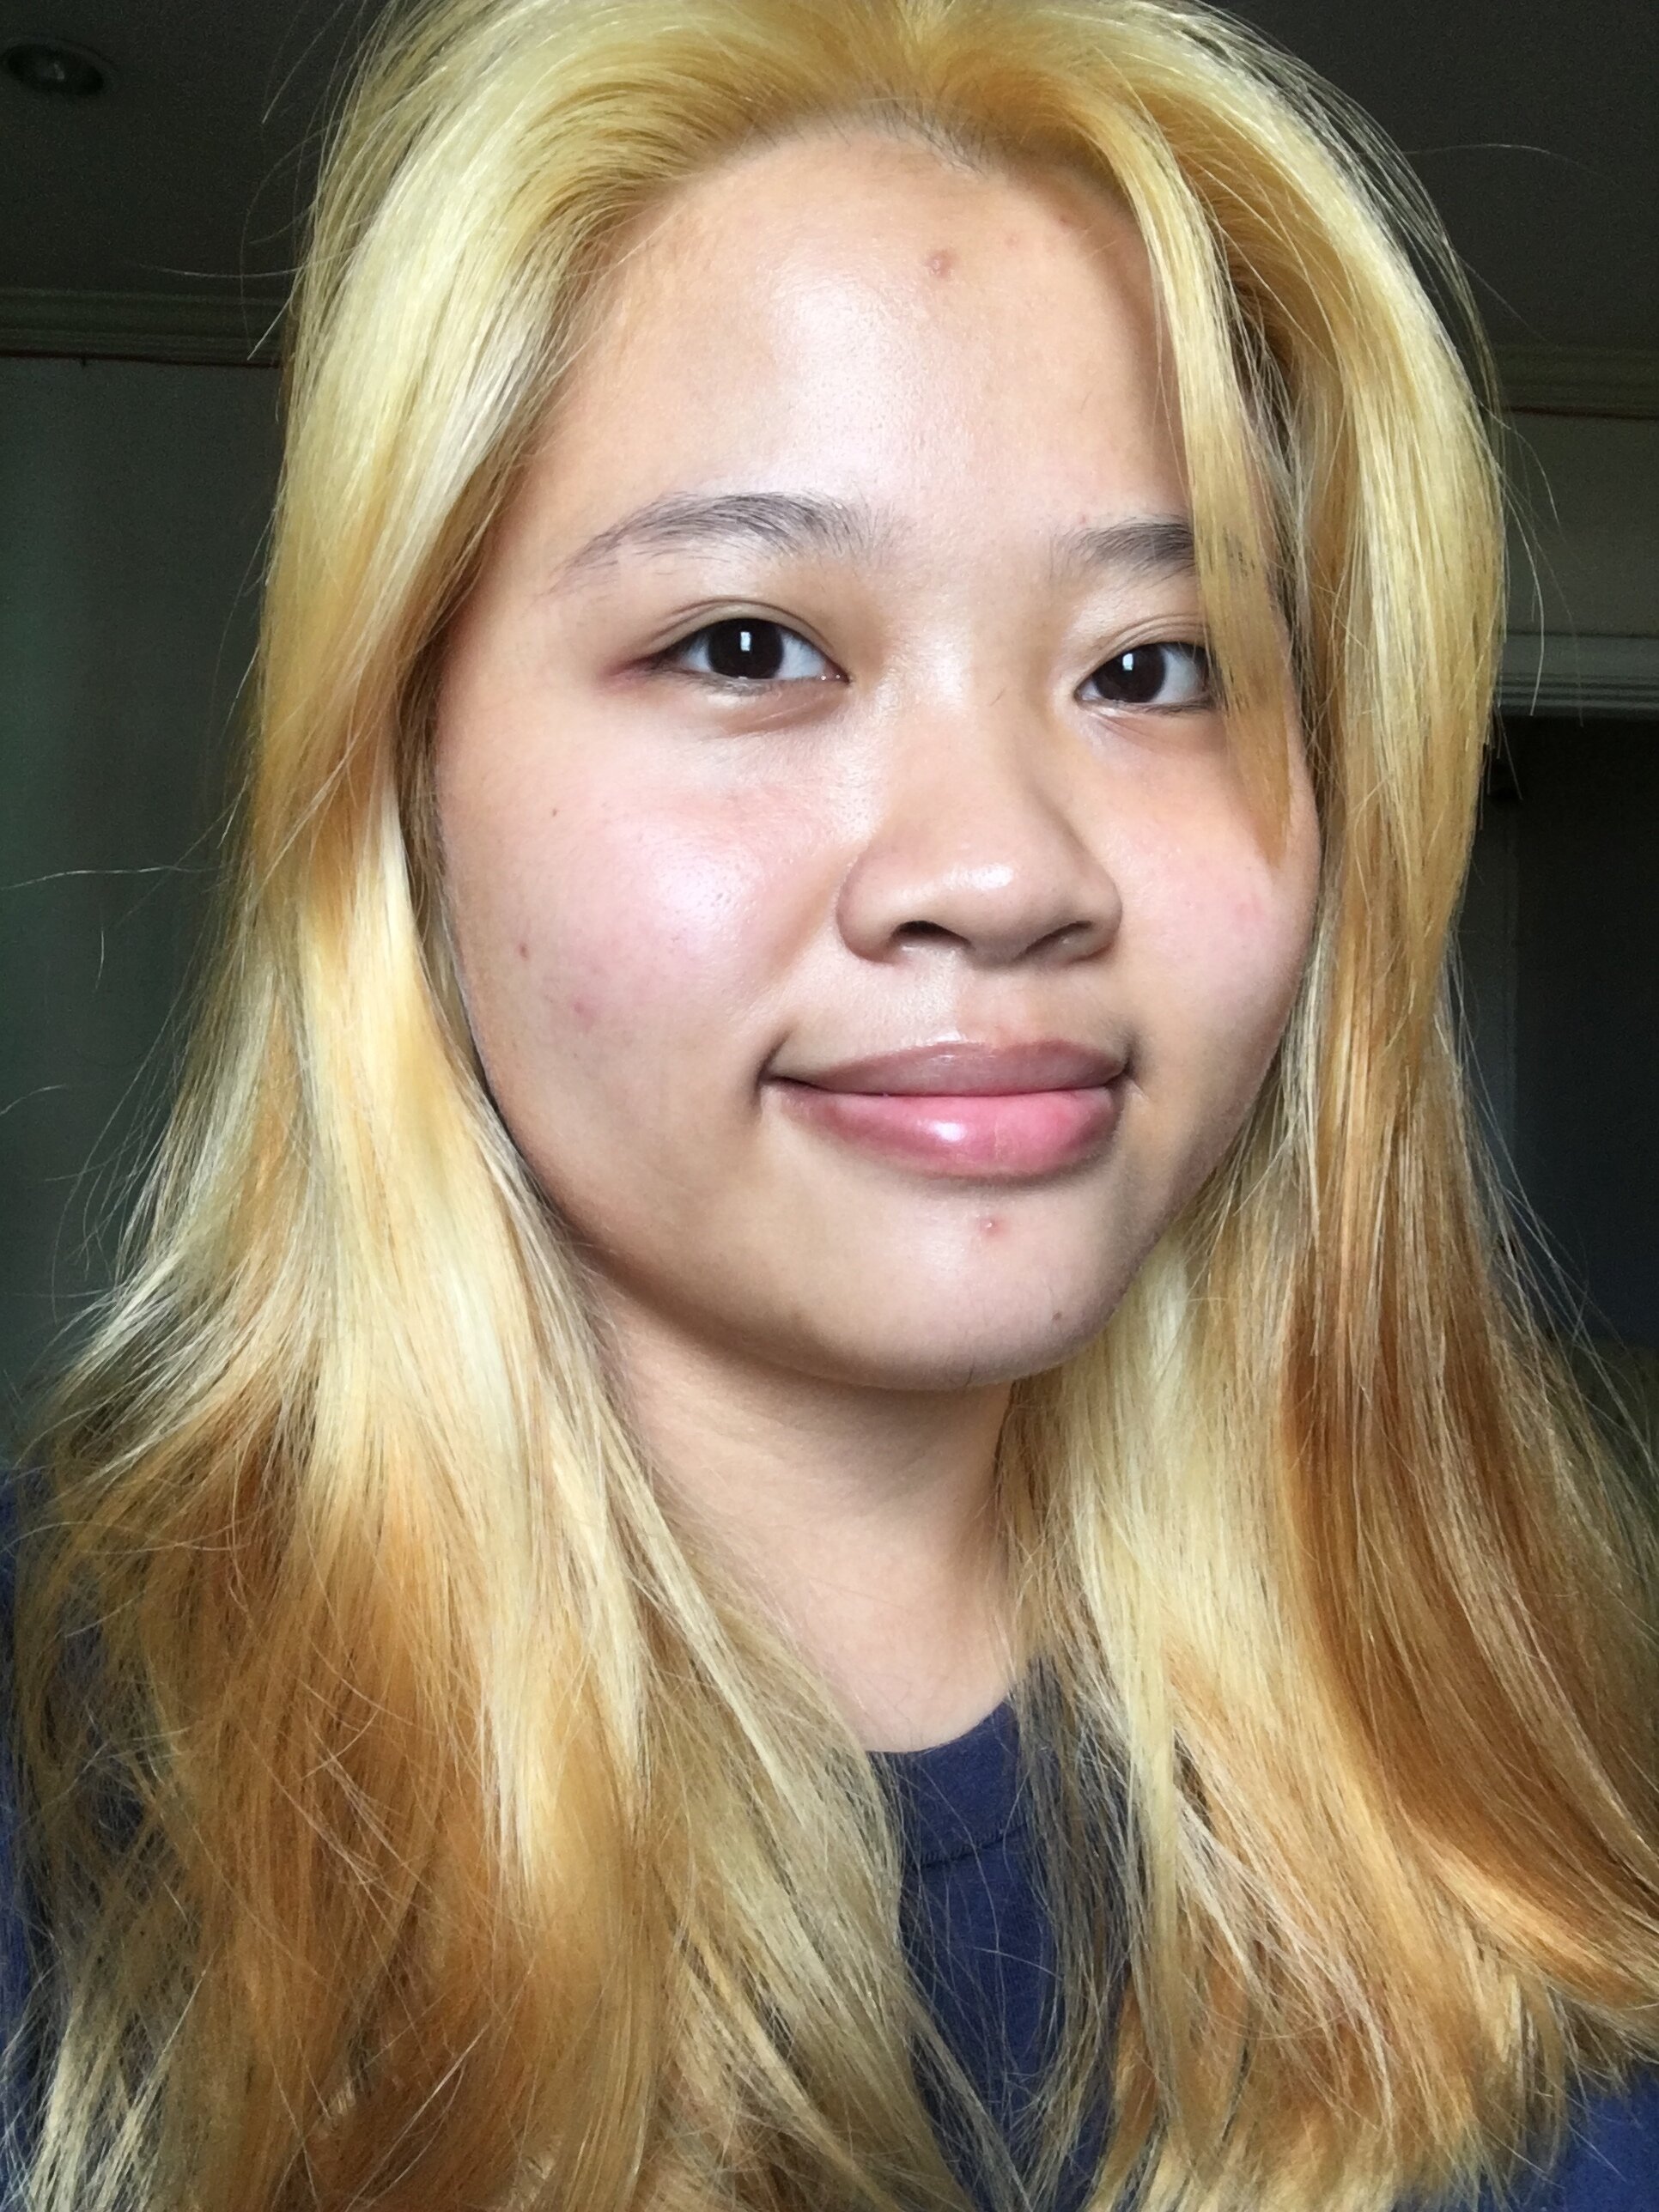
This is what it looks like the day after.
If you’re satisfied with your 1st or 2nd bleaching, you can already stop there. As for me, I found my tips still dark and application still patchy. I also found that there was still a patch of roots at the back which is still black. So I went for Round 3.
Also, after the second round of bleaching, my hair still felt fine and still hair-like which is a big yay for me! I expected it to start becoming coarse by the second round but it survived well.
7. 3rd Application
The third round will depend on your scalp’s tolerance. Mine felt okay and not sensitive even after two rounds of bleaching (I only felt heat from the strands during the first bleaching, and by the second some tingling but only about a 2/10 on the pain scale, just a bit distracting but not actually painful).
Usually the third round will happen in about 3 days to a week just to let the scalp recover, but I did mine the day after because I felt okay. My third round is a repeat of steps 3-5 but now I was able to ask for help with application.
With help, I noticed that I used less bleach and the process was so much faster. I got a more tingly sensation this time but it still wasn’t painful, just a bit distracting at 2-3/10 in the pain scale. (Note that what may be painful for me may not be painful for you and vice versa).
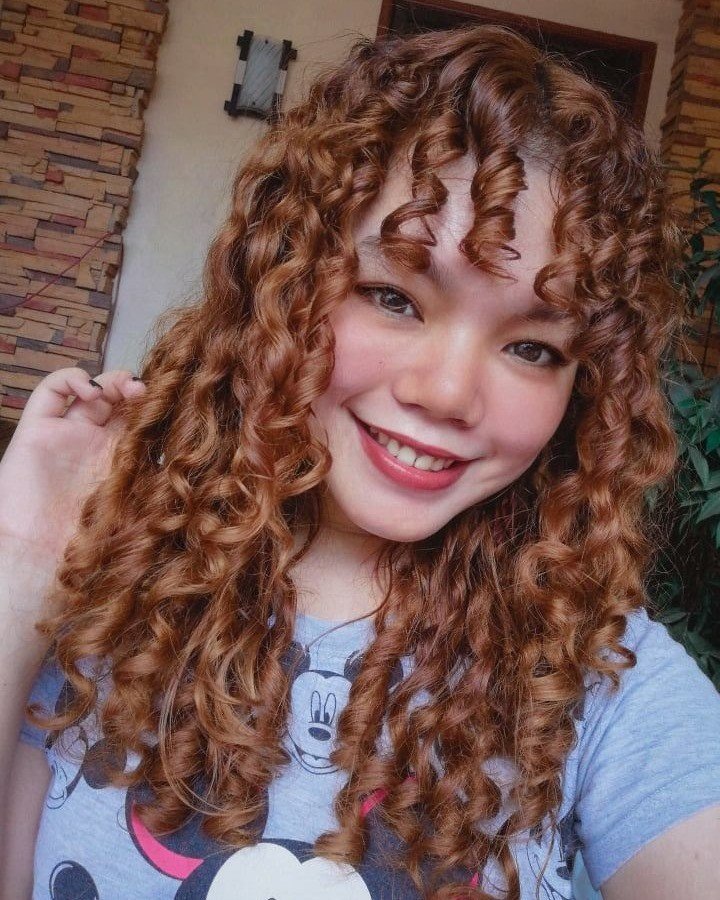
After the third round of bleaching, my hair started to feel a bit coarse at the tips, and I was satisfied with the level of lightness so I concluded my bleaching journey. Yay! Success!

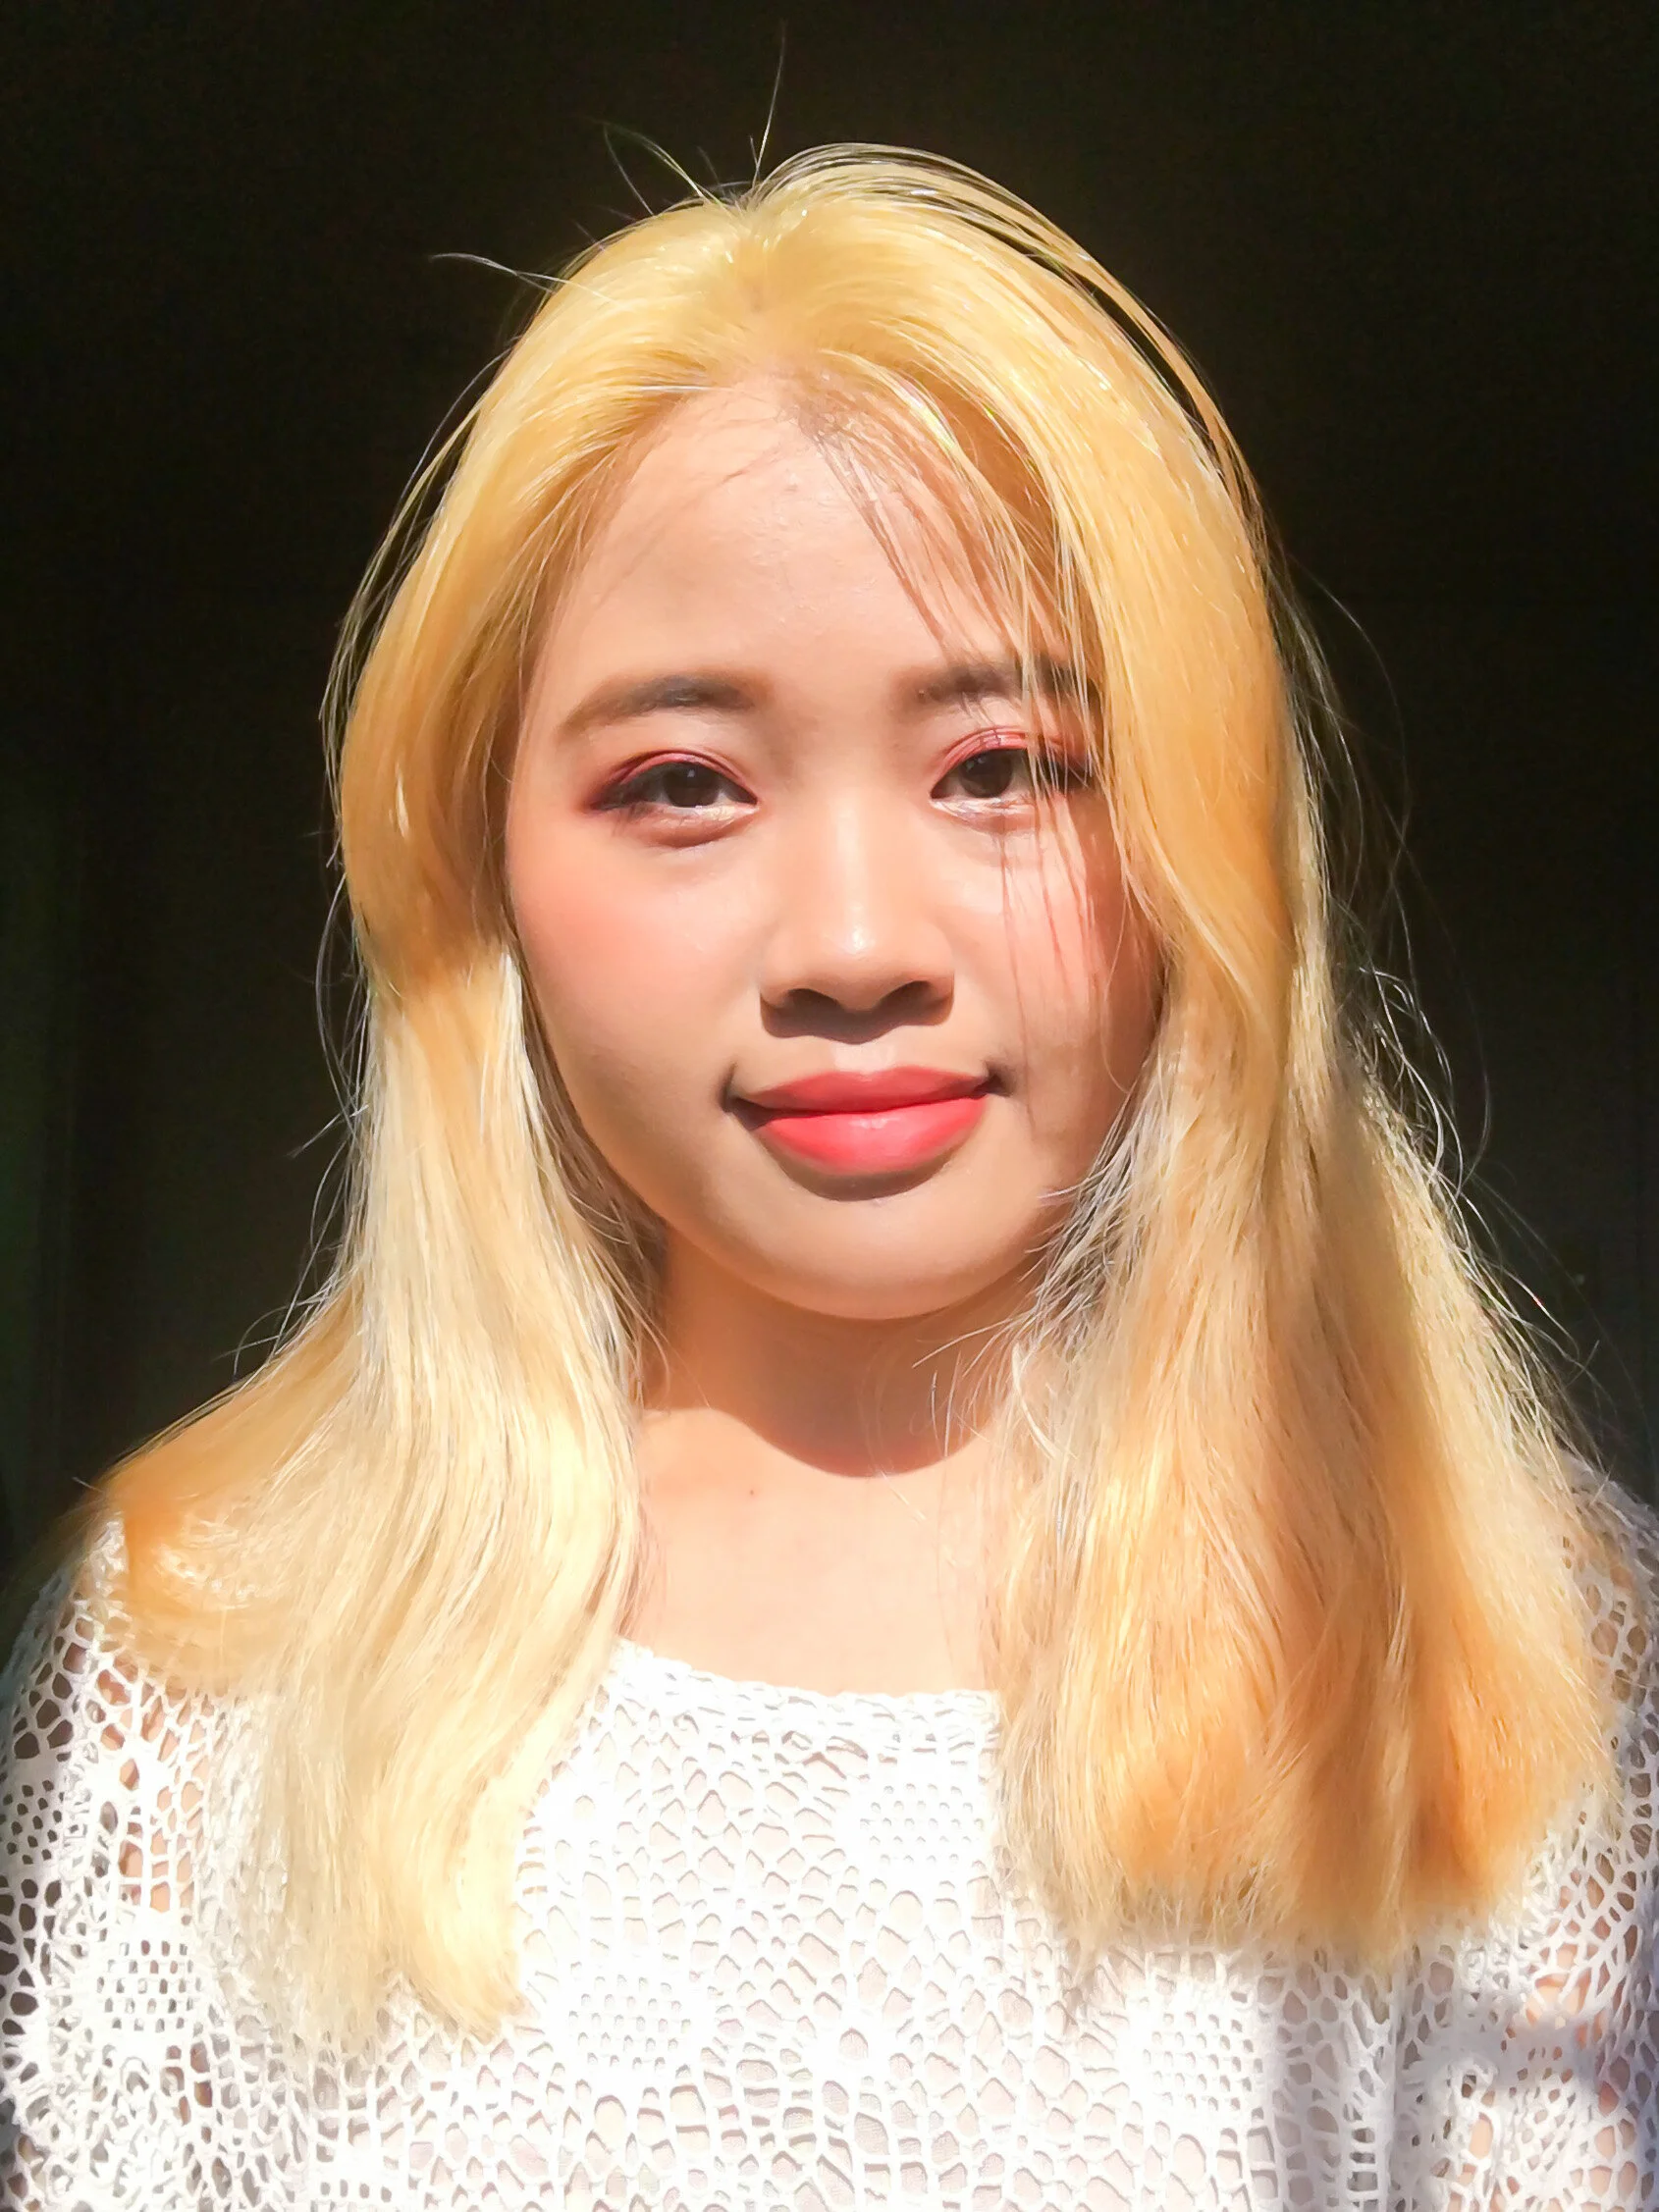
This is my hair, still a bit damp, after the 3rd round of bleaching.
I did plan to tone my hair immediately after the third bleach but wanted to rest my scalp from more chemicals so I stopped here. Overall, I’m pretty happy and satisfied with the results! I still personally find it a bit uneven but surprisingly, everyone has been asking me how I got it so even!
Three other things to note are:
Be prepared with a purple shampoo. Use this every 2nd or 3rd wash to keep the yellowness away. I accidentally bought a blue shampoo instead and supposedly it should work the same.
Blonde hair eats up water and takes much longer to dry. So be prepared with a hair blower or to air dry for a much longer time than you usually do!
Roots grow fast! I’m at Day 3 and I see about half a millimetre of growth already. In a month, there will be a show of black hair.
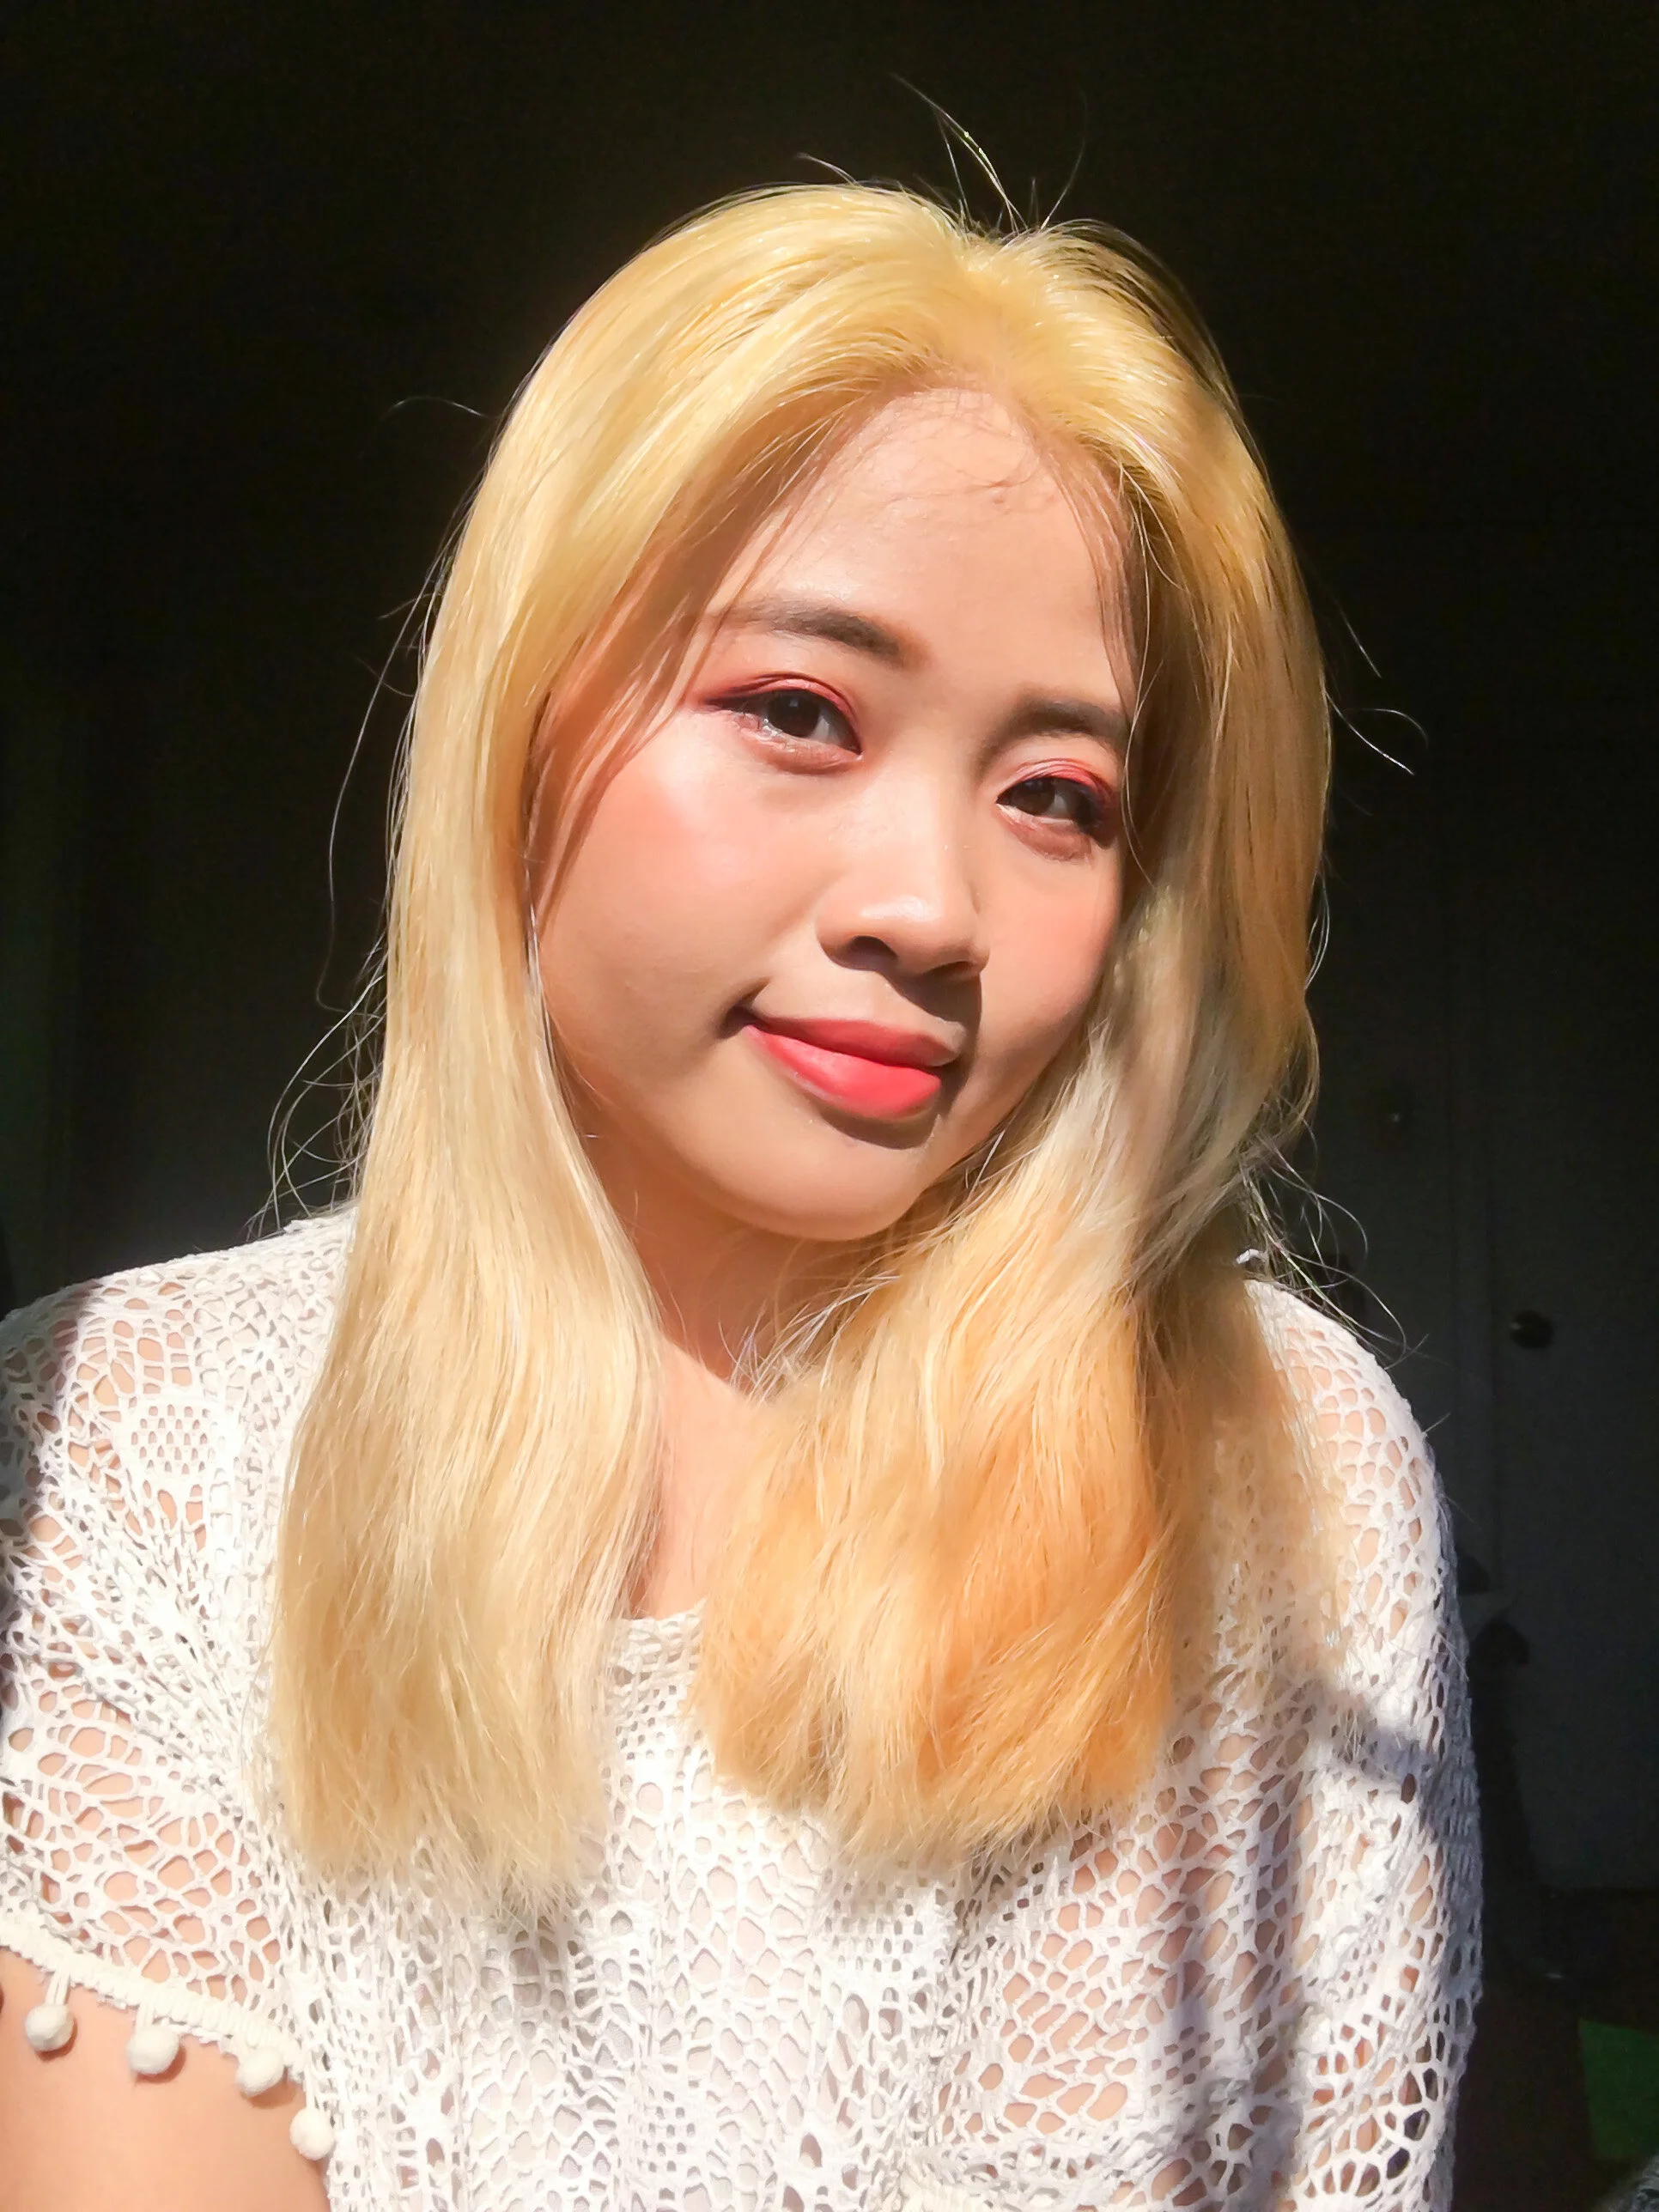
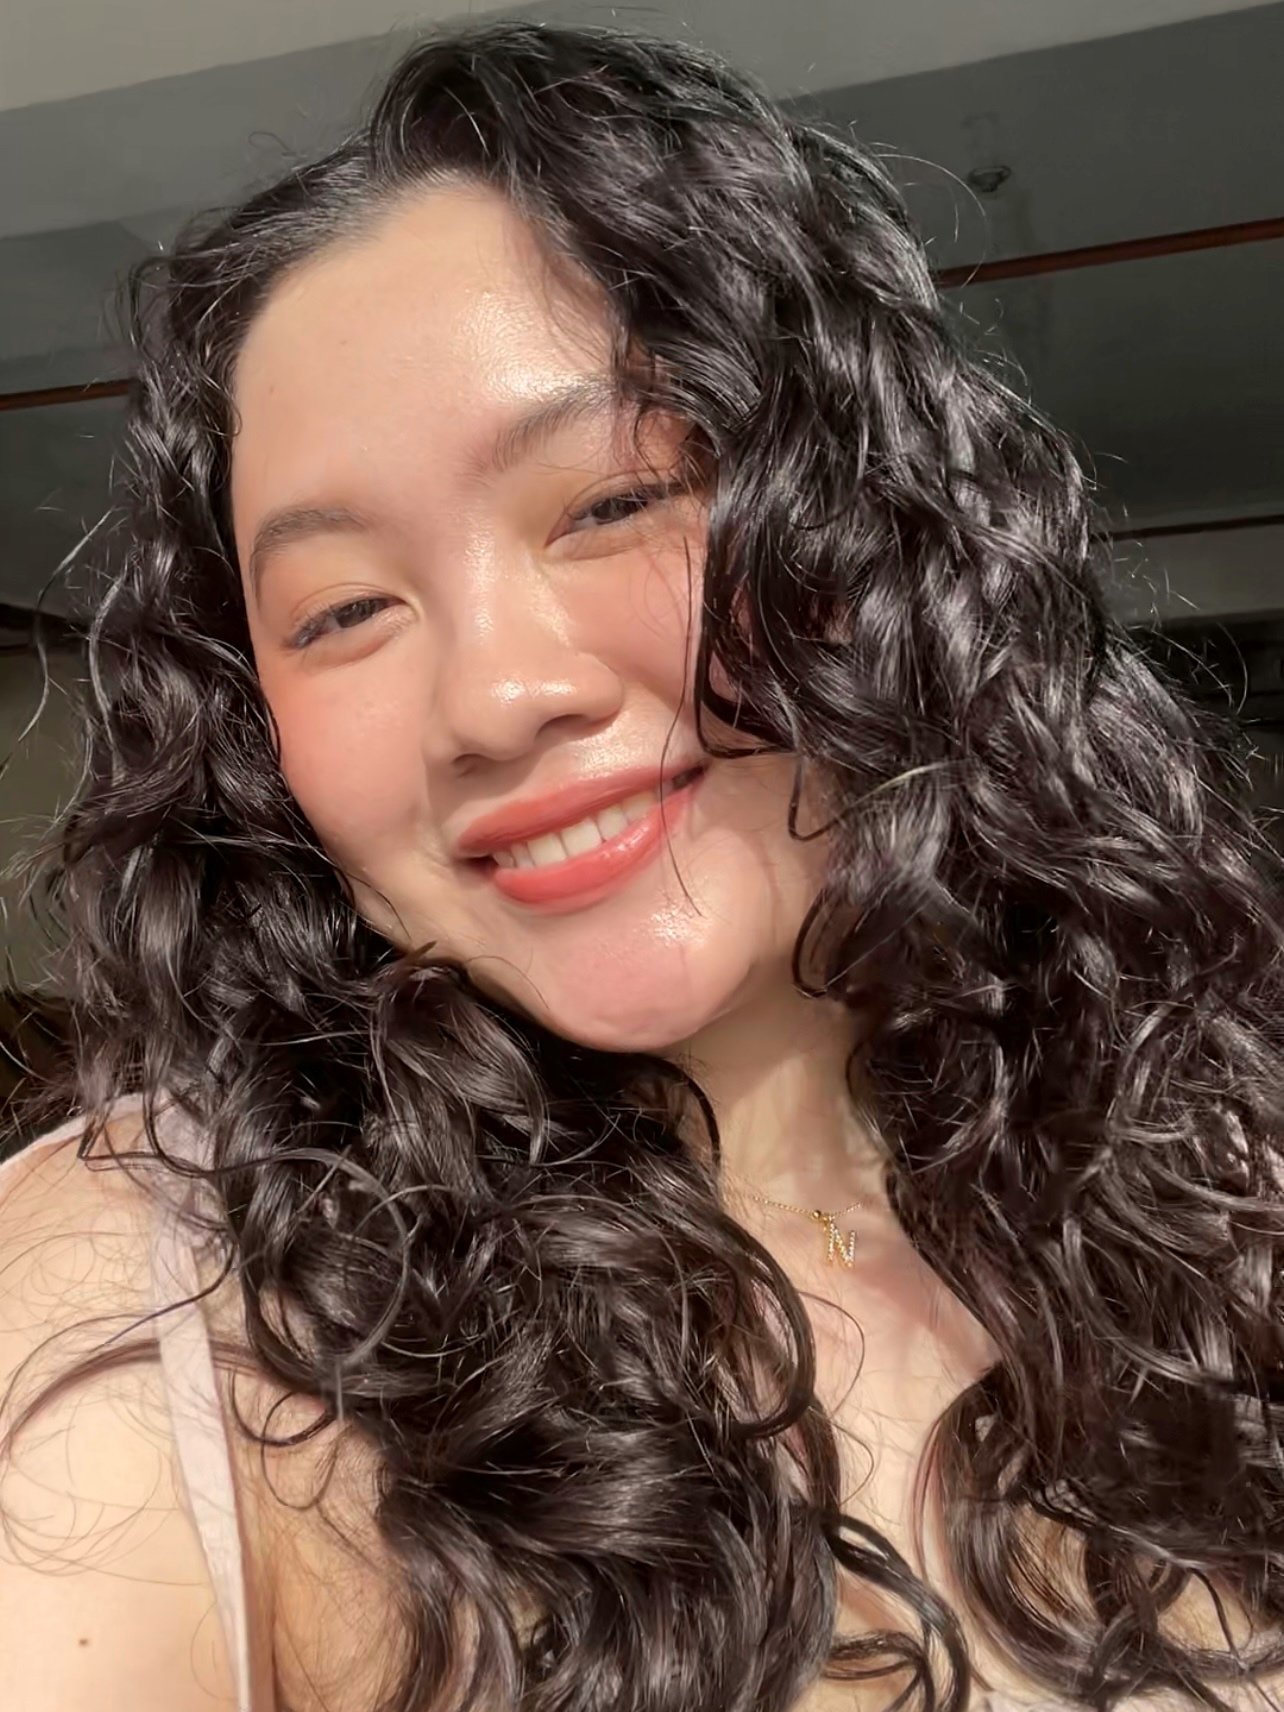
These are taken at Day 2 and I have had one round of blue shampoo.
Right now, I’m just enjoying the yellow blonde and plan to take lots of self-photoshoots with it. When I get tired of it, I might opt to tone it to make it ashier or to use semi-permanent dyes so I can play around with my hair. I’m thinking pink or lilac! Since it’s my first time doing this, I don’t have recommendations and am still looking around to see which one I should try. If you have any questions about the process or recommendations on which semi-permanent dye to try, please don’t hesitate to leave them at the comment box below.
Stay indoors and keep safe!