

How to contour your cheeks
Contouring is a neat trick to have up your sleeves. You can easily loose a couple of pounds off your face, lift it up, and just generally make you look different. Prettier too, if done right!
Now the thing about contouring is that it's quite easy. You just need to remember three things: find the right angle, use the right brush and contouring color, and then blend like mad.
Just a small note: this is a tutorial for basic, everyday contouring on the cheeks. It's not the whole deal for the face, because that's a little more complex and time-consuming.
Step 1: Finding the right angle to darken
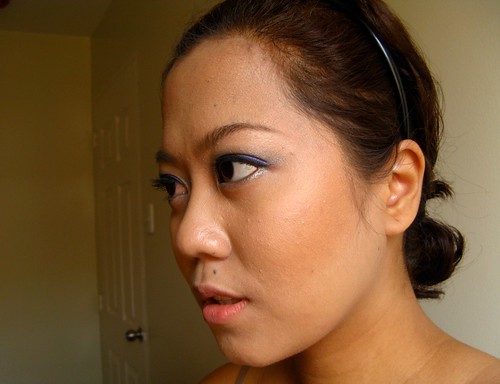
The easiest way to do this is to just suck your cheeks in and then apply the color where the hollows are. A slightly harder (but better and more natural) way to do it is this: go under direct light, then observe where the shadows fall on your face. To illustrate -
Uncontoured face

The color will go where the darkest shadows fall on your cheeks. That's your "contouring angle". From your hairline, swipe the brush down to where the shadow ends.
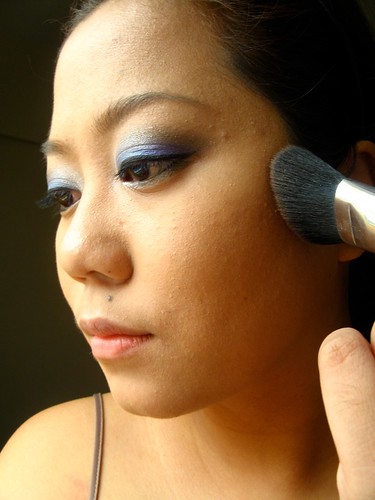
Step 2: Use the right color and brush
Use a color that's two shades darker than your skin tone. You don't even need to buy powder specifically for contouring; any kind of dark foundation will do! As for the brush, pick something that's angled and fluffy. You don't want to use a dense brush since the makeup may end up looking too harsh. I like to use the Marionnaud angled blush brush for contouring.

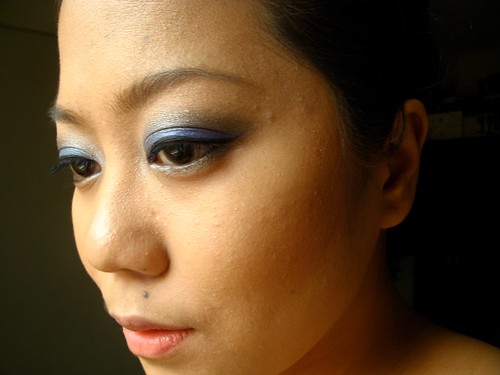
Step 3: Blend, blend, blend!
Good contouring looks natural. There should be no harsh lines or strong color. So, if you see anything like that, soften it by buffing with a kabuki brush or blending the color out with some foundation.
And that's it! Easy peasy right? Hope this helps!