


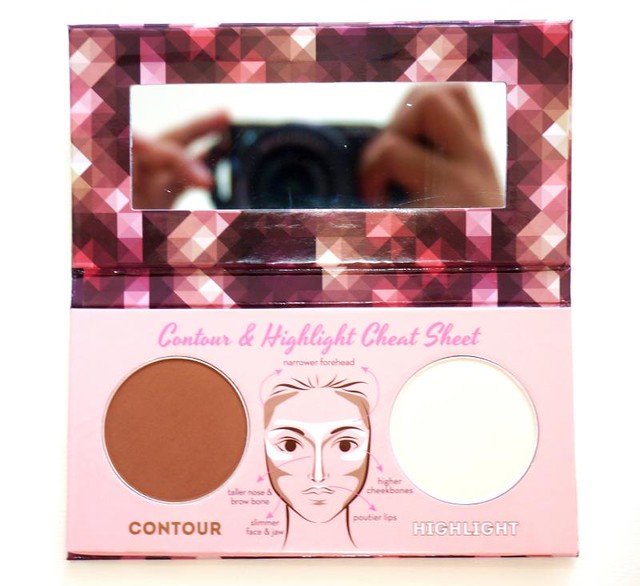
The cheat sheet for where to apply bronzer, blush, highlighter & contour
When we say ‘face or base products’ in cosmetics, we automatically think of different kinds of foundation, maybe primers and setting products for those who use them. However, this category actually includes a larger, oft-forgotten collection of products, including those that you do not necessarily put all over your face. These are bronzer, blush, contour and highlight.


Happy Skin Feeling Sculptacular Face Contour Kit
I've tried quite a few products to get the best contour, but the best, and I mean THE BEST contouring product for me so far is the Happy Skin Feeling Sculptacular Face Contour Kit (P1,199). Why? Let me put it this way. I used to only contour my face when there's a special occasion as the process used to be time-consuming (it involved a lot of blending). With the Happy Skin kit though, contouring has become a breeze! The results look totes natural in only a few minutes.
Here's a quick rundown on what makes this product special!
What I LOVE about the product
- The warm brown contour shade is perfect for my skintone! It's neutral, not too tan or too muddy.
- Pigmentation is ideal for contouring. It's lightly pigmented, but not so light that you have to do a lot of layers to make it show up. Two is enough for day-to-day. It looks super natural and diffuse when you're done!
- Staying power is pretty good at 5-6 hours. It fades, but I don't feel the need to retouch even after 8 hours.
How to contour your cheeks
Contouring is a neat trick to have up your sleeves. You can easily loose a couple of pounds off your face, lift it up, and just generally make you look different. Prettier too, if done right!
Now the thing about contouring is that it's quite easy. You just need to remember three things: find the right angle, use the right brush and contouring color, and then blend like mad.
Just a small note: this is a tutorial for basic, everyday contouring on the cheeks. It's not the whole deal for the face, because that's a little more complex and time-consuming.
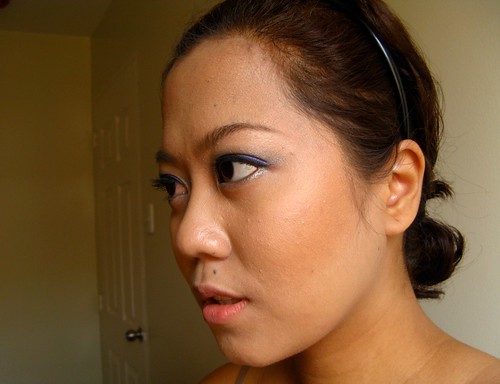
Step 1: Finding the right angle to darken
The easiest way to do this is to just suck your cheeks in and then apply the color where the hollows are. A slightly harder (but better and more natural) way to do it is this: go under direct light, then observe where the shadows fall on your face. To illustrate -