

DIY Time: How to prettify your old or ugly palettes
When I first discovered Pinterest and Instagram DIY hacks, I spent hours looking for ones that are beauty-related to work on as weekend projects. Most were easy to follow, and I found the activities to be therapeutic and even addicting!
I especially loved makeovers that turn my vanity into a legit beauty space, so I wanted to try finding ways to make my old, beat-up, and not-so-nice palettes look attractive and enticing again. After all, doesn’t your makeup experience feel more fun and exciting when you’re using a product that is as beautiful as it is functional? The more you handle a product, the more it’s prone to get dirty and worn down, and sometimes it can get scratches and other unsightly flaws because of poor storage. So, I gathered some palettes and got to work!

What you’ll need:
- Old or ugly palettes
- Contact sheets (about P200 for a full roll at the hardware store)
- Scissors or craft knife
- Washi tape
- Adhesives
- Stickers and other decals
Step 1: Choose the palettes you want to work on. If they’re scratched, stained, or covered in sticky residue, clean it up first as best you can to prepare the surface. Larger palettes are generally the easiest to work with because of the area. For smaller palettes, make sure your cutting tools are small and sharp to make it to easier to reach small corners.
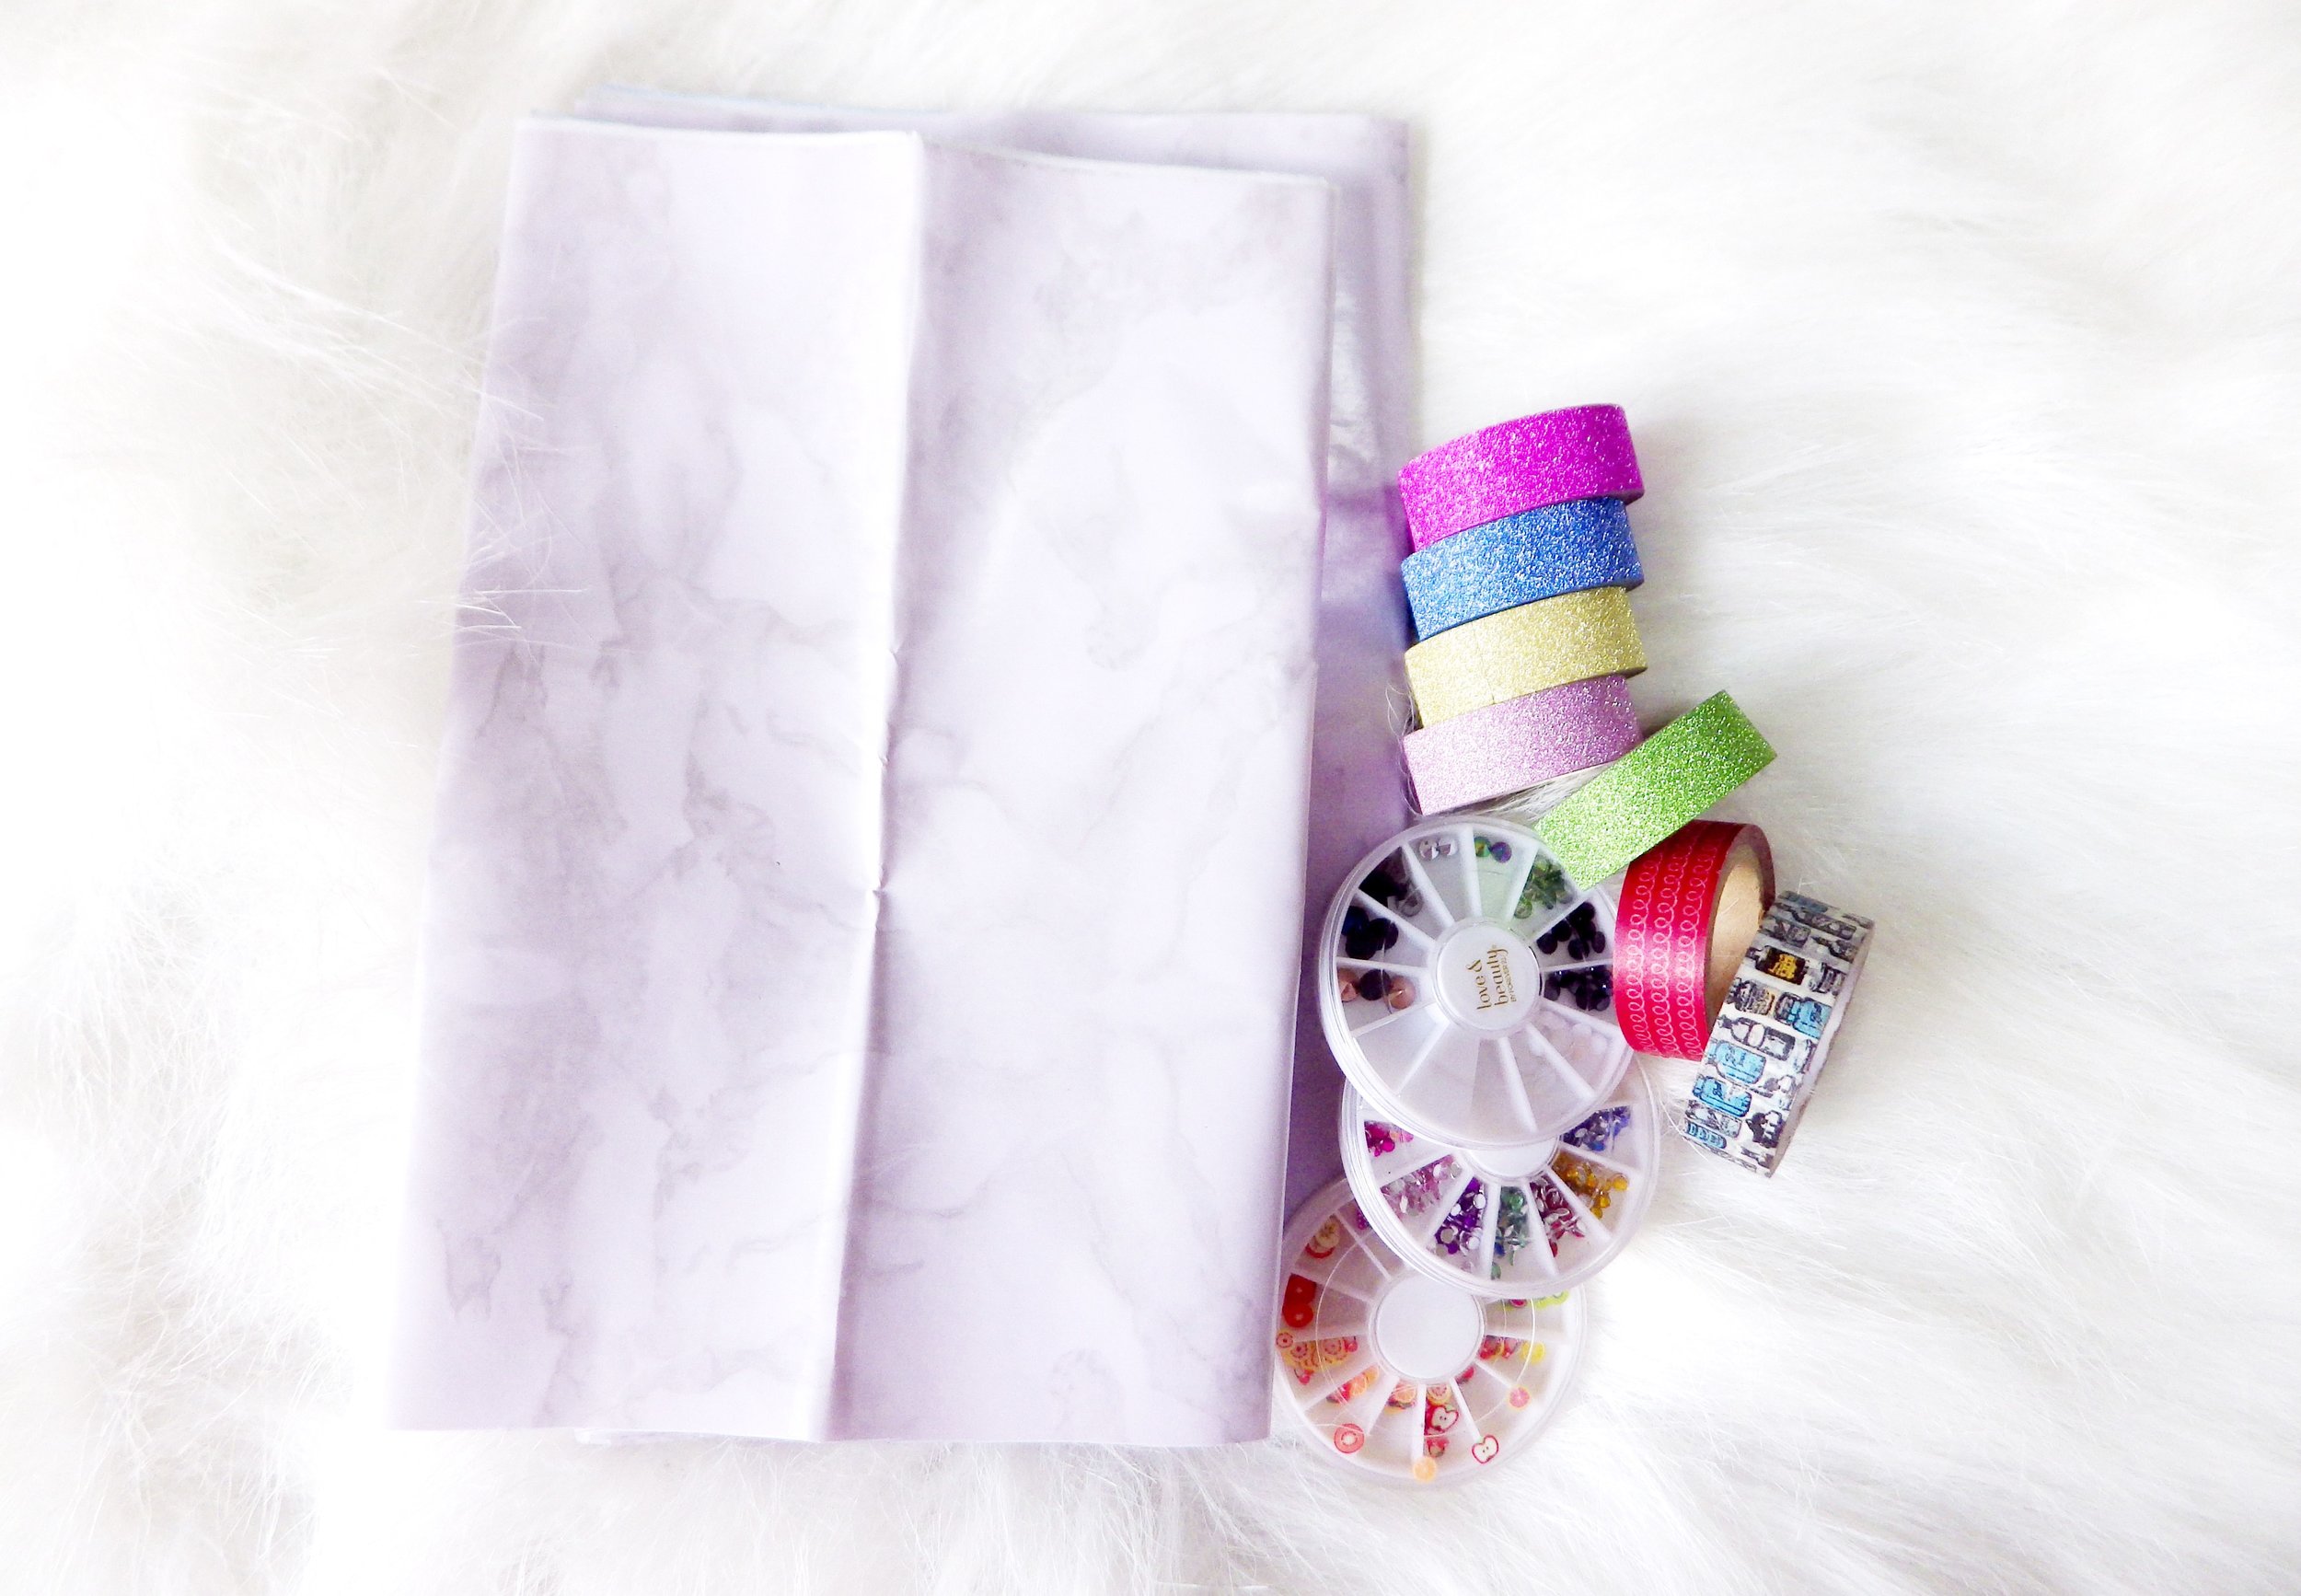
Step 2: Gather your decorating tools. It’s best to lay out the design you want before committing to sticking anything onto the palette. For this project, I relied mainly on washi tapes and contact paper to give my palettes a fresh start.
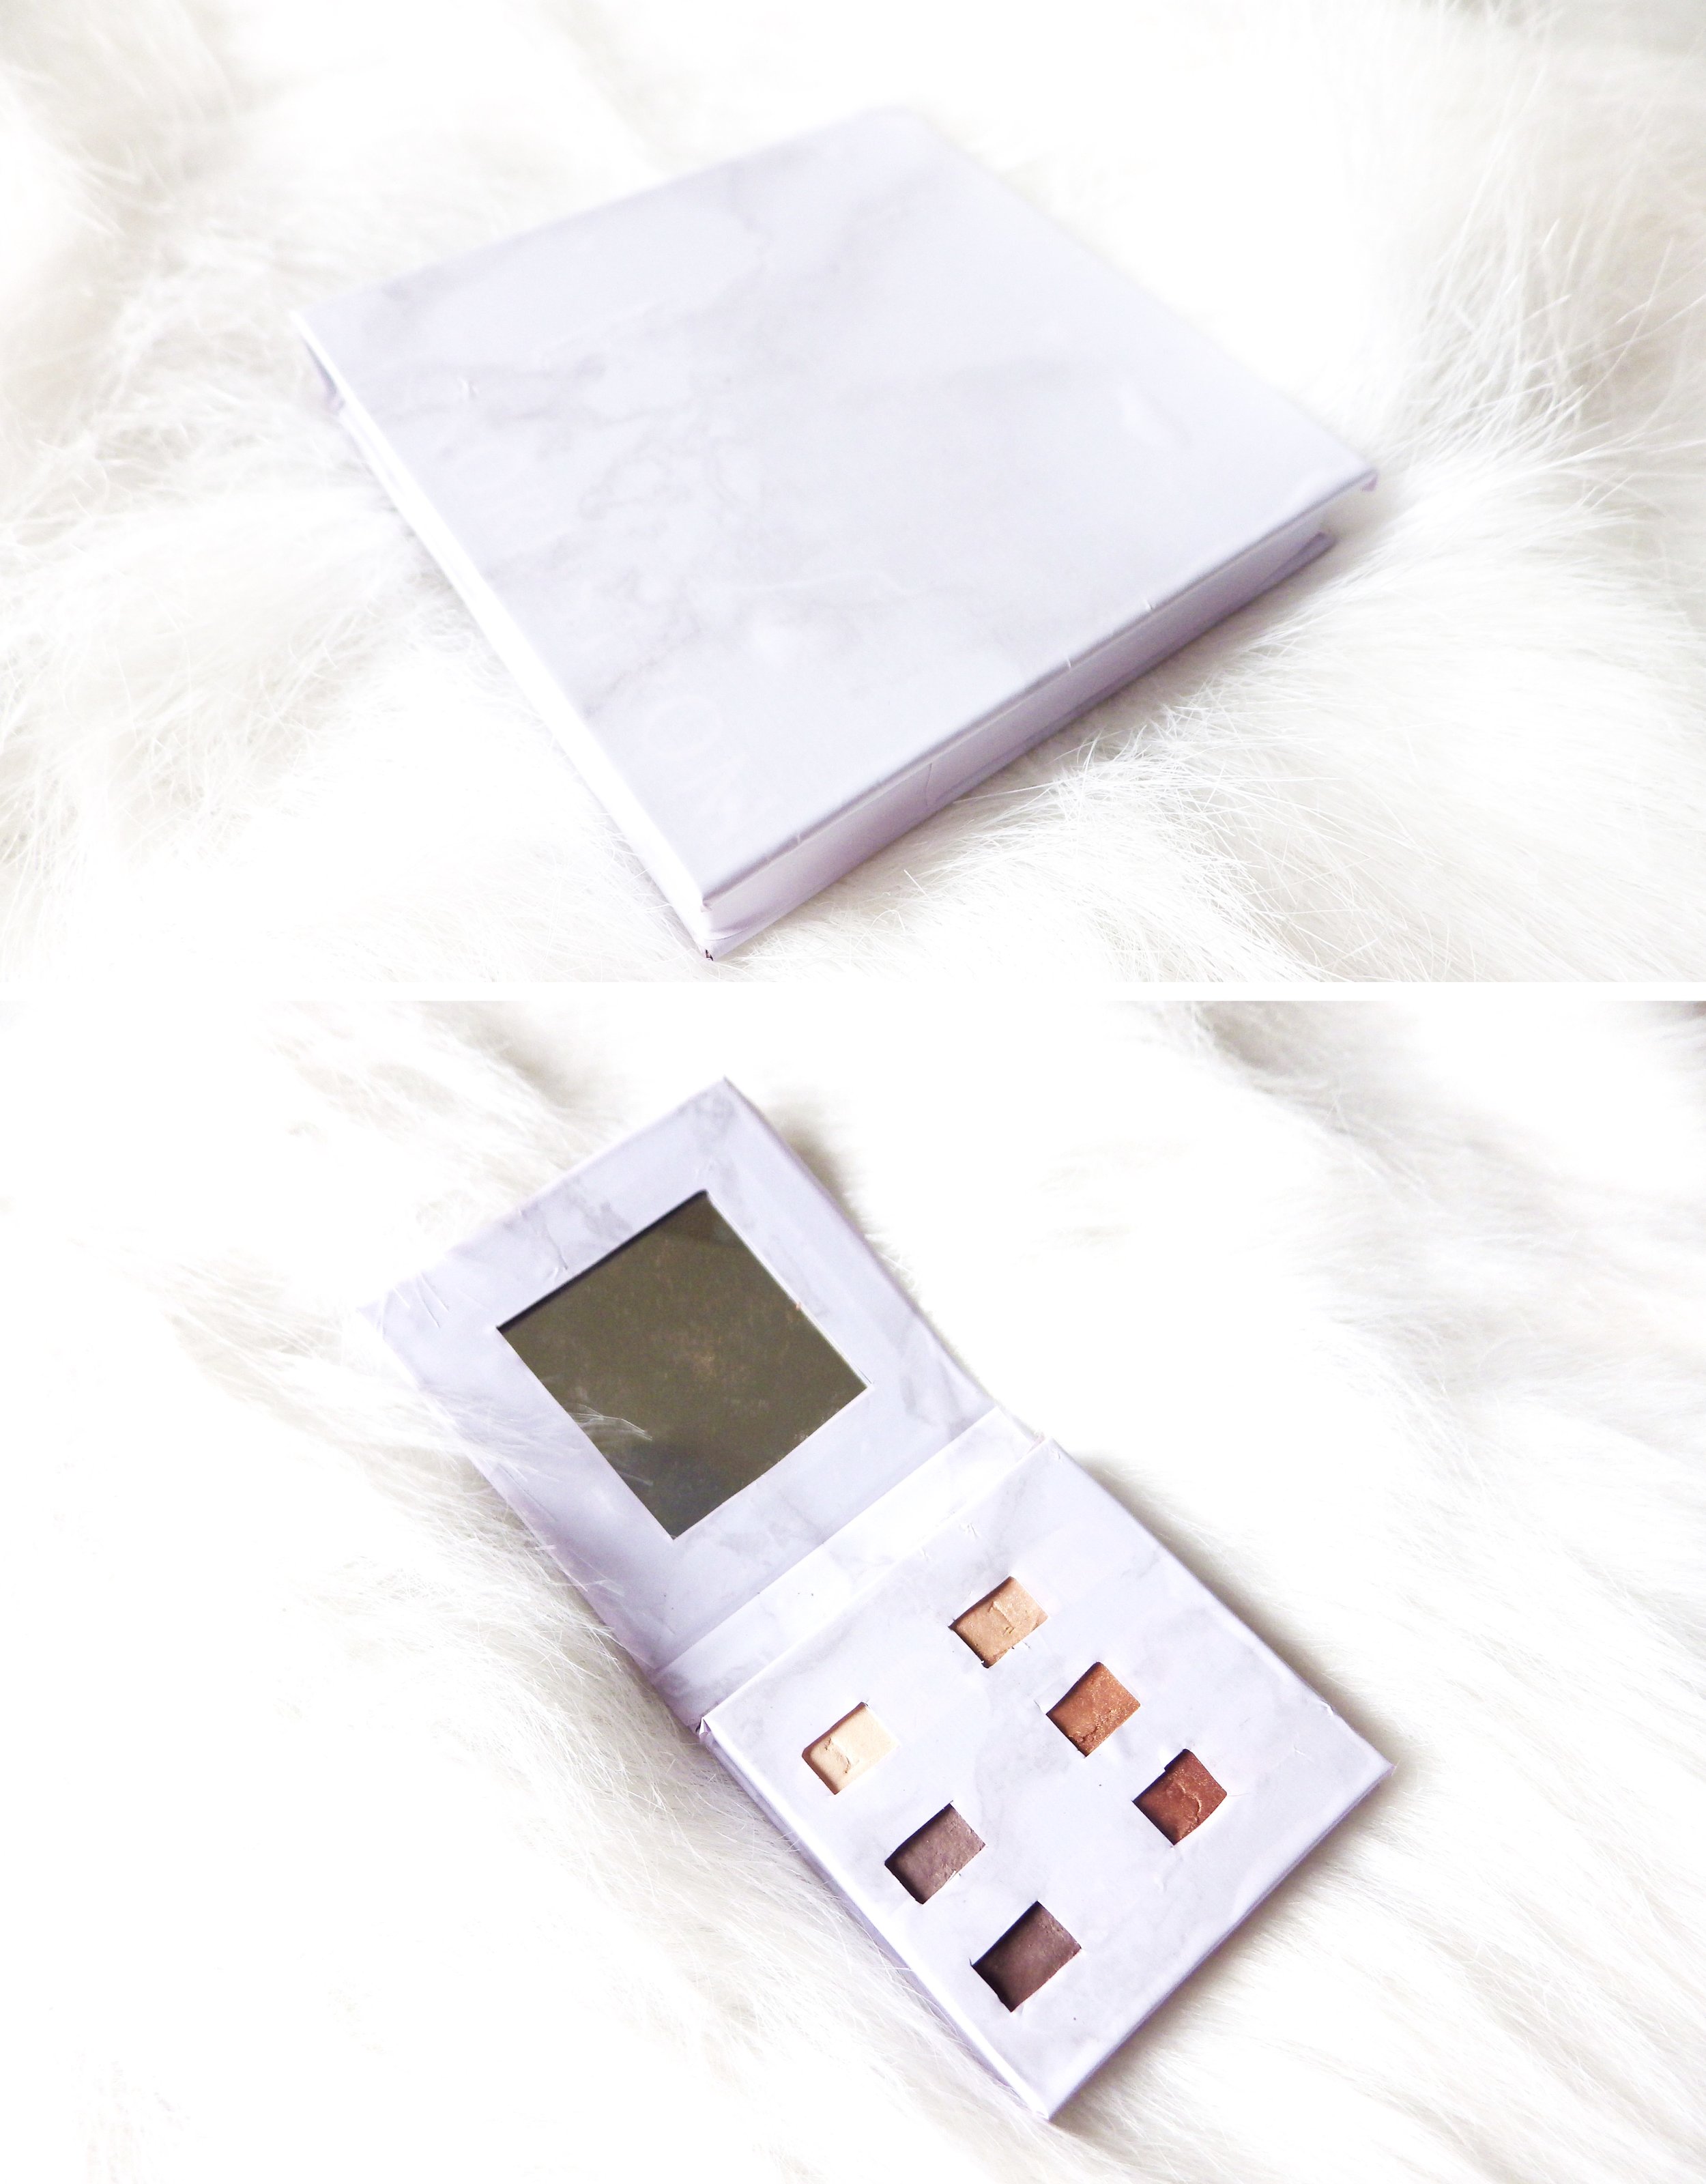
Step 3: Measure your palette before cutting decorative papers so you can avoid wastage. Try to cut it as close as possible, following the shape of the object, and remembering to add “windows” whenever necessary. Stick on the adhesives carefully, making sure to gently smooth out any trapped air pockets.
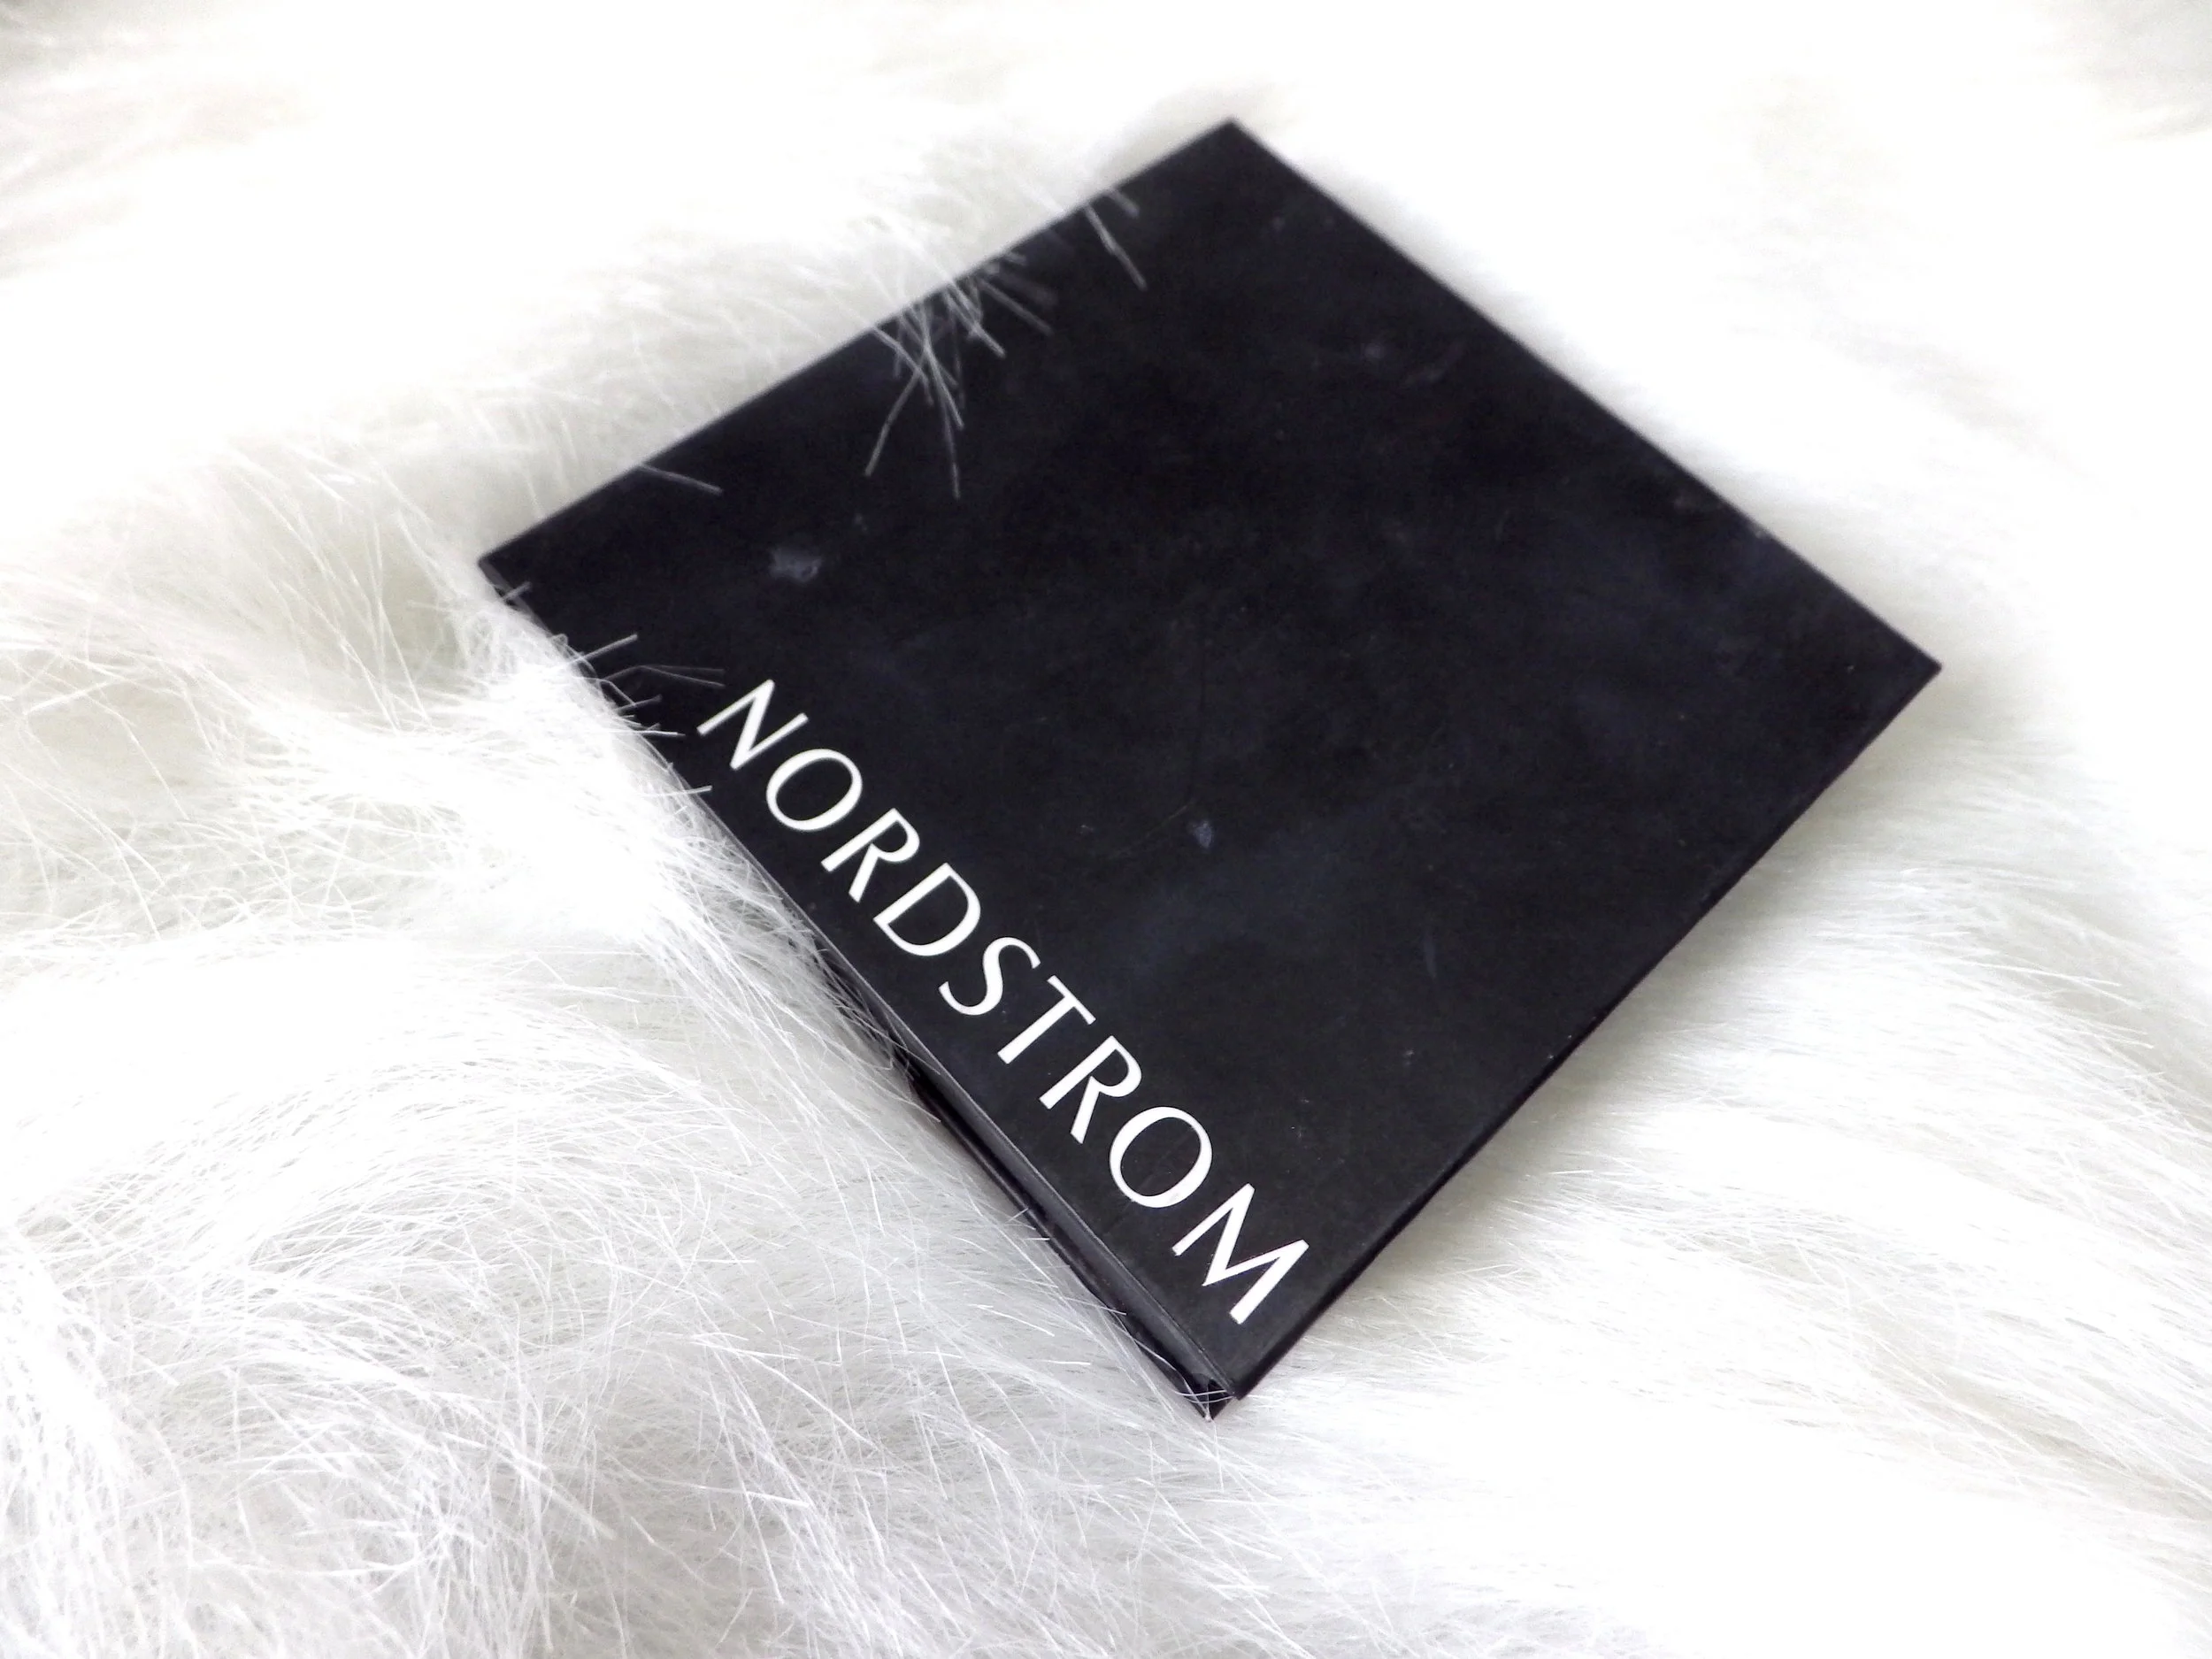
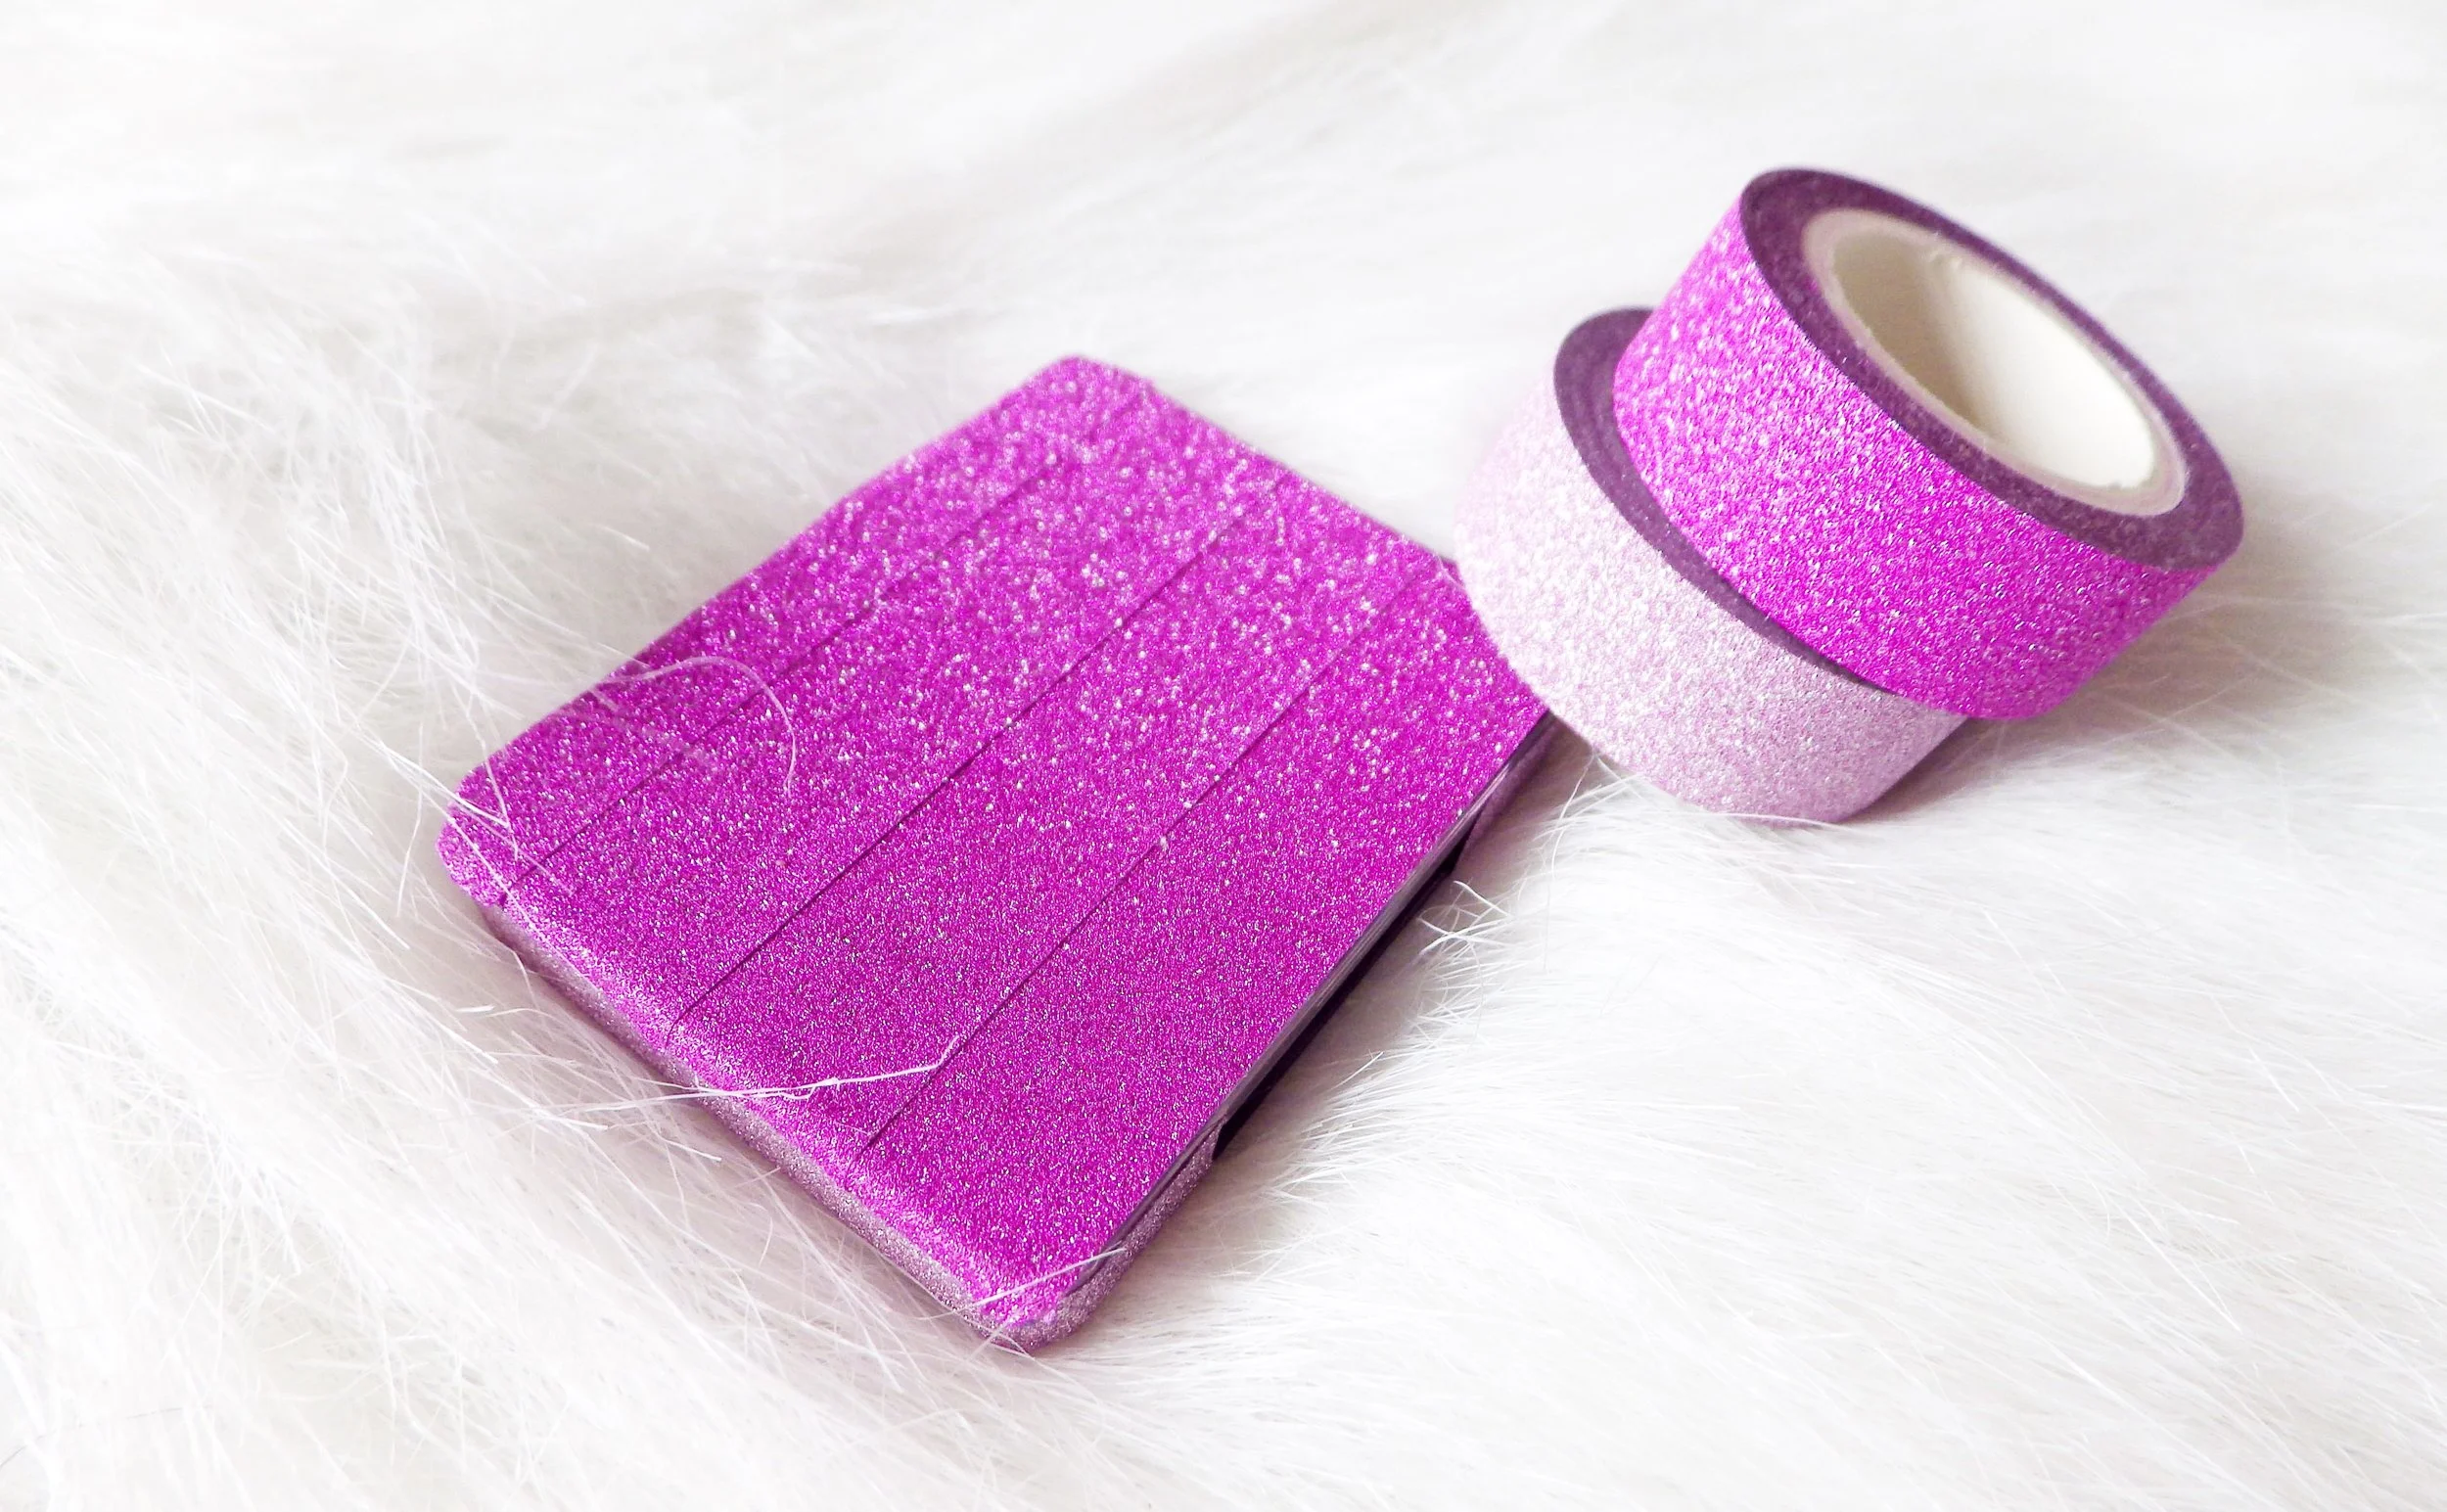
I chose a simple marble covering for my old but well-loved Nordstrom palette because it reminds me of the Hourglass Surreal Light palette. For the Covergirl Cheekers blush, I went for a PV pink vibe using glittery washi tapes in two shades of pink.
4. If you feel extra creative, add embellishments! Beads and nail decals can be added on with a glue gun. You can even print your own stickers to customize!
Do you have palettes that you no longer feel excited about using because of how they do look? What are your fave beauty hacks for making them look nicer?