

How to DIY your own Hollywood Mirror for just 500 pesos
One of my greatest splurges in the name of beauty has got to be my Suesh Vanity Case. It cost me more than P10,000 and has the ability to transport my makeup quite easily. It is similar to Liz’s case except that mine didn’t have the legs to stand on or the power outlets to plug in your styling device. I honestly love it, though I think someone who actually moves around with her makeup collection like a professional MUA will benefit from it more. The only movement mine has seen was to go from the attic down to the second floor during summer time.
The best thing about it is the huge mirror with built-in LED lights. Once you’ve used a “Hollywood-style” mirror like it, using regular unlighted mirrors for makeup application will leave you wanting. I actually looked around for vanity mirrors that I can mount onto the wall and guess what? They're super expensive!
So today, we bring you good news – we present to you our DIY Hollywood Mirror, Project Vanity style! This creates a light box that gives your face a diffused glow instead of the harsh light coming direct from the LED strips. You'll be able to see your makeup in it much better versus a lamp simply facing you.

What you'll need:
- Mirror (you can choose any size you like)
- USB powered LED Lights (I got mine from CDR-King)
- Power bank/USB power adaptor
- Magic tape/Double-sided tape
- Illustration board (for base mount)
- Box for outer case (make sure it's bigger than your mirror and not more than 5 inches deep)
- Cutting mat, steel ruler, cutting knife, pencil
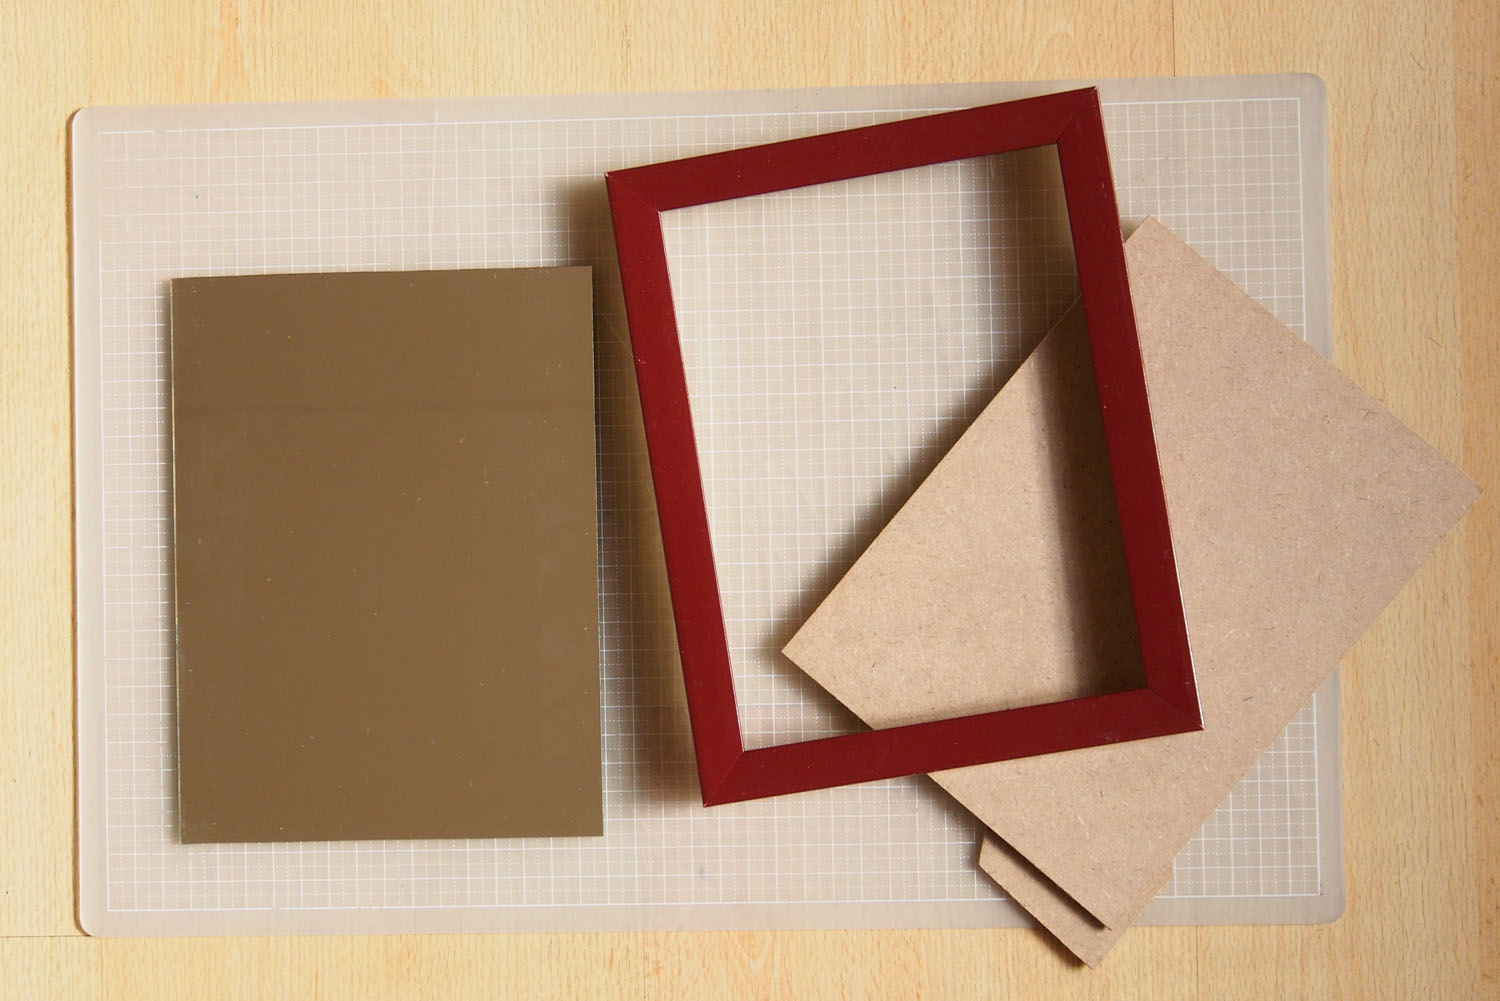
Step 1: Prep your mirror. In my case, the mirror I used was housed in a frame so I took it out for a more seamless look.
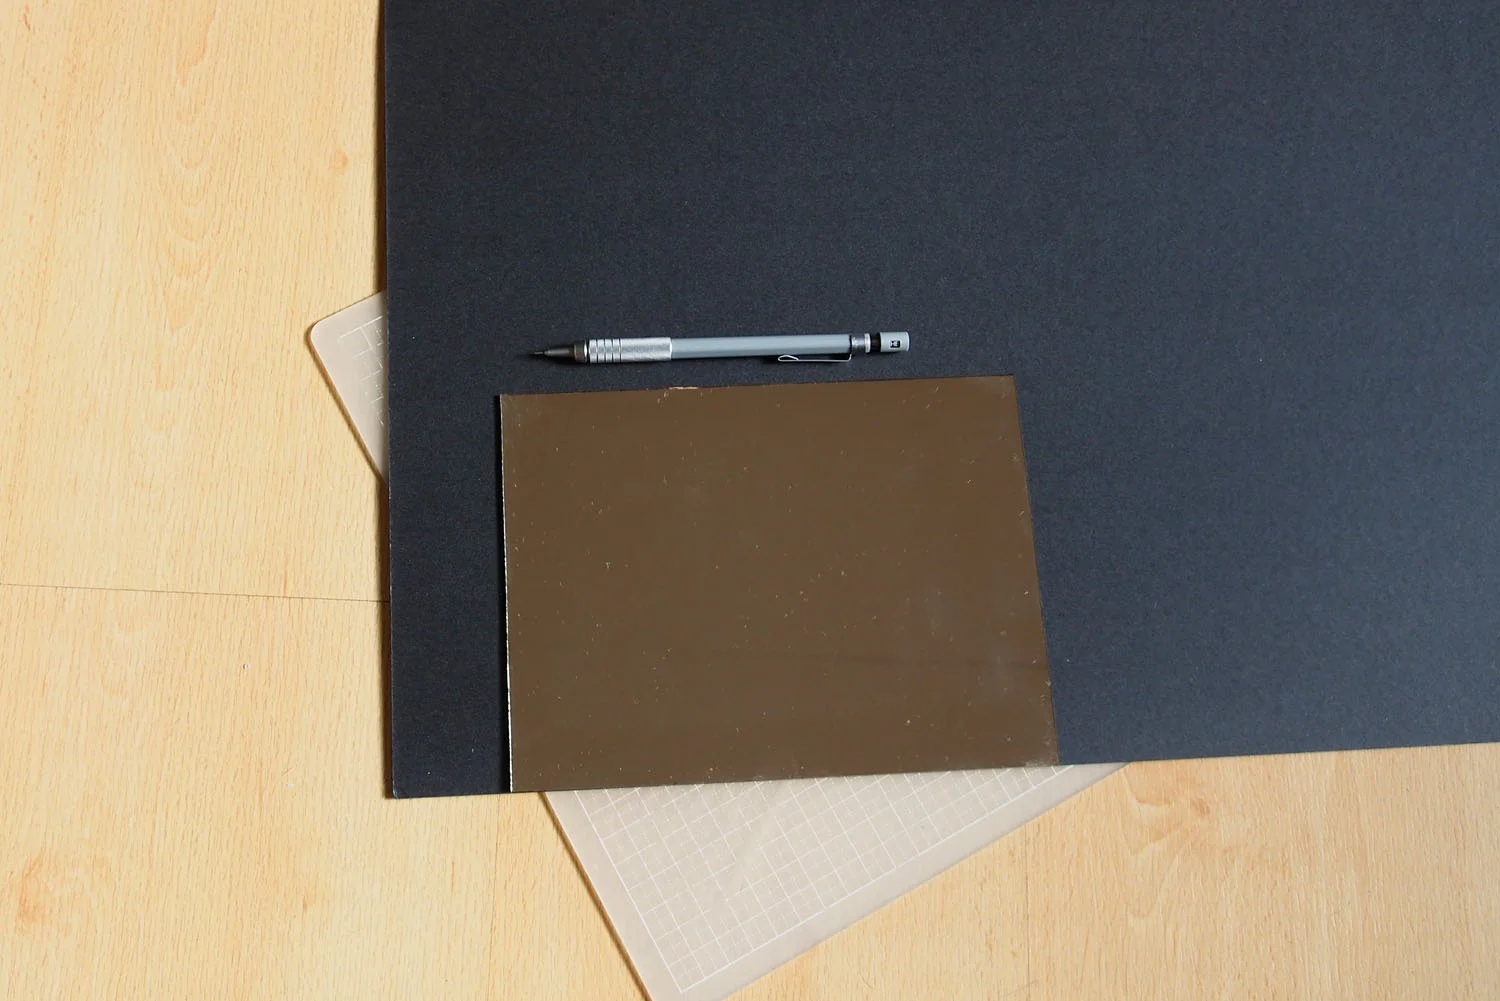
Step 2: Make a base mount for the mirror using illustration board. It should fit snugly lengthwise into your box, but with the same width as the mirror. You can place the mirror right on top as a guide for cutting.
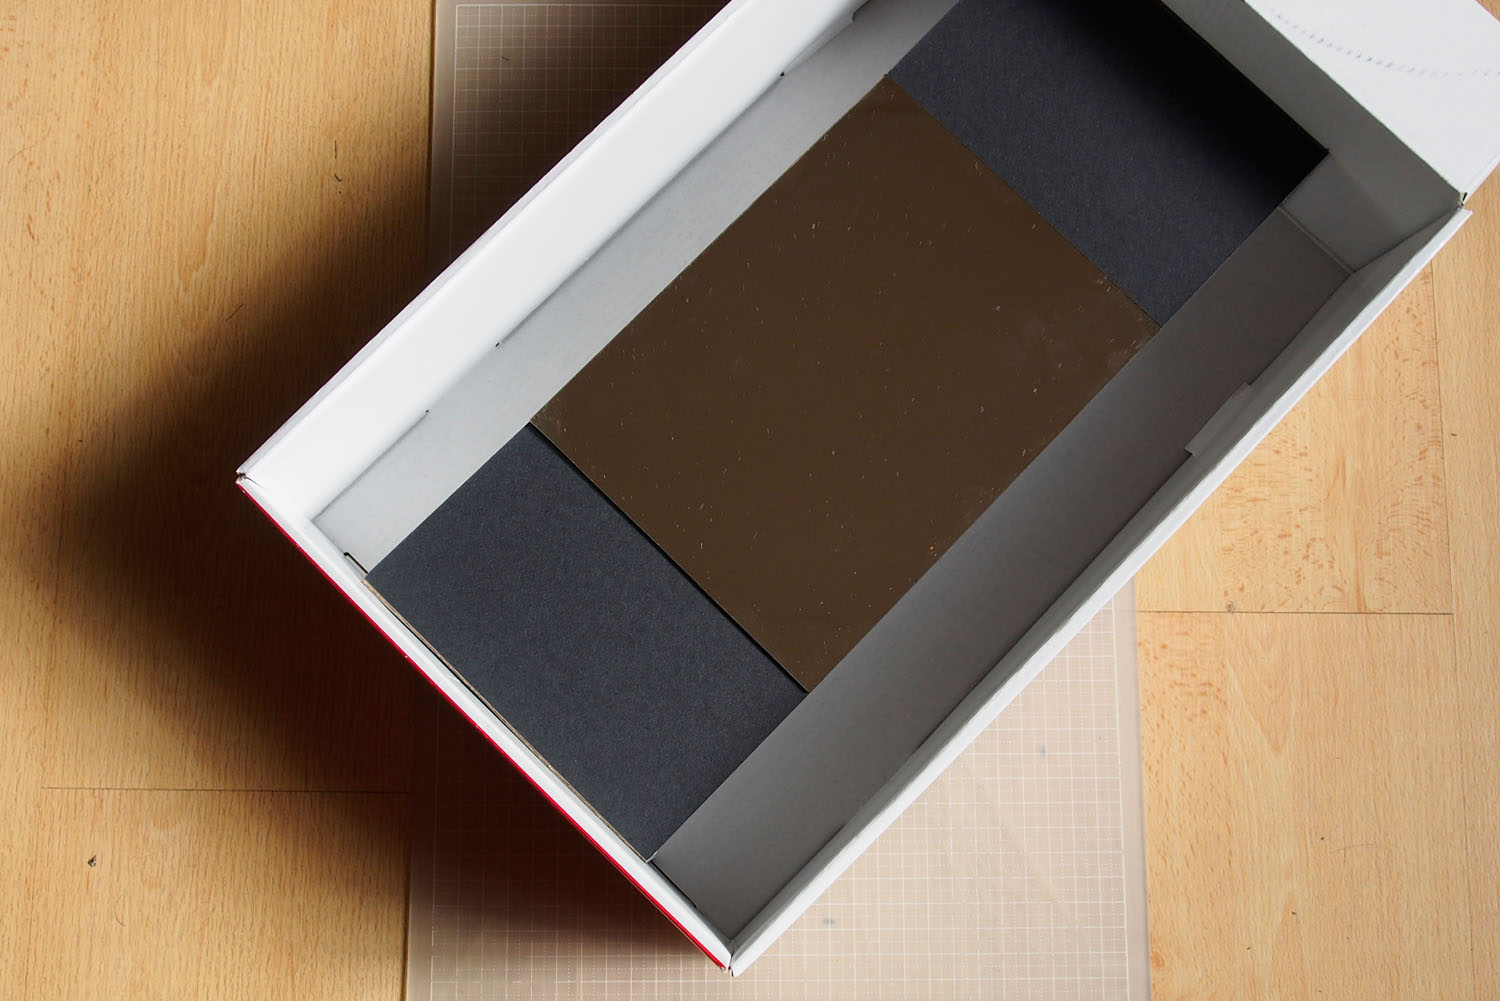
Step 3: Fit the base mount (illustration board with the mirror) inside your box, with the white side of the illustration board facing you. Fix the mirror onto the white side of the base mount using strong double-sided tape. The base mount should be able to stand on its own when placed inside the outer case.
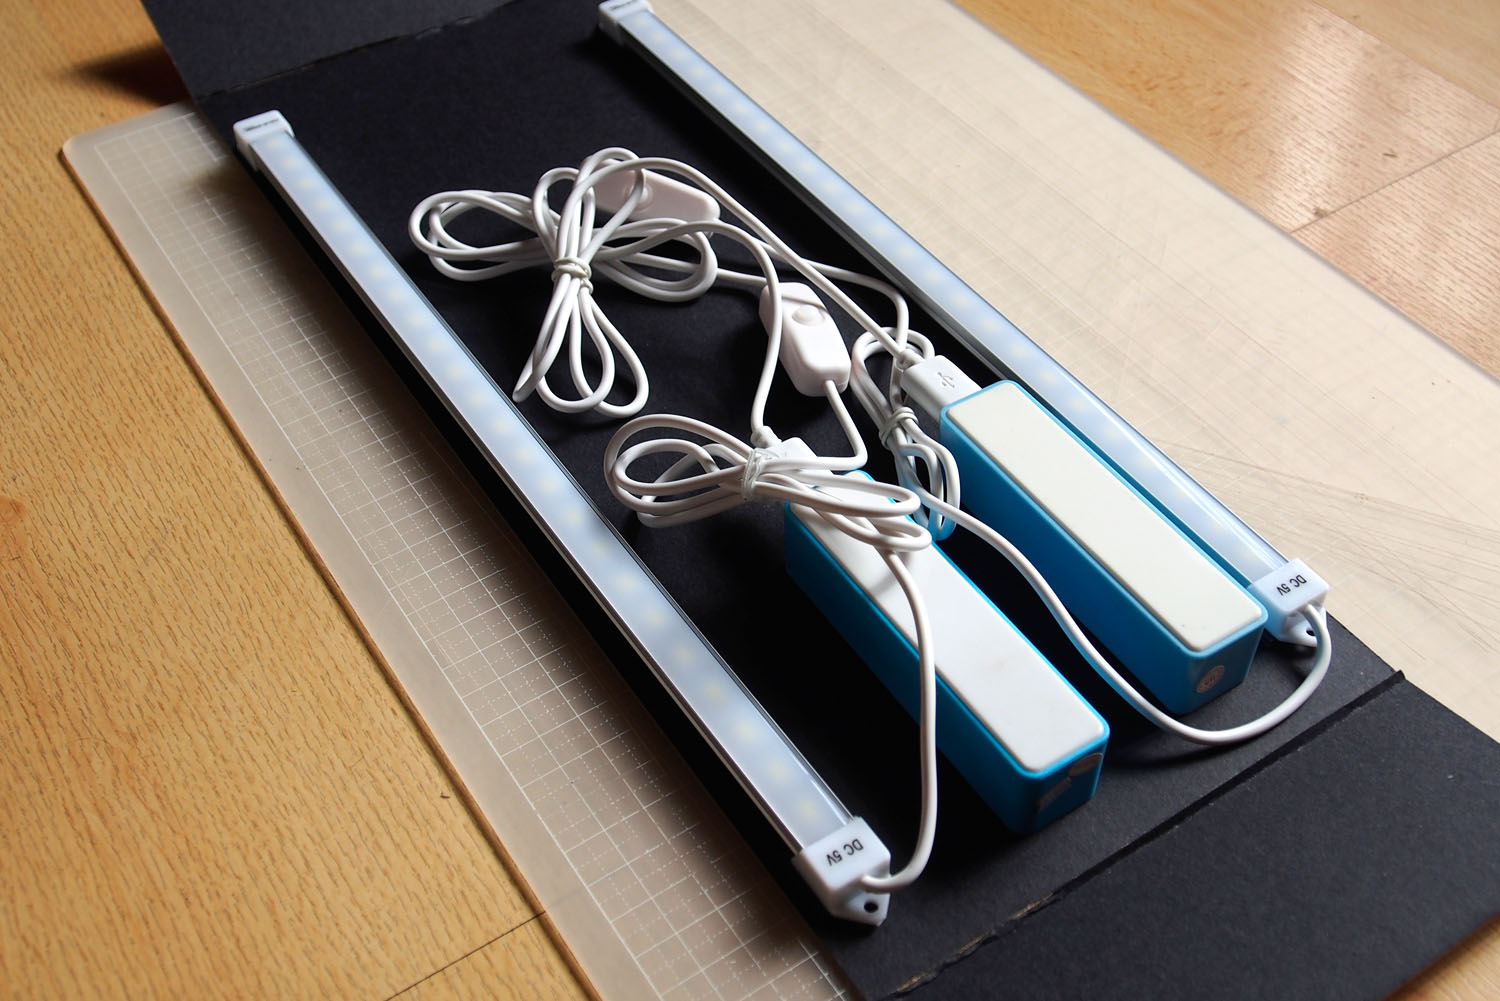
Step 4: Assemble the USB powered LED lights at the back part of the base mount (black side of the illustration board). Secure everything onto the base mount using the double-sided tape and place the back mount assembly inside the outer case box.
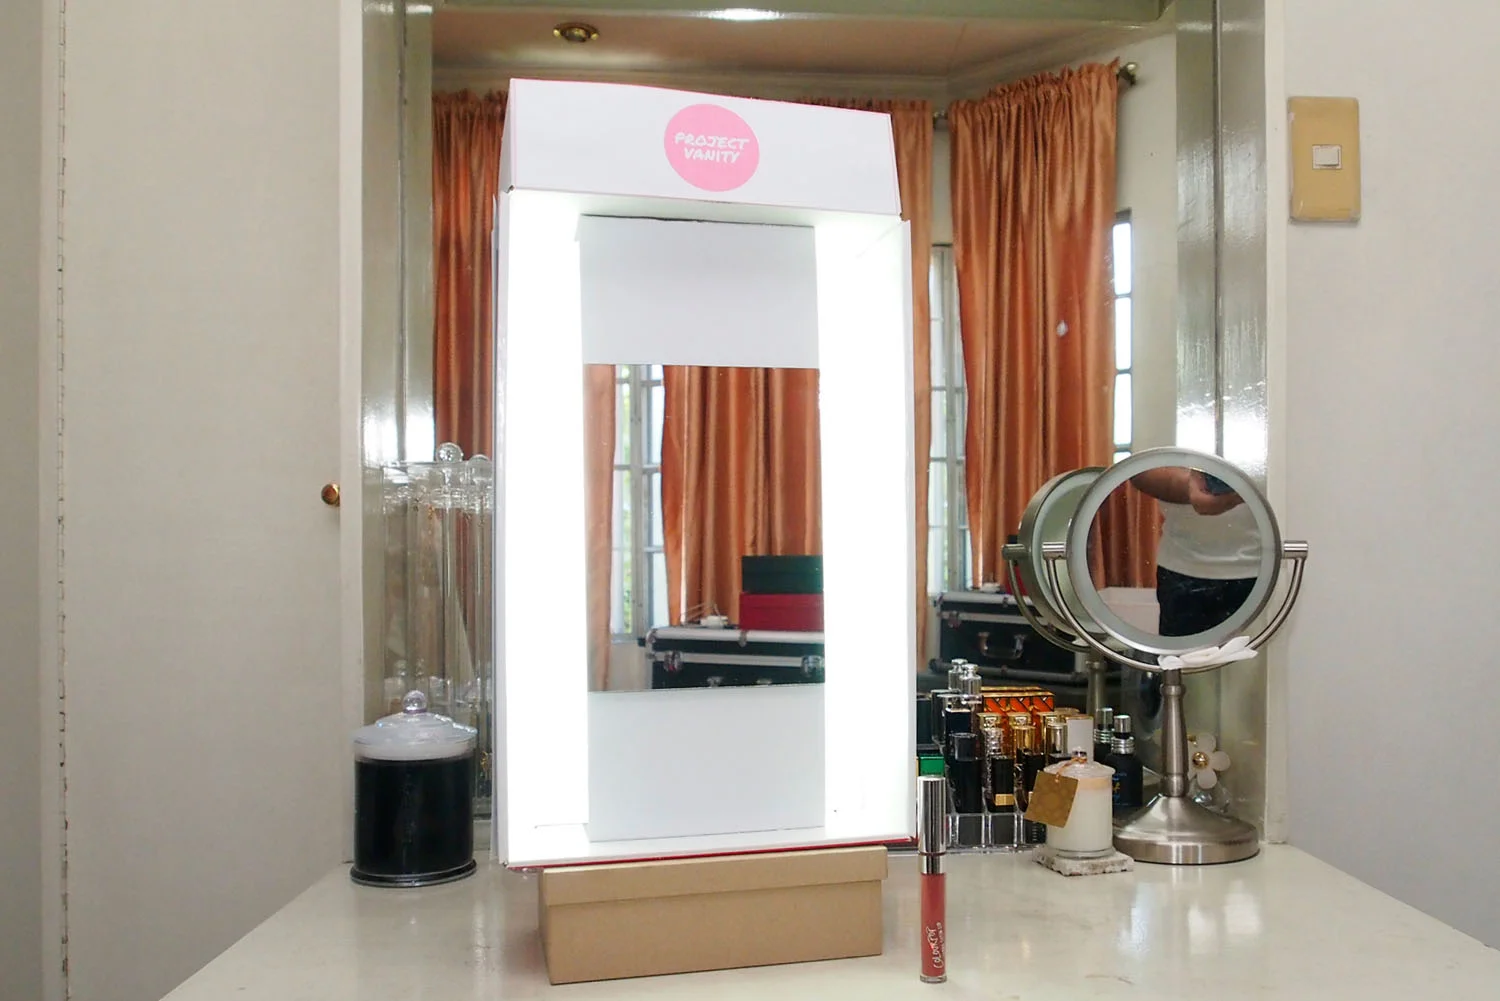
Step 5: Turn on the lights and enjoy your DIY Hollywood mirror!
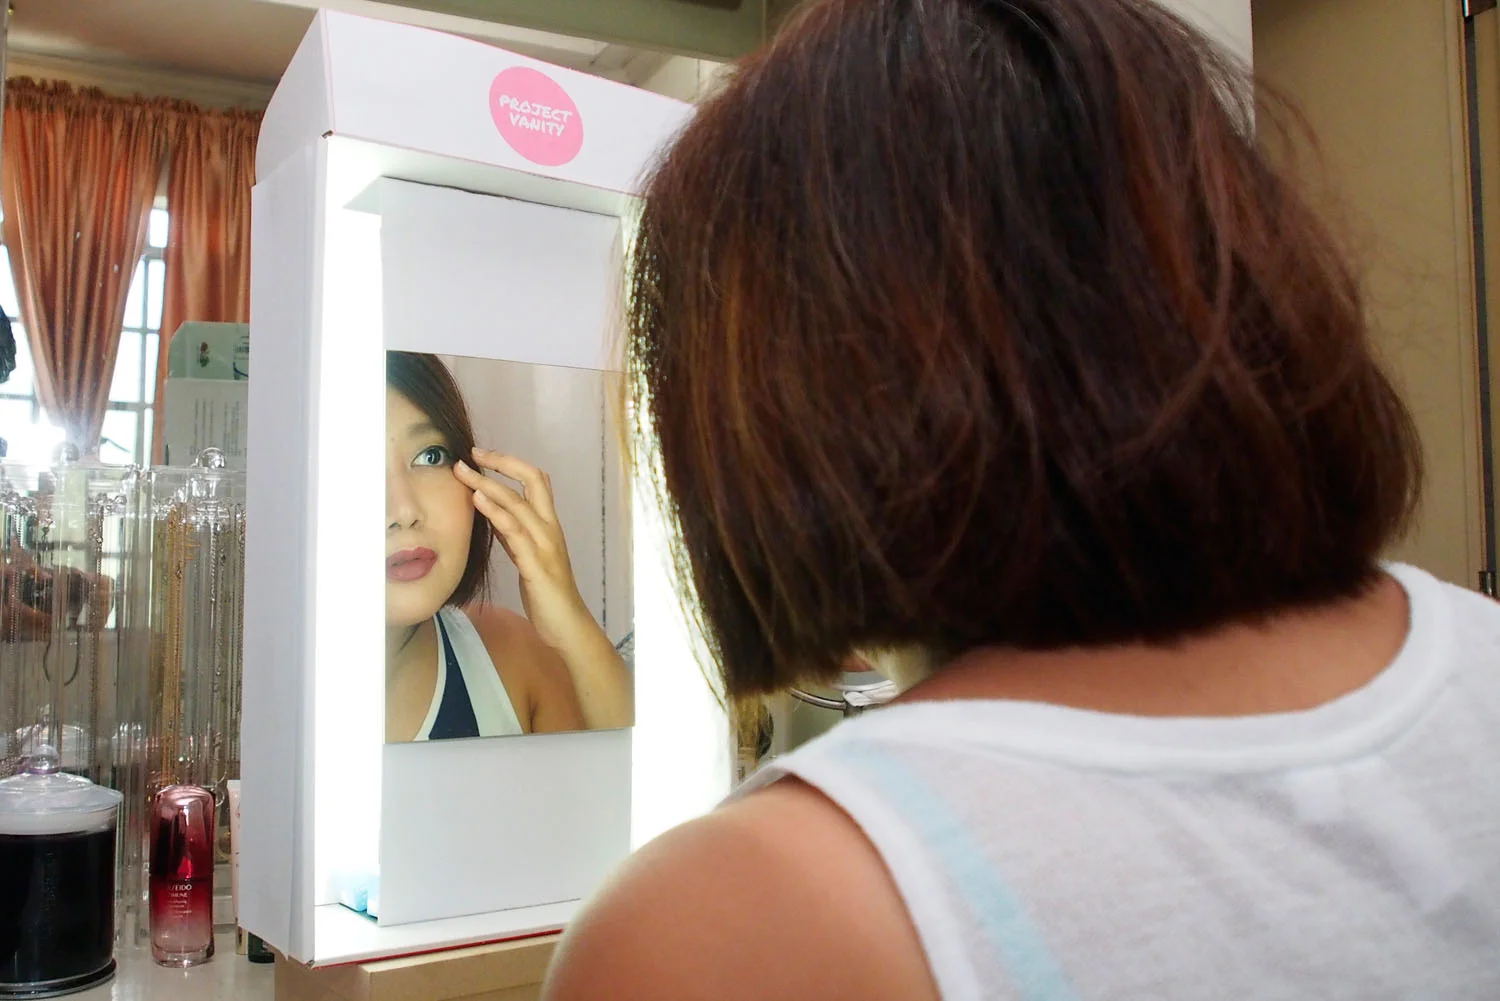
Here I am using the DIY Hollywood mirror! The lighting is perfect for checking imperfections and shade matching. It's also fantastic for lighting selfies and quick makeup videos.
Notice the Project Vanity logo on top? I added that because my recycled box had an extra flap. Cute! You can also use washi tape and decorative stickers to personalize the outer panels of the box.
What I love most about this DIY is that it costs less than P500 for me to make! I just used a mirror I'd found at home and recycled a pan box for the outer case. The only materials I bought were the LED lights from CDR-King, and they were just P200 each. They don’t always have it on stock though so you may want to check hardware stores as well.
So are you ready to make your own DIY Hollywood Mirror?