

7 Contouring Booboos To Watch Out For
To be honest, I’m a newbie when it comes to contouring. I’ve always been so terrified of overly altering my face that I didn’t give it much of a chance until earlier this year.
In one of the shoots for Project Vanity, our EIC Liz whipped out her W-Lab 3D Face Shading Stick and decided to try it on me, and I was instantly converted. I had no clue it could end up looking oh-so-natural, so I began to get excited about the prospect of contouring!
However, as any makeup beginner will tell you, mastery takes time and a lot of mistakes. Whether it’s the the wrong product selection or a faulty technique, beauty boboos are embarrassing. I’ll save you the trouble of some common contouring mishaps by showing you seven DON’Ts as you practice your way into perfection. You’re welcome.

In sunlight
Don’t do your contouring in a dark room
The best guide to finding out exactly where to mark the skin with the contour kit is to let the light fall naturally on your face. Where the shadows form is where you can set to work. If the room is too dark, odds are you’ll end up going way beyond the natural indentations and looking too dark all over.
Don’t choose a contour color that’s too dark
A color contrast is necessary to play off the light and the shadow, but don’t go overboard with the intensity of the contour color. Go two to three shades darker, and no more than that. The darker the shade, the harder it will be to blend it seamlessly onto the skin. Dark, obvious streaks are the enemy.

Don’t use a bronzer for contouring
Bronzer tends to have a color that’s warm, so it will end up messing with the overall tinting of your skin. Not to mention, some bronzers have shimmer pigments that, when combined with blush and highlighter, will just send the look into oompa loompa territory. Don't know if your product is for bronzing or contouring? Check out our guide here.

Don’t be pressured to contour everything
This goes back to my fear of looking unrecognizable post-contour. Carefully assess your face for the specific areas you want to cover. I want to bring out my jawline but I’m on the fence about my nose and neck, so I’m sticking to emphasis on the cheeks and jaw... Okay, maybe just a light touch of the contour powder on the nose!
Don’t assume that one type of contour kit fits all
Just like with foundation, you want to take your skin type into consideration before shelling out the cash. For oily skin, a powder contour kit is ideal, while a creamy contour stick is good for preventing dried patches of skin on those with drier skin types.

Don’t blend too little or blend too hard
Not being able to blend enough results in streaks of dark color. On the other hand, blending with a heavy hand will just cause the contour product to migrate to other parts of the face and/or mess with the base makeup underneath. The goal is to lightly sheer out the edges, so use a soft brush and a light hand. If need be, use a translucent powder to further tone down an overdone contour.
You can use a darker shade of foundation for contouring, but don’t use just any dark foundation
I have an old Benefit foundation here that’s too dark and orange-y in real life. I was hoping that it could work for contouring since I hate letting products go to waste, but it just wasn’t a good fit. The orange tinge stood out on my jawline.
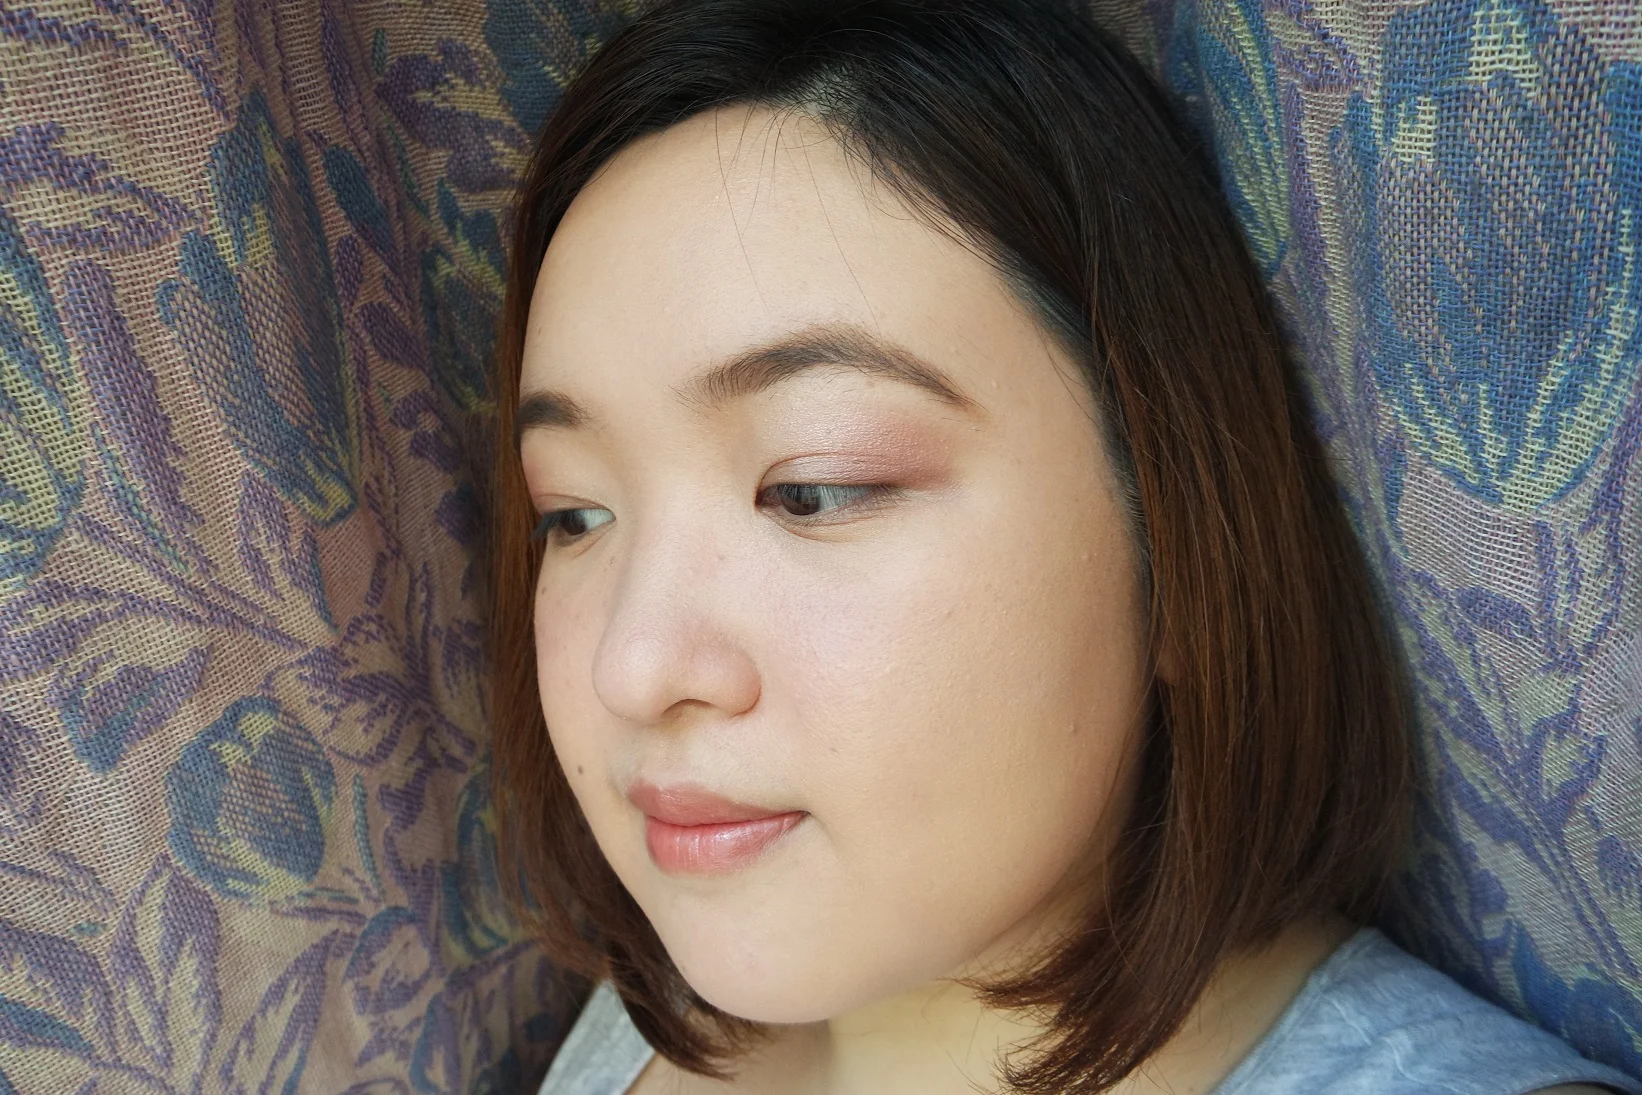
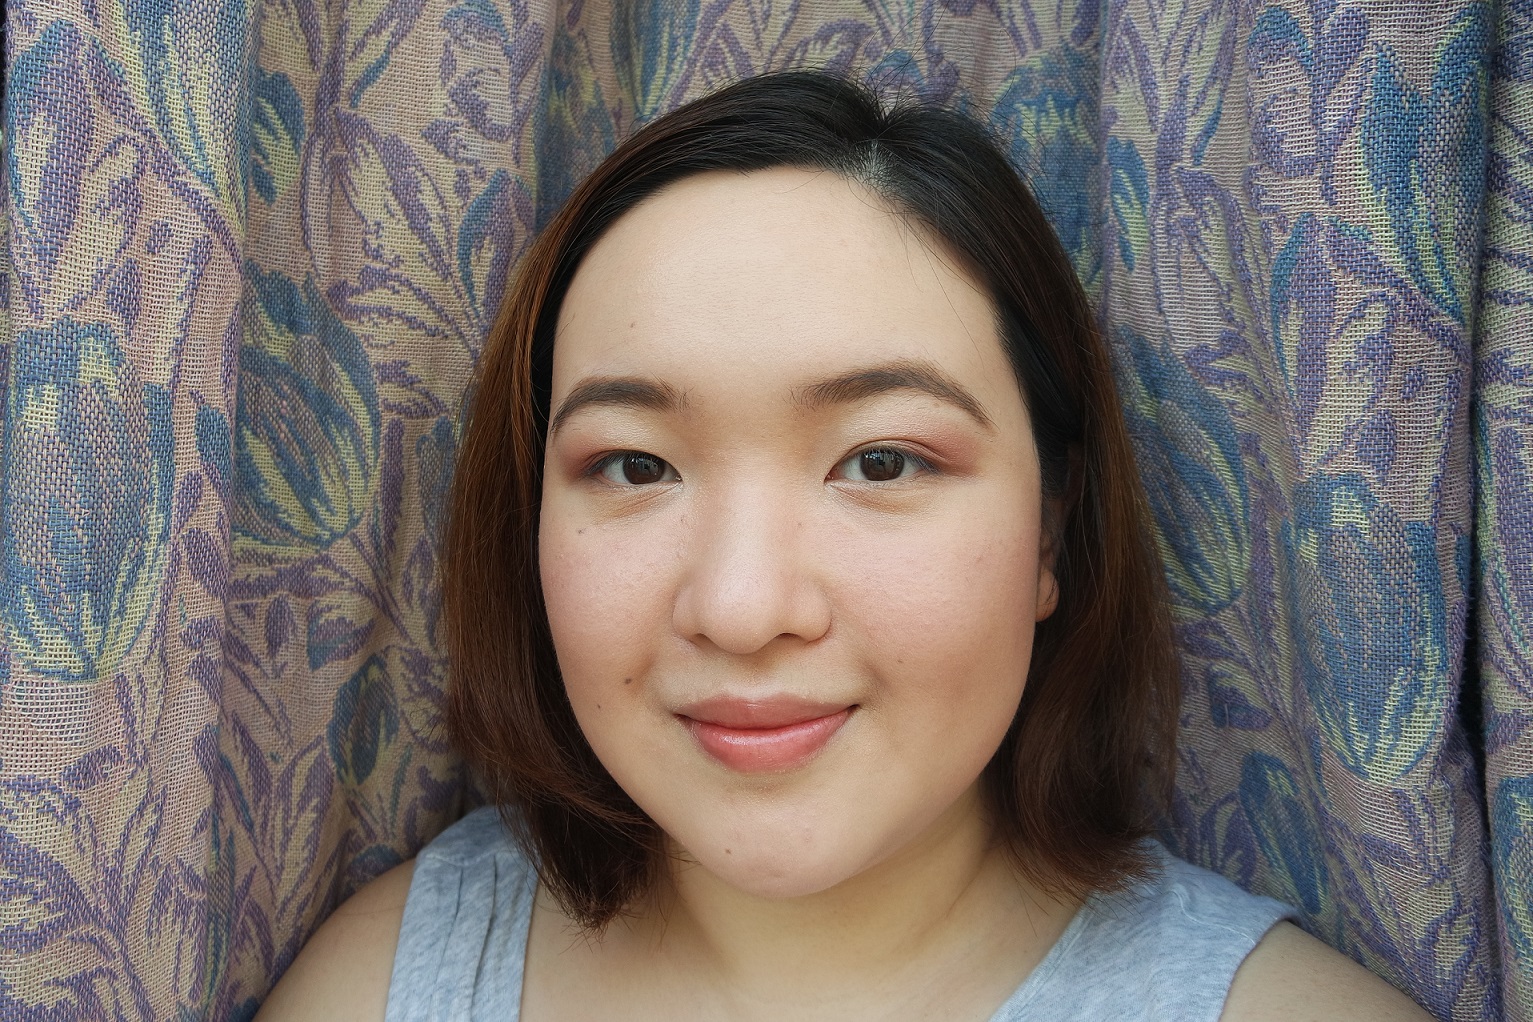
You’ll know you’re contouring correctly when the effect is subtle and natural.
Have you experienced any contouring booboos yourself? Share those misadventures below, so we can all learn together!