

Five steps to full eyebrows - yes, even when yours are barely there!
I hate to admit it, but my eyebrows have become thinner and finer over the years. It's just genetics, I suppose; my mom has fine hair too and we have the same eyebrows! Thank goodness for brow troubleshooters and techniques that can help me achieve full arches. It's a combination of techniques I've observed from makeup artists and what I learned from watercolor painting. If you have the same problem as mine, perhaps you'll find this specific routine useful!

Huhu :( I look like Voldemort
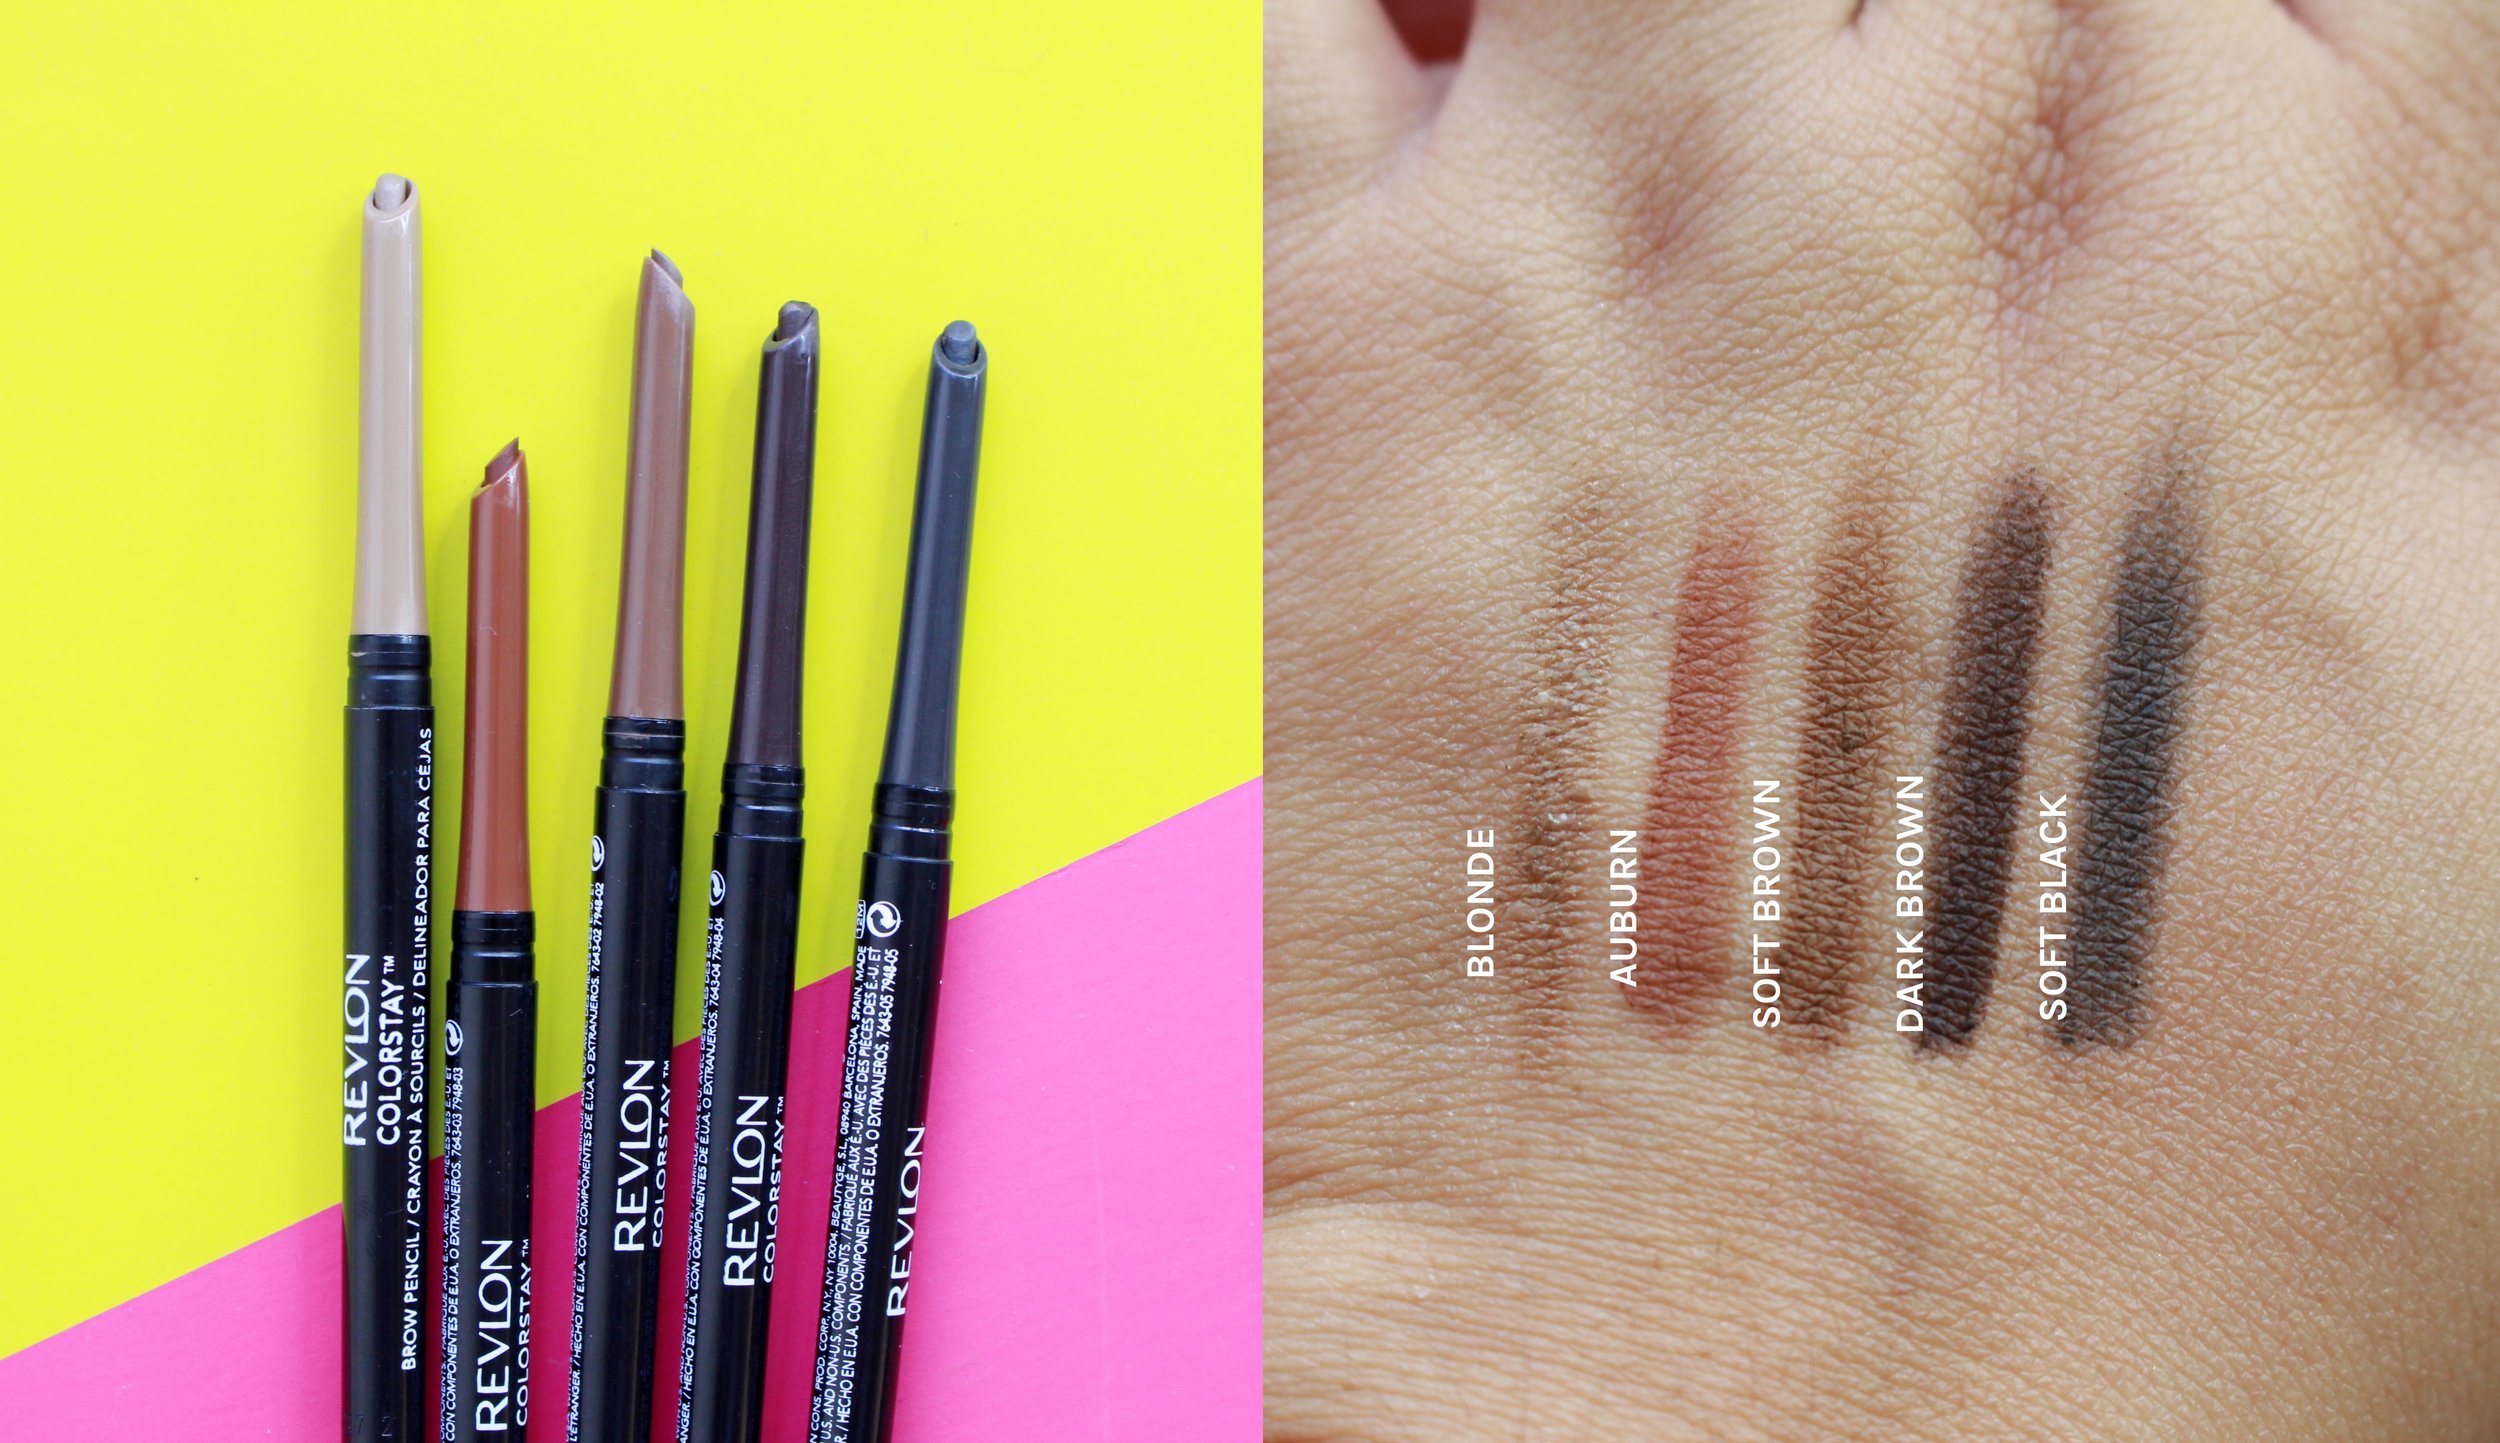
For this look, I'm using something new from the drugstore: the Revlon Colorstay Brow Pencil (P575 in department stores). It's perfect since it comes in five shades for all hair colors and has the softness and pigmentation required for full brows. I like these pencils since they're easy to blend with the attached spoolie, plus they stay on my combi skin for a good 7-8 hours.
I'm going to apply three shades: Soft Brown, Dark Brown, and Soft Black. Let's begin!
Step 1: Outline the natural shape of your arches. I like using a shade like Soft Brown, which is similar to yet warmer than the color of my brows. I find it looks nicer against my skin tone versus just choosing a cool brown! Just one line on top and another line at the bottom will do at this point.
Step 2: Blend the two lines to diffuse the pigment into your brows. This is the cool part: you don't have to add any more product at the middle of the two lines! If you're using a pigmented brow pencil like Revlon's, you can actually just blend the upper line downwards and the bottom line upwards to shade your eyebrows. You can extend the pigment a bit outwards with a spoolie too, to create an longer brow.
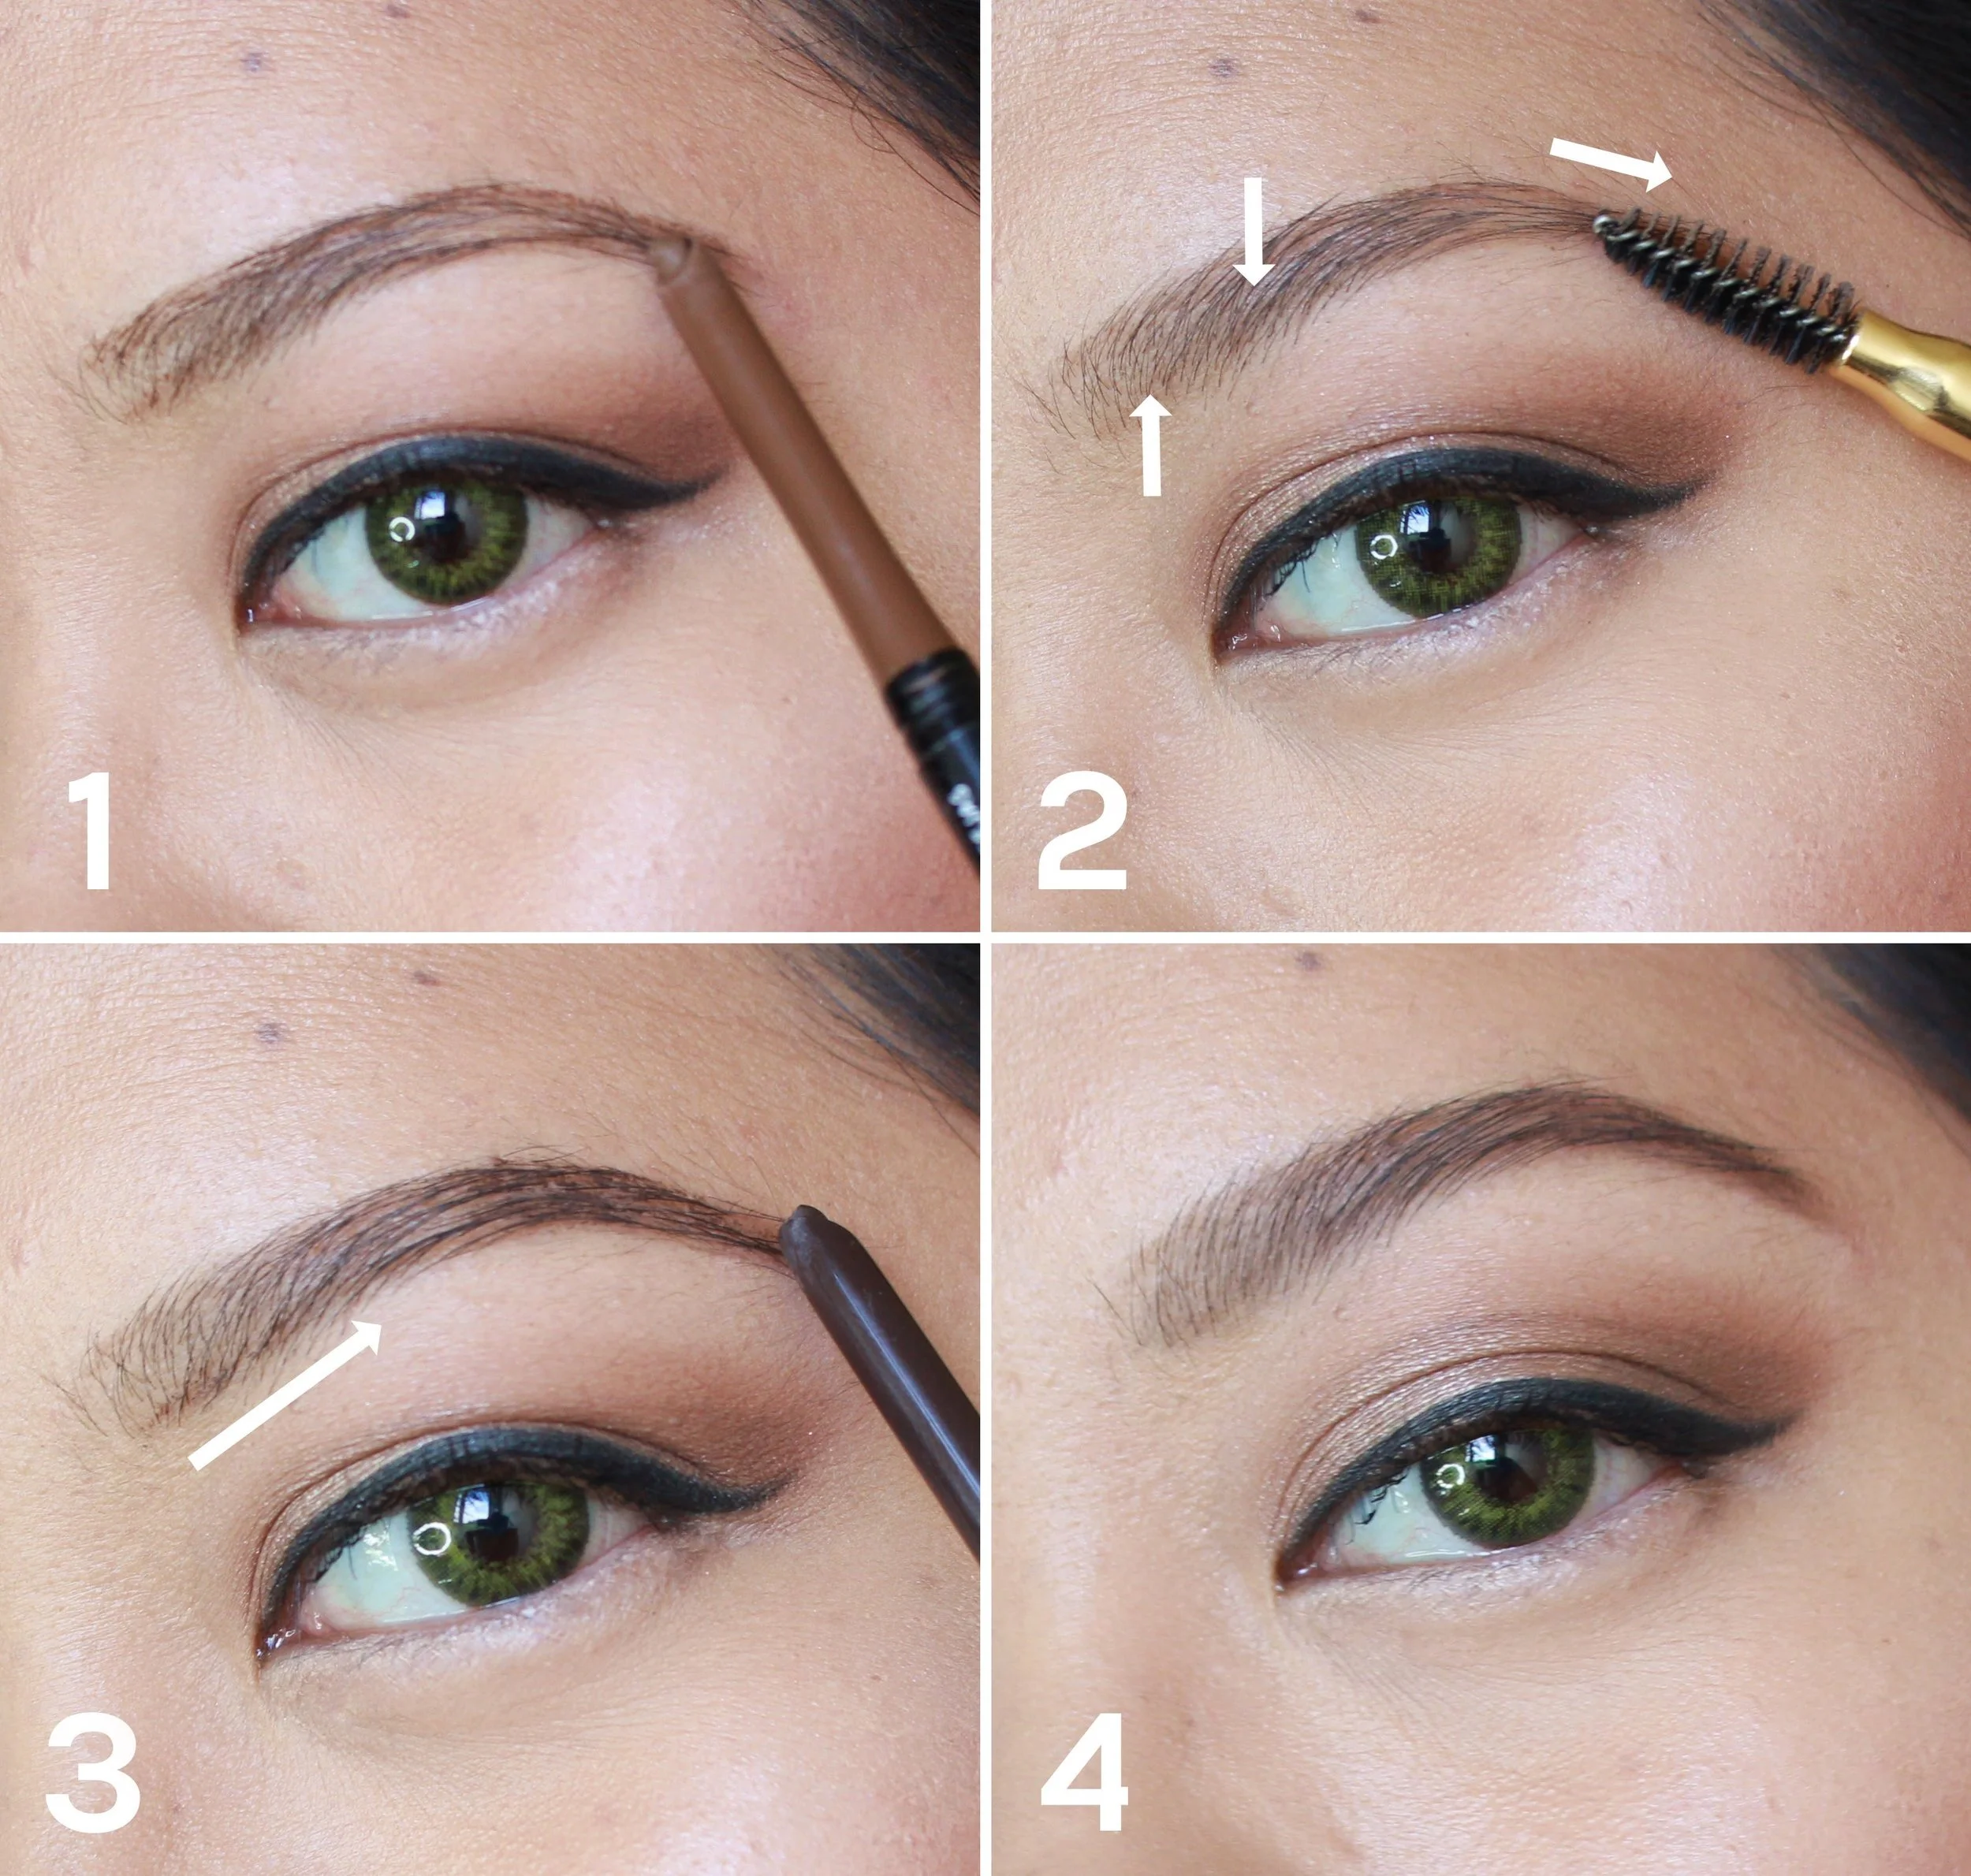
Step 3: Using a darker shade of pencil, draw another line at the bottom of your brows and thicken the tail. This is also your opportunity to either enhance the arch towards a more upward direction or create a straighter brow. The dark "contour" shade (in this case the Revlon pencil in Dark Brown) reinforces your desired shape; it makes the brows look more real instead of flat. Thin brows + just one shade looks ok, but to really bring it home, the addition of a darker color is key!
Step 4: Blend it like you mean it. Same as step two, you want to blend that dark brown upwards and outwards. Make sure that no visible lines show! You can add more as needed and blend after each addition.
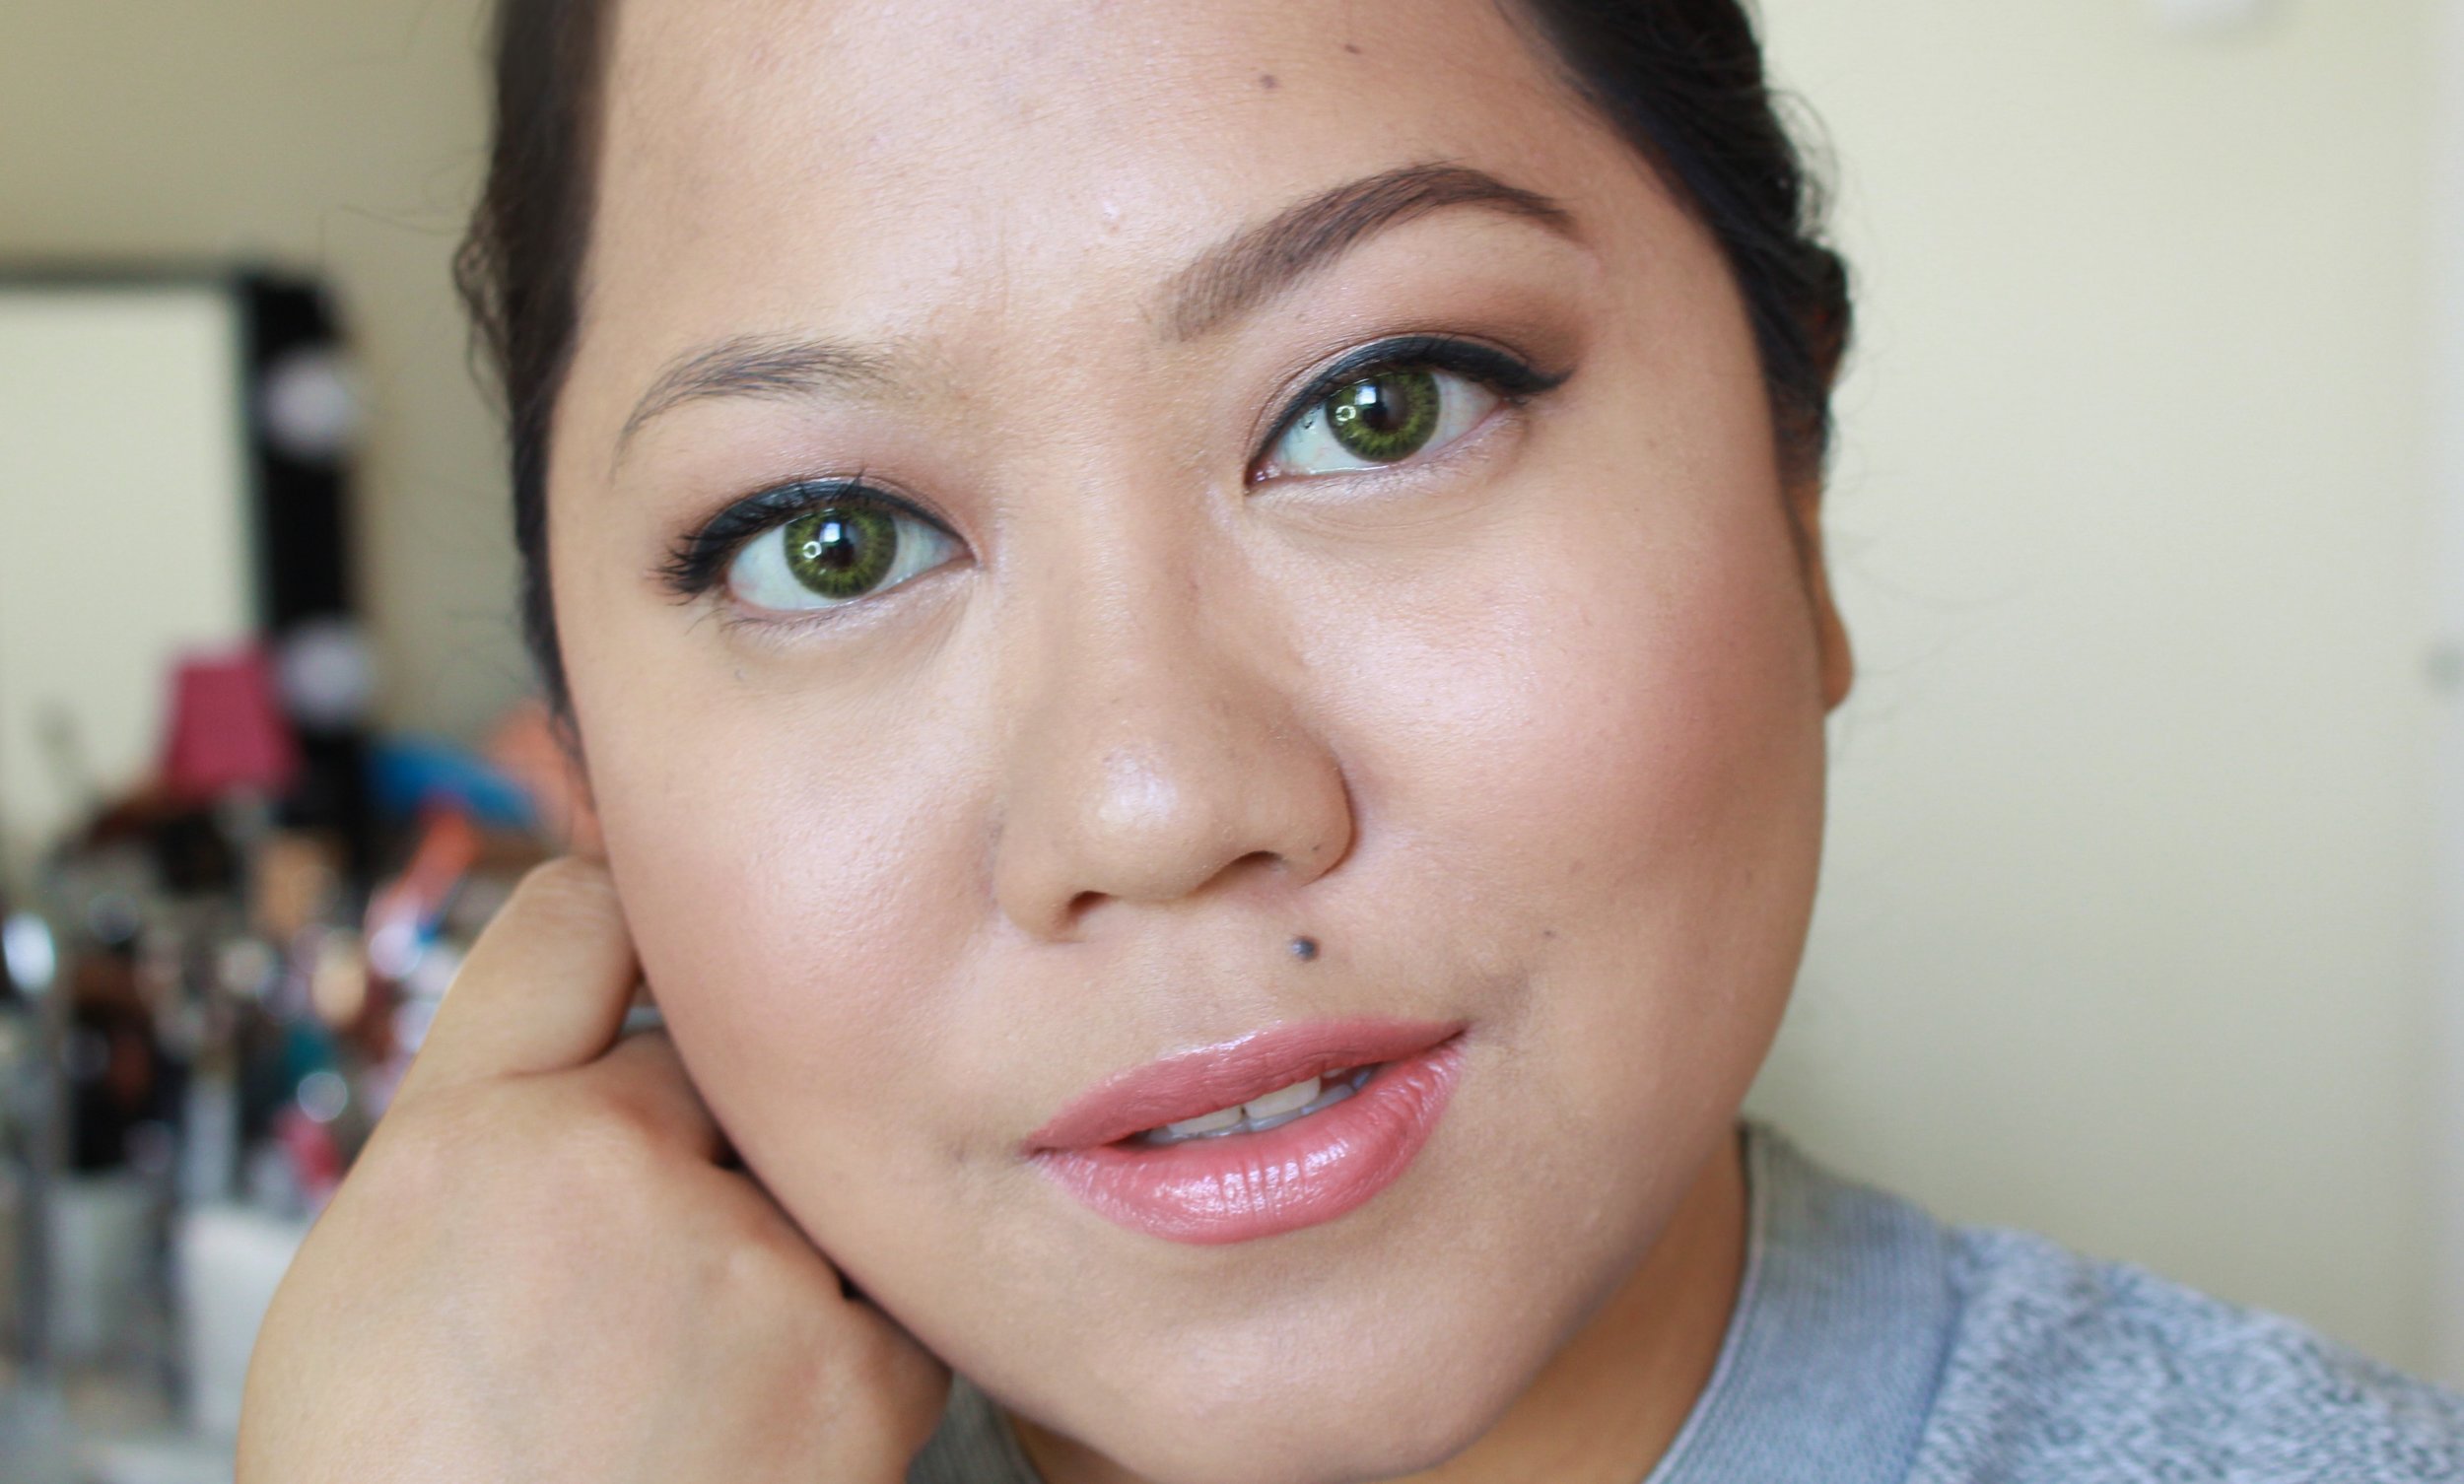
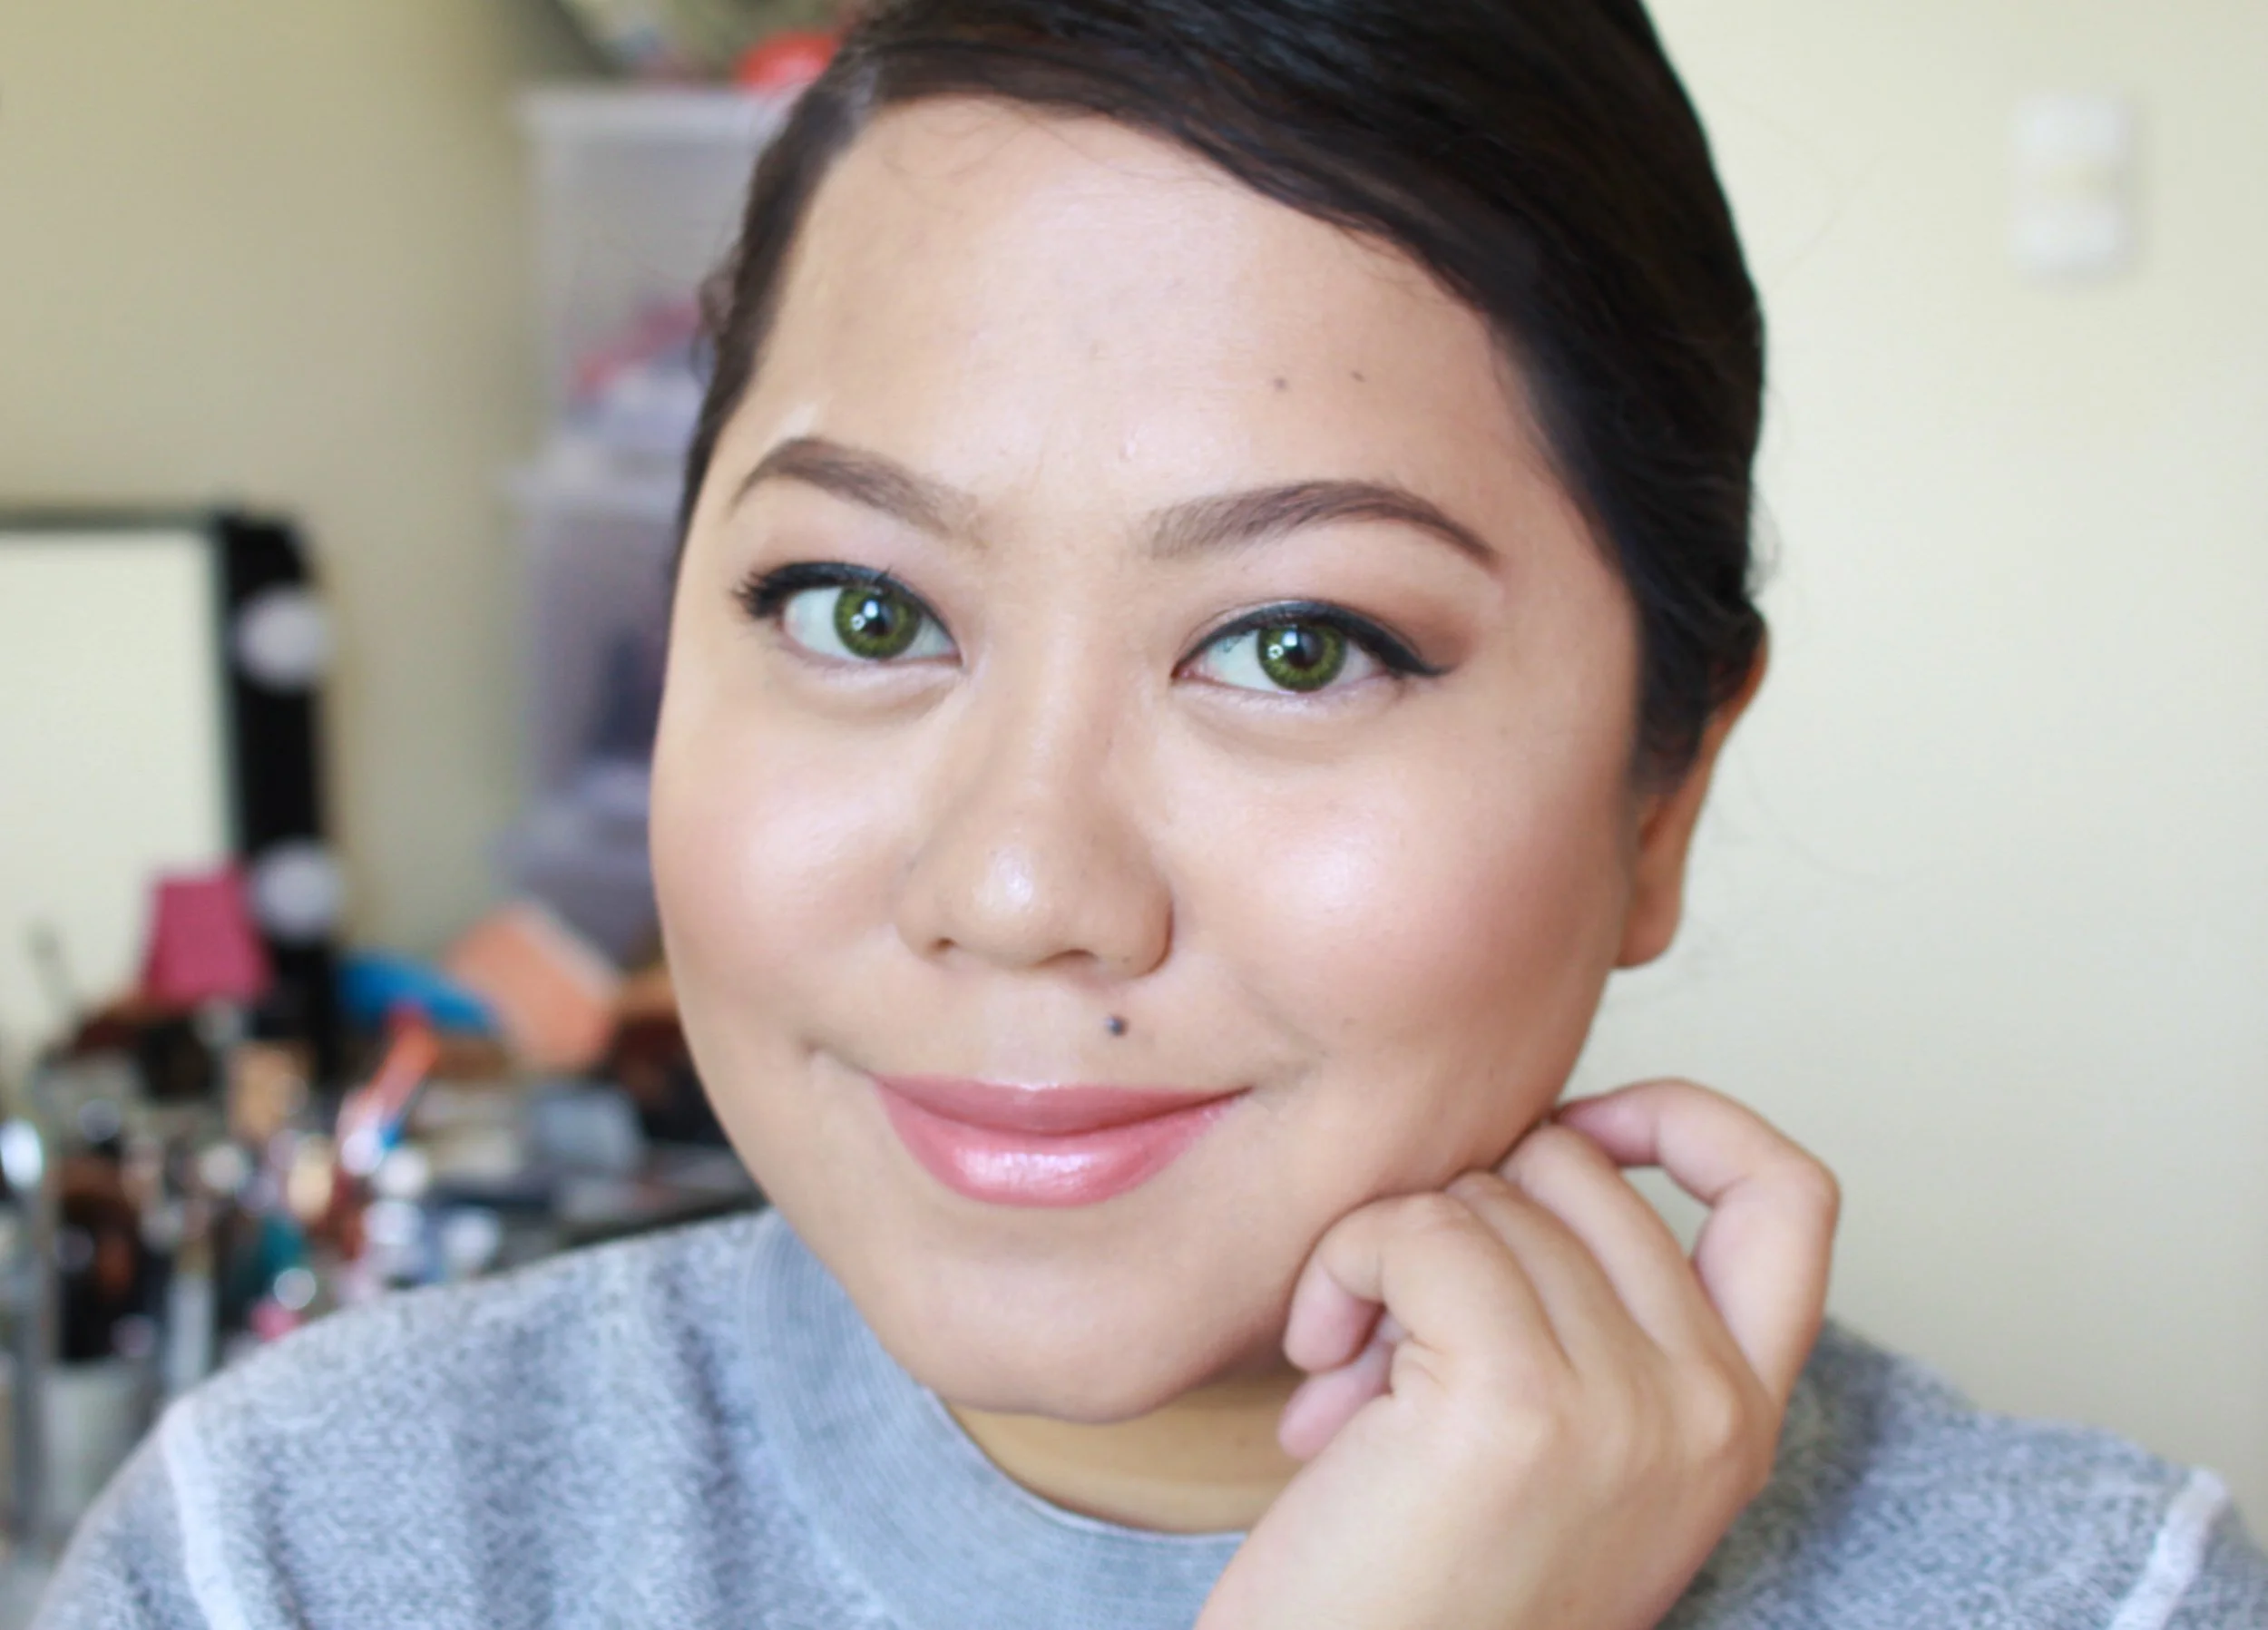
Here's a comparison between my bare and made-up brows. Such a huge difference but still quite natural! The use of two shades prevents the final look from being too bushy or sharp.
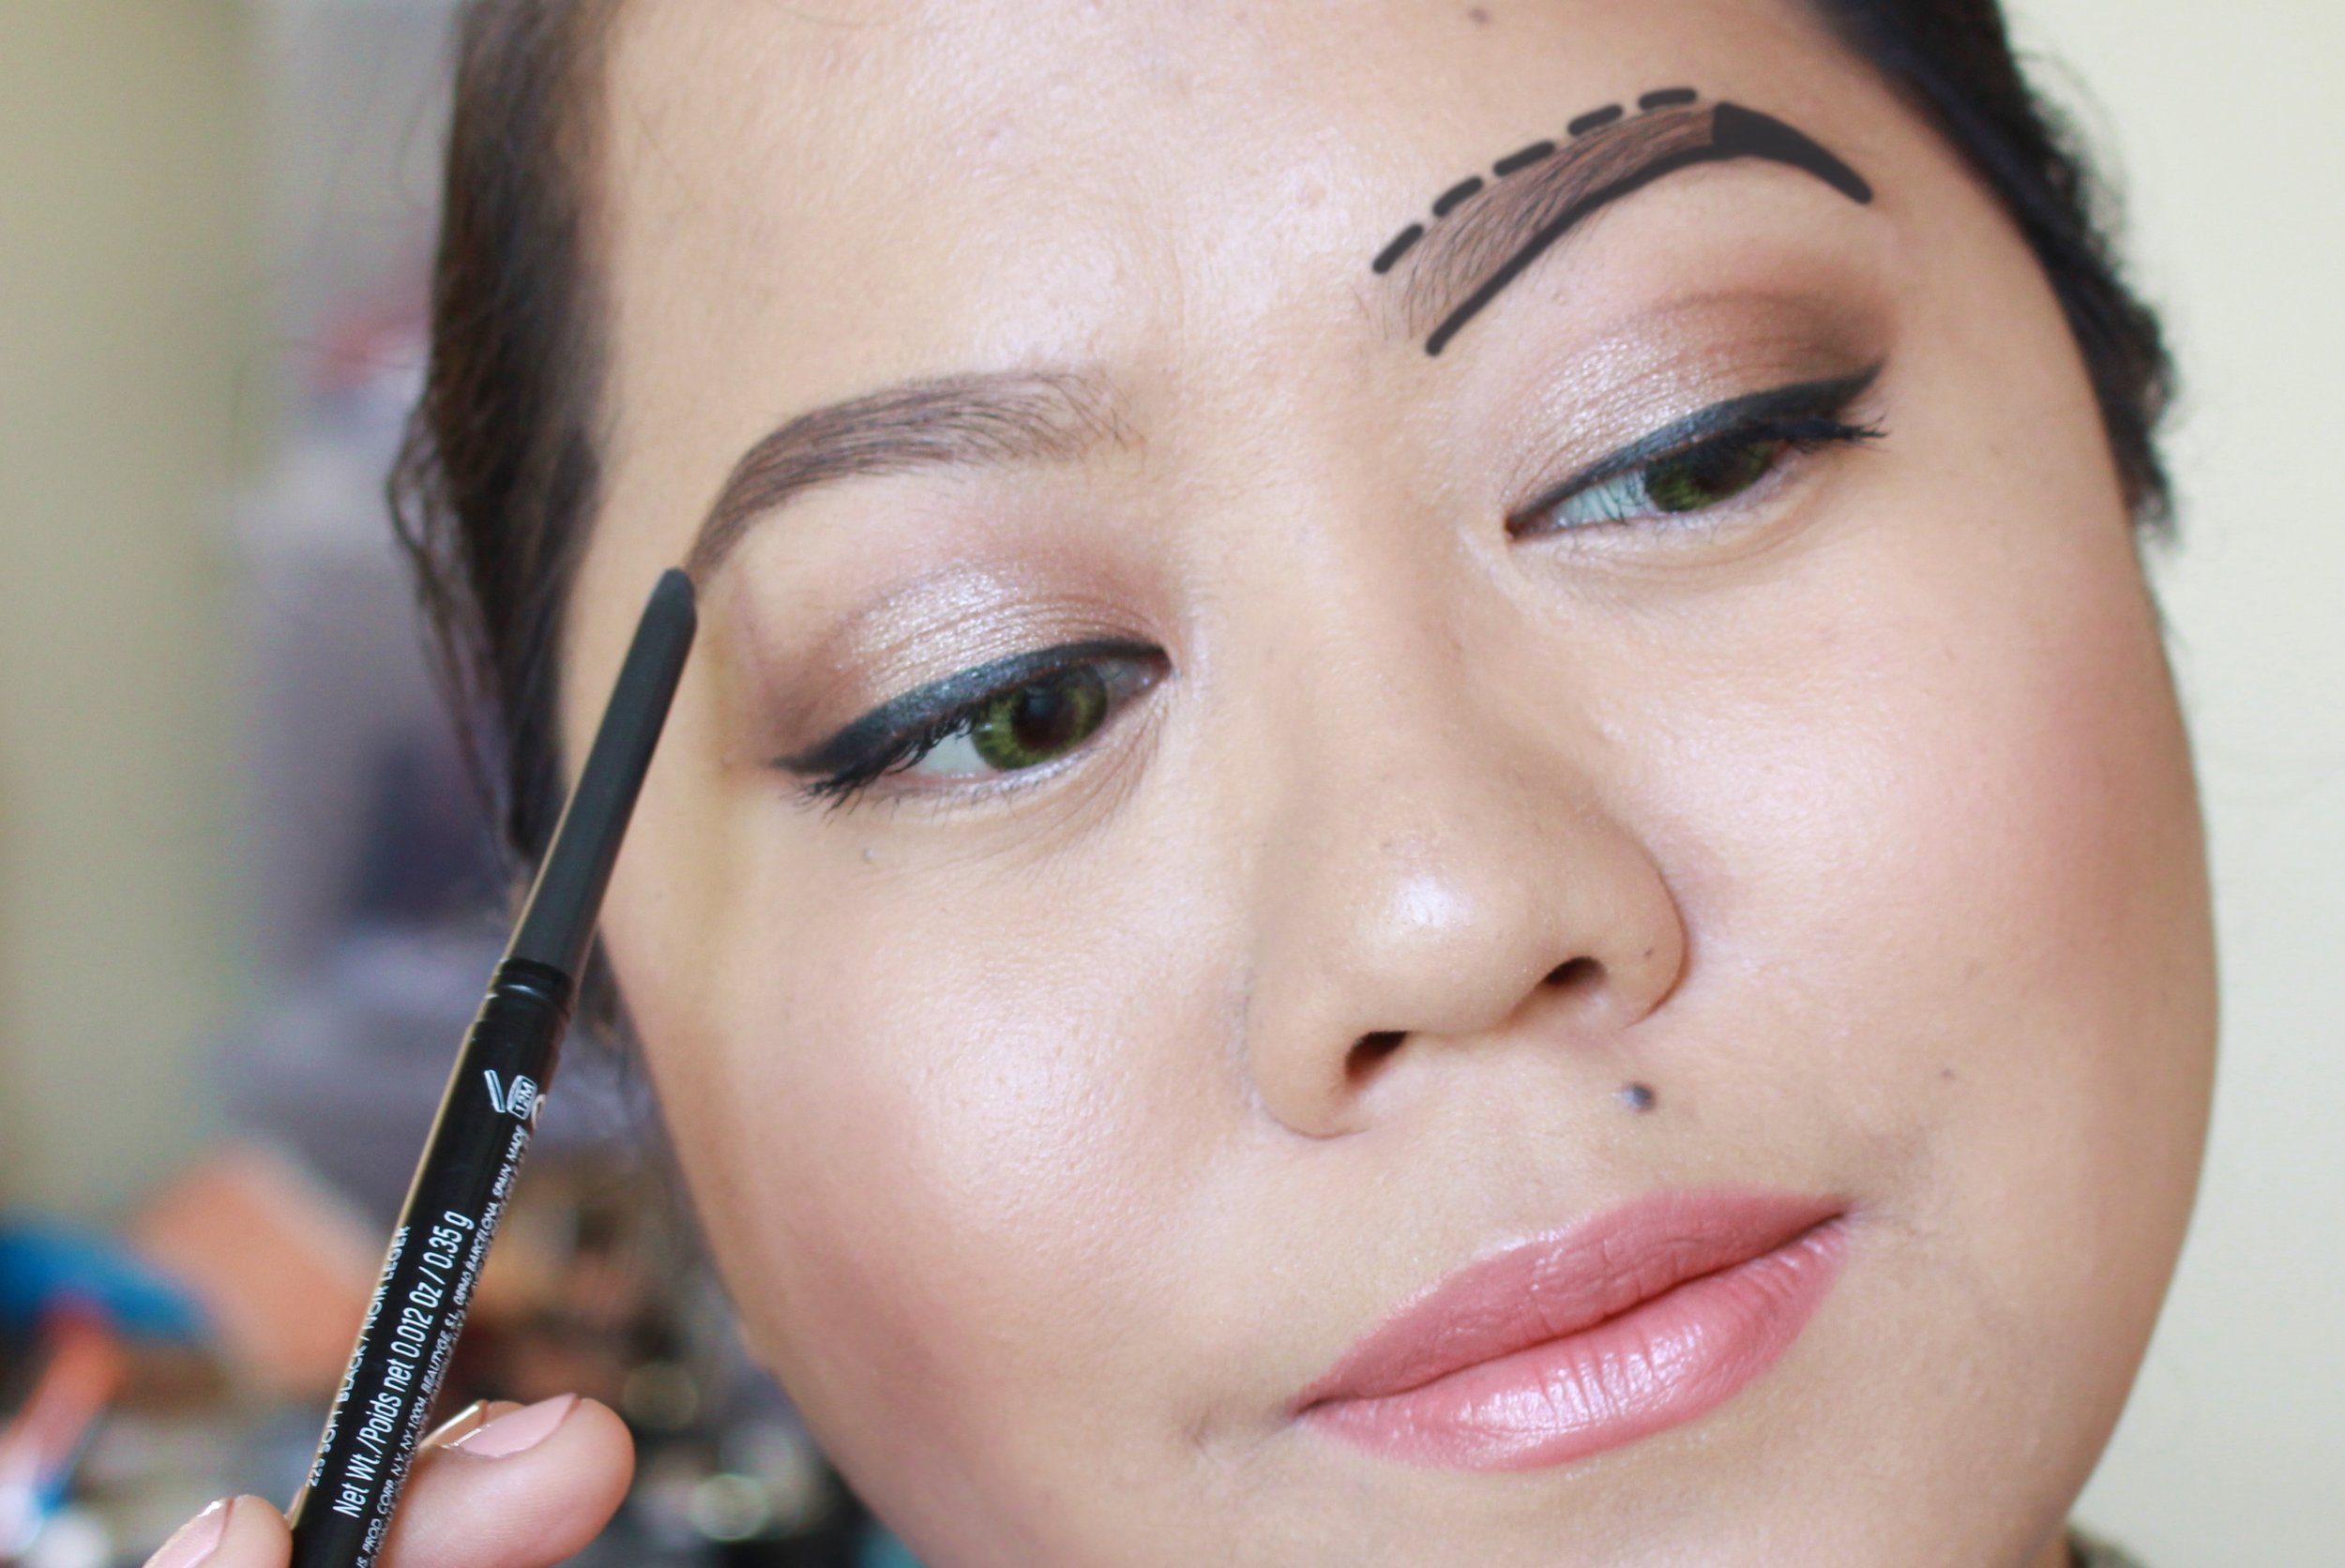
Okay, now here's how to thicken your brows more: use an even darker shade for the third layer! I added Revlon's Soft Black pencil like in the diagram below: a solid line in the bottom, dotted lines on top, and then shaded at the tail. The broken lines on top make it less heavy-looking, while the solid line at the bottom creates more shadow and shape. The tail/arch can be extended too! I can get away with it because Soft Black is closest to the actual color of my hair and is only applied in strategic points. Blending is the same as the technique above.
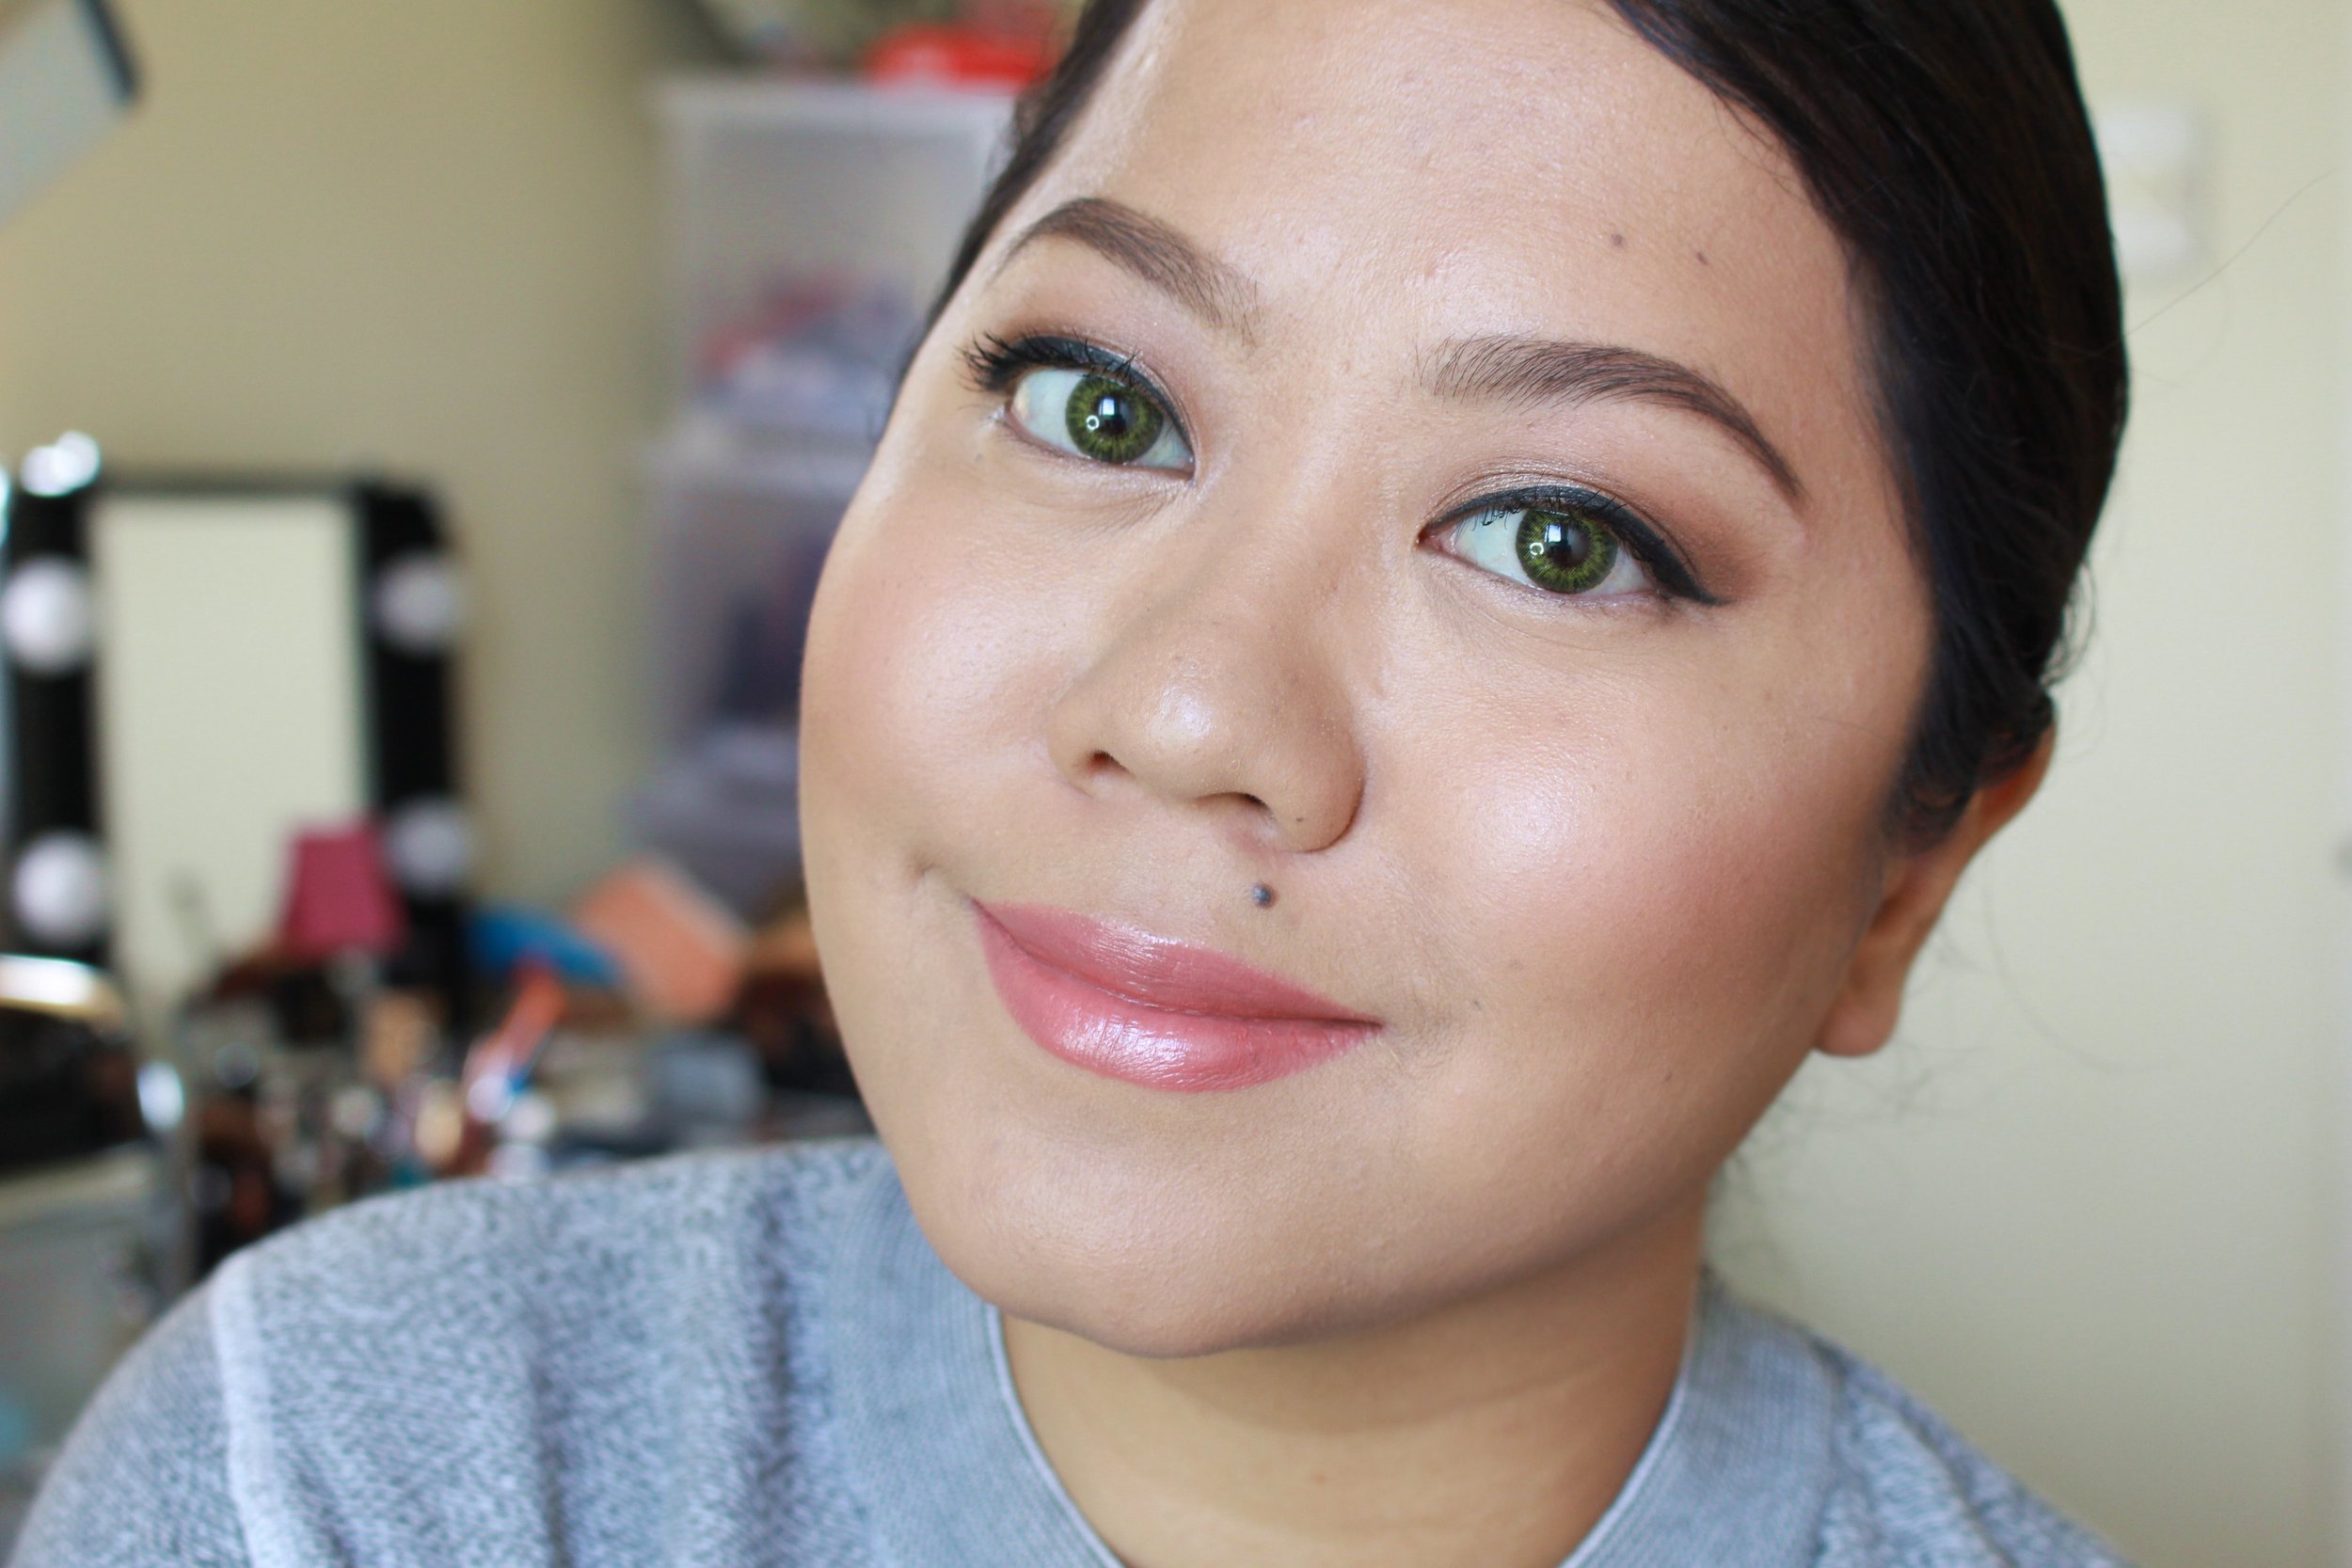
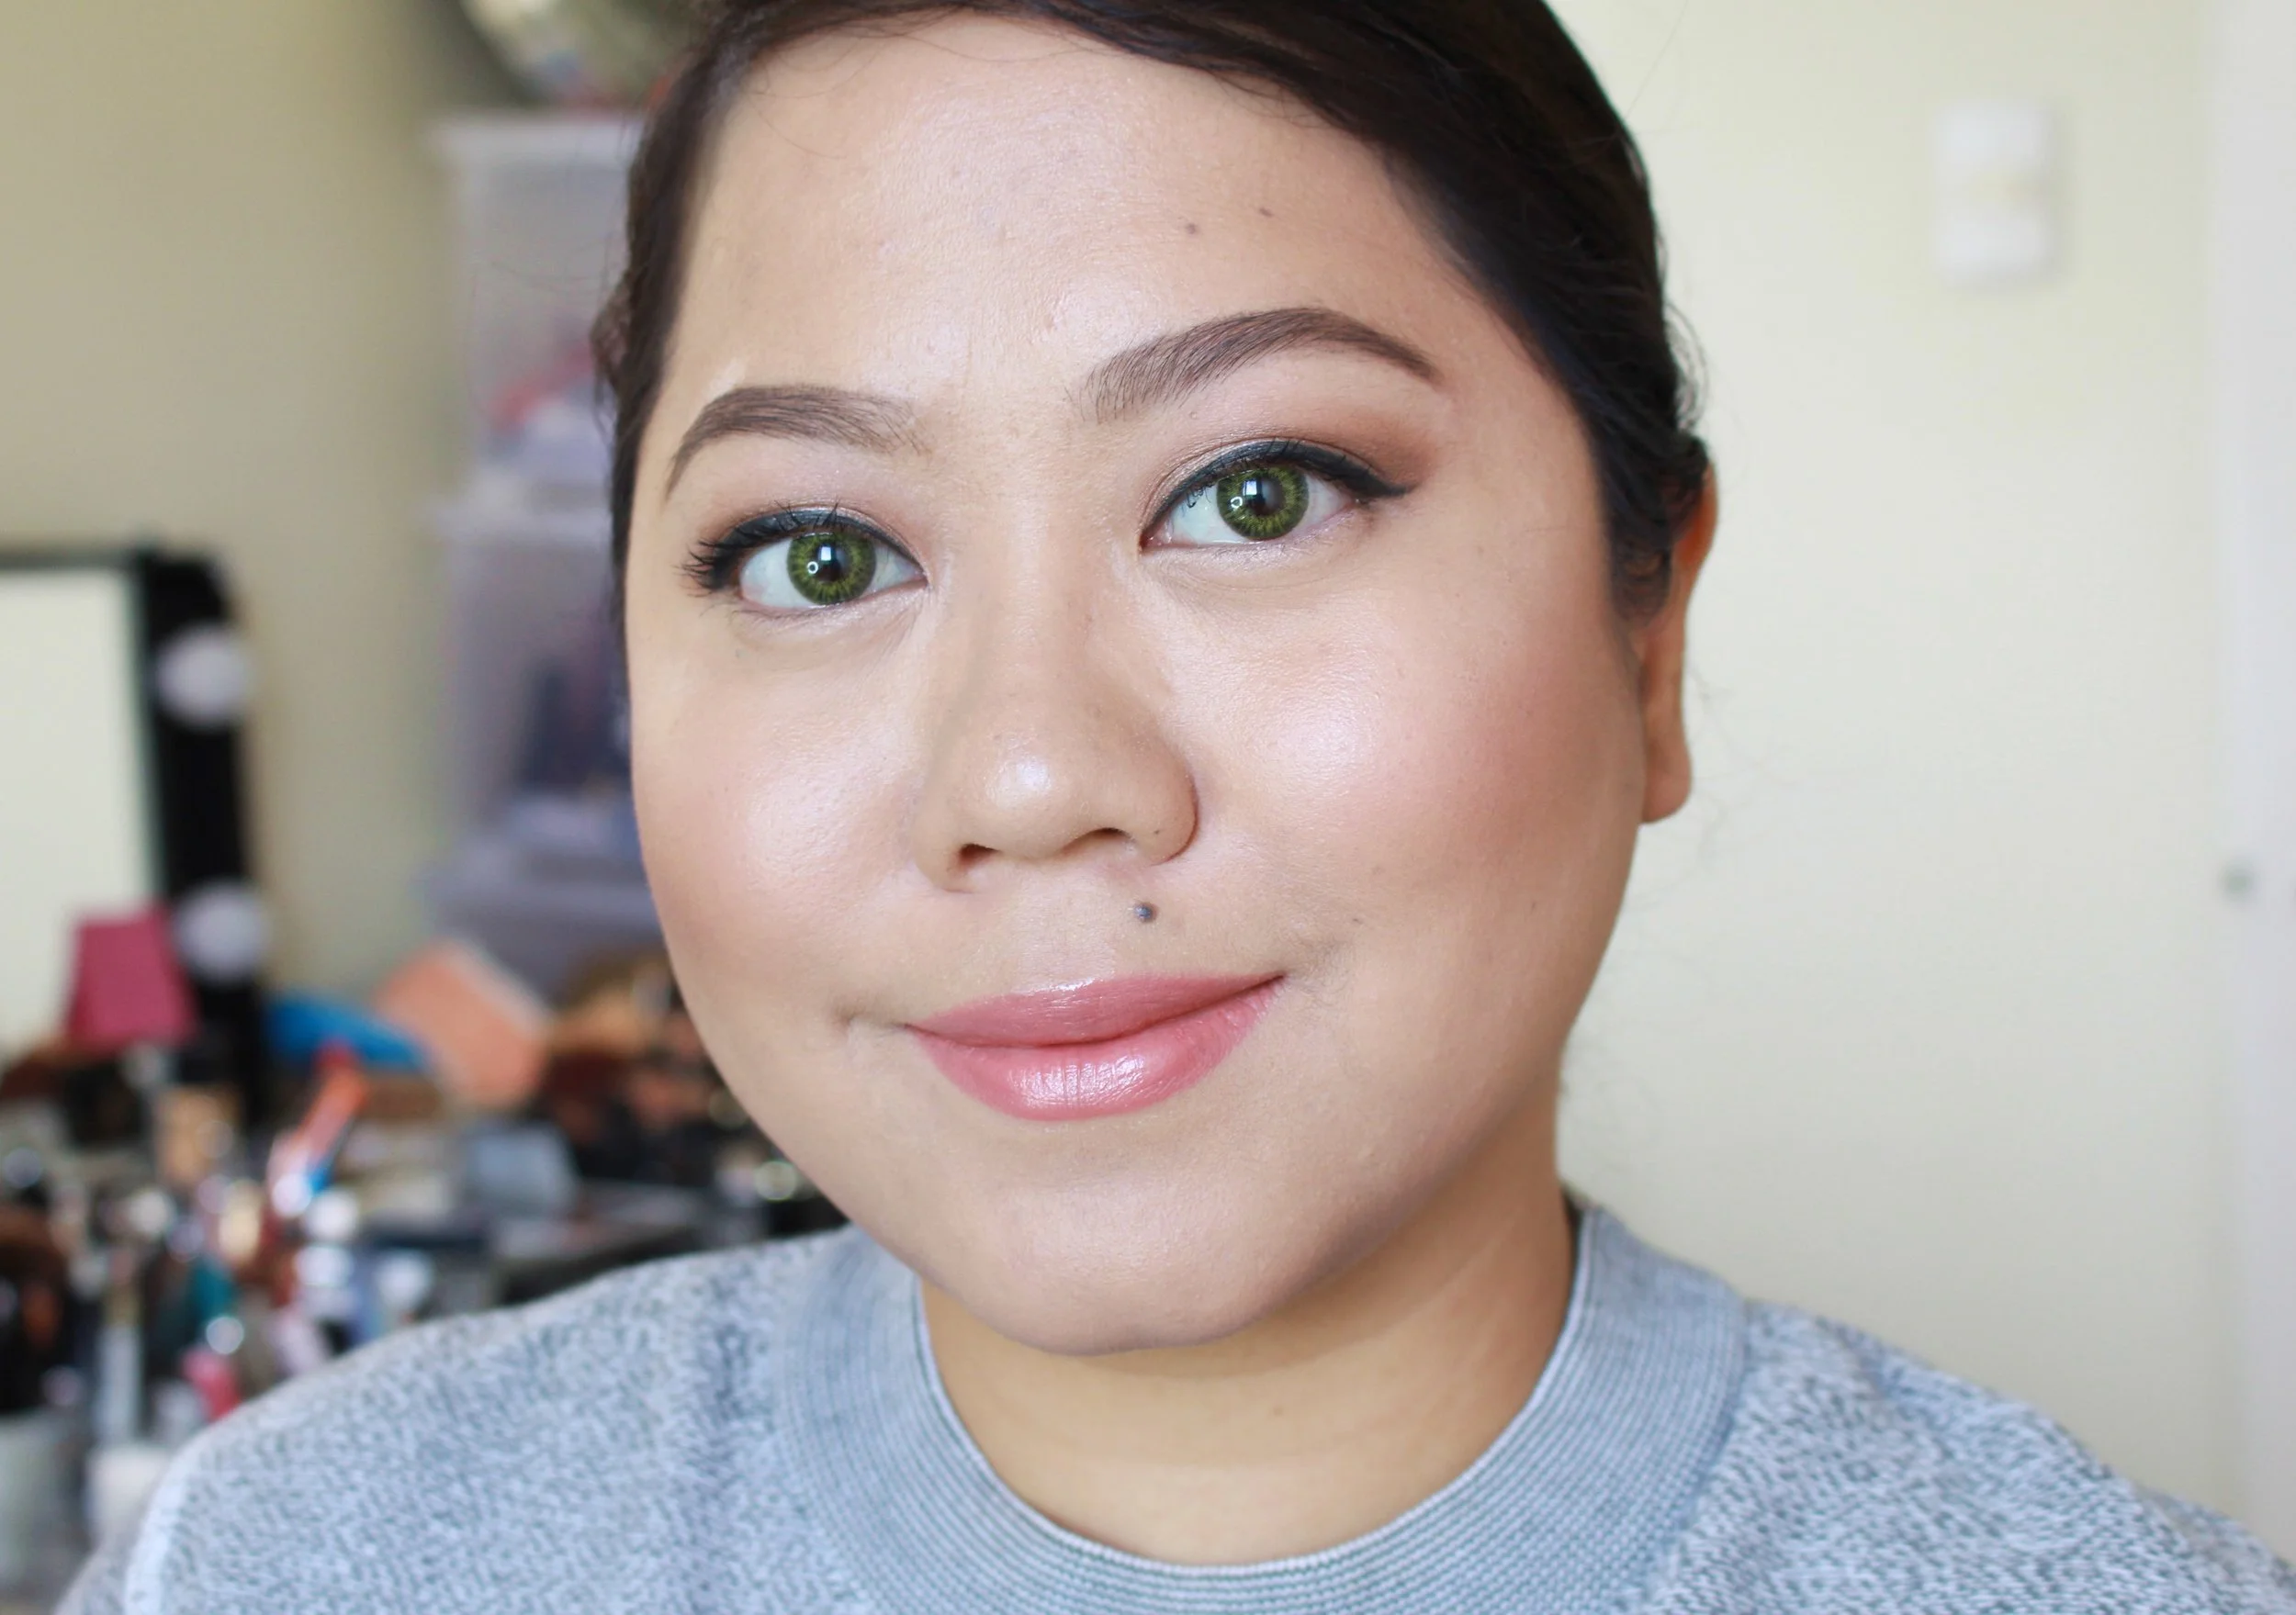
Here's the final look. ^_^ You'll notice that the top is thicker, and so is the tail. It's best to apply brow mascara after to brush up the hairs and make it appear like there's hair on top! I didn't use any here but I brushed upwards with the spoolie. I don't wear this brow look for everyday, honestly, but it's my staple at events. It just shows up better on camera and in dim lighting.
And that is that. Hope you enjoyed this tutorial! Have you got more tips for achieving fuller brows? We've also tested castor oil previously to encourage hair growth, and it seems to have worked! Read about it here.
This story is brought to you by Revlon.