

DIY Time: A lazy girl's nail polish remover- in a jar!
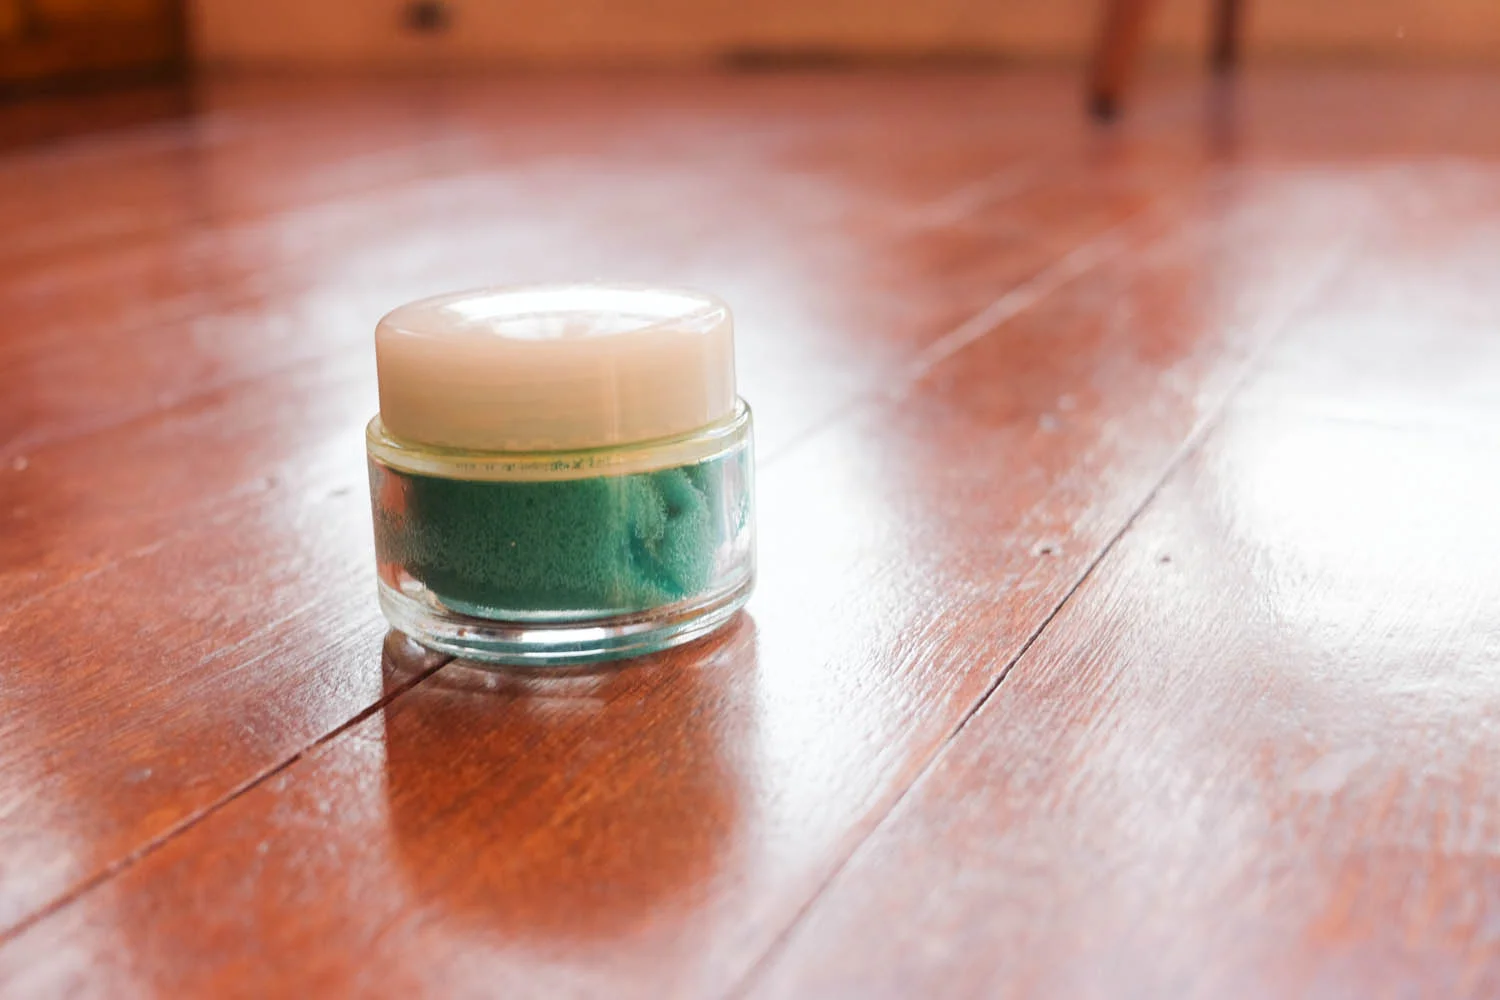
Maintaining a manicure can be a bit of a challenge if you wash the dishes or even just do a lot of typing, so if you need to replace some polish in between parlor appointments, we have a DIY to make removal super easy! All you need is a small jar, a sponge, a pair of scissors, and a bottle of nail polish remover. I used an old moisturizer jar (sometimes it pays to save your empties) while the sponge is just a cheap one from a grocery store. Let's begin!
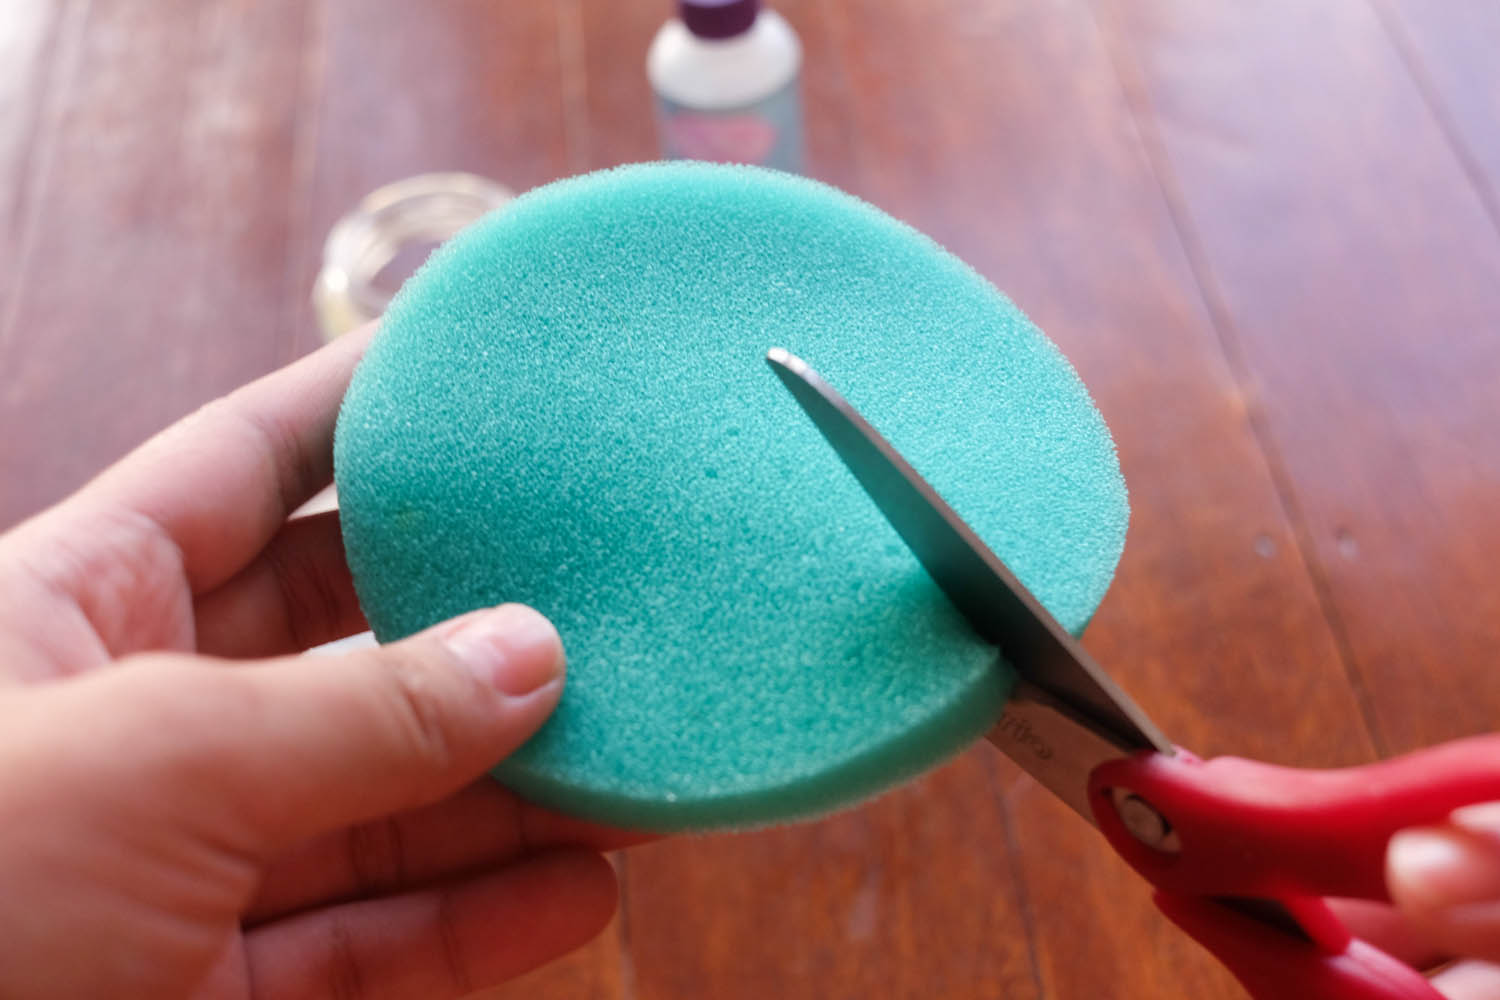
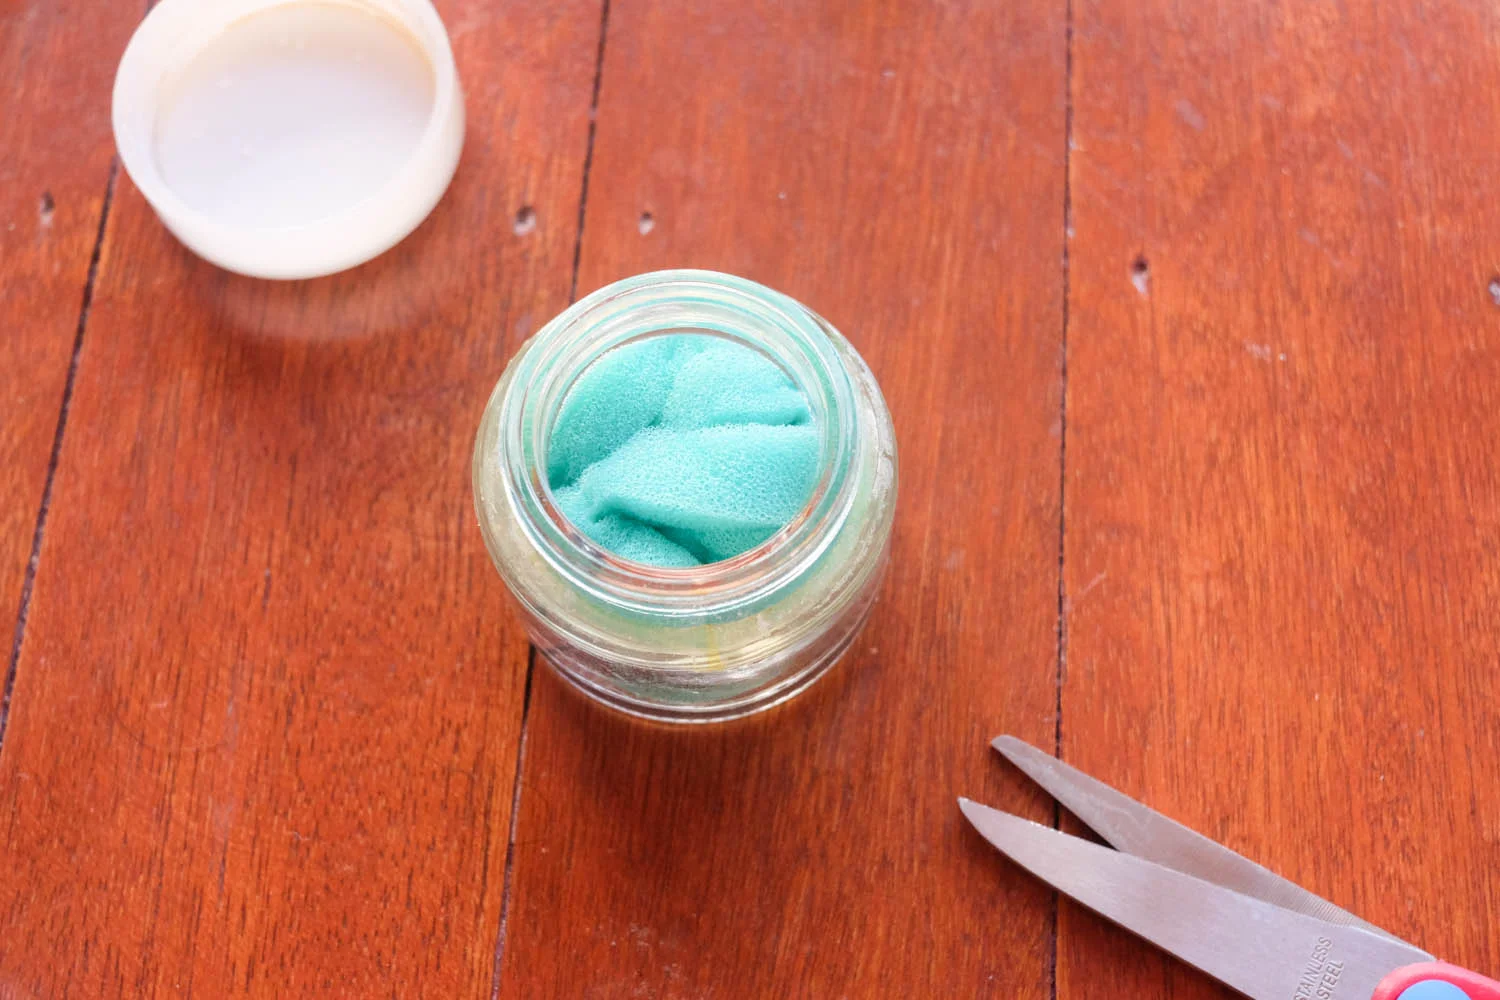
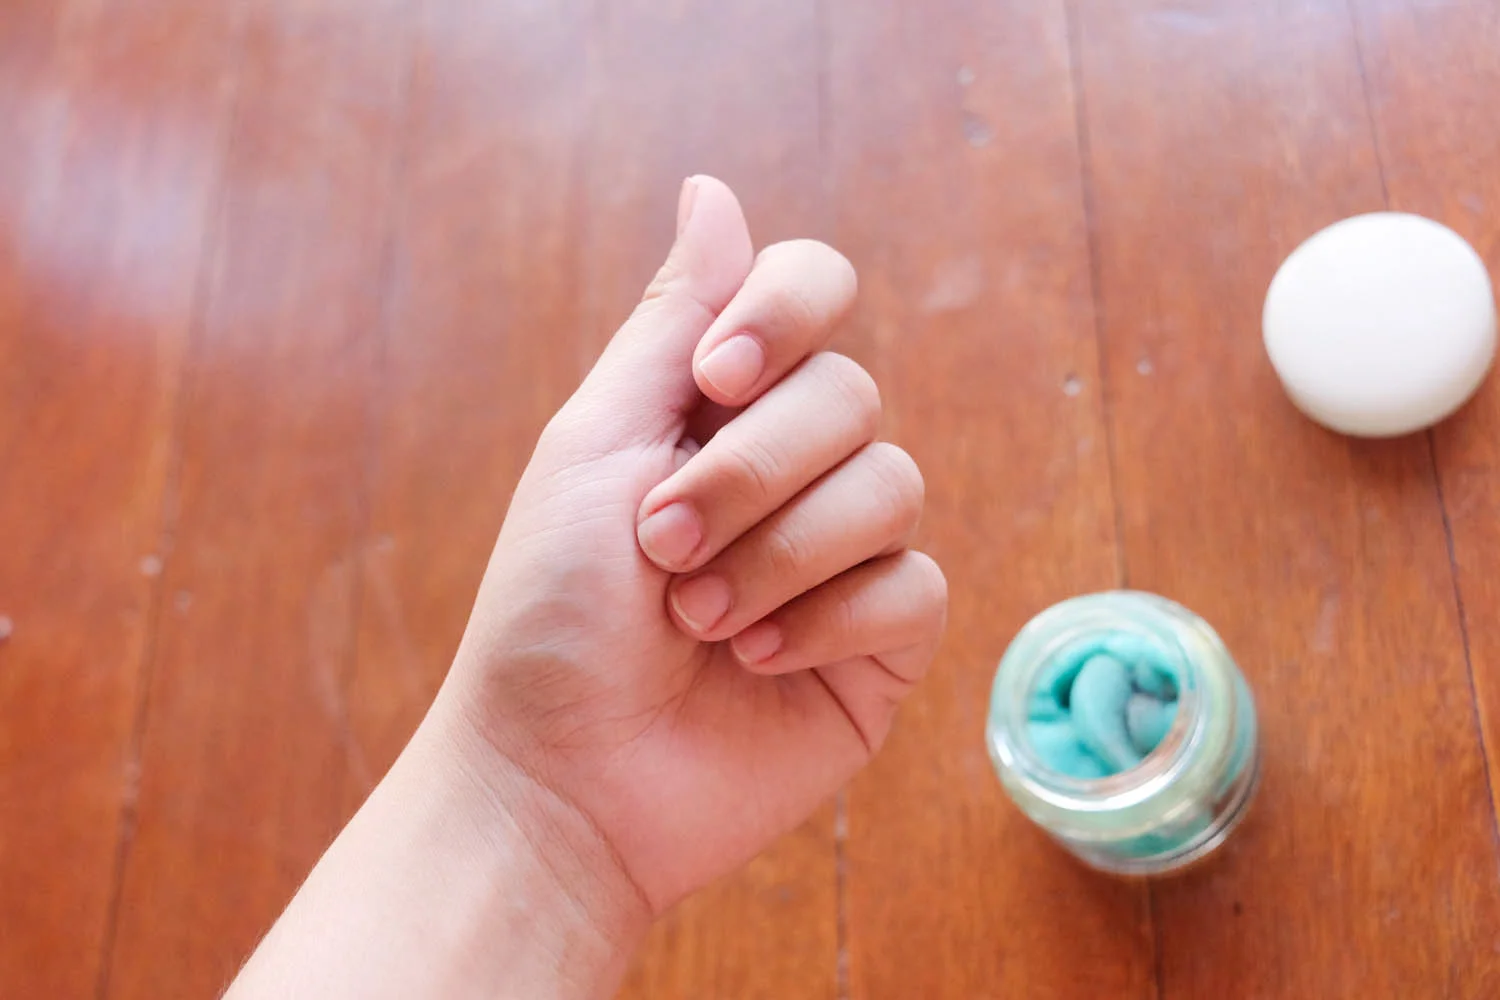
Step 1: Stuff the sponge into the jar. Use the scissors to trim it down if it’s too big. You want to avoid overstuffing it as there should be enough room for your finger to fit in as well.
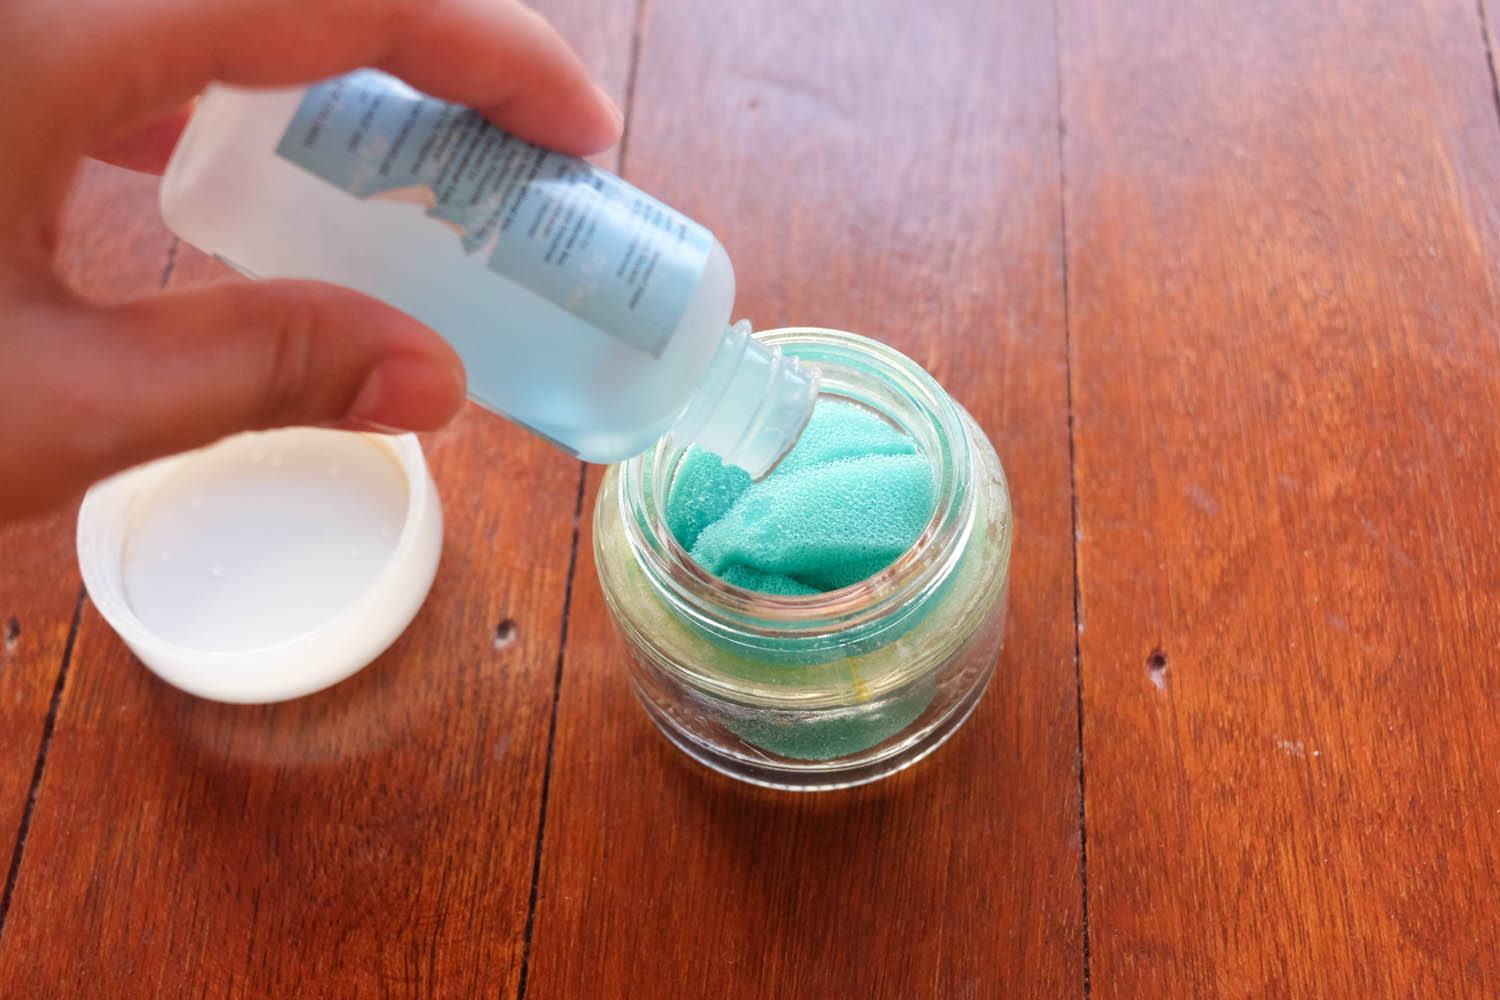
Step 2: Pour in just enough nail polish remover to saturate the sponge. If it gets too dry, you can add more nail polish remover. Make sure that the lid of your jar closes tightly as nail polish remover easily evaporates.
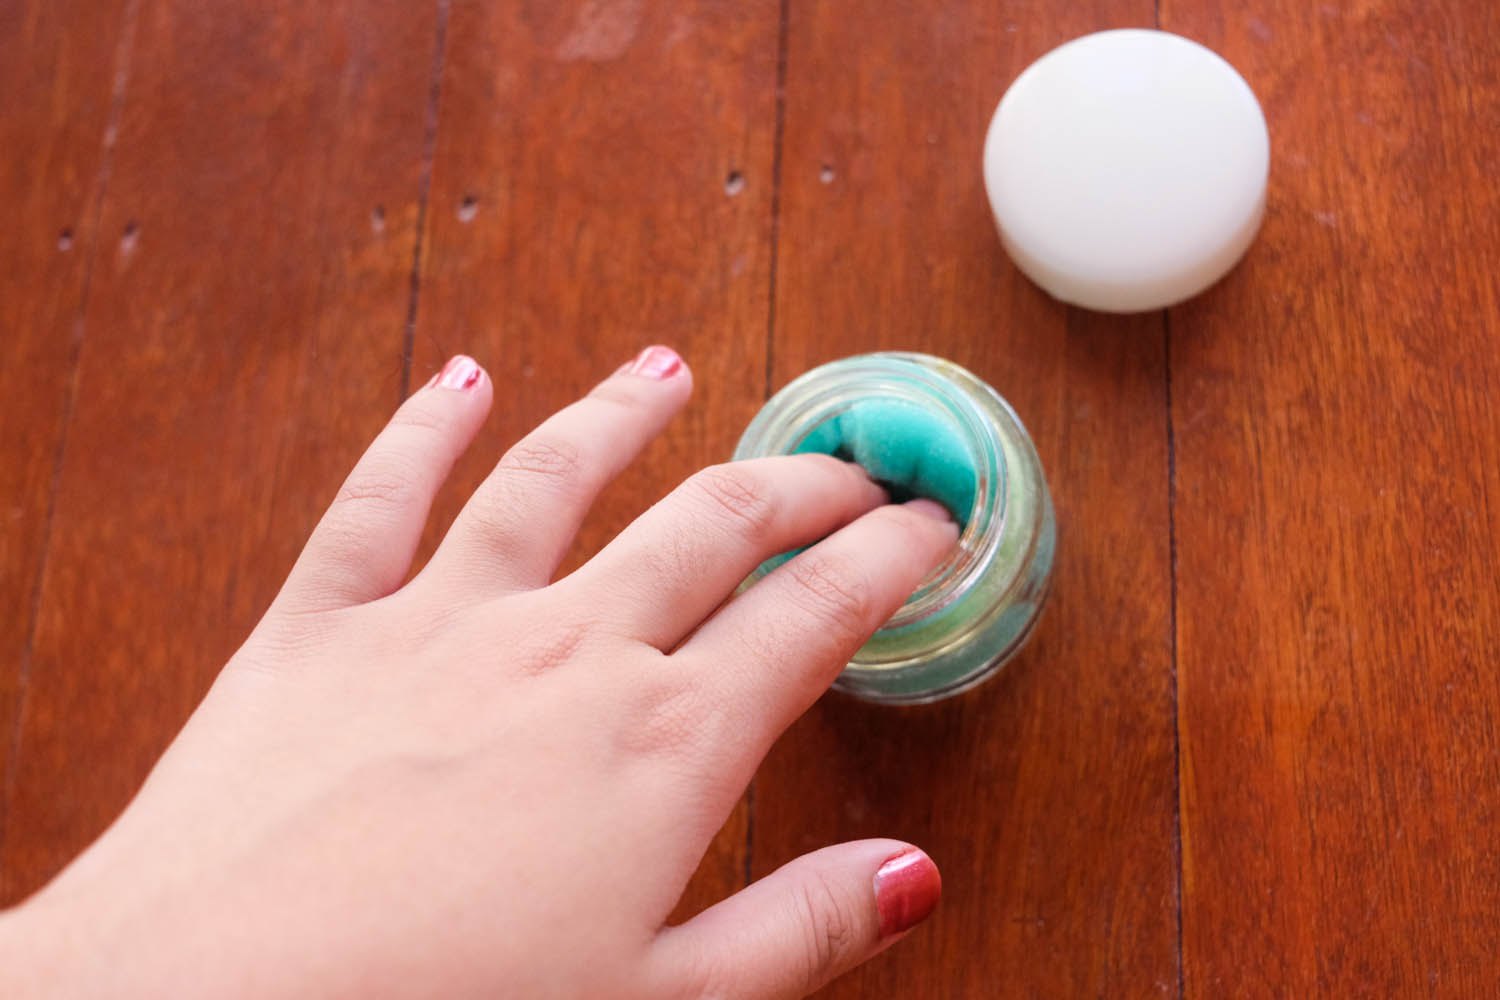
Step 3: Stick your mani in! Allow the sponge to completely cover your nail and soak for a few seconds. You can also try wiggling your finger a bit if you have stubborn varnish on. This eliminates the need for soaking a ton of cotton balls in polish remover, and is especially useful for those hard to remove glitter polishes!
After soaking, it’s a good idea to give your fingers a quick rinse with water and to slather them with moisturizing lotion after. Remember to allow them to dry completely before applying a fresh coat.
Already know this easy hack? How did it work for you? What other DIY tutorials do you want to see here on Project Vanity?