

What happened when I dyed my hair with - don't laugh - crepe paper
Crepe paper has gone a long way from being a humble staple in art projects. It has recently found a place in many women's beauty stashes since it's the key ingredient to DIY dip-dyed hair! We spotted it in one of the beauty FB groups we follow, and a lot of girls swore that it worked for them. Naturally, we just had to find out if that's true! Here's how to achieve natural highlights with crepe paper.
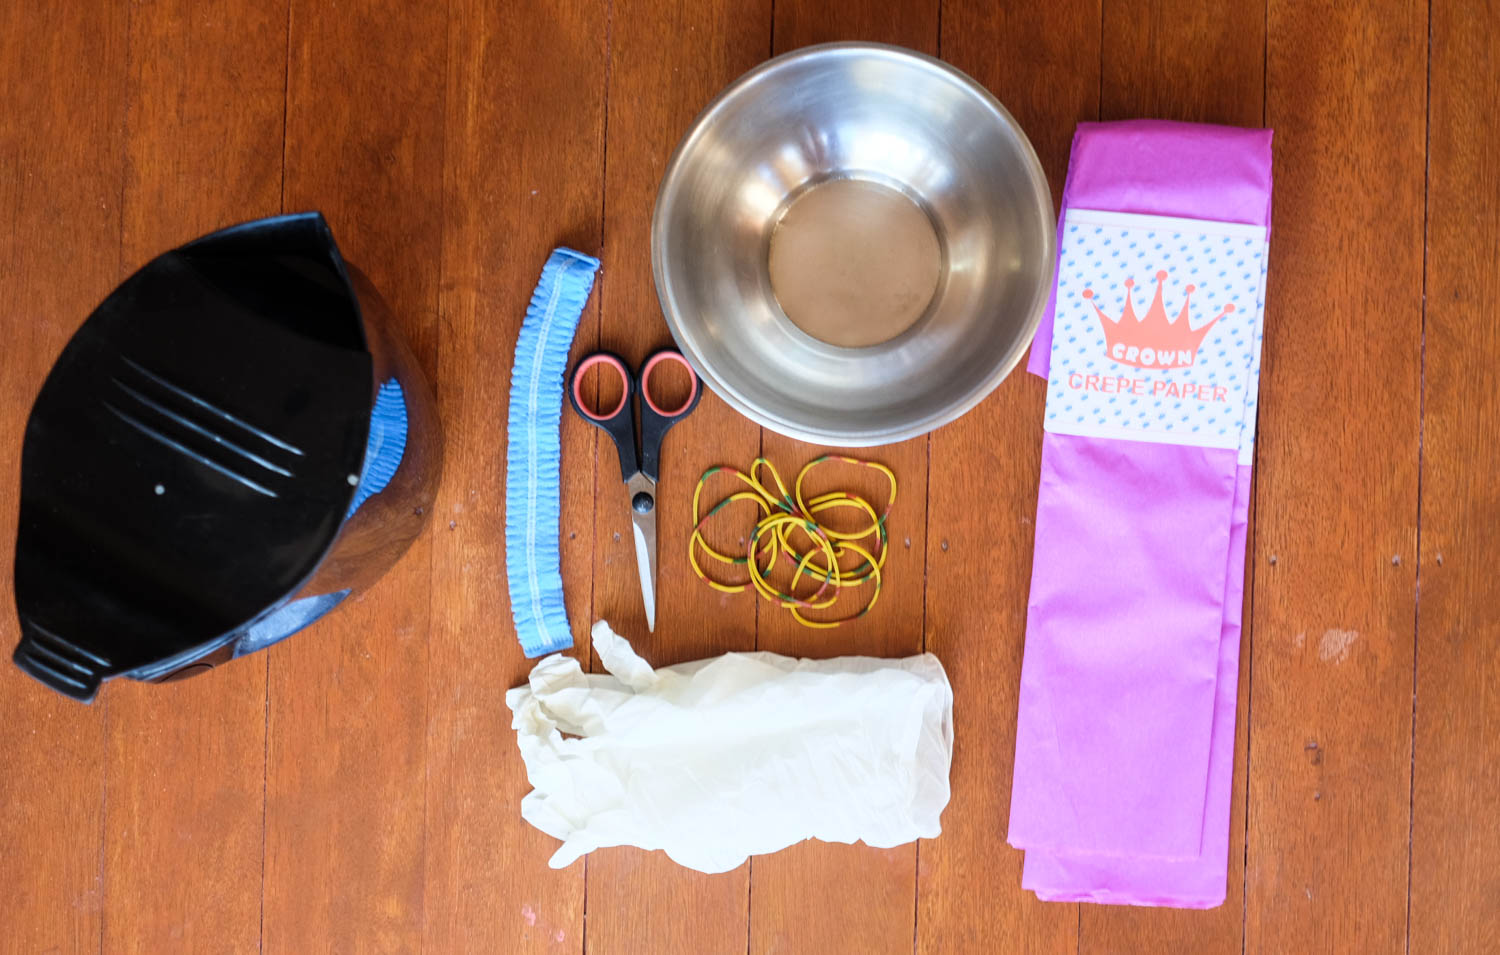
You will need:
- 2 bundles of the crepe paper in the color of your choice (I used fuchsia/purpple)
- A pair of scissors
- A large stainless steel or disposable plastic bowl
- Half cup of hot water
- Gloves
- Elastics
- Shower cap
As with any dye job, expect this to get a little messy. Wear a white shirt that you can wash with bleach, or an old one that you won't mind getting stains on. You can also cover your workspace with newspapers to make the clean-up a lot easier.
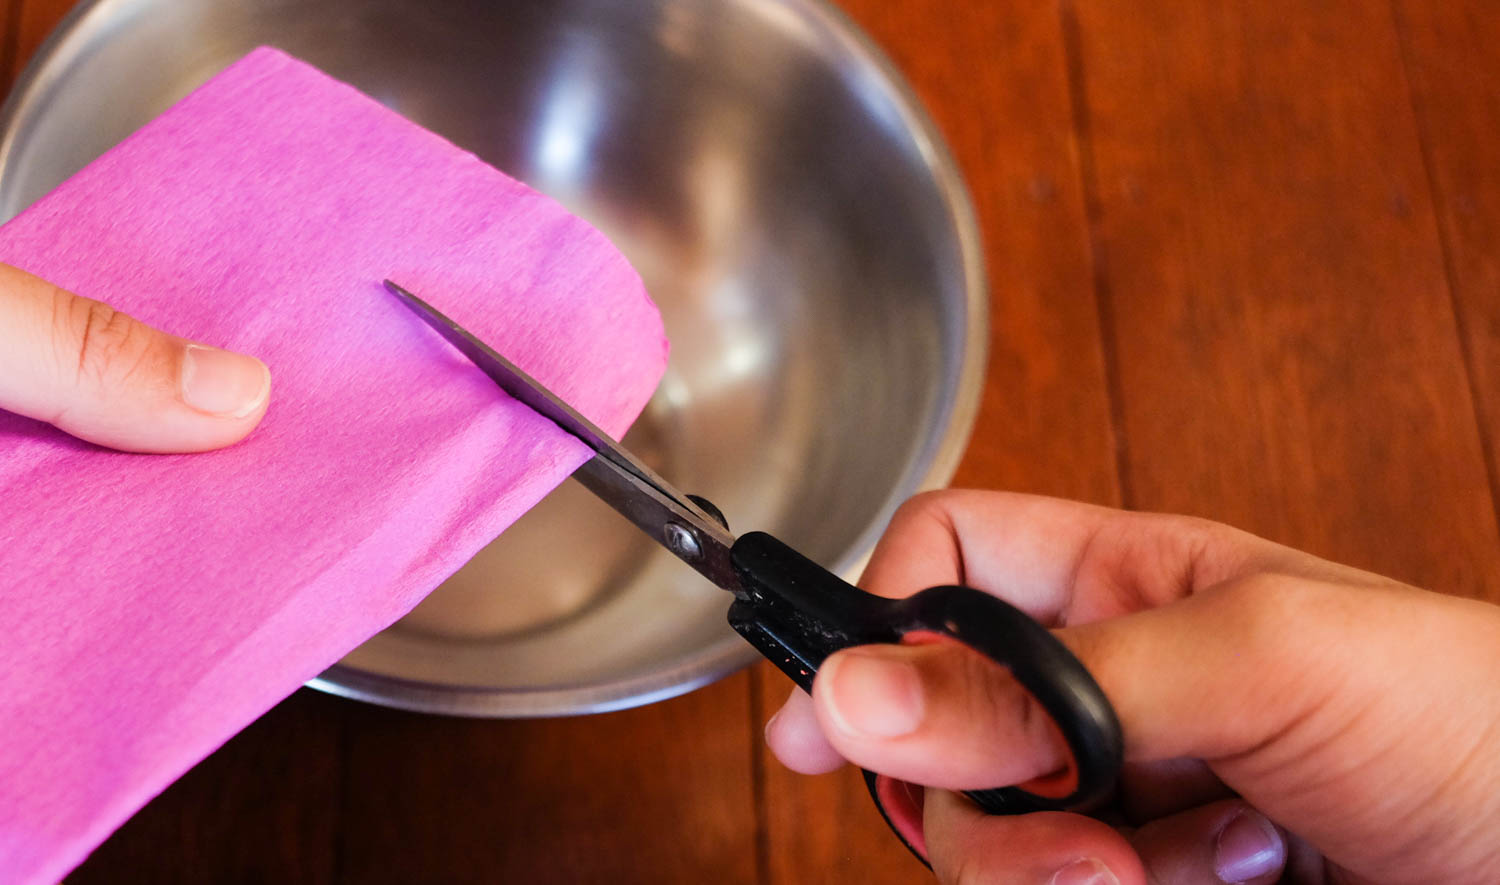
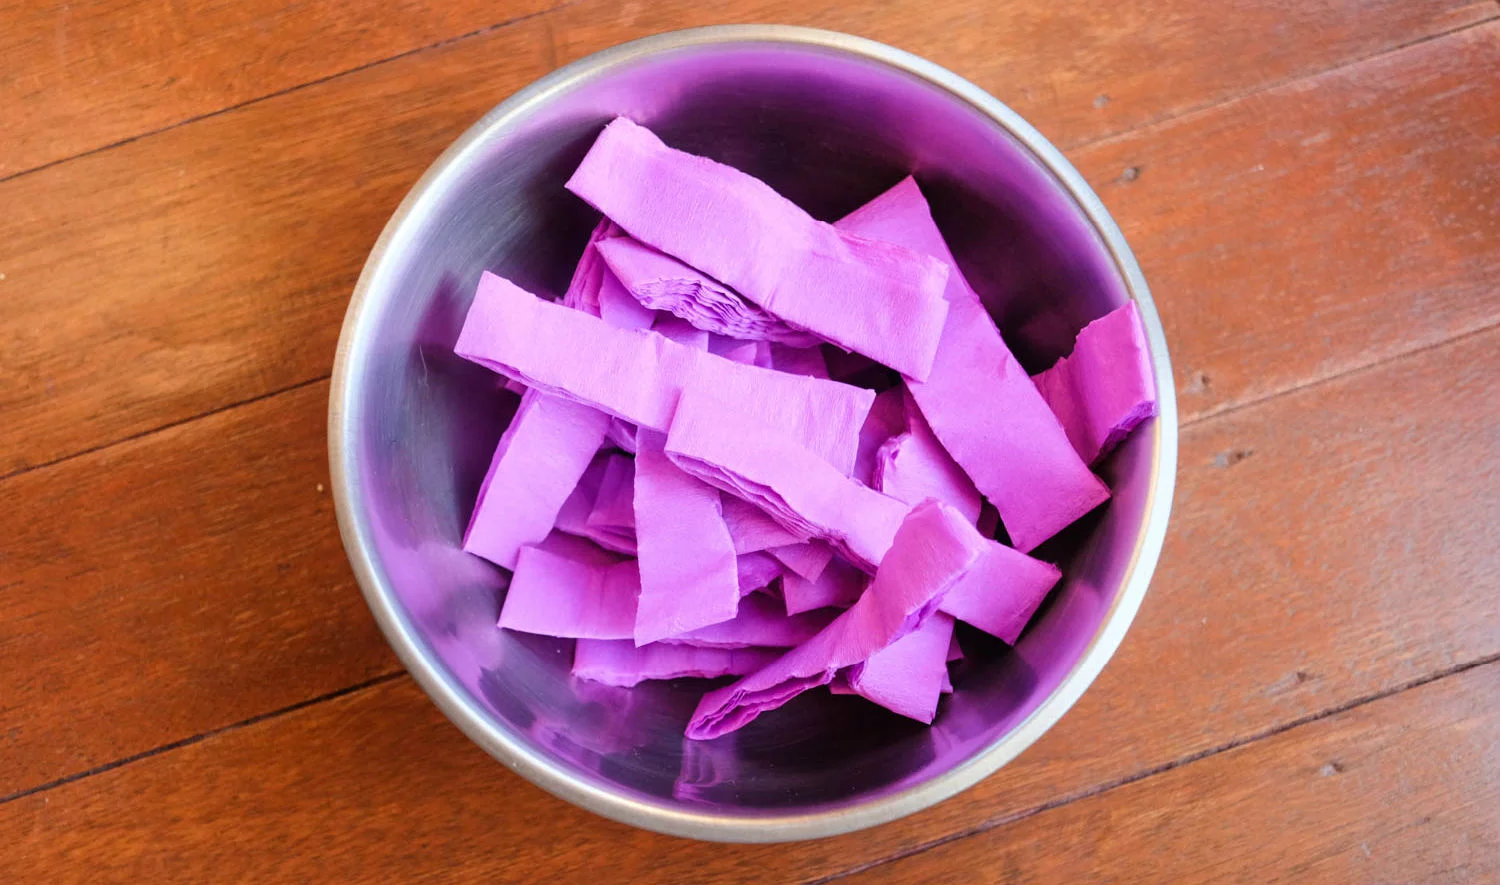
Start by dividing your hair into upper and lower parts, and secure the upper half with elastic. Preserving its original folds, cut the crepe paper into strips. Keep the strips from each bundle separate.
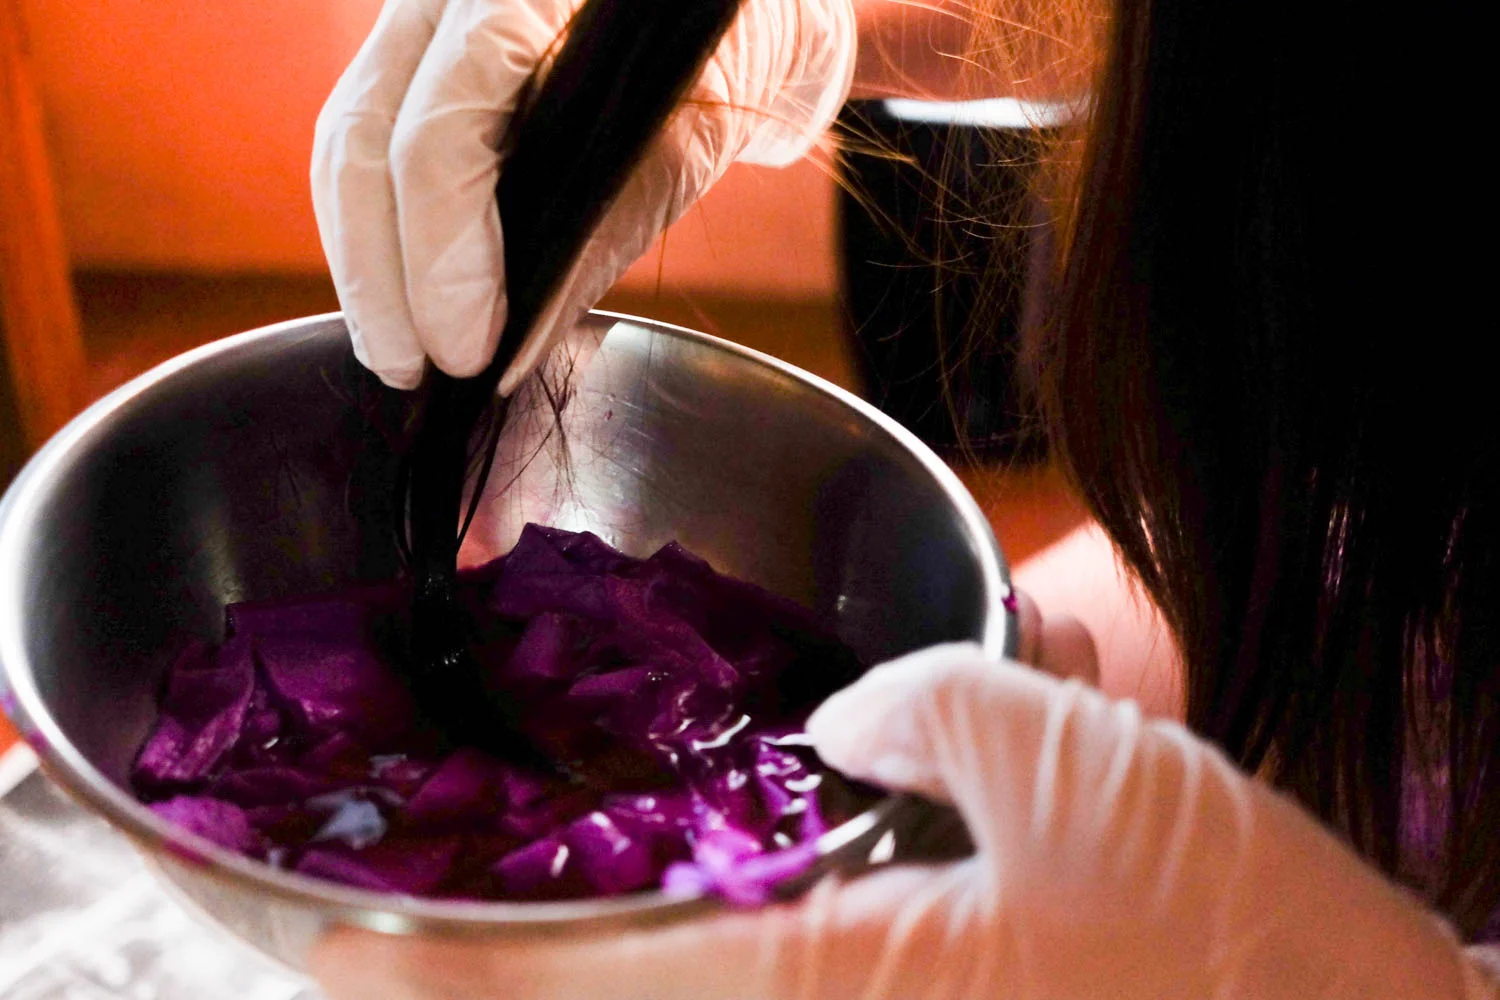
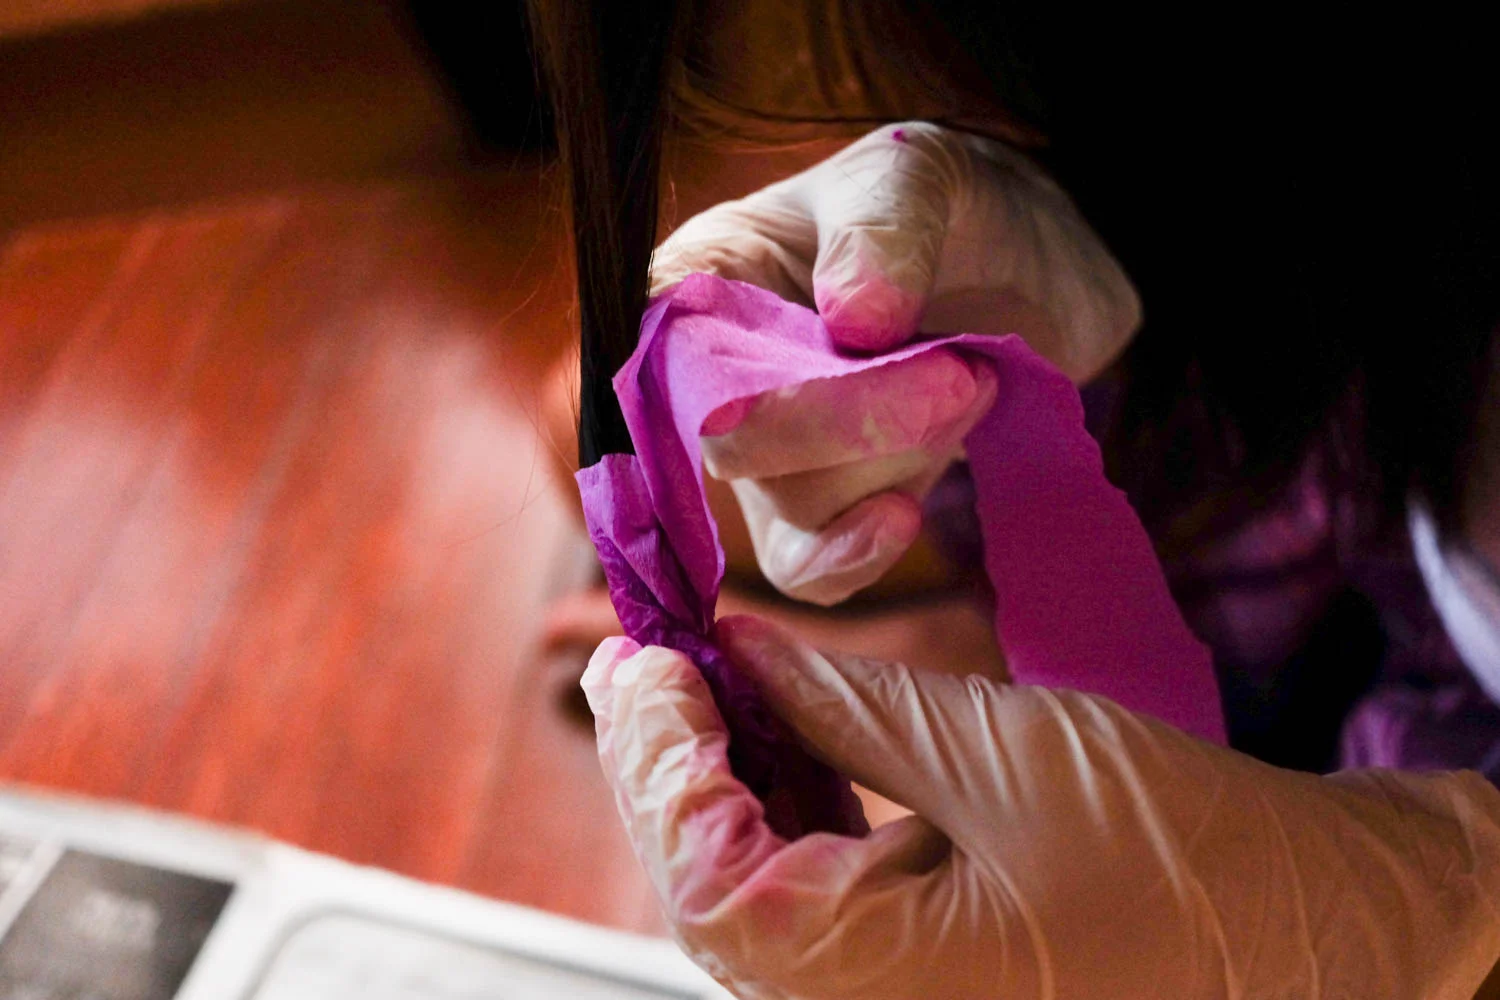
Put on your gloves. Place a bundle of strips into the bowl and pour hot water into it. Use your gloved hands or a disposable spoon to soak the paper strips completely, and gently squeeze out the dye from the crepe paper.
Dip small sections of your hair tips into the dye bath, allowing each section to soak for a few minutes (the longer, the better). After dipping each section, wrap it with the remaining crepe paper strips and secure the bunch with elastic.
You can dip-dye as much of your hair as you like but you may need more crepe paper and hot water to cover large areas. I opted to just color my ends so the look won’t be too drastic. You can also choose to use more than a single color!

After dip-dyeing all your strands (or just certain hair sections, depending on your preference), tuck your hair into a shower cap. Allow the dye to soak in for an hour. I only had a disposable hair net so that's what I used but I would have preferred a plastic shower wrap to prevent drips.
After an hour of soaking, you can now wash your hair! I only used conditioner to prevent my temporary hair color from fading. You'll want to avoid shampoo for a day or two to keep the color for longer.
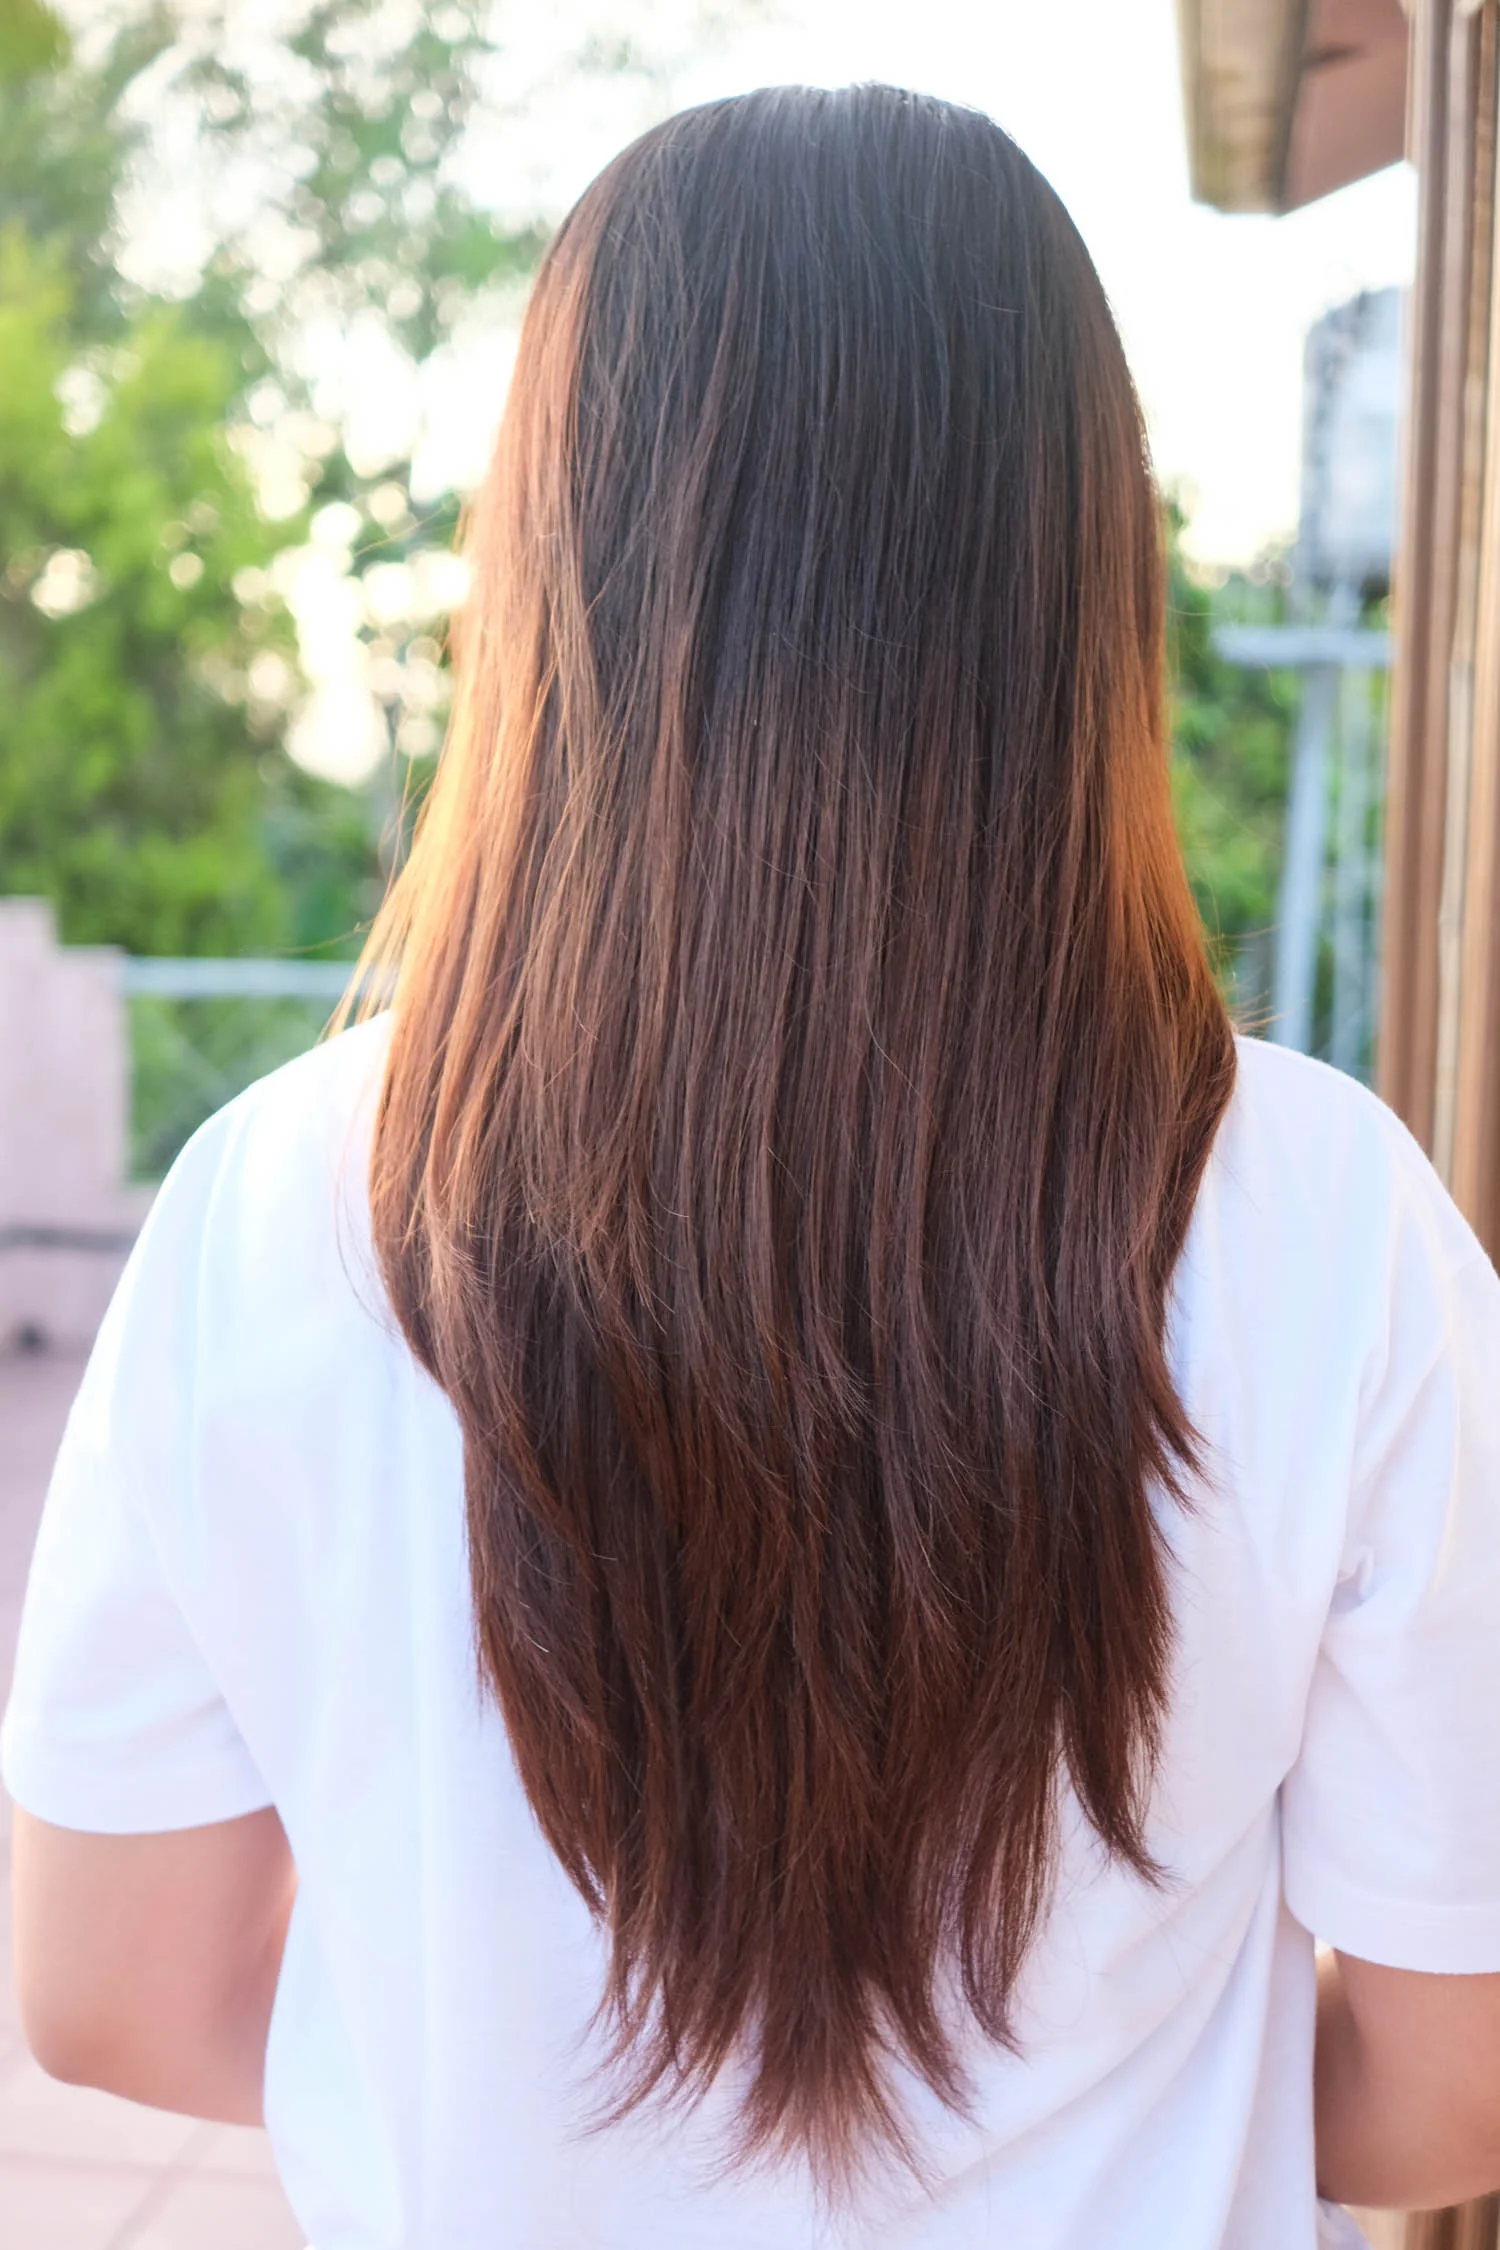
My hair before dip-dyeing
As you can see, my ash brown colored hair is still much too dark for the dye to stain bright pink. The effect is pretty subtle but I think it's a cute accent! If you have a dark hair color, using the pink crepe paper as I did might not work for you. You may have better luck with green crepe paper, which is the shade most popularly used in tutorials for this DIY.
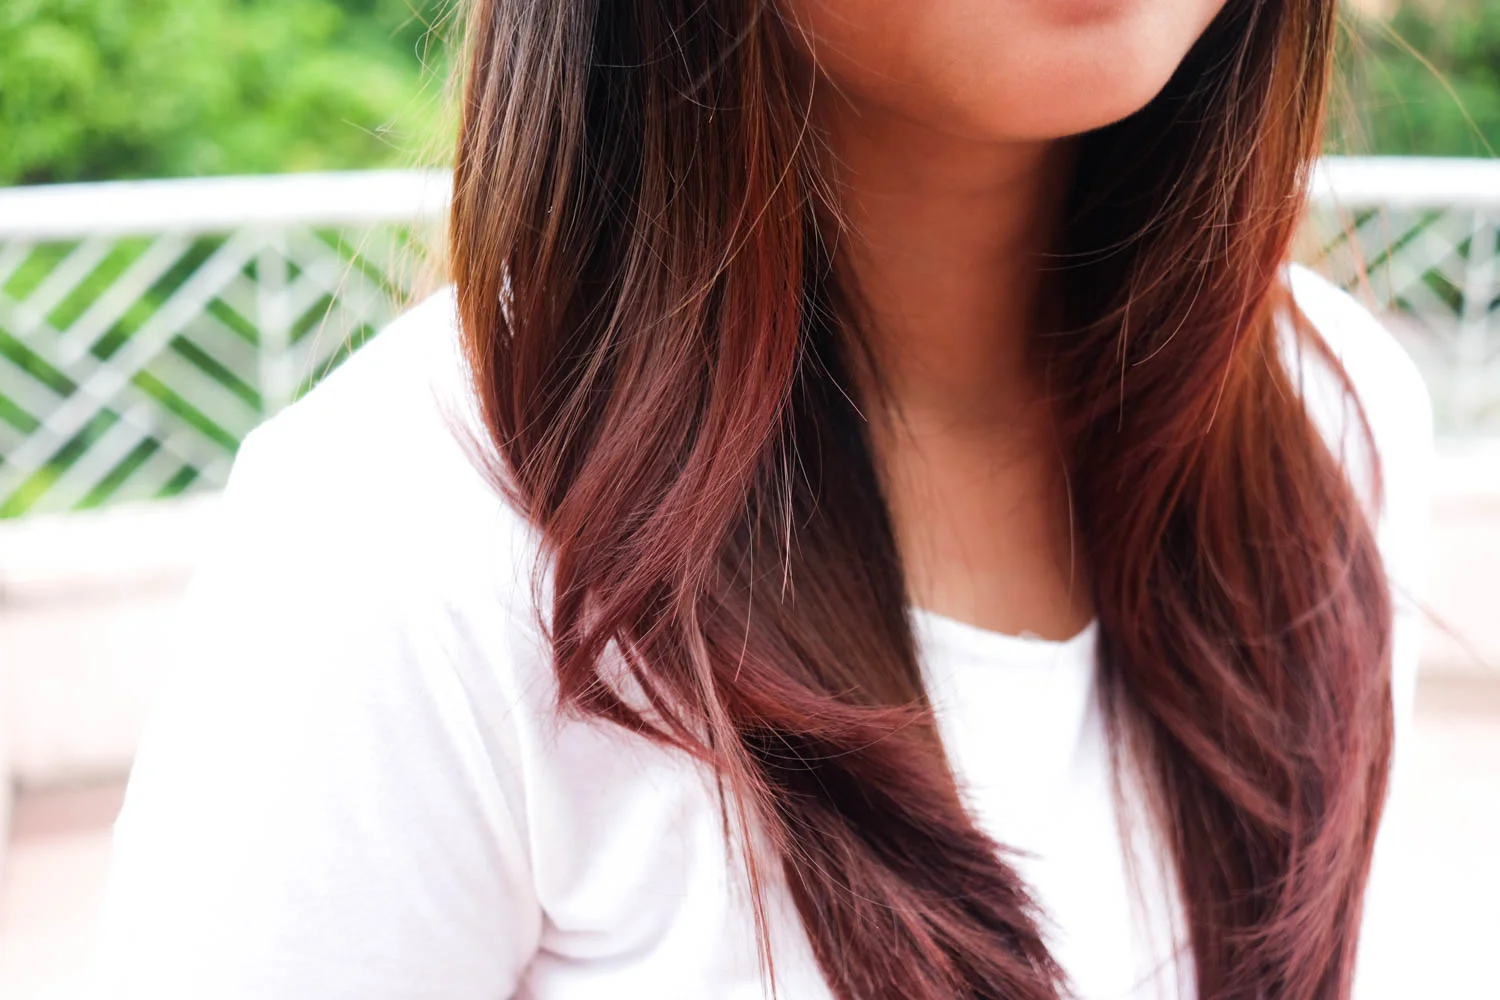
My pink dip-dyed hair
I should also warn you that the dye bleeds out every time I shower and stains my clothes while my hair is wet! If you decide to try this technique, be very careful about getting your hair wet (from sudden rain or even sweat) and dry your hair thoroughly with a blow dryer before dressing to prevent staining your clothes.
I had fun trying this out and sporting an unconventional color for a few days. I would never have paid for this color at a salon just to test it but now that I see what it looked like, well, I just might! Are you brave enough to try dyeing your hair with crepe paper, or will you be sticking to conventional box colors?