

Creative makeup tips for beginners from a makeup beginner
Activities that require creativity and coordination have never been part of my strong suit so I like to joke that the fact that I can do makeup is a miracle.
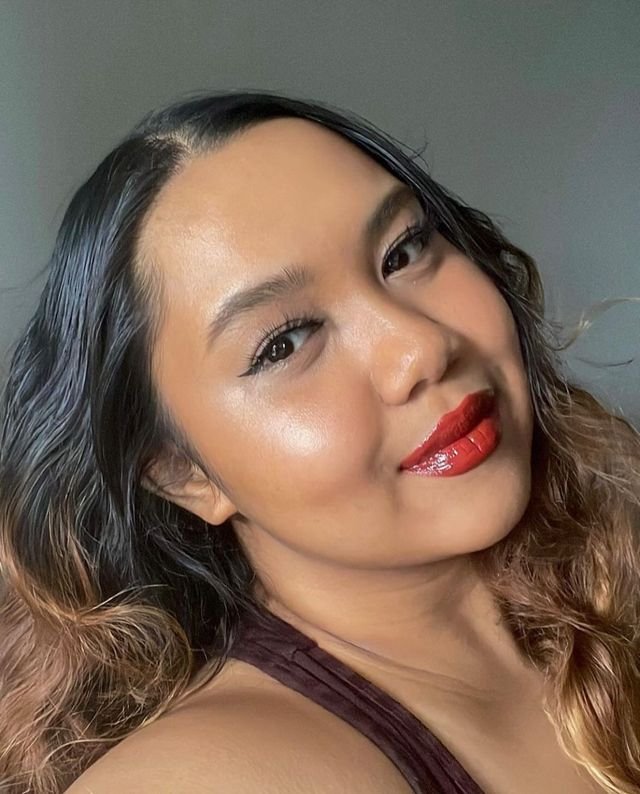
When I first started creating content, I really wanted to be more creative with the makeup looks I would share but I was so intimidated and scared to make a horrible look. I stayed in my safe zone of soft glam during my first two years as a content creator.
In September 0f 2021, I decided to join a #100DaysofMakeup challenge to push myself to explore my collection and grow into being confident with different makeup styles and products.
Happy to report that it was an effective challenge and I am more confident with creative looks now, but the reality is, I modify a lot of makeup techniques to help me achieve the looks that I envision. So here are my trade secrets to bringing my dream looks into reality as a beginner in the world of creative makeup!
Color Matching
As a visual learner, I can better process colour combinations for my makeup looks when I can see them so I swatch the colours I am going to use on my hands. It is a very easy step but makes all the difference to me because I used to just keep applying the products and removing them if they did not work well together but it would waste time and disrupt the parts of the look that I already completed.

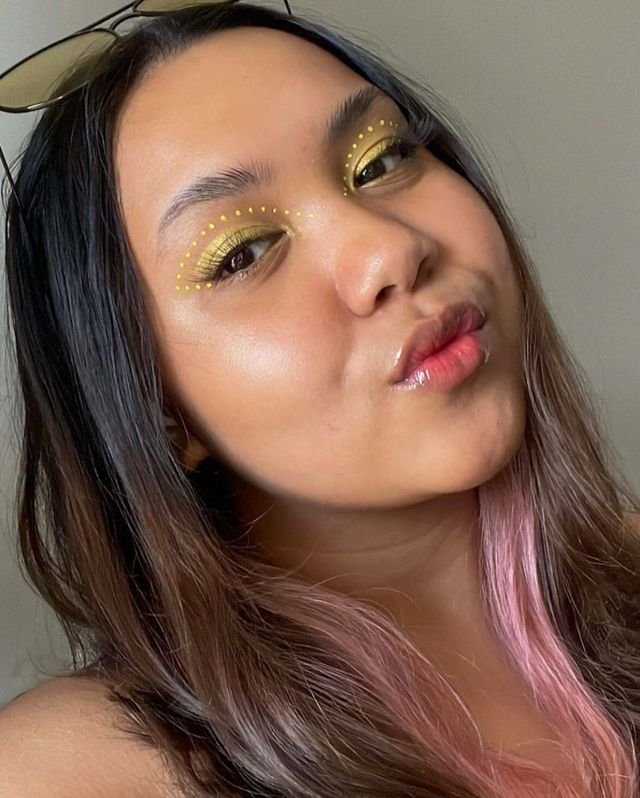
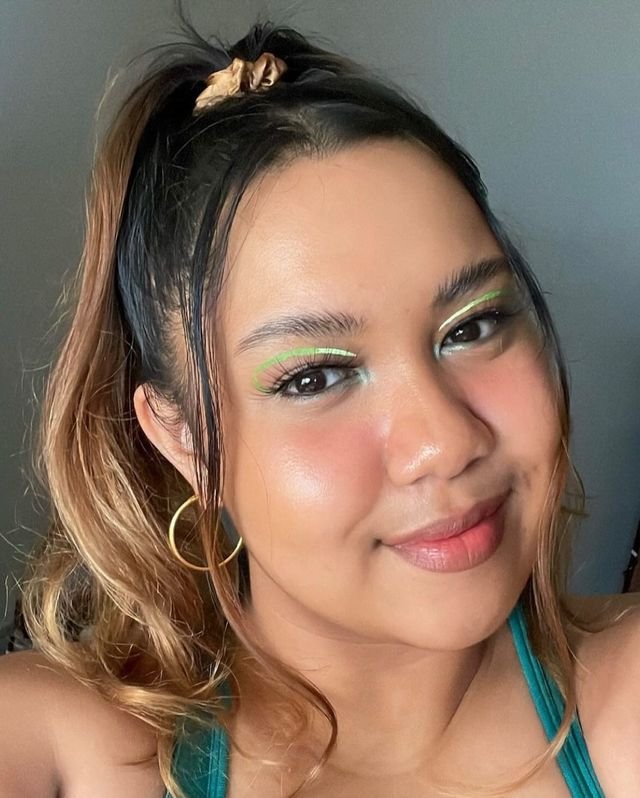
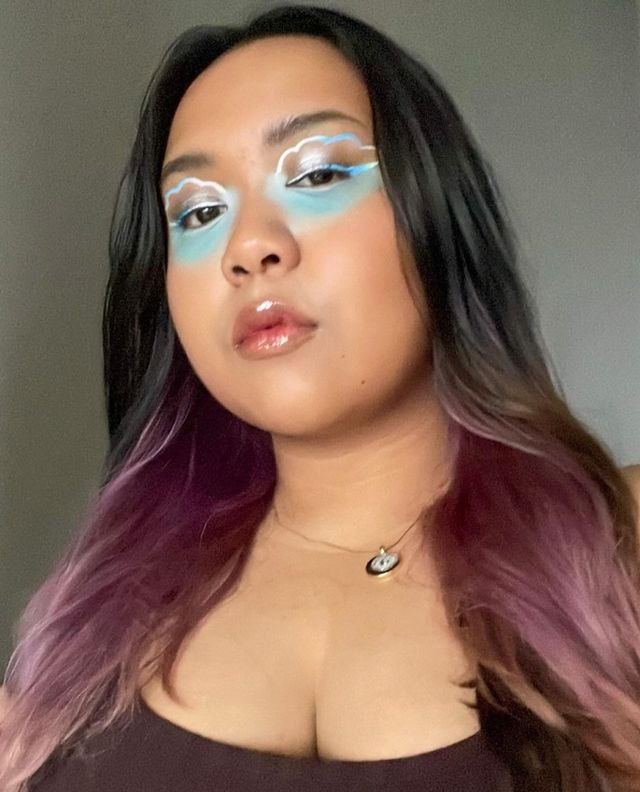
Graphic Liner
I am so mesmerized by graphic eyeliner looks but I have a hard time making them since I do not have a steady hand when creating more intricate shapes. I really want to start exploring the world of graphic liners. So here are some of the things I do to make graphic liner looks more achievable for a newbie like me.
Dotting
Before I commit to a line with the graphic liner, I place dots to map out the shape I want to create. After this, I can easily just connect the dots and then build up the width of the liner once I have the shape - or you can leave it as is too.
Commit to the Line
I know this is going to sound ridiculous but just go and swipe on that liner! This will leave the lines looking cleaner and less crooked because one long swipe will offer more stability in the stroke compared to smaller strokes.
Nail Brushes
Using nail art brushes definitely helped me out with upping my graphic liner game. They are thinner, longer, and more sturdy compared to detailing eyeshadow brushes and come in more size options.

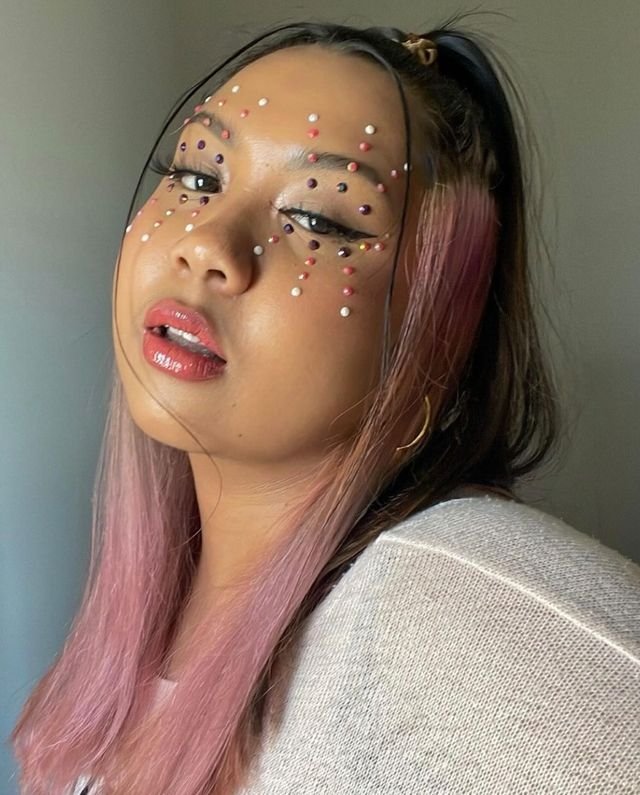
Gems, Rhinestones, and Pearls
Ever since I included these little accessories into my collection, it has been a struggle to stay away from them! It is just such an easy way to elevate the look. All you need is the gems, rhinestones, and pearls then some lash glue! These are also available in sticker sheets so it already comes with adhesive.
Here are my favourite ways to add them to my makeup looks:
Under the centre of my lower lash line
Along my eyeliner or as eyeliner
In the inner corner of my eyes
Under the brow and lower lash line


You can definitely go a little crazier to create some fun looks!
Trendy Looks
Find Tutorials
The beauty community is filled with a frenzy of talented creators and so many of them are kind enough to offer tutorials for even the most intricate looks. Reaching out to these creators or checking their profiles for tutorials are such a great way to break down their stunning makeup looks into very achievable steps (even if, in my case, achieving those steps may take a couple hours).
Get Inspo
Again, as a visual learner I have a hard time really envisioning my looks so one of the best practices I have to create bolder looks is through browsing other creators’ looks. Sometimes I see a technique I have not tried and a colour combination I am curious to see on my skin tone and give it a try at recreating the look with my own twists!

Invest in Primary Colours
With billions of eyeshadow options with all the formulas and finishes, I learned that investing in primary colours is a great way to be able to explore and create with your makeup collection because all you need it a little but of time and effort for mixing and matching and you will basically have every colour under the sun ready for your use!

These are the tricks that work well for me and might work for you too! It used to feel very intimidating to attempt doing creative looks but just like many other things in life, after you take the first step, you will definitely find ways to achieve all the concepts you envision. Just remember, done is better than perfect and there is always room to grow!