

Pimple Popping 101: How to get it all out cleanly, with less damage to skin
Who watches those viral pimple popping videos? I do! I know, gross, but it's not like I actively search for them. It's just that when one pops up on my feed, I can't. Look. Away. It's fascinating how dirty and/or clogged people's faces can get. It's also stunning to see how patient aestheticians and dermatologists can be when it comes to relieving their clients of all that build-up!
When popping a pimple - especially one that's causing a lot of pain and discomfort - it's still best to consult a professional. DIY-ing it may damage your skin permanently and even cause complications like infection and cross-contamination. If you're the least bit unsure about the process, don't DIY. Seriously. But what if you don't have money or time to see a derma? What should you do?
After years of popping my own pimples and seeing professionals about it, I have a few tips for you guys on how to do it with the least damage! Do note that I am not a dermatologist or aesthetician so take all this with a grain of salt.
Step #1: Wait for the pimple to develop a head. By pimple I don't just mean the red angry ones; I'm also talking about blackheads and whiteheads inside your pores. There's really nothing you can do until the pimple is ripe. You can hasten the process by applying antiseptic, antibacterial, and exfoliating products. Look for ones with salicylic acid and tea tree oil/extract; you can also simply disinfect the area with alcohol-based acne gels. Whatever you do: don't touch it with bare and dirty hands as well as makeup tools! That just extends the life span of the pimple.
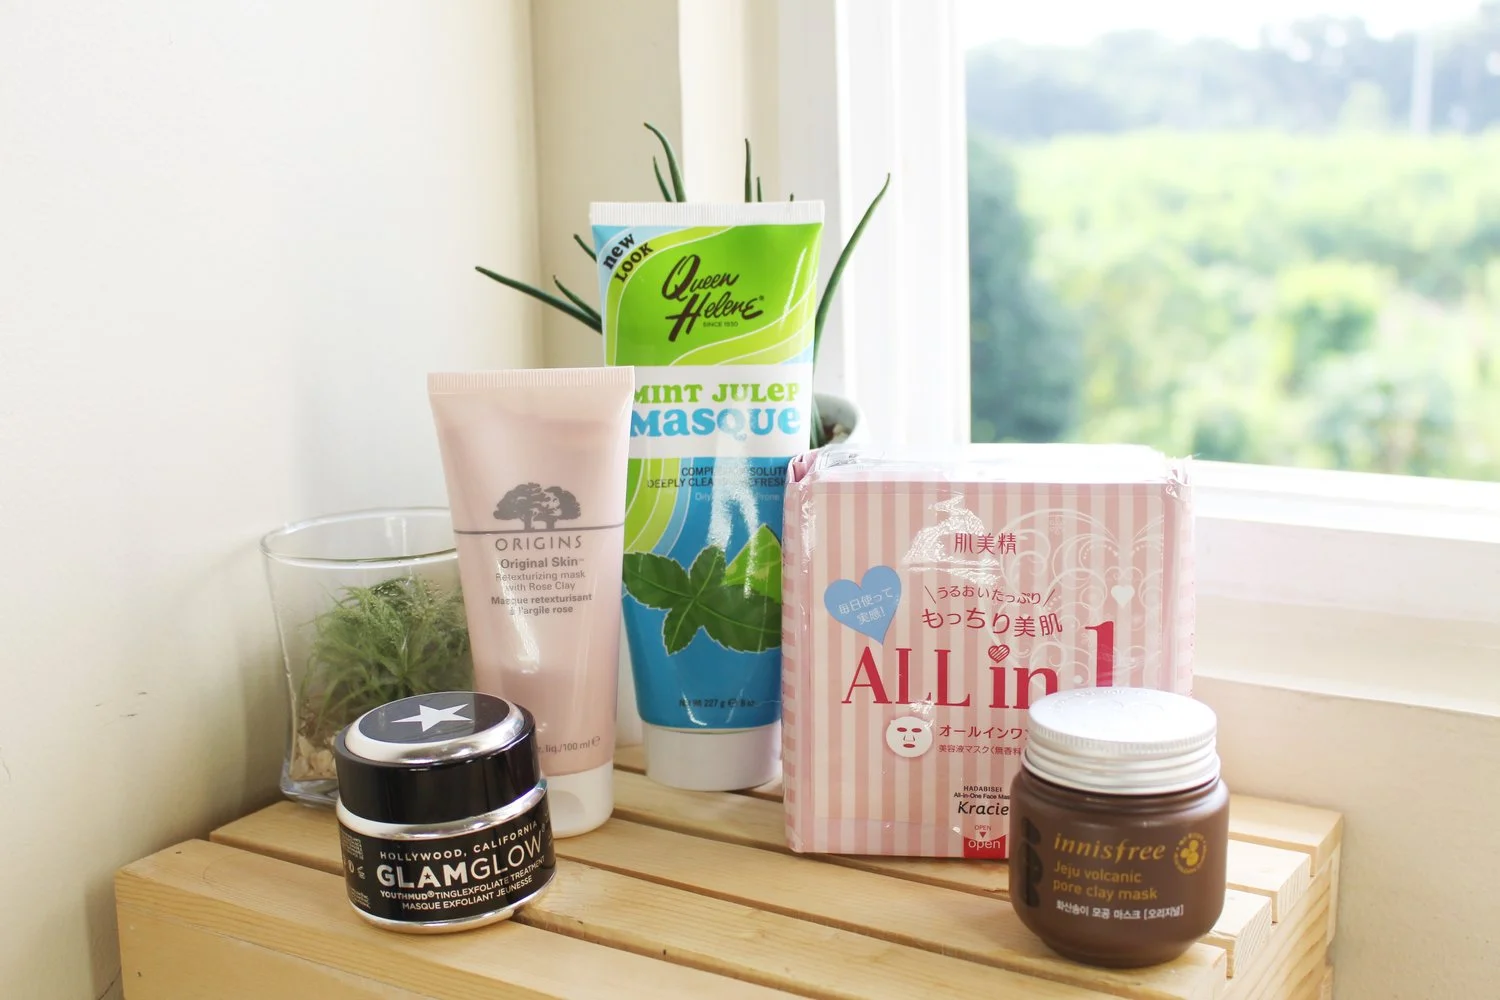
Step #2: Once the pimple is ready to come out into the world, make popping easy by doing some gentle exfoliation. I like to use a gommage exfoliator like the Cure Natural Aqua Gel. I also love mud masks for this purpose. The ones from Origins, Glamglow, and Innisfree are amazing! More info here.
Exfoliators cleans the pores and draws out oils so that once you pop, you don't get dead skin in the way. The pus or hardened oil comes out in one smooth process.
Step #3: Use the right tools and make sure to sanitize them with alcohol beforehand. I don't like popping pimples with fingers because there might dirt under the nails, plus there's a higher chance of rupturing the skin too much. Fingers are pretty clumsy tools for the job! I'd rather use cotton buds, particularly ones with pointed tips. I know you can find some in Watsons and Landmark.
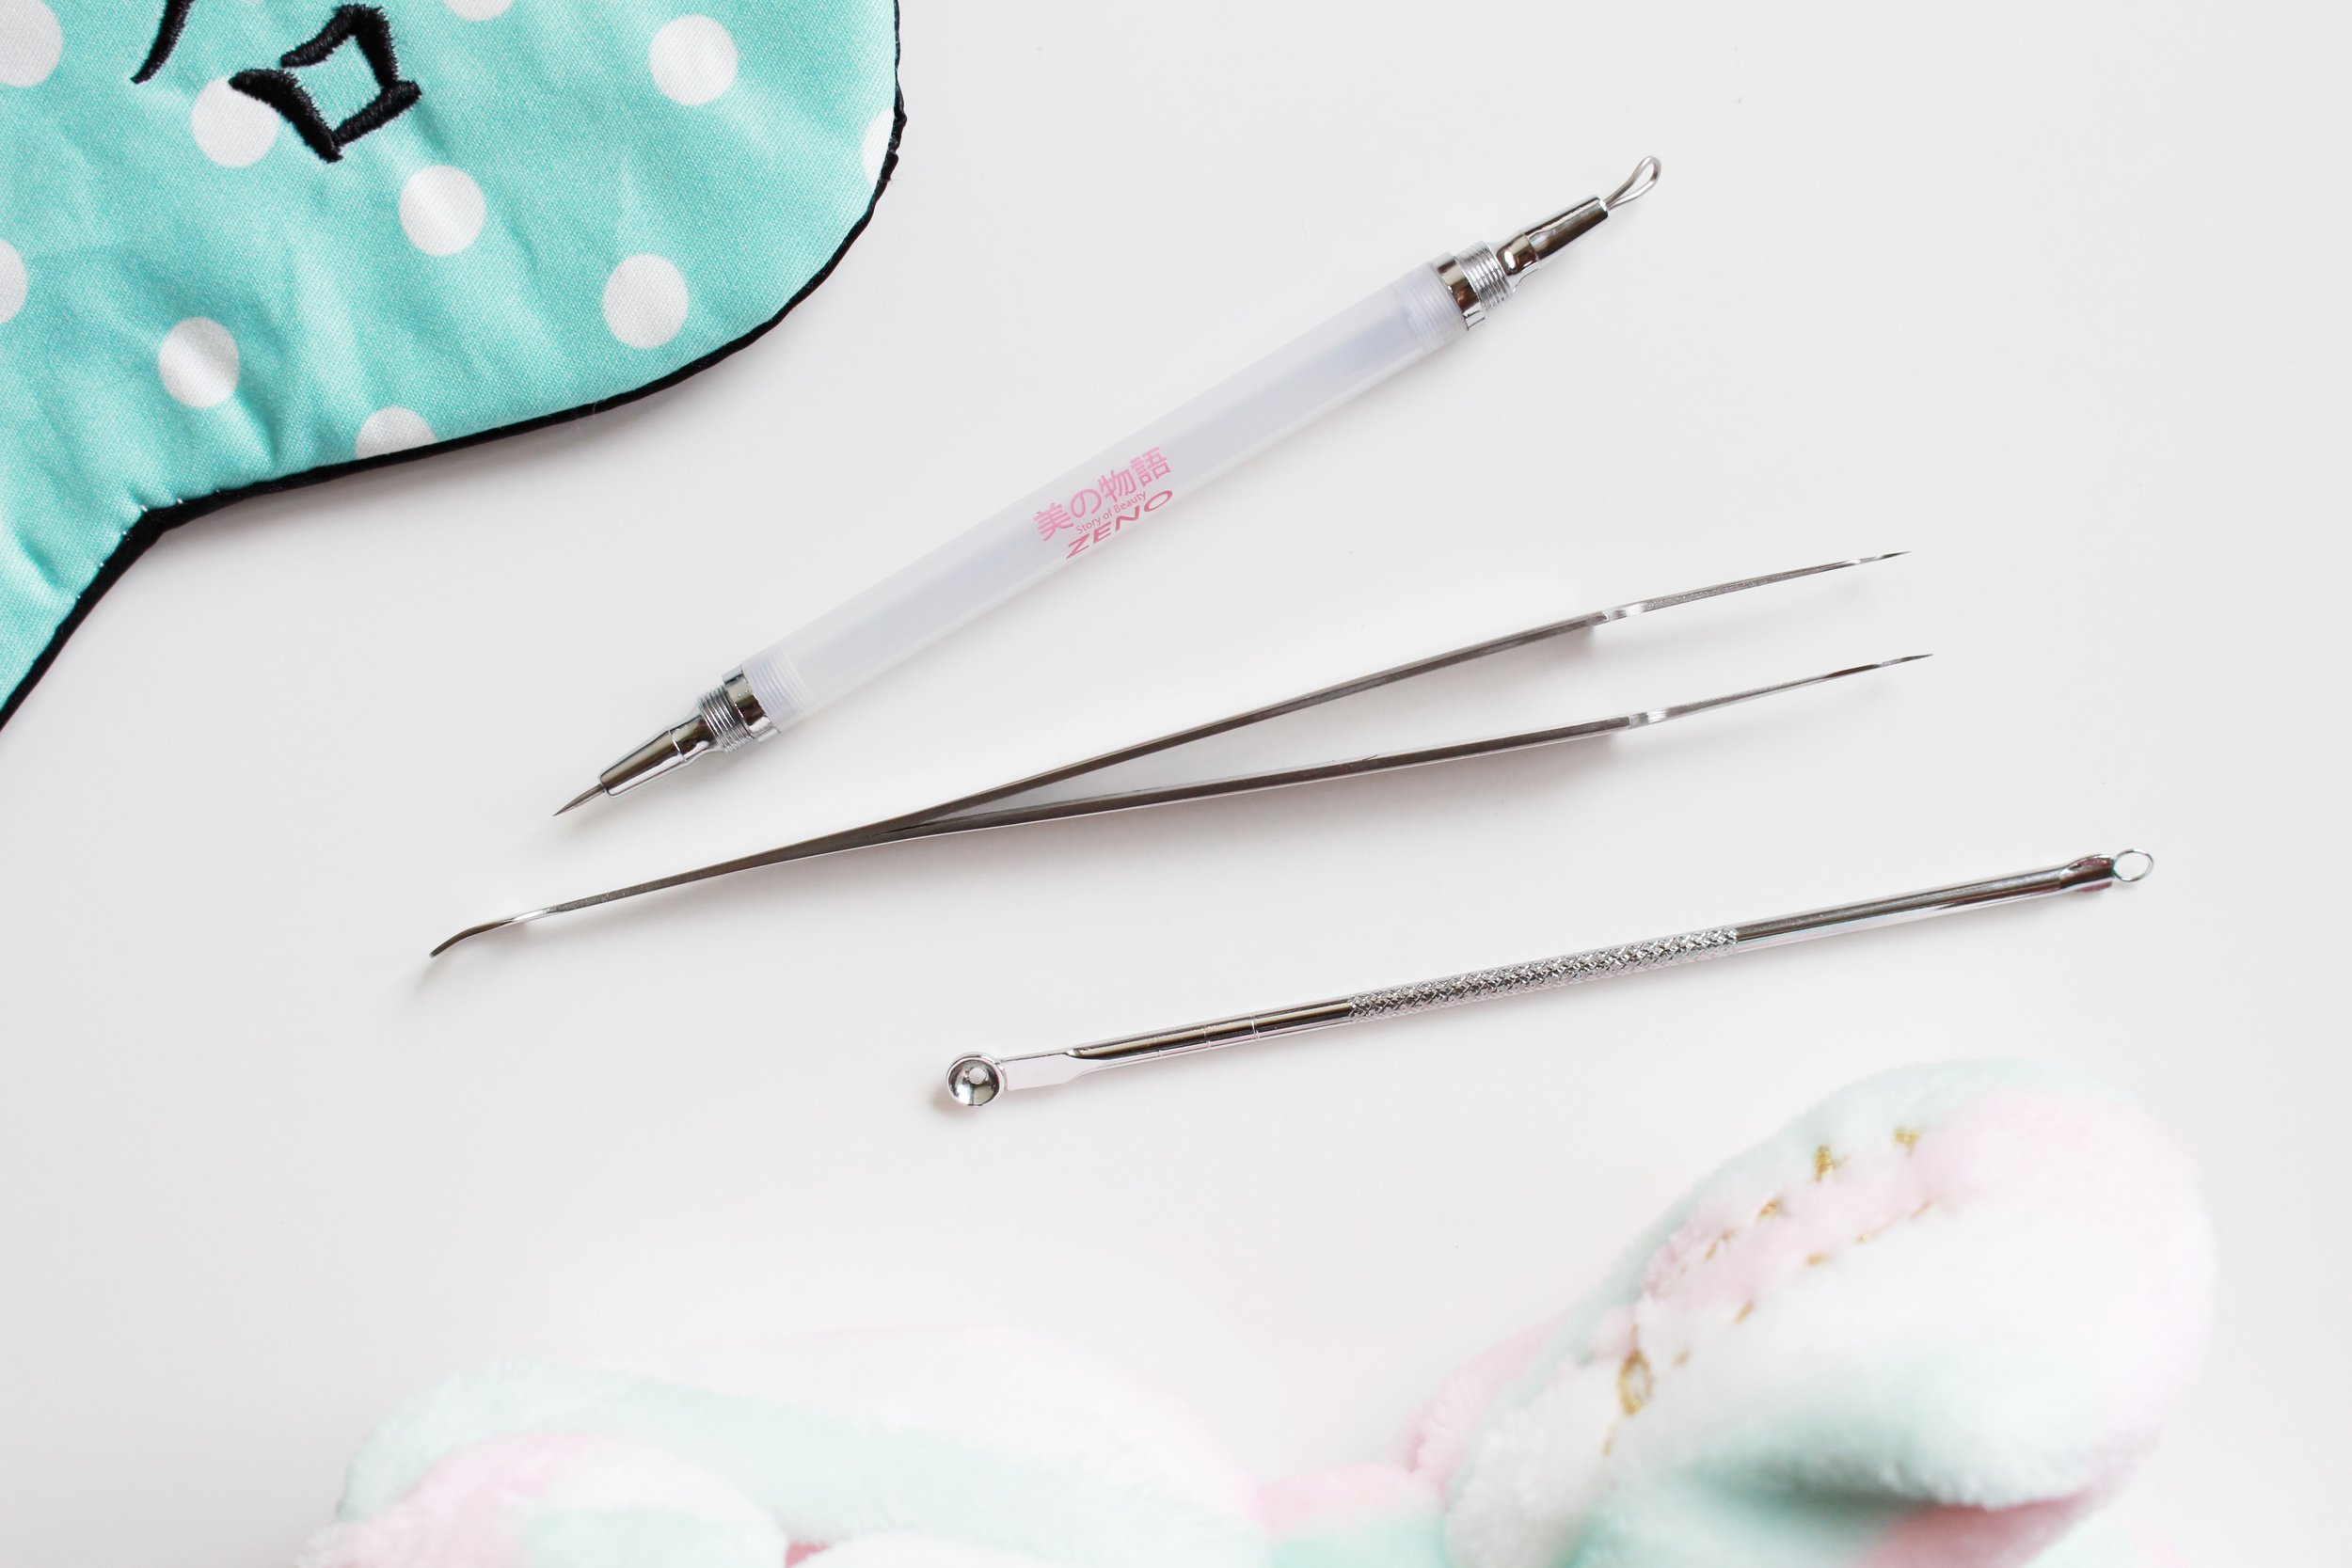
For the true nerd, it pays to acquire a few torture-like devices for popping pimples. I purchase them for less than 150 bucks. Here's a quick review of each:
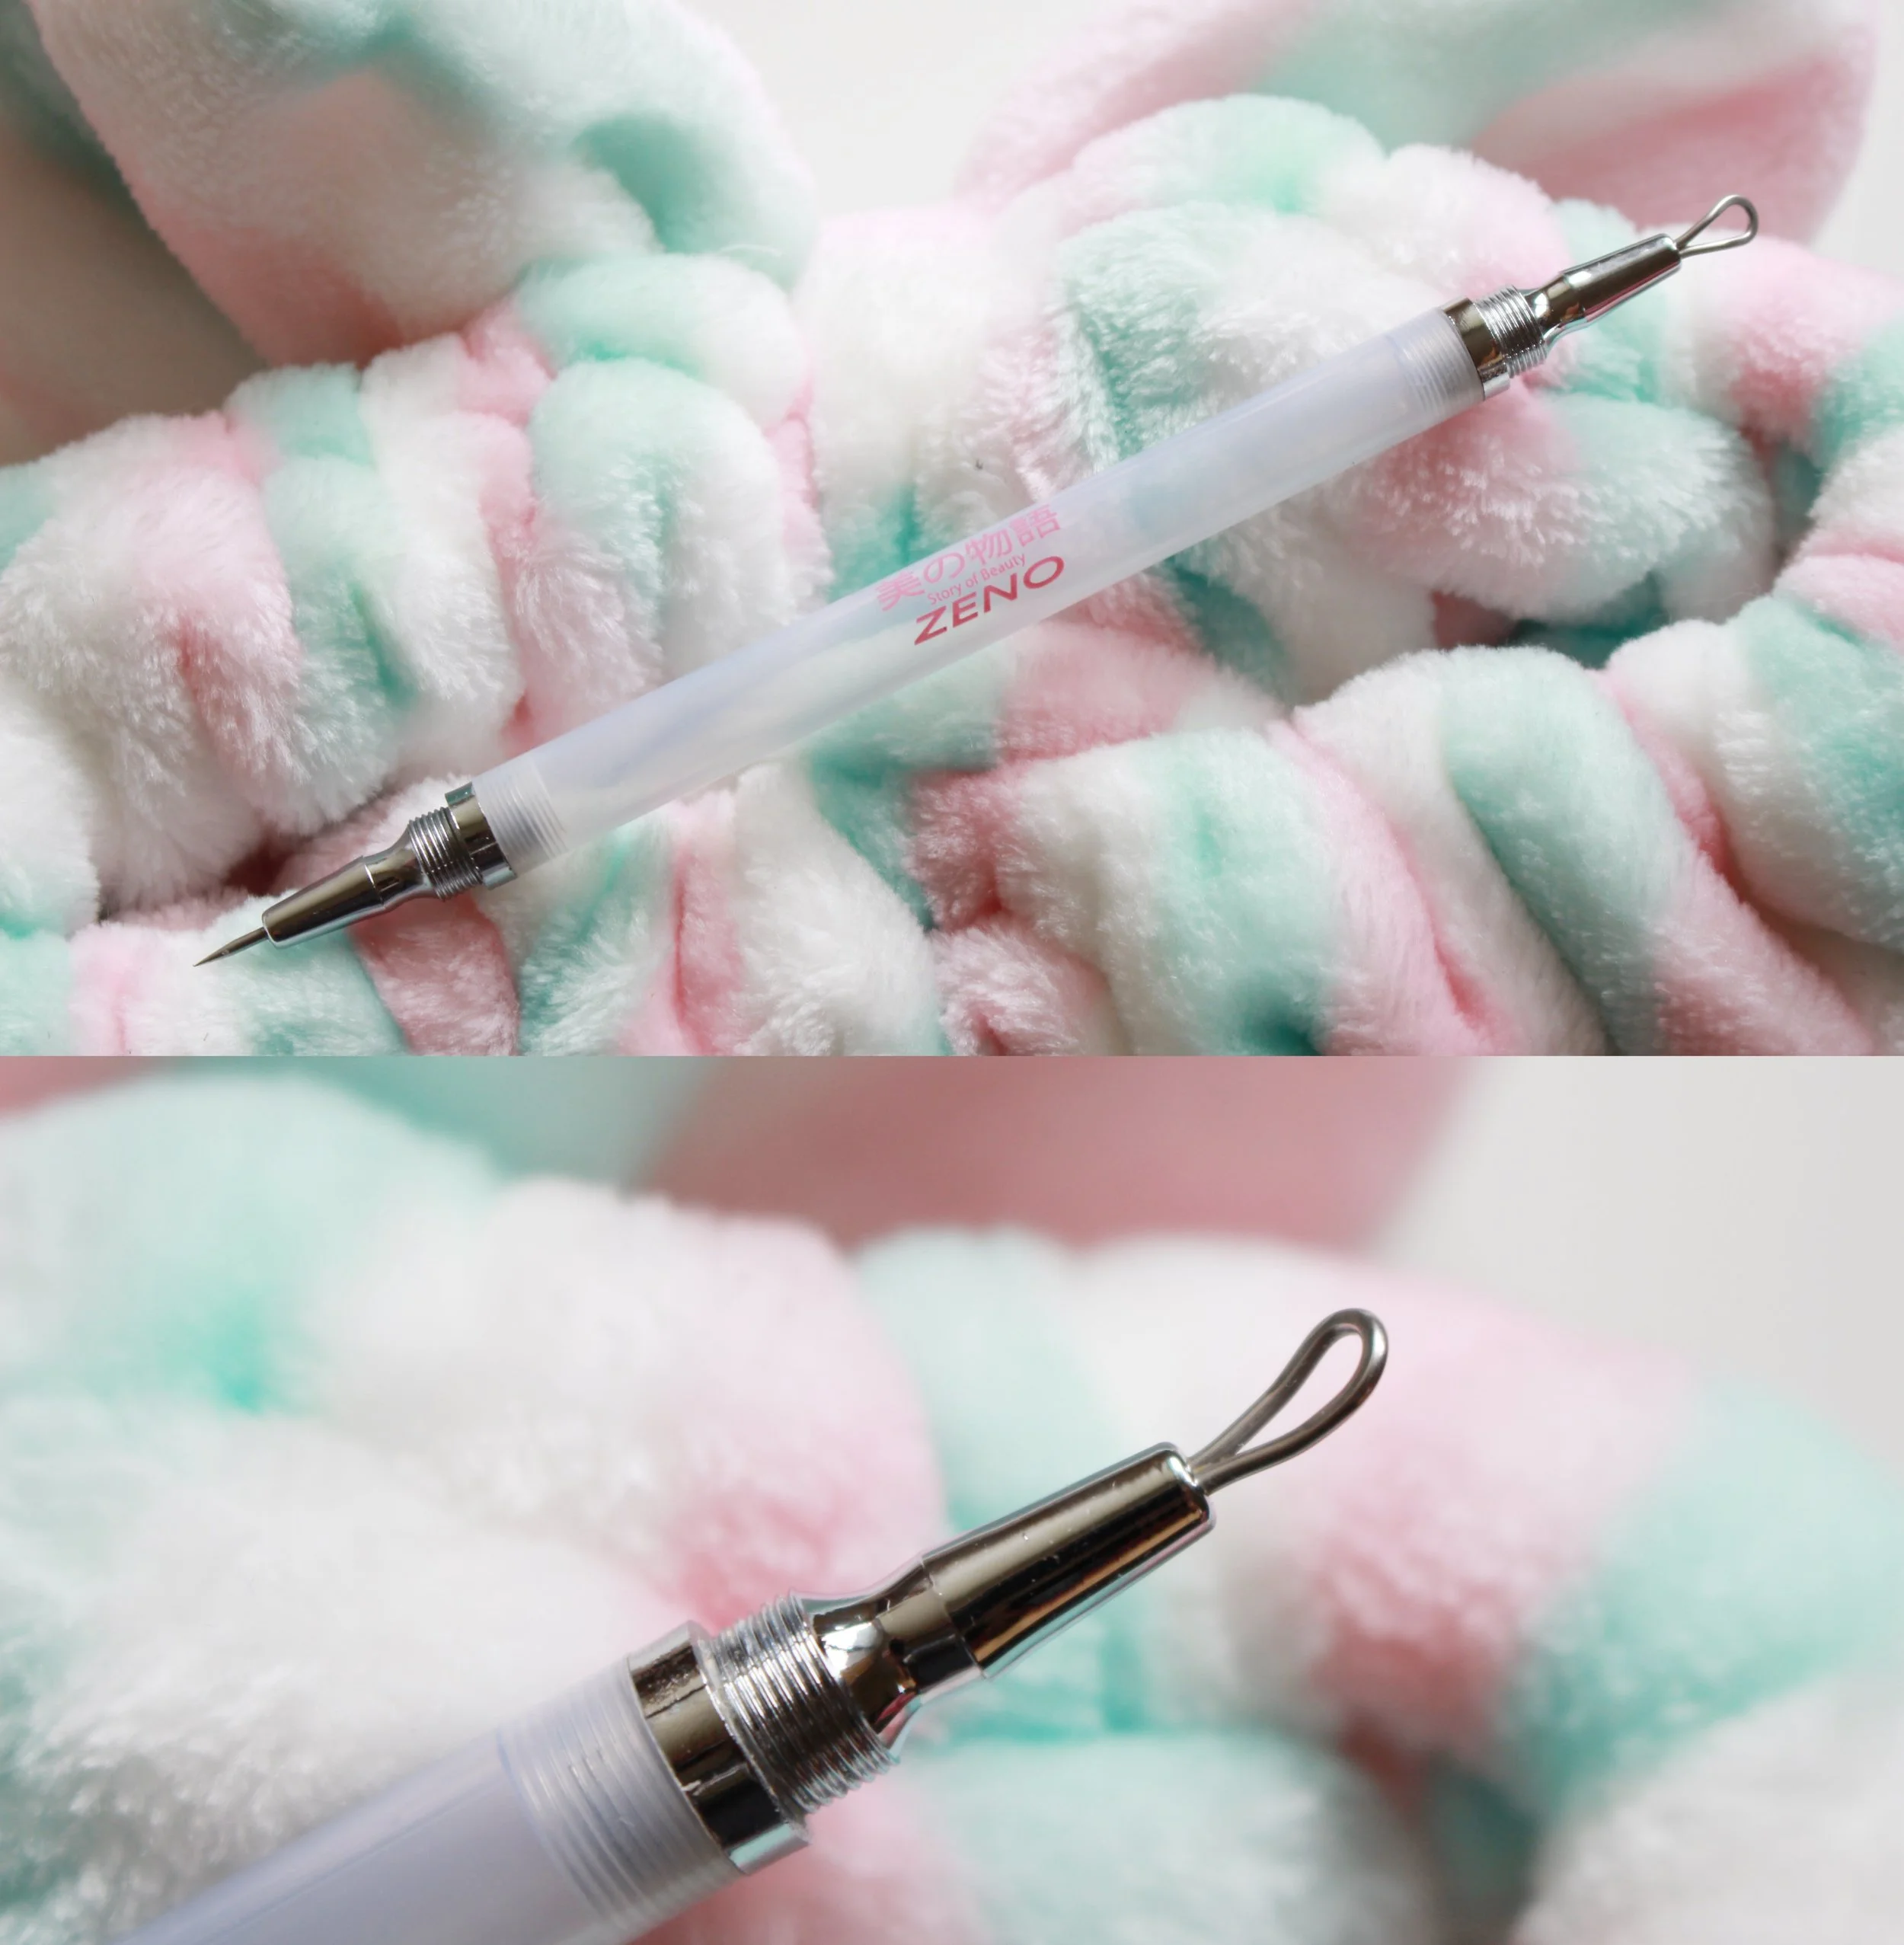
My favorite tool is the one with a wide loop that has a flat surface (labeled #1 in the photo). Since the metal is flat, it doesn't dig into my skin as much. I got this one from Hong Kong; I haven't seen it in the Philippines yet, sorry. Let me know if you have! I like that it also comes with a sharp pricker and that both ends can be screwed back in the plastic tube for more sanitary storage.
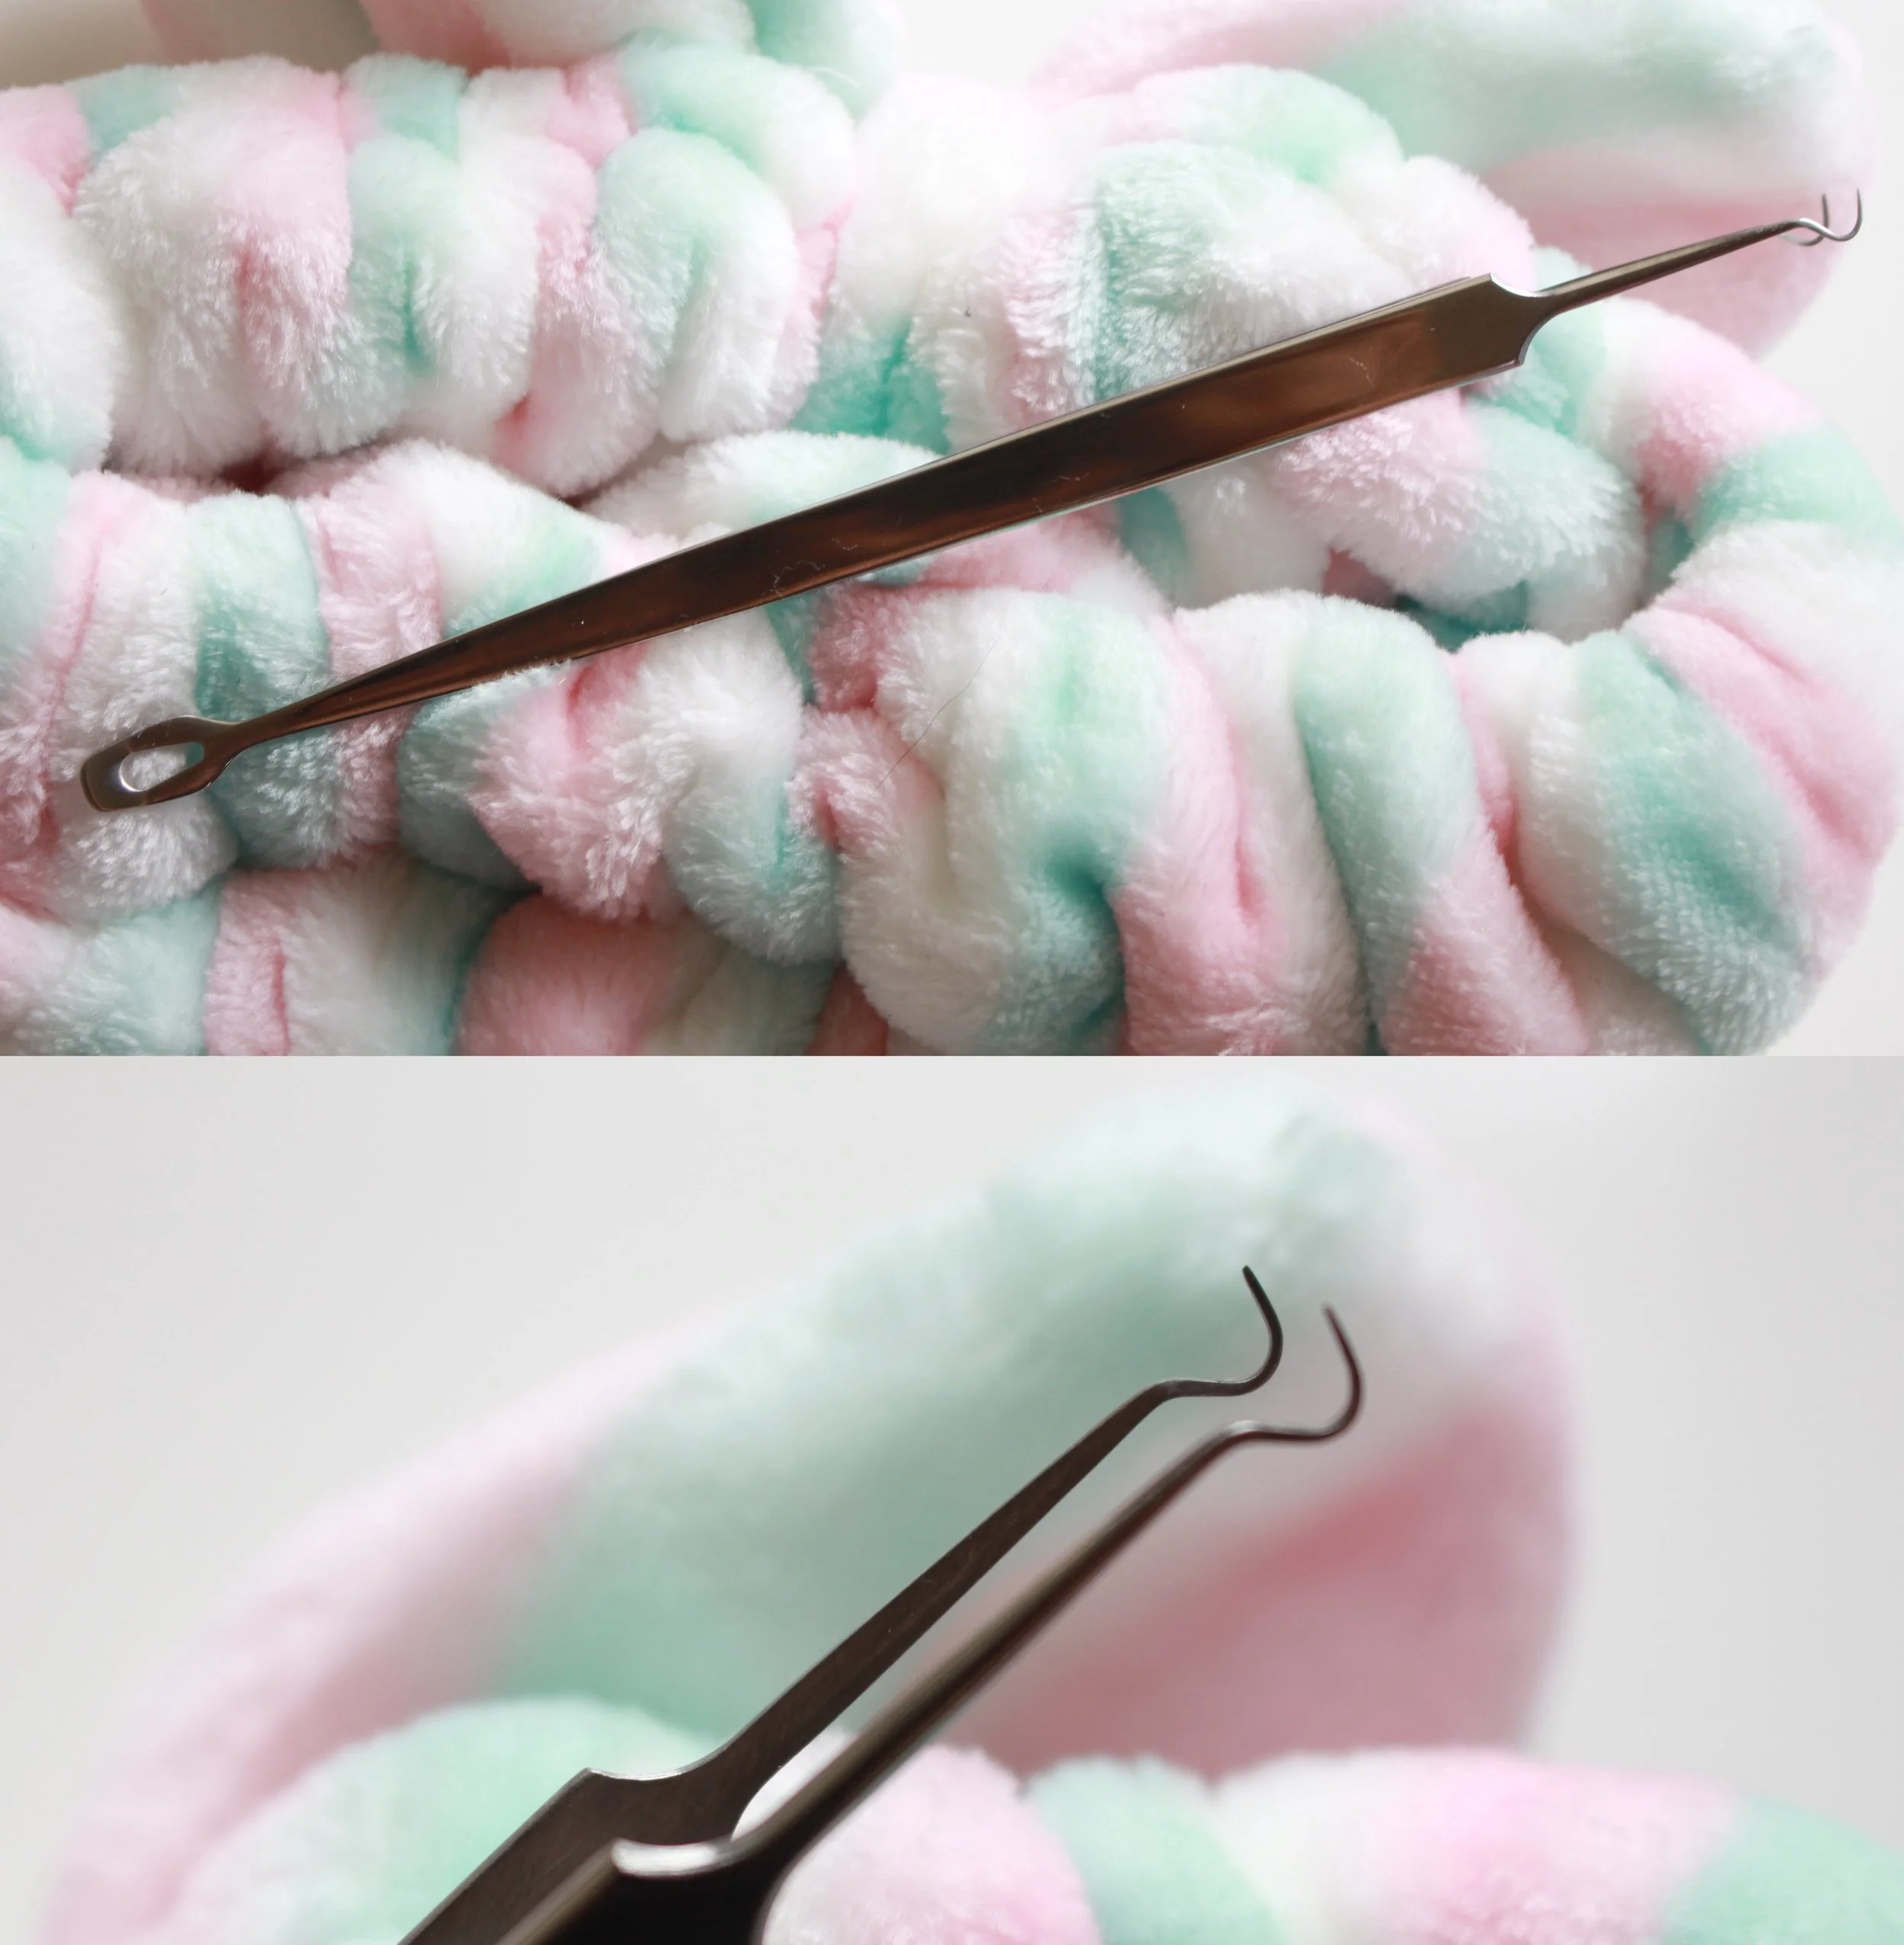
I recently acquired these forceps from Kuala Lumpur (labeled #2). It's ideal for tiny, hard-to-reach pimple blackheads/whiteheads and sebaceous filaments. I don't use this as often though as I prefer not to extract minor comedones unless I really have to. Let me know please if you know where this can be purchased in the Philippines!

My least favorite tool is the one with the thin loop (#3); it hurts my skin. I do like the small cup thing with the hole (#4); it's very useful when there's a lot of junk inside the pimple as it can press down the surrounding area. It's often too small though.
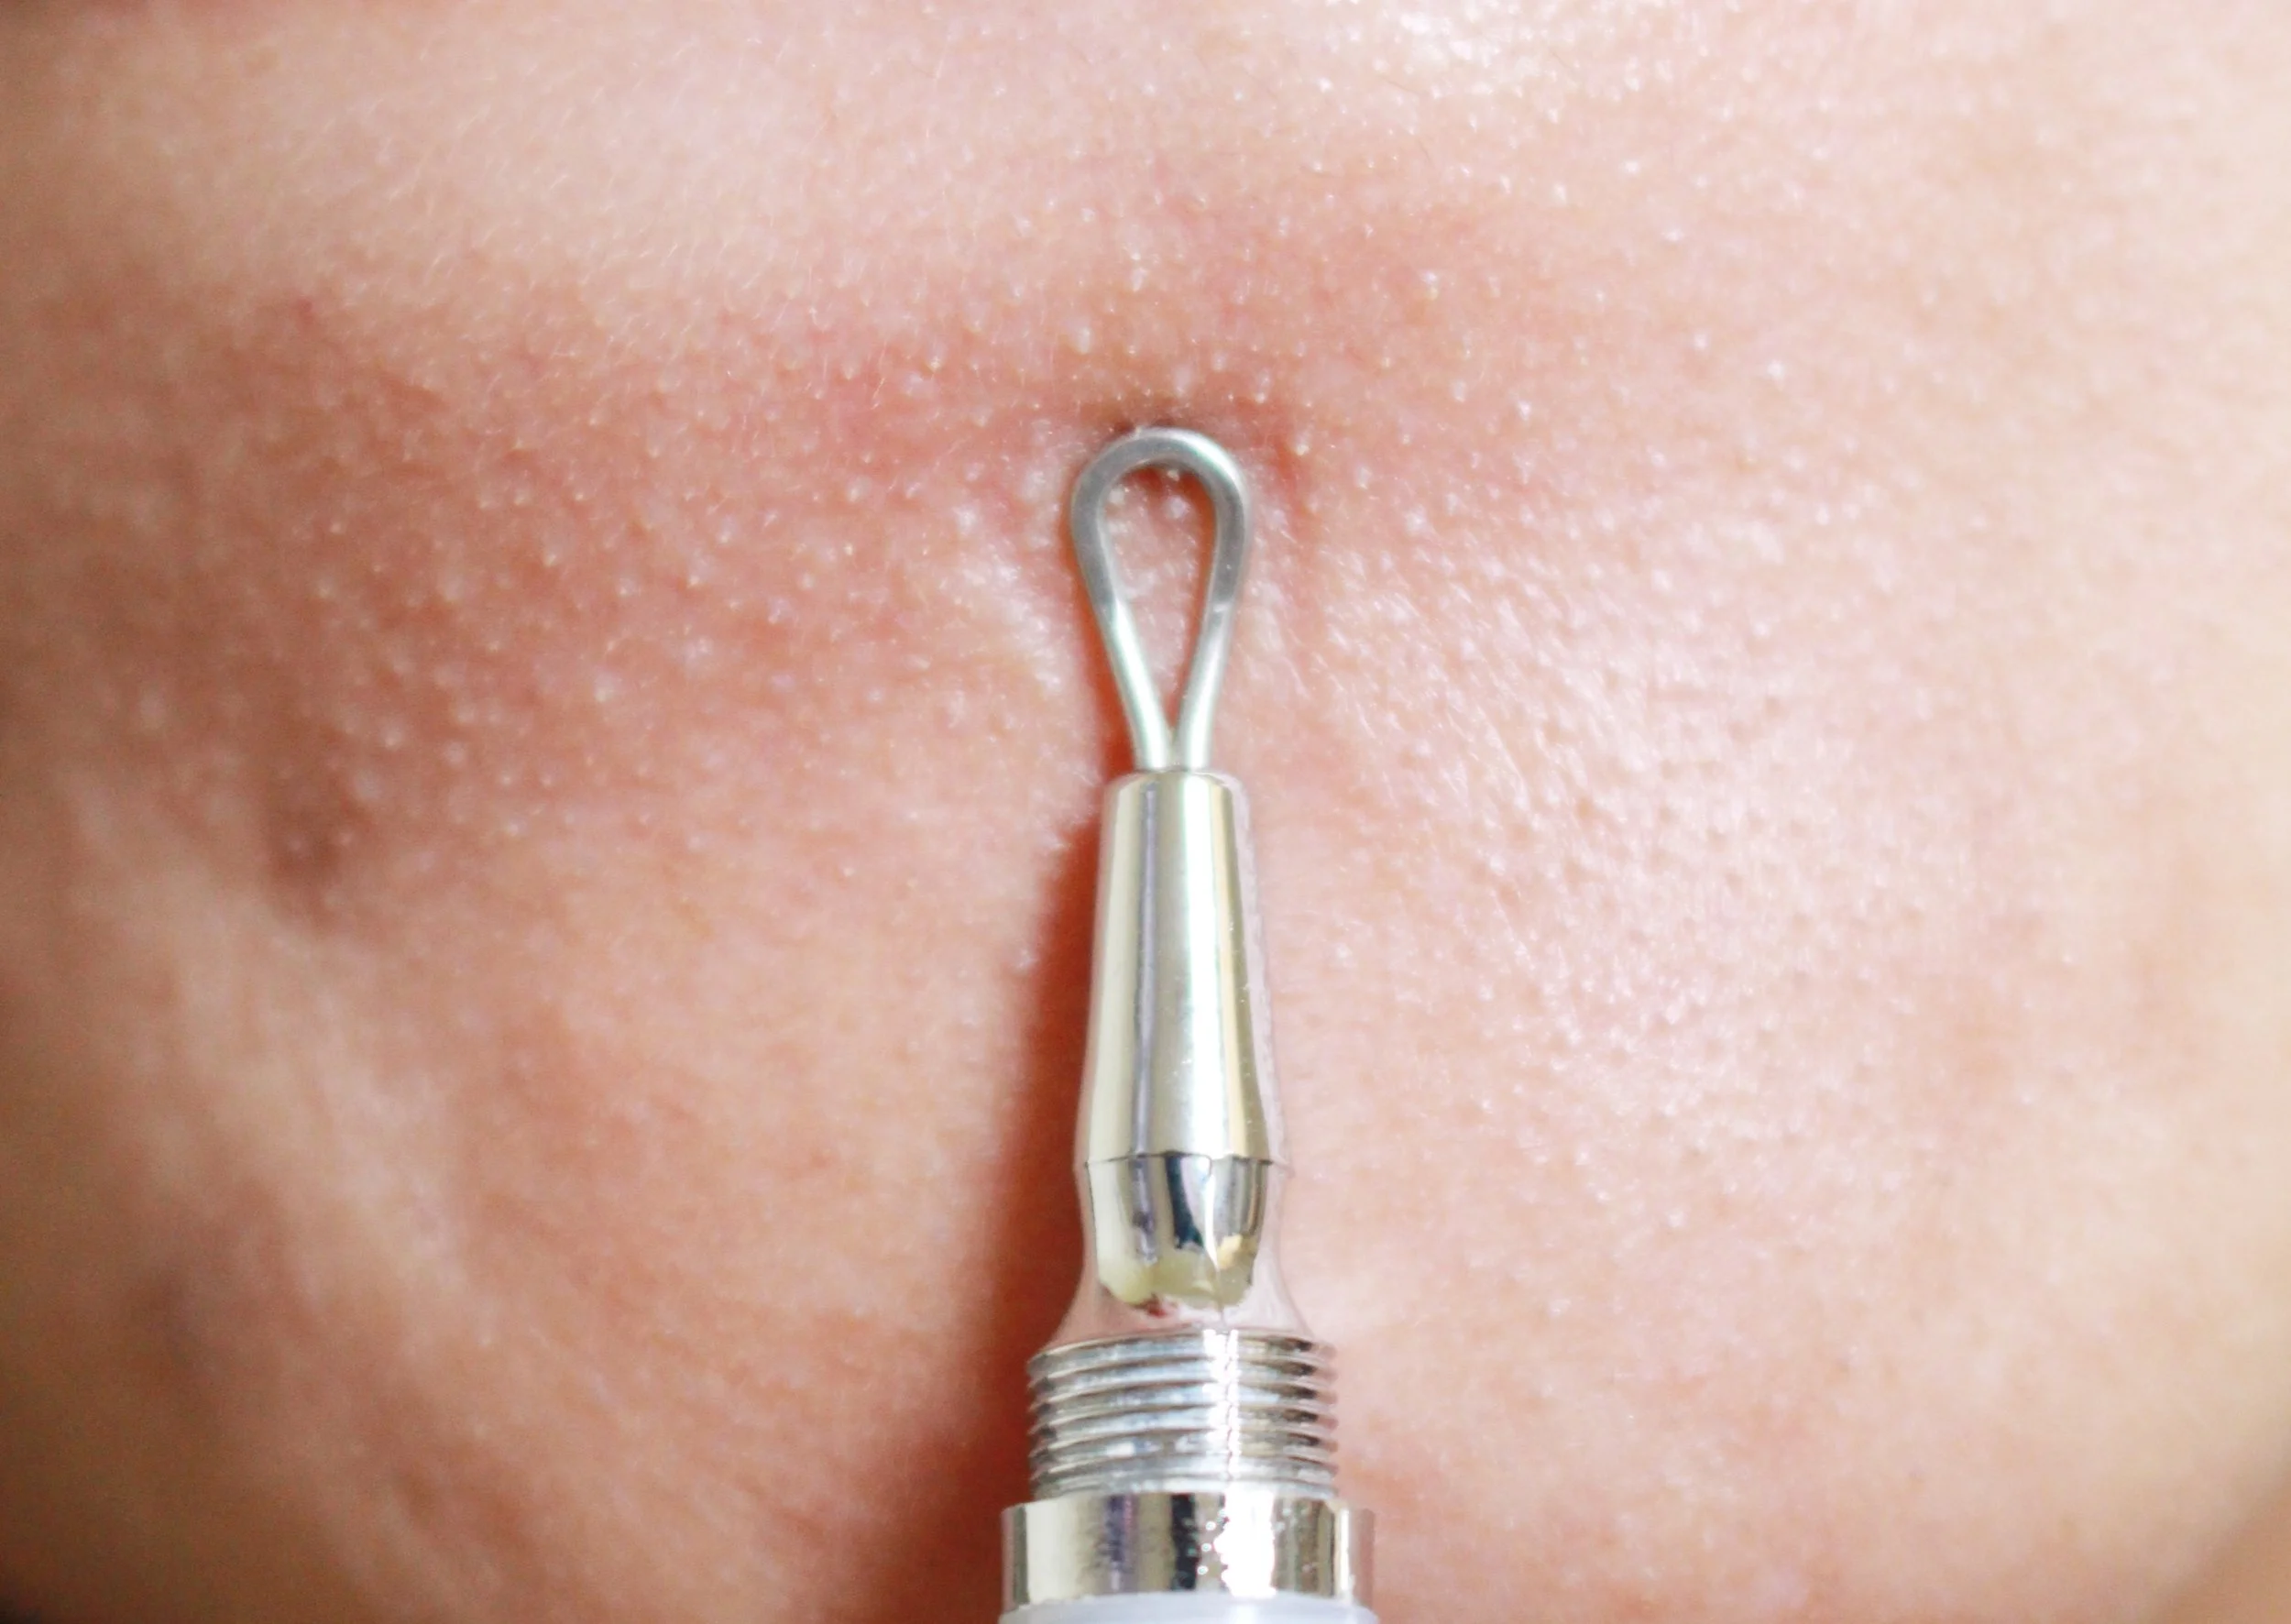
Step #4: It's time to pop! Place the head of the pimple right in the middle of your extraction tool then press the surrounding skin DOWNWARDS. Never squeeze it! Squeezing the pimple will damage a bigger surface area of the skin. Your goal is to minimize the trauma. Squeezing and scraping motions irritate the skin further and will extend the healing process, while causing darker blemishes. So always press down when popping. It also ensures a cleaner exit.
If the pimple is ripe but there's still some skin on top preventing the pus from exiting, you may prick the top gently before popping.
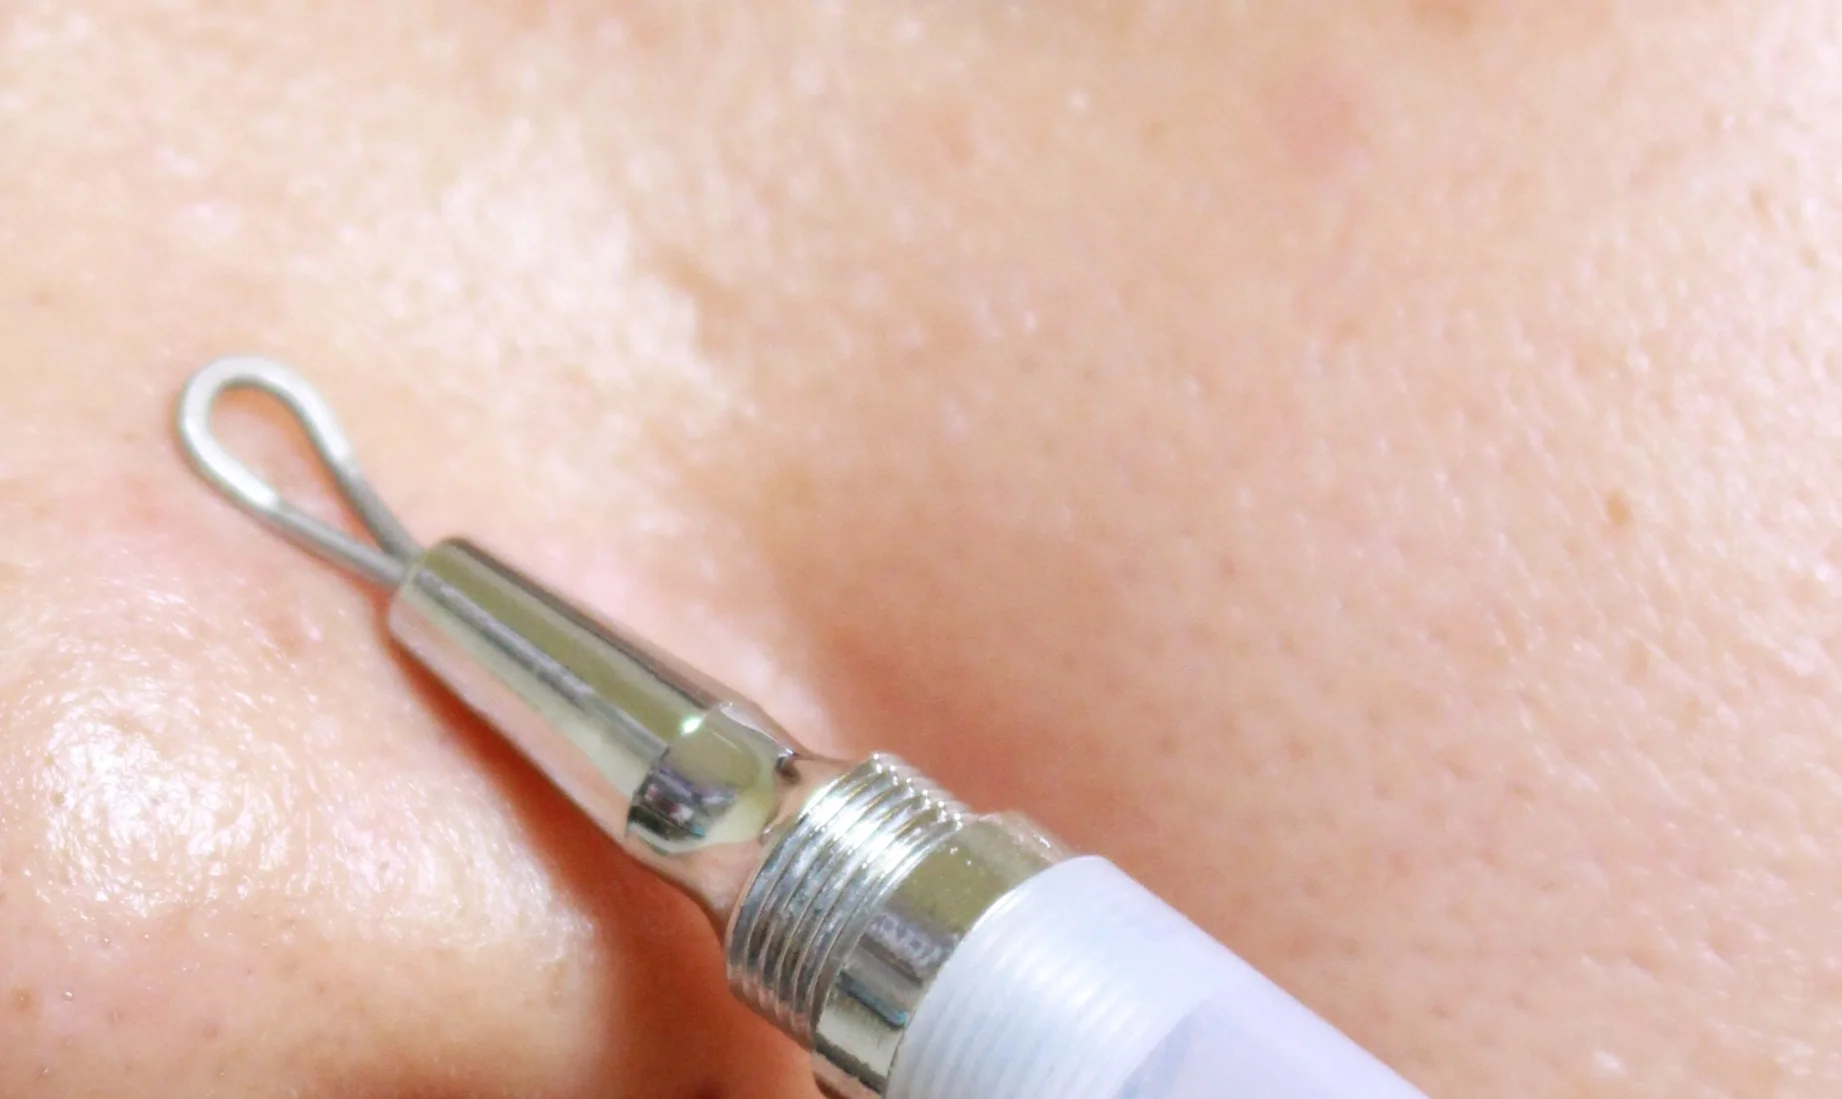
Sorry we don't have fresh pimples for this demo!
Step #5: Drain all the liquid that comes out after the extraction. This liquid is called serous fluid, which our body makes when there's an infection. You'll want this all out so there is a lesser chance of infection and cross-contamination to other parts of your face. Just use a cotton bud or pad to absorb the fluid. You may then disinfect the area with a quick wipe of alcohol.
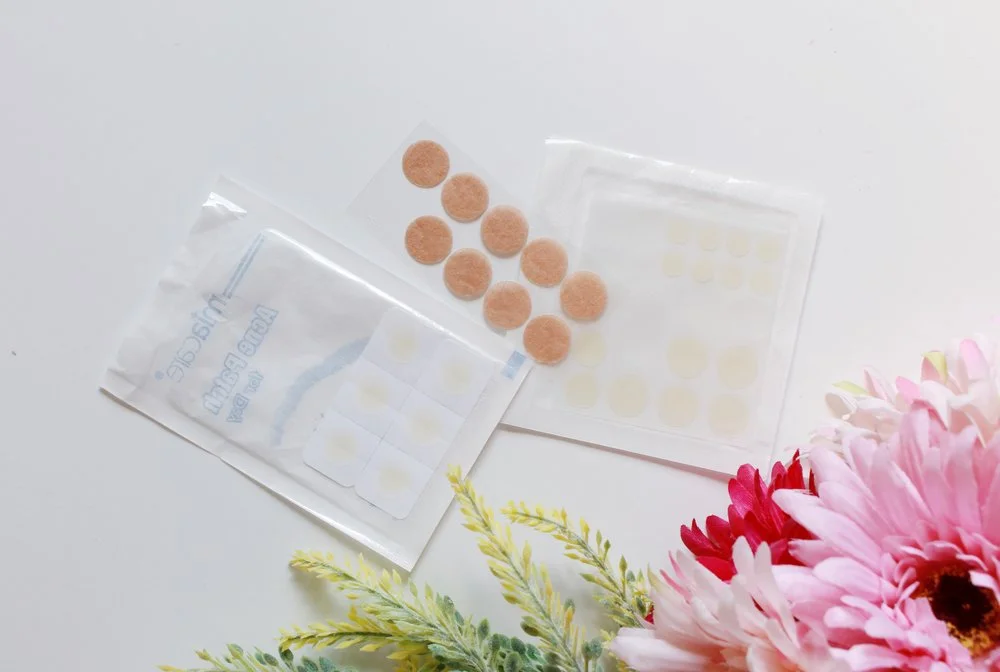
Step #6: Apply a colloidal pimple patch. These type of bandages are actually used to drain fluid from gunshot and surgery wounds! They're made of special polymers that absorb fluids so that the affected area remains generally dry and protected. Using a pimple patch will keep away further infection (useful if you can't help touching your face) and hasten the healing process. I've personally noticed that my blemishes are less dark when I use a patch on popped pimples. I still get 'em, they're just not as appalling.
We reviewed a few patches here! My personal faves are the ones from CosRX. Just keep on applying the patch every 12 hours until the area is dried up.
After that, you can move on with your life. In the meantime, read up on some of our acne prevention and management posts to keep pimple sessions to a minimum - if any! Let me know if you have questions!