

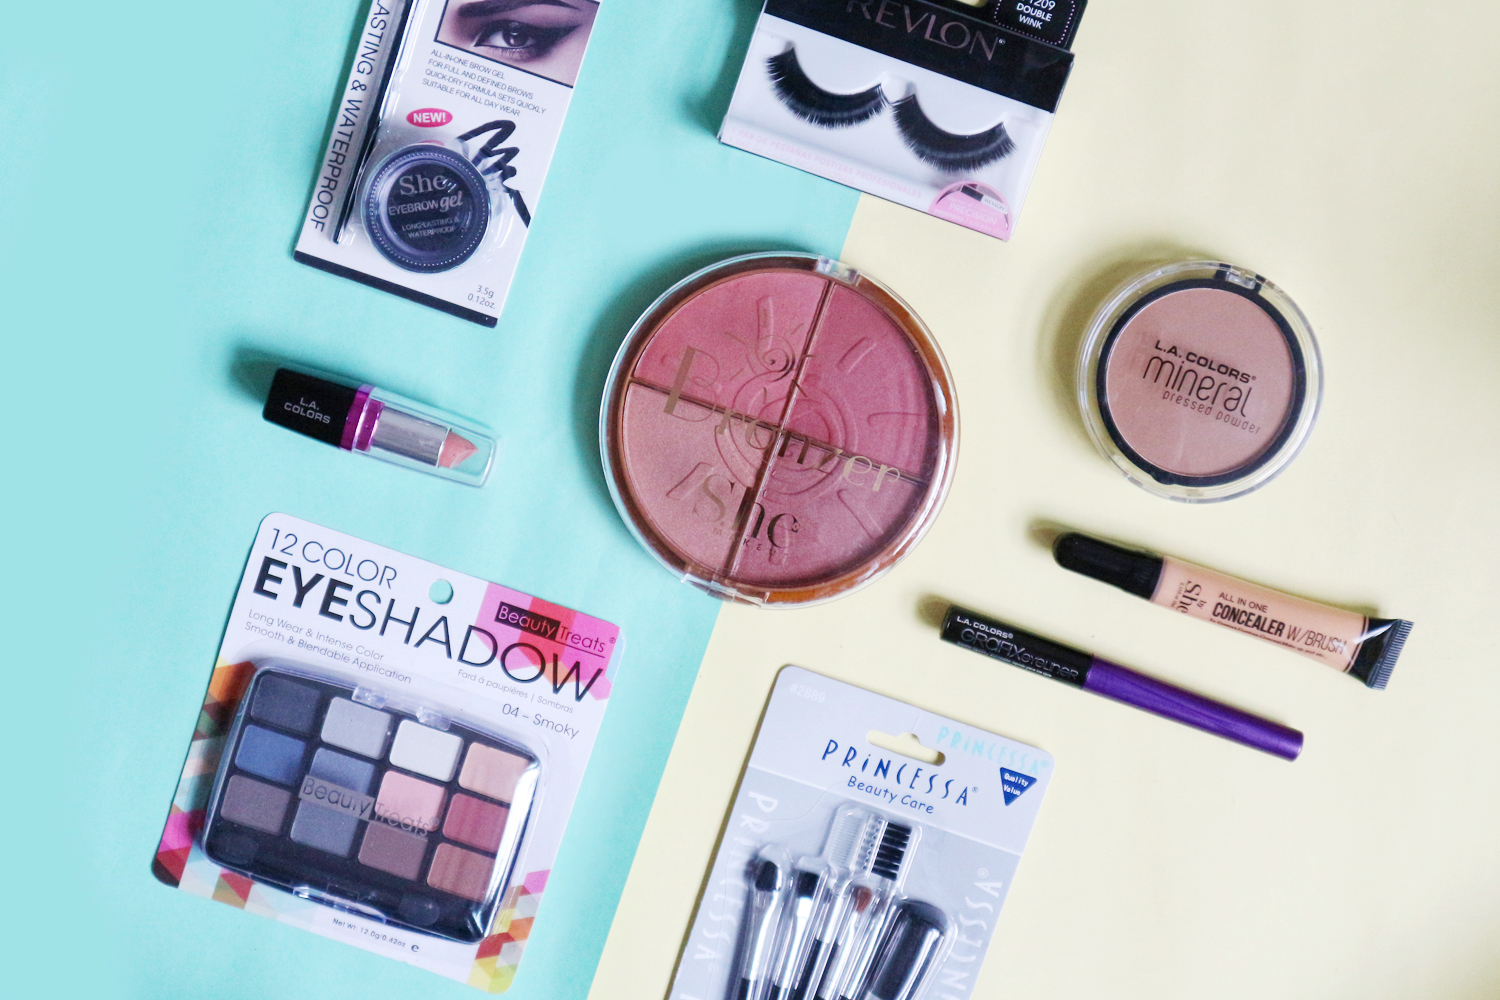
What P1,000 worth of Dollar Store makeup looks like on my face
As promised, I took my Dollar Store makeup haul and put it to the test! I was both excited and nervous about doing this as I’d never tried any of these products before. I was determined to make it work, though, no matter what it took. Can I do makeup magic with a P1,000 budget? Will I survive this challenge?
Step 1: Concealer
I couldn’t find a liquid foundation that matched me in the store so I figured I’d just use the She Concealer (P89) all over my face. I started buffing it in with the largest brush from the 6-piece Princessa Tool Kit (P99). Instant regrets because I did not sign up for a cat scratching!
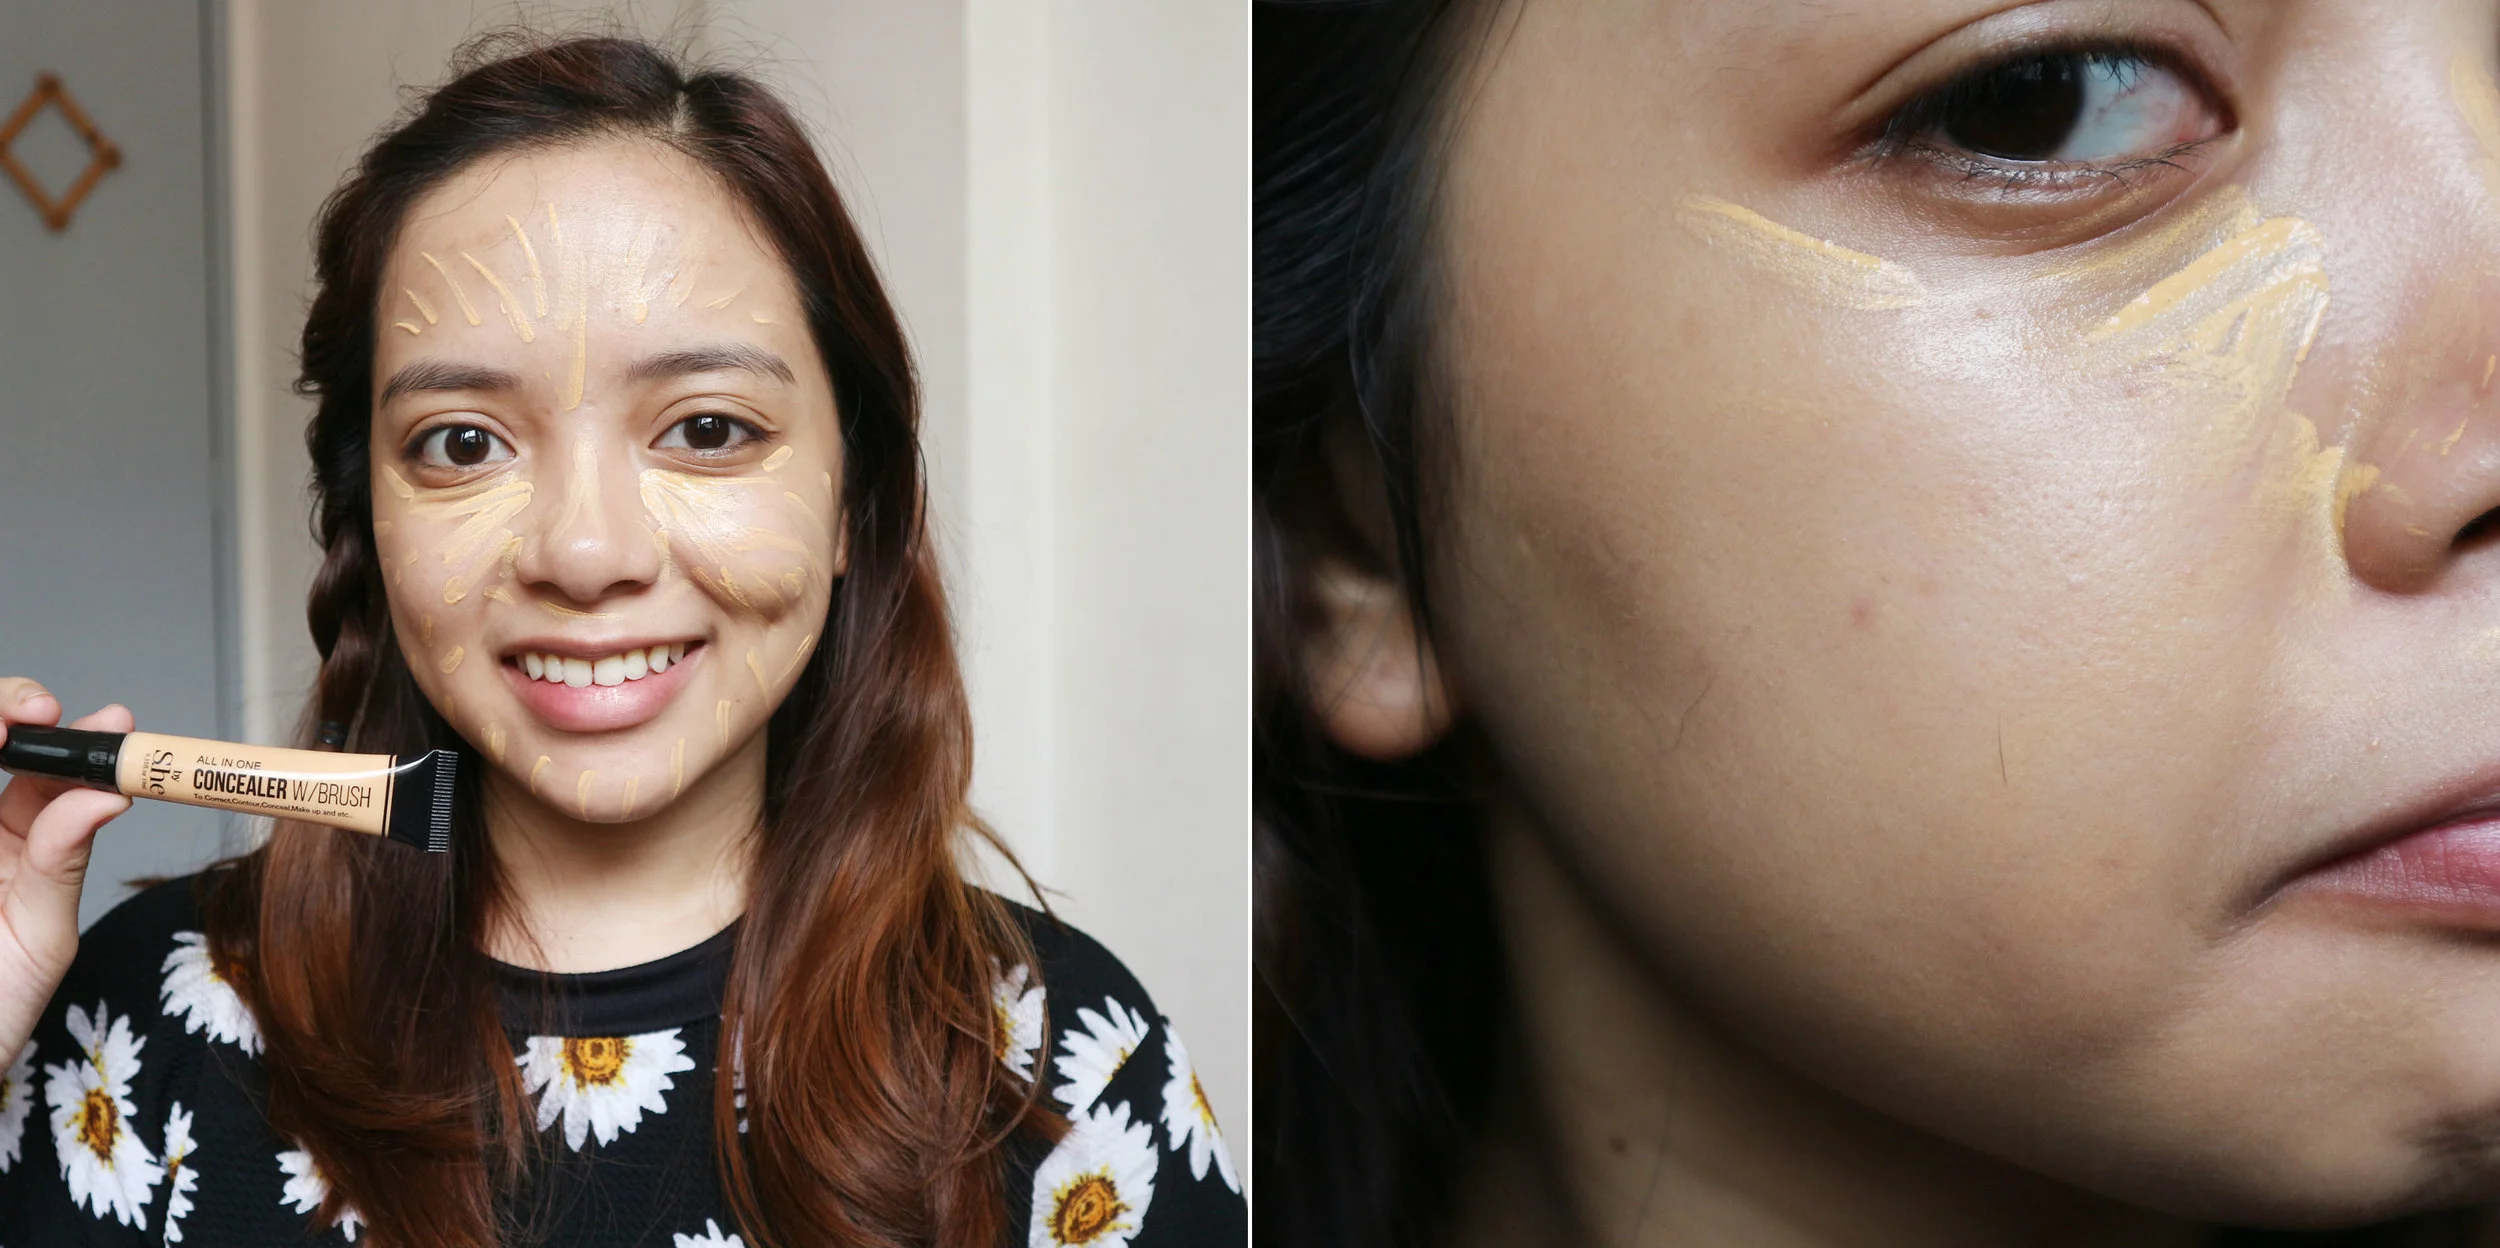
This concealer smelled like a Pentel pen. And nope, the brush ain’t working out.
Aside from irritating my skin, the bristles kept falling off! I had to switch to the flat top brush I scored from my Divisoria haul to give the product a real shot at working. That said, the concealer wasn’t half bad at evening out my skin tone but I had to go in for a second layer. It was still far off the level of coverage I normally wear but I also didn’t want to cake up my face this early on.

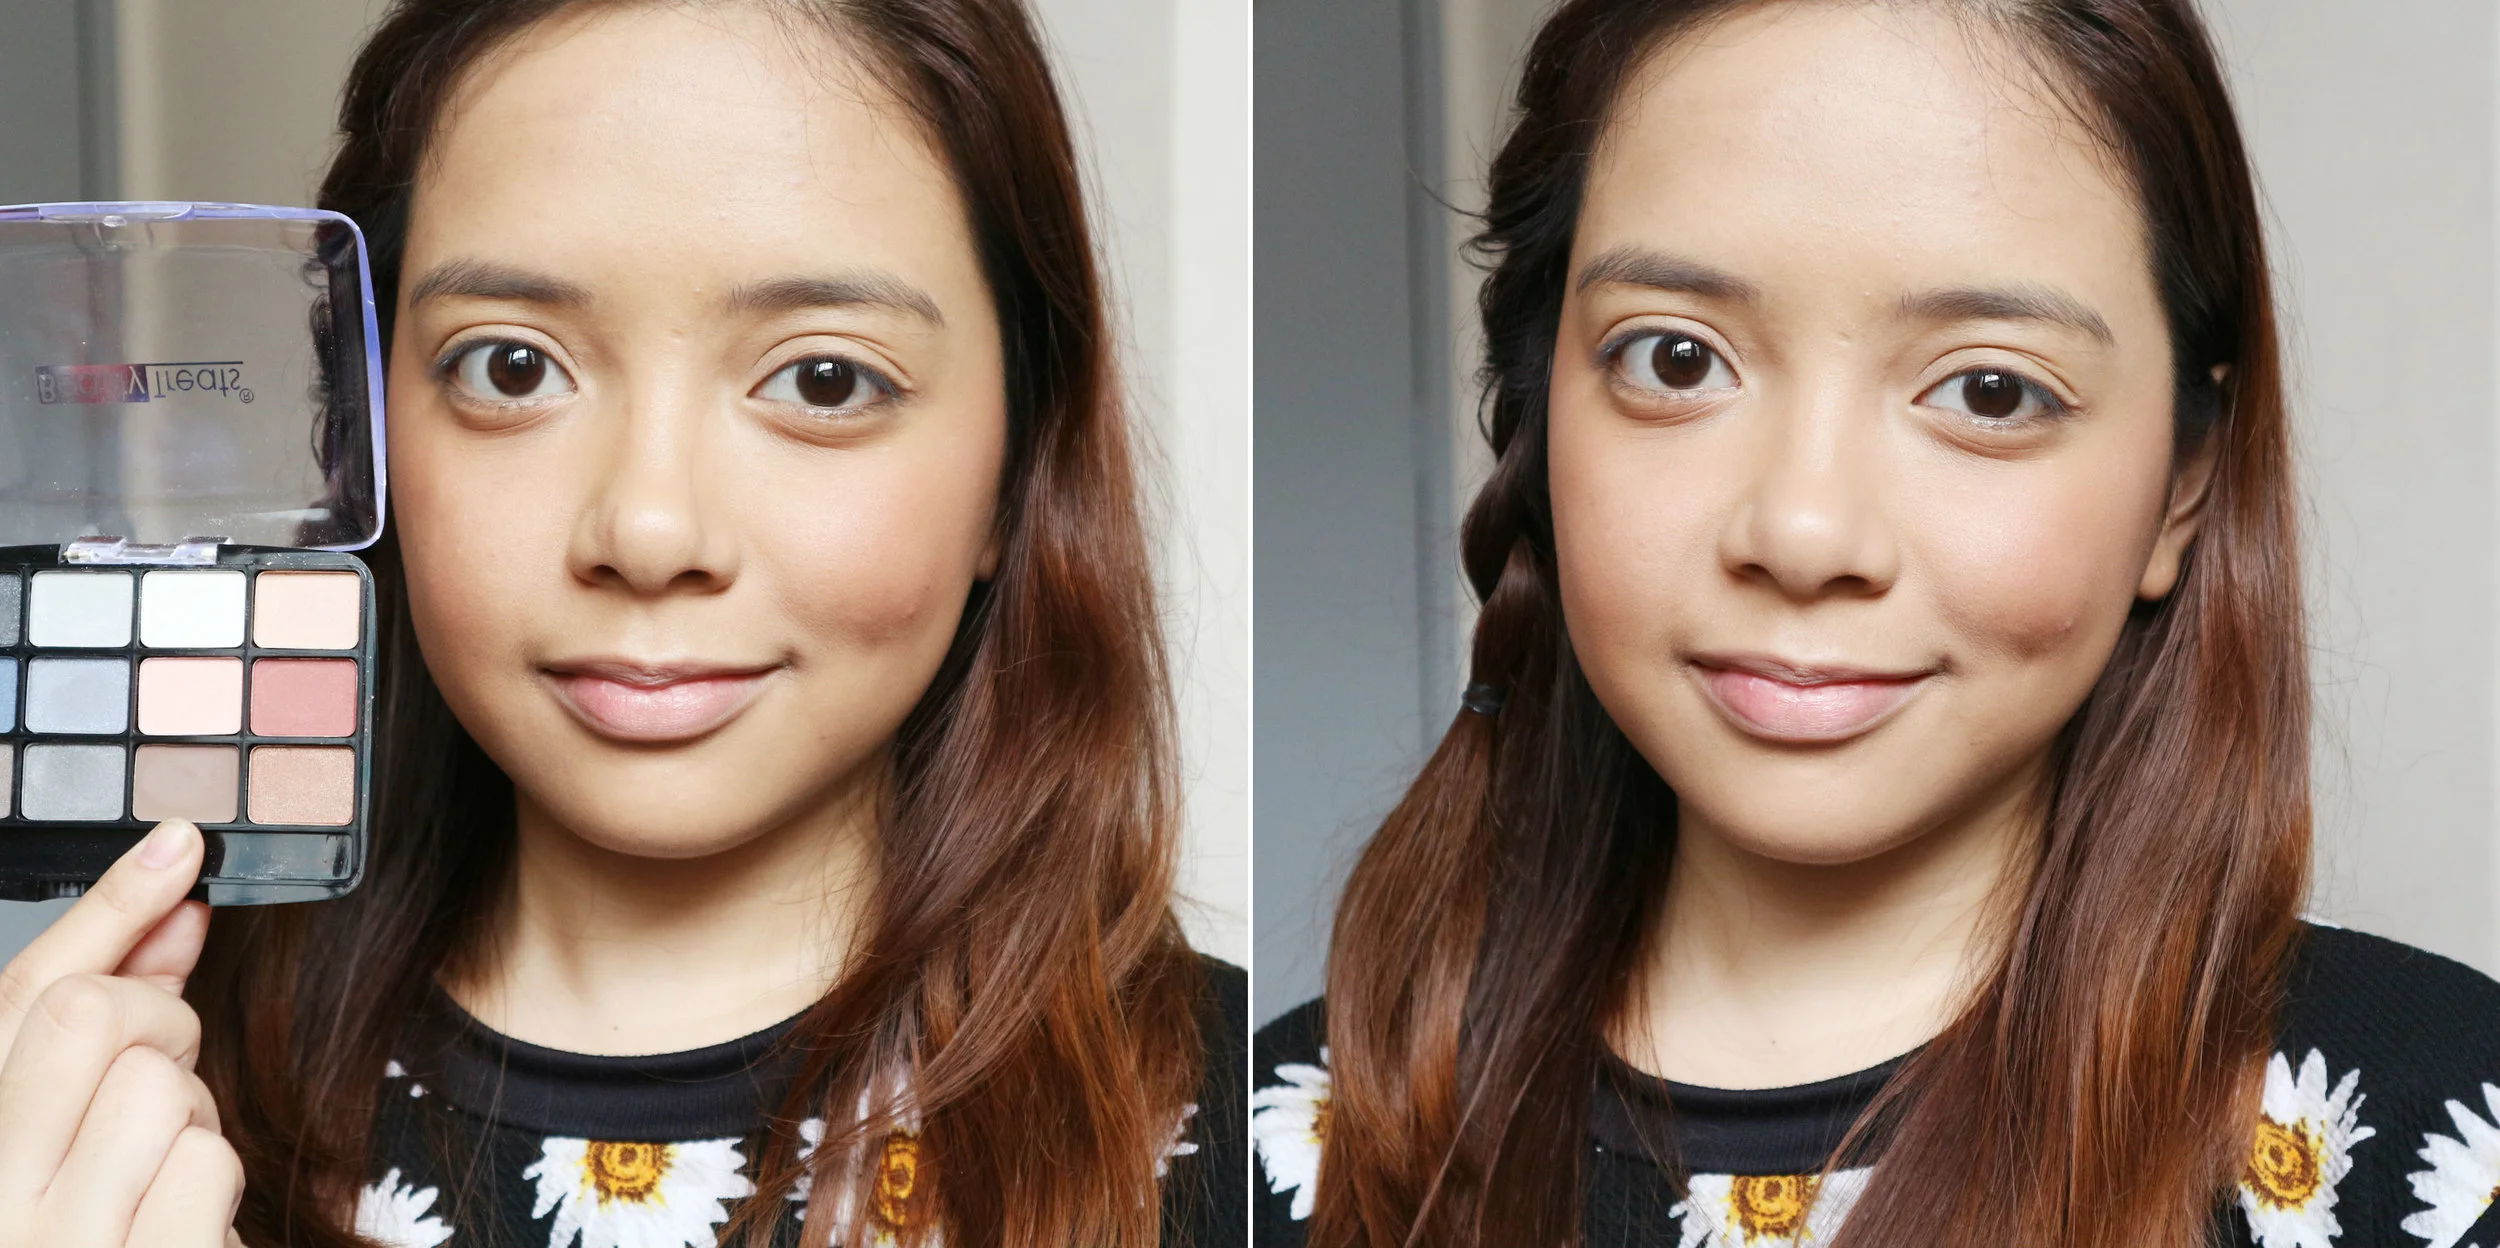
What it looked like a single layer (left) and a second application (right)
Step 2: Powder
The L.A. Colors Mineral Pressed Powder (P149) turned out to be a patchy, blotchy, tanned nightmare!
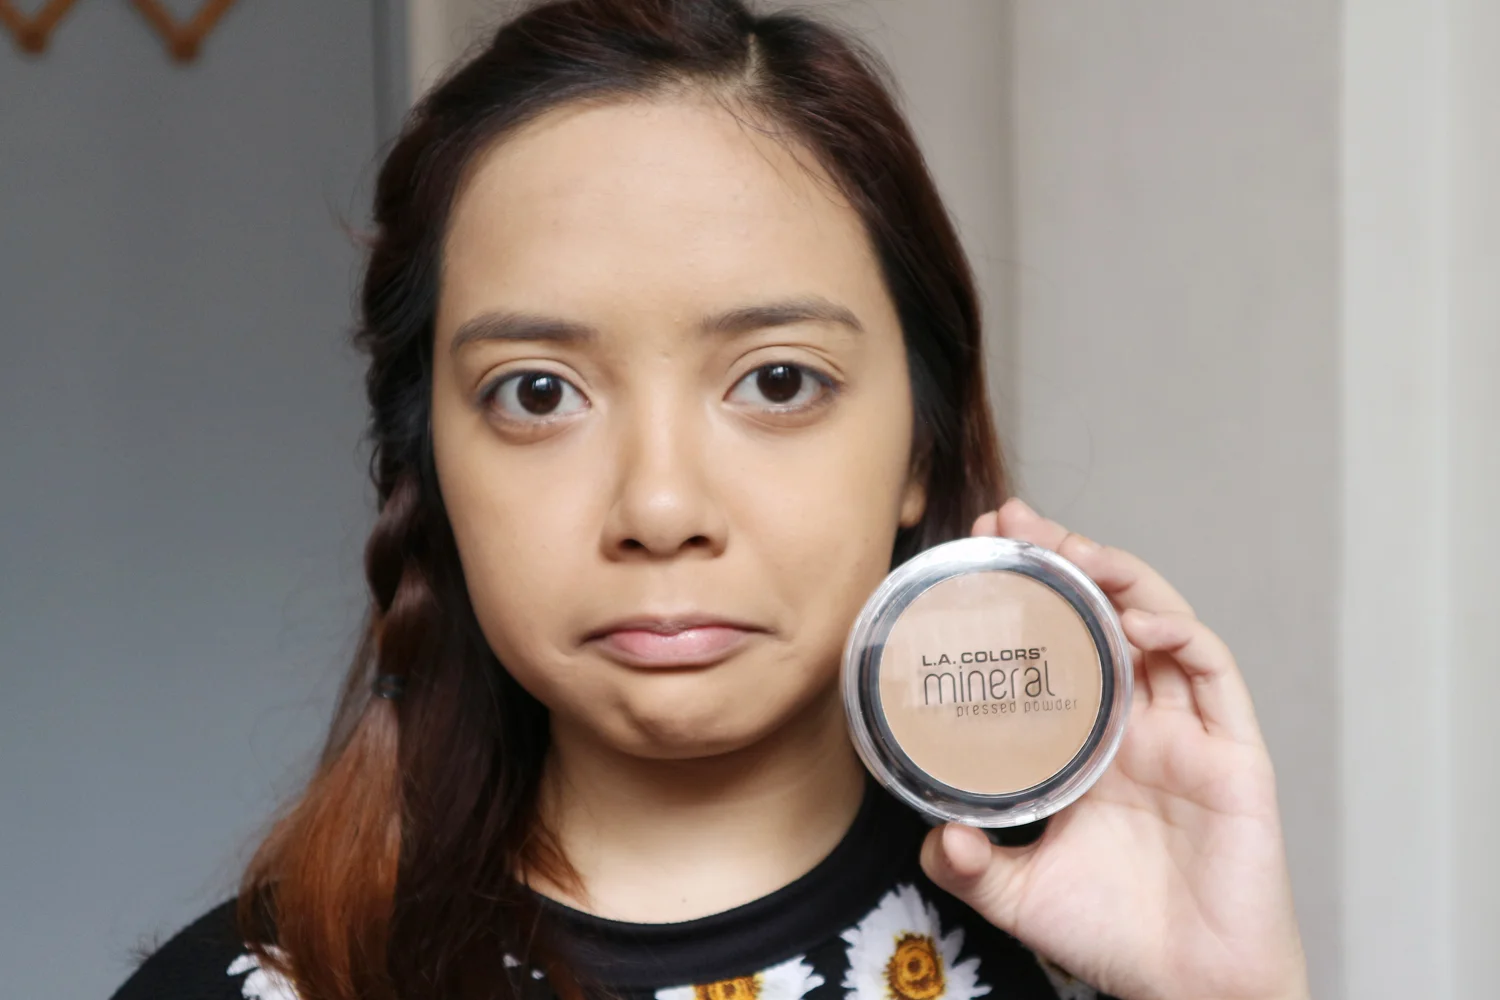
But Sand is normally my color for everything!
Okay, so this is partly my fault because I picked up the wrong shade. In my defense, Sand is usually a light-medium shade with yellow undertones but this definitely wasn’t it. I had to blend like a mad woman to diffuse what looked like a messed-up tanning job. That took a while but I was able to save my canvas.

Blending is my cardio
Step 3: Blush
I swear on my grave that I just lightly dipped the brush on the She Bronzer Palette (P129) and it still came out like this. I even tapped the excess product off but here I am, looking like a perfectly ripe tomato. This blush did not want to blend and practically emphasized every single pore on my cheek! I tried to tone it back down with powder but it wasn’t working so I gave up five minutes later. I disturbed my concealing job to try to get this blush to look less patchy, to no avail.
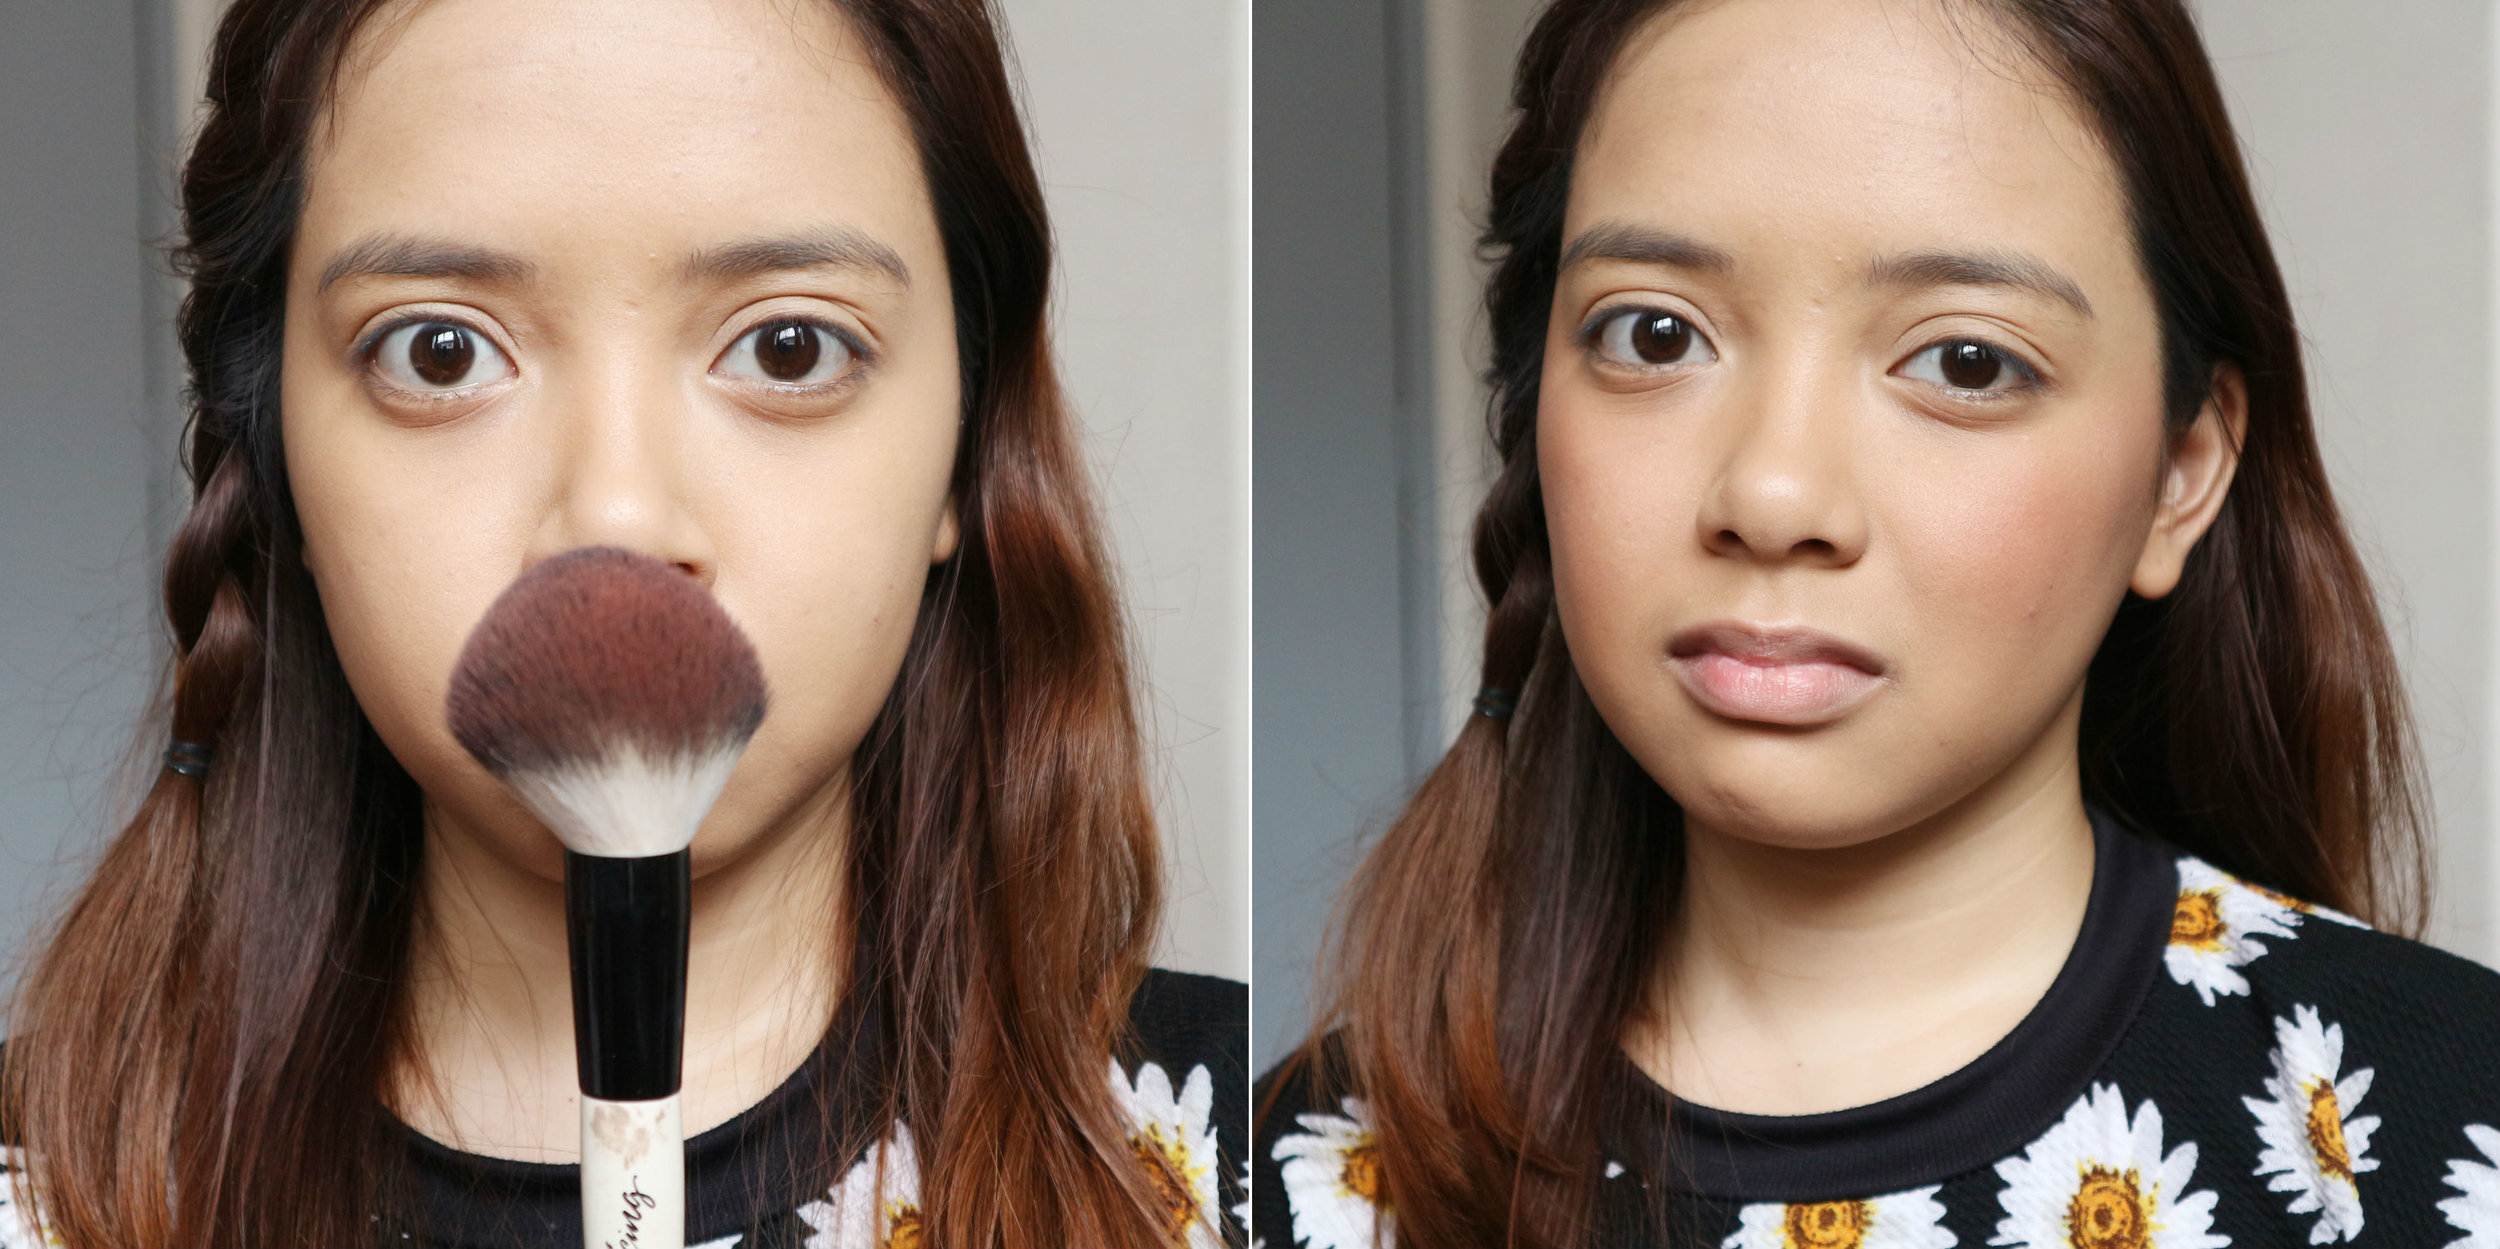
What the hell have I done
Step 4: Contour
I was so done with that stubborn bronzer palette so I switched to the Beauty Treats Eyeshadow Palette (P99) for contouring. Luckily, there was a cool taupe shade which worked out for my nose.
My nose is more high maintenance than you can imagine
Step 5: Eyebrows
The She Eyebrow Gel (P99) turned out to be more dark brown with grey tones than jet black, which I was very thankful for! Using the tiny lip brush from the Princessa kit, I was able do a pretty decent job filling in my eyebrows.

I know it looks a little strong without eye makeup on, but just wait!
Step 6: Eyeshadow
The Beauty Treats Eyeshadow Palette (P99) left me unimpressed when I swatched it so I didn’t really have the highest hopes for the palette. I used the bottom right quad to shade my lids, and the She Eyebrow Gel for a subtle wing. I packed and packed and packed color repeatedly but this was the best pigmentation that the eyeshadow could offer. No surprise there.
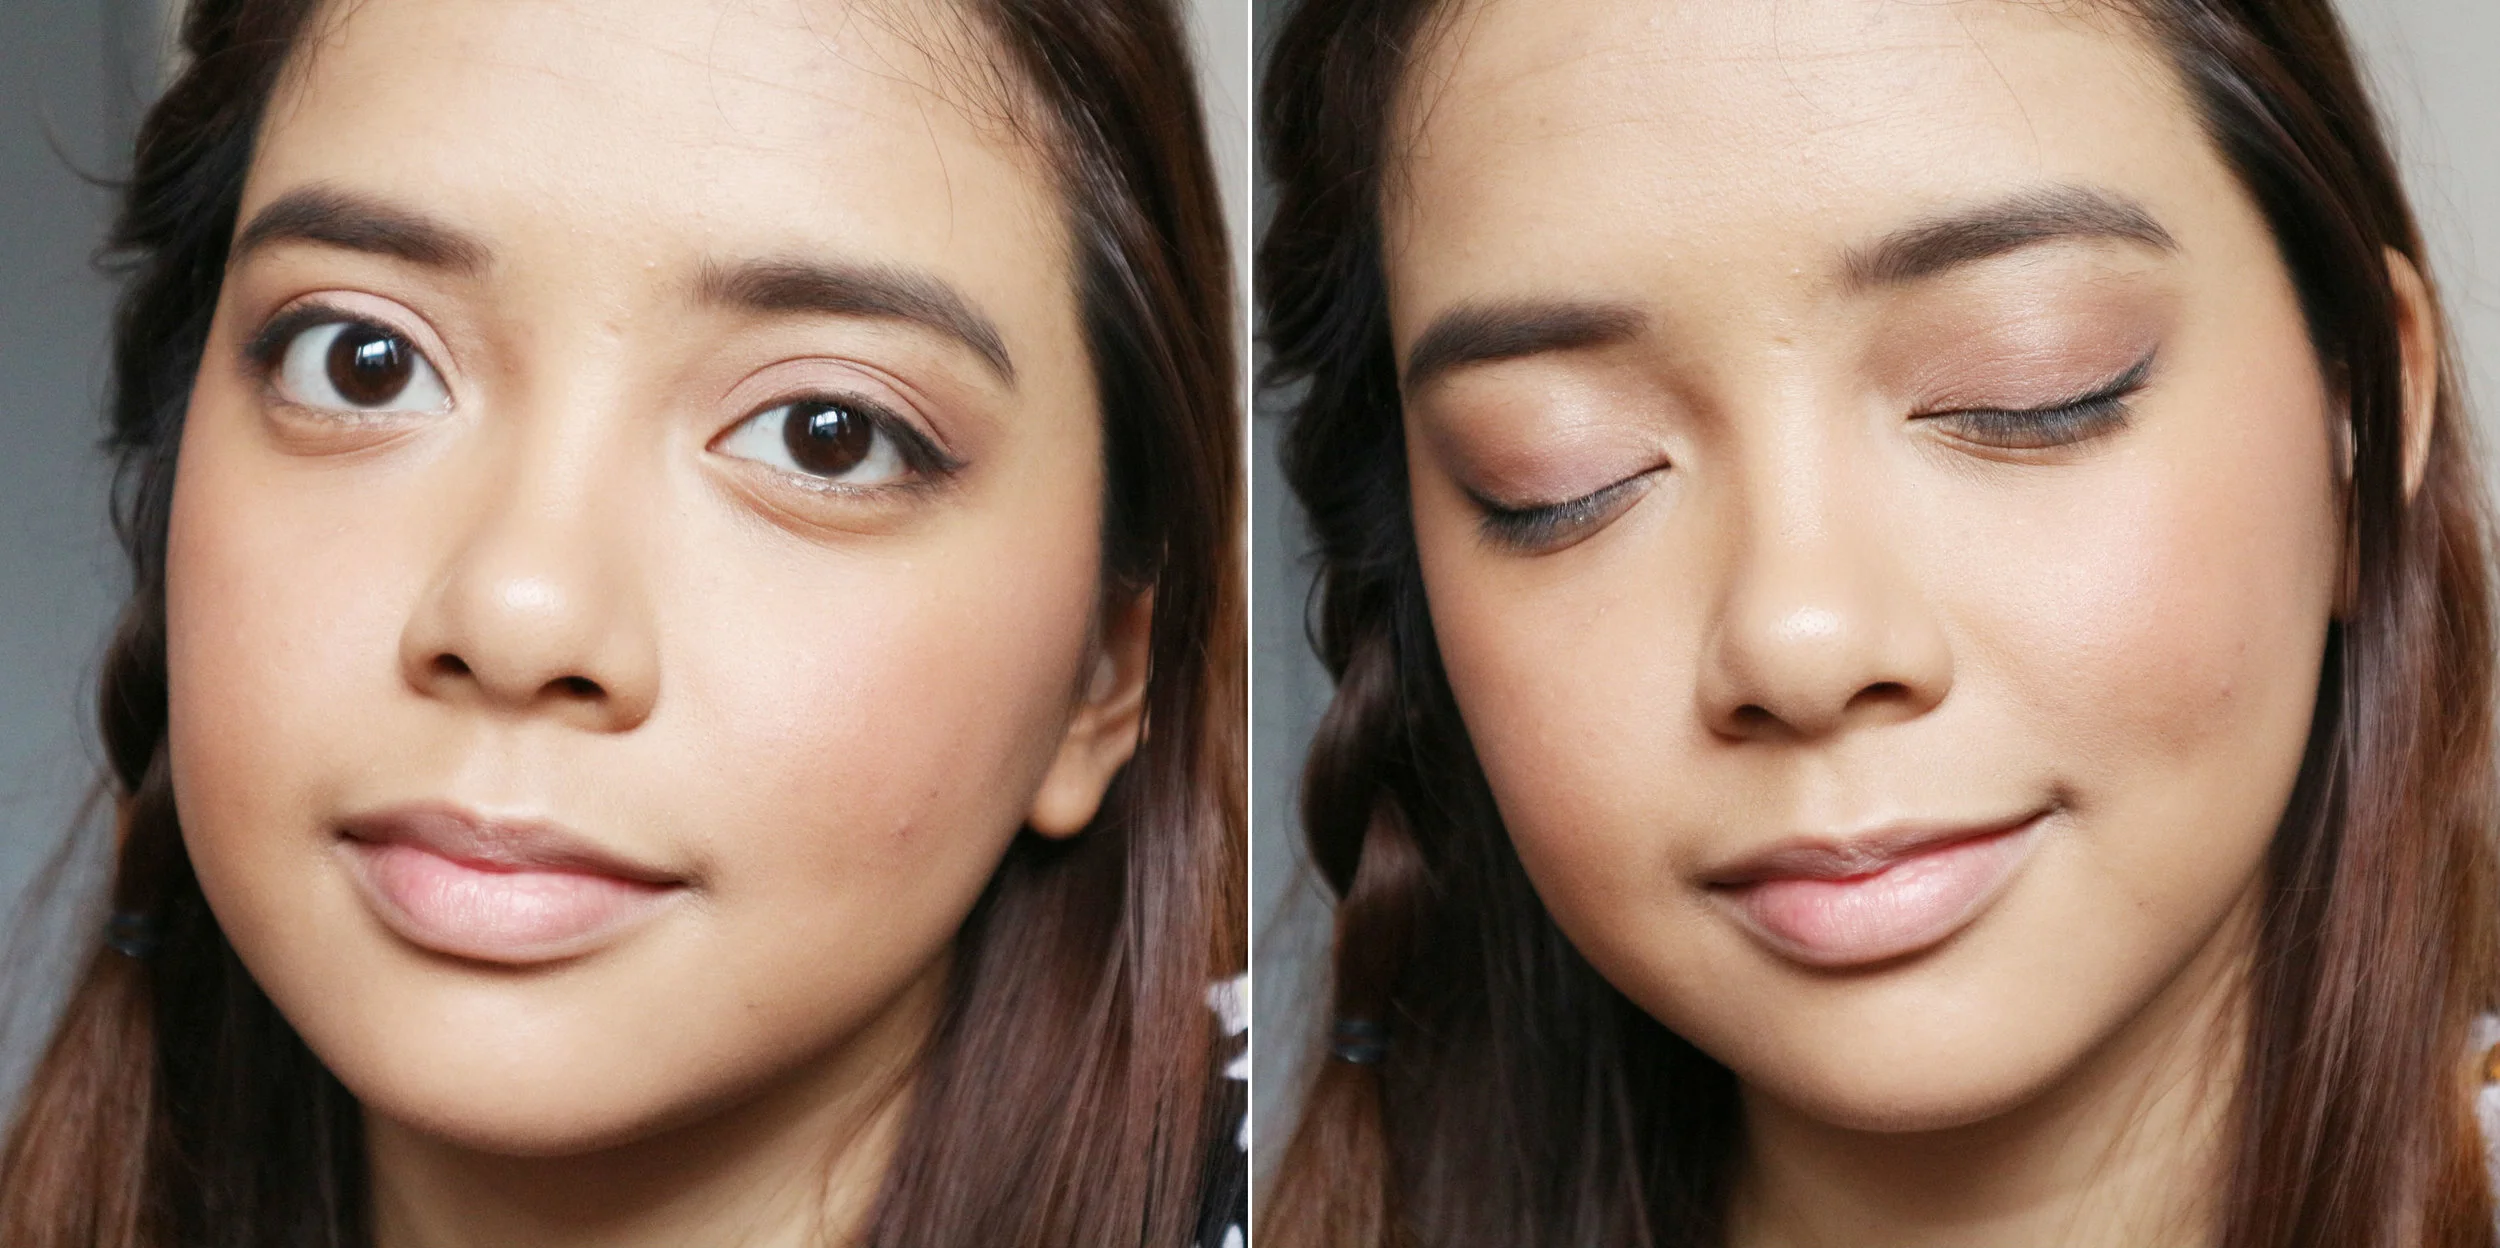
Where's my pigmentation at?
Step 7: Falsies
A pair of fluttery lashes makes everything better, right? LMAO, wrong. The Revlon Double Wink Eyelashes (P129) were the heaviest and stiffest pair I’ve ever tried to put on (wait, are these authentic?). And I’ve had studded falsies before, mind you, complete with long, spidery fibers and tiny gem stones! The eyelashes came with a sticky band but no lash glue. Because I had a tough time aligning the band to my lash line, all the readjustments caused the adhesive to lose its stickiness. I was all out of lash glue and not to keen on having these on so I ended up not wearing the falsies after all.

Felt heavier than the curtains falling on a bad comedy act
Step 8: Lipstick
A nude lip has never failed me...until now. The formula of the L.A. Colors Lipstick (P99) refused to stick to my lips and got all over the place. I’ve never had lipstick this bad since 2003, when eight year old me thought it would be a good idea to buy P10 magic lipstick from a sari-sari store.
Verdict
Believe you me, I tried my damnedest to make this work but not a single product turned out to be worth being thrifty over. Go to the drugstore instead, or use your P1,000 to splurge on a high ticket item that’s Holy Grail material. Even if these are cheap, your money is better spent elsewhere.
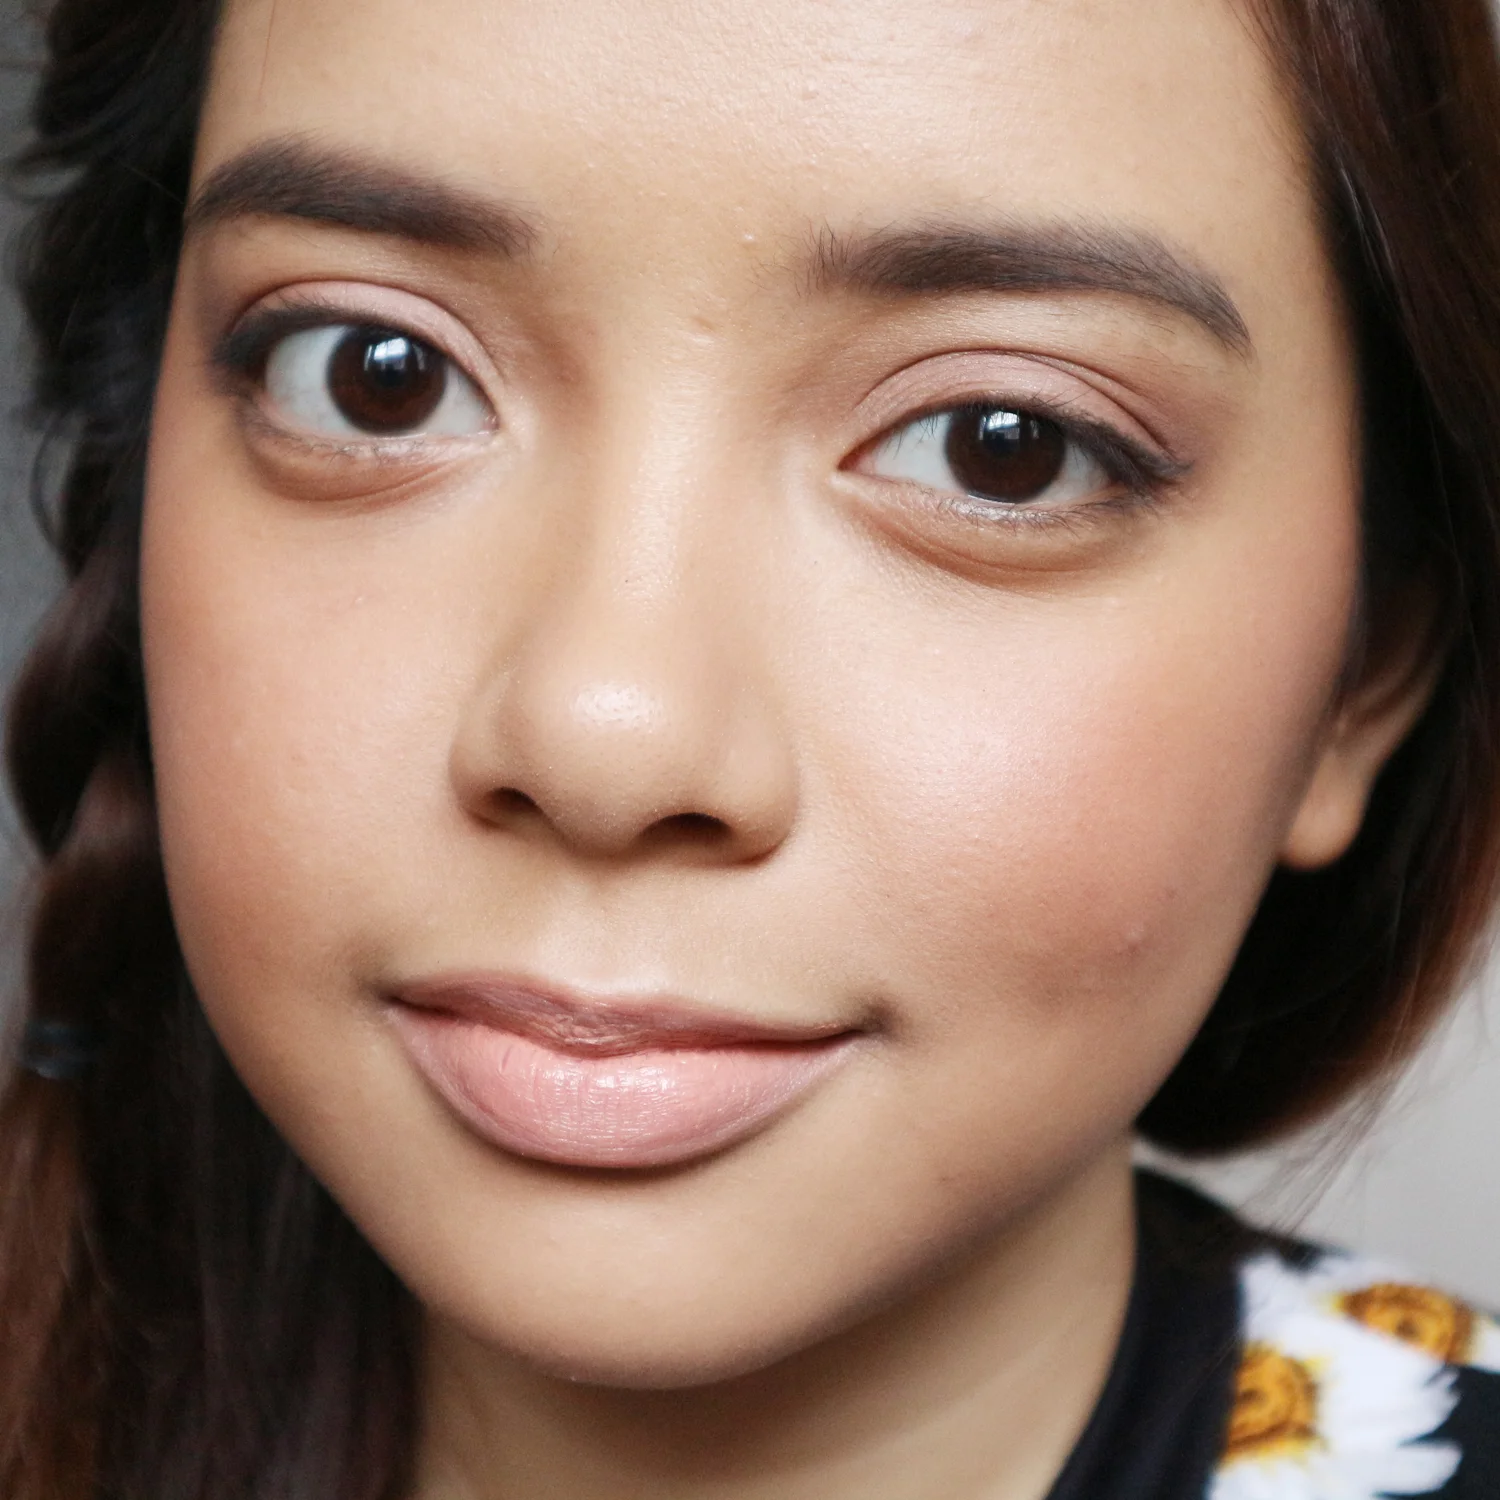
Looks like a throwback photo to when I didn’t yet know how to put on makeup
Have you had a better beauty hunting experience at the Dollar Store? What products worked out for you? I want to hear your story!